Banana Pudding Lasagna
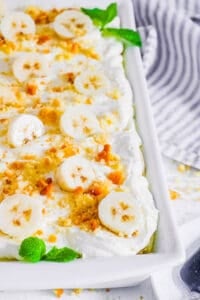
This post may contain affiliate links. As an Amazon Associate, I earn from qualifying purchases. Please read my disclosure.My banana pudding lasagna recipe is the perfect no-bake dessert for holidays, picnics, and potlucks. With layers of Nilla wafers, banana slices, and a luscious pudding mixture, each bite is a dreamy combination of flavors and textures. It’s light and refreshing – ideal for summertime but can be enjoyed anytime of year!
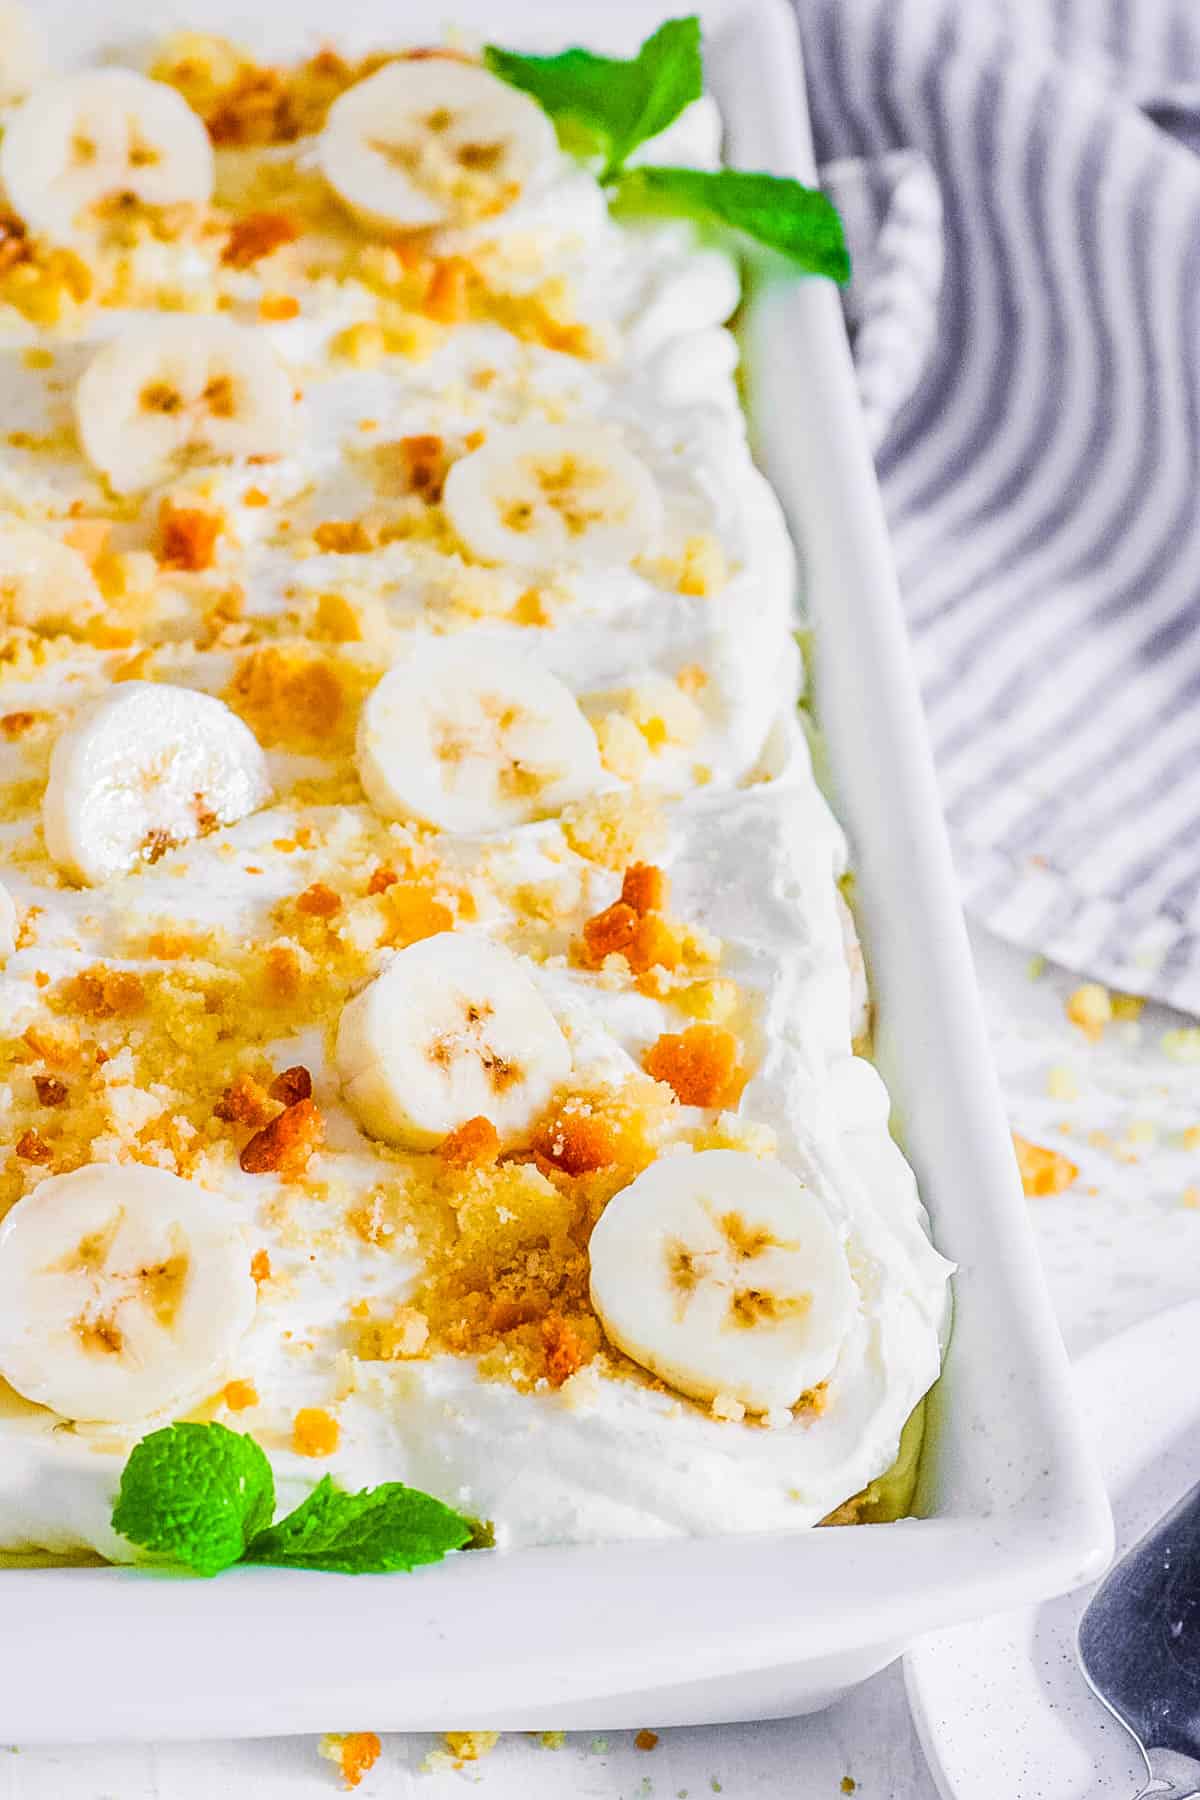
This layered dessert is one of my favorite summertime treats! This recipe has “lasagna style” layers made from the combination of crushed Nilla wafers and pudding mixture to create a delicious crust-like layer that mimics lasagna.
Banana pudding is a popular dessert in the South! But I wanted to add a twist, making it look even more elevated. While it may seem fancy, I promise it’s totally foolproof. My recipe combines the sweet deliciousness of the best banana pudding recipe cleverly layered in a casserole dish to make it prettier and more portable.
For a complete Southern-style meal, I would recommend serving this as a dessert with homemade biscuits, vegan black eyed peas, and some BBQ! My whole family loves this easy no-bake banana pudding lasagna! It’s easily doubled or tripled to serve a large crowd.
🌟 Why I Absolutely Love This Recipe
My recipe is a classic banana pudding, but reimagined in a fun, layered dessert lasagna! It’s a delightful twist that’s perfect for feeding a crowd.
I always make sure this recipe is on my holiday menu, and it never fails to impress. The layers of vanilla wafers, creamy banana pudding, and fresh banana slices create a harmonious blend of textures and flavors that everyone loves.
Plus, it’s the ideal make-ahead dessert. Letting it sit in the fridge overnight allows the flavors to meld beautifully, making it taste even better the next day.
Latest Recipe Video!
🥘 Ingredients
Here’s an overview of all the ingredients for my easy banana pudding lasagna. For exact amounts and full instructions, please see the recipe card below.
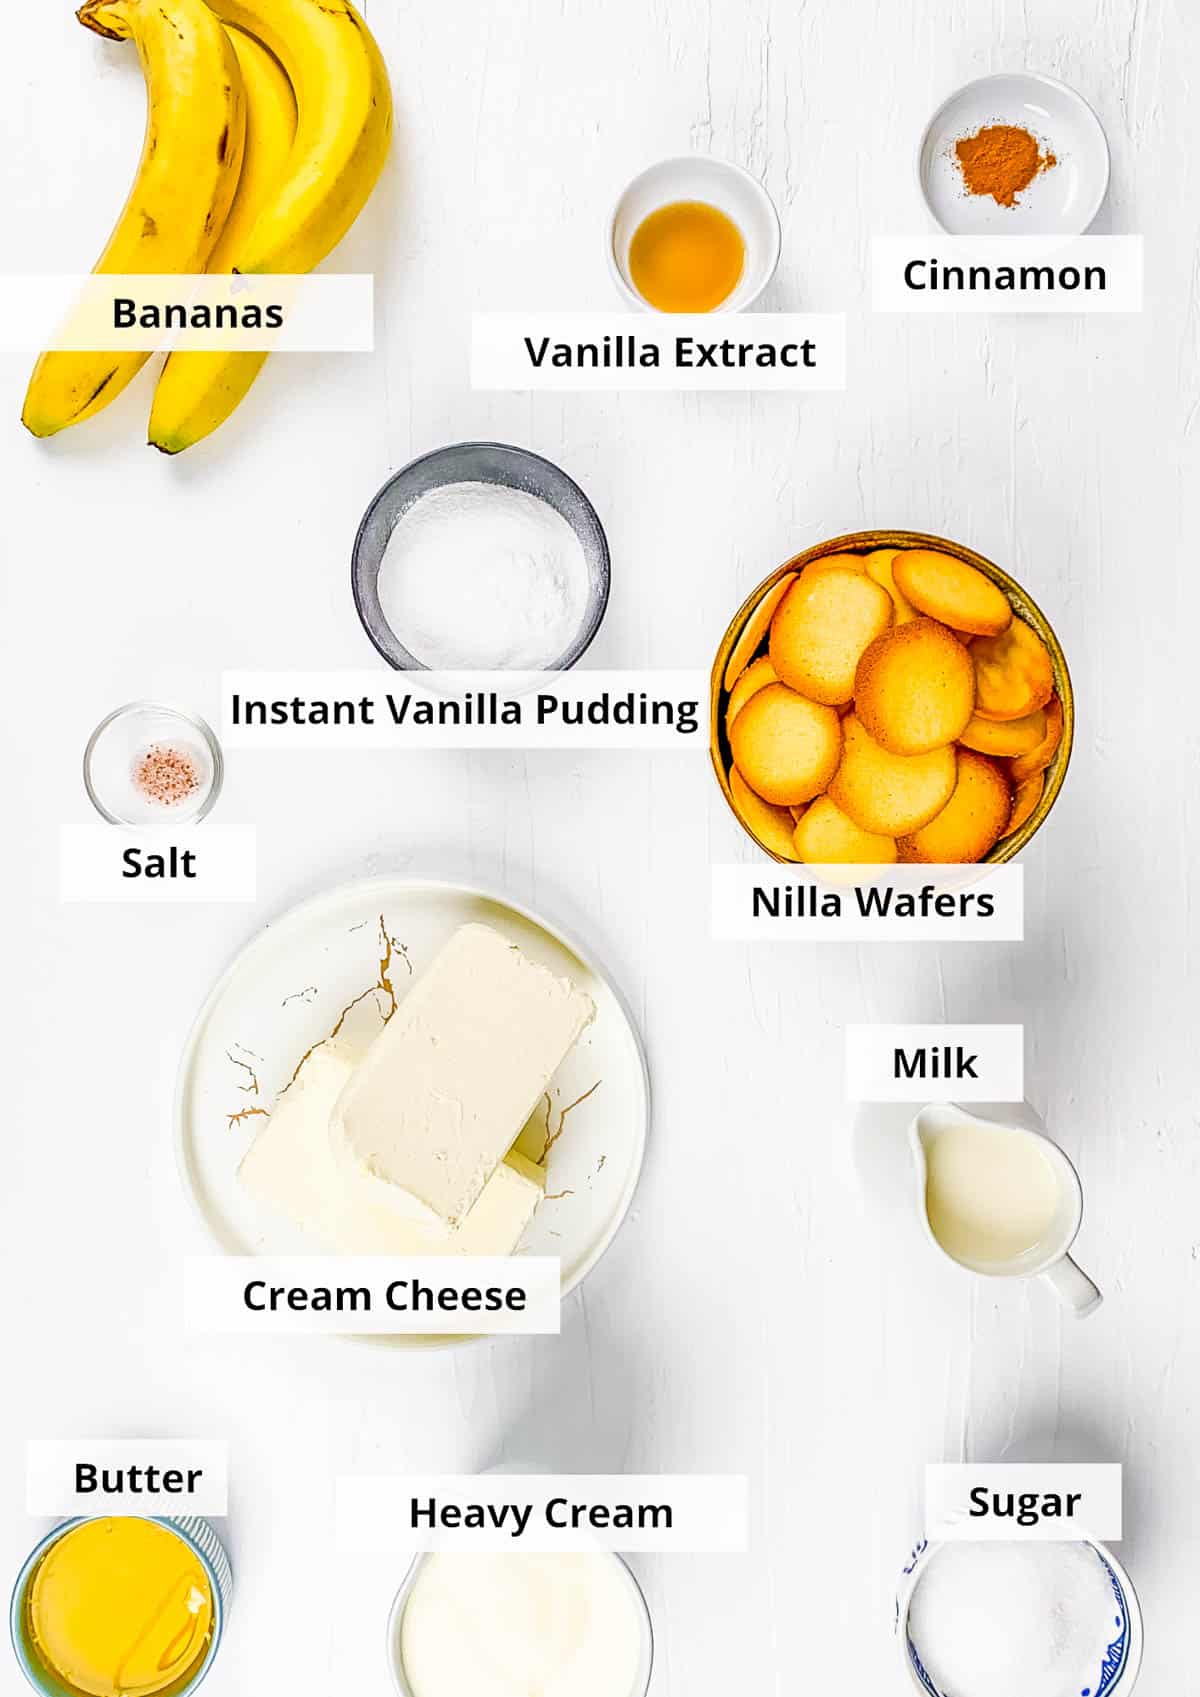
Nilla Wafers: I use these tasty wafers to make the bottom crust and as the pudding layers.
Butter: This helps bind the crumbs of the Nilla Wafers together to make a delicious crust.
Cinnamon, Sugar & Salt: Sugar is essential for sweetening up the tanginess of the cream cheese. Cinnamon adds a warm, sweet boost of flavor to the base, and a pinch of salt balances the sweetness of the other ingredients.
Cream Cheese: I make this banana pudding lasagna with cream cheese to create a thick, sweet filling. Remember to soften it to room temperature first.
Cold Heavy Cream: This gives my pudding filling a light and fluffy texture.
Vanilla Extract: I prefer using pure vanilla extract for the best flavor, but imitation vanilla works, too.
Instant Vanilla Pudding Mix: This gives the pudding a sweet vanilla flavor, but I’ve experimented with other pudding flavors as well.
Regular Milk: I use cold milk, combining it with the instant pudding mix and letting it sit for a while to firm up before folding it into the cheesecake mixture. Whole milk is best, but reduced-fat milk or plant-based milk works too.
Bananas: Large ripe bananas are the star of the show! I slice and layer them over the filling mixture and on top of the whipped cream layer, keeping the slices about ¼ inch thick.
Whipped Cream: My banana lasagna recipe is completed with a creamy layer of Cool Whip or homemade whipped cream.
👩🏽🍳 How To Make Easy Banana Pudding Lasagna
You can have this recipe ready in just a few steps! Just prep the crust, create a cheesecake mixture with cream cheese, sugar, and vanilla pudding, and put it all together with alternating layers of filling, bananas, and wafers. Yum!
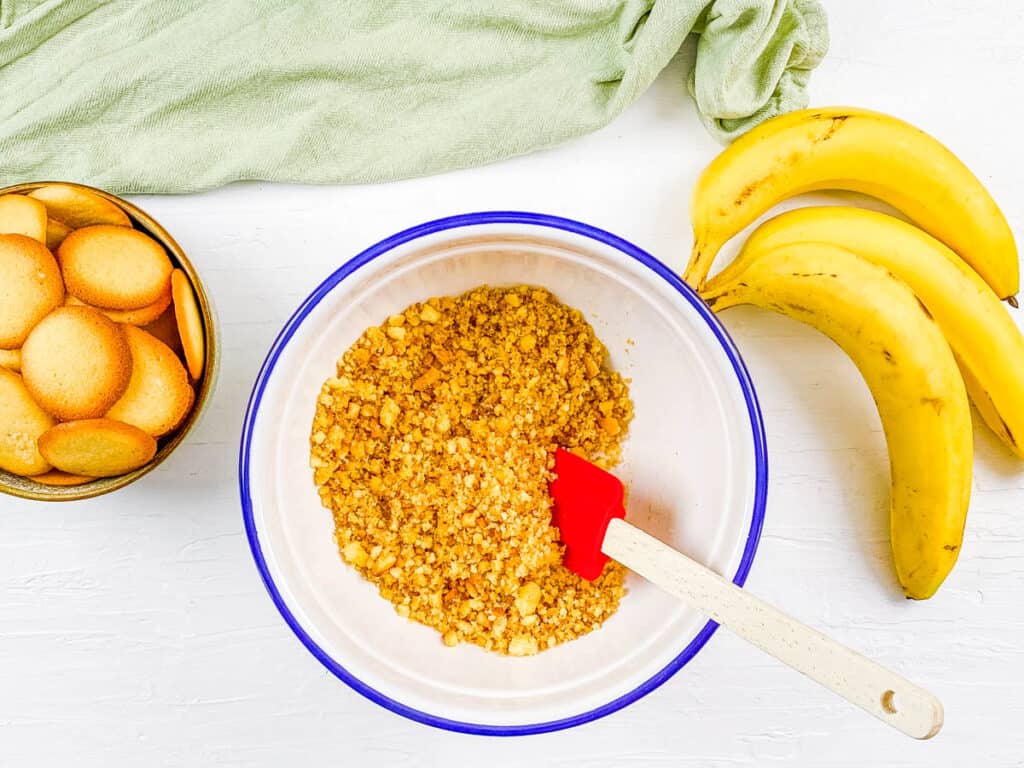
Crumble The Cookies: To start, I crush the Nilla wafers to make the crust. To do this, I’ll either add the cookies to a zip-top bag and smash them with my hands or pulse them in a food processor. Either way, the result should be 1 ½ cups of crushed wafers. I mix the crushed cookies with the melted butter, salt, and cinnamon until well combined.
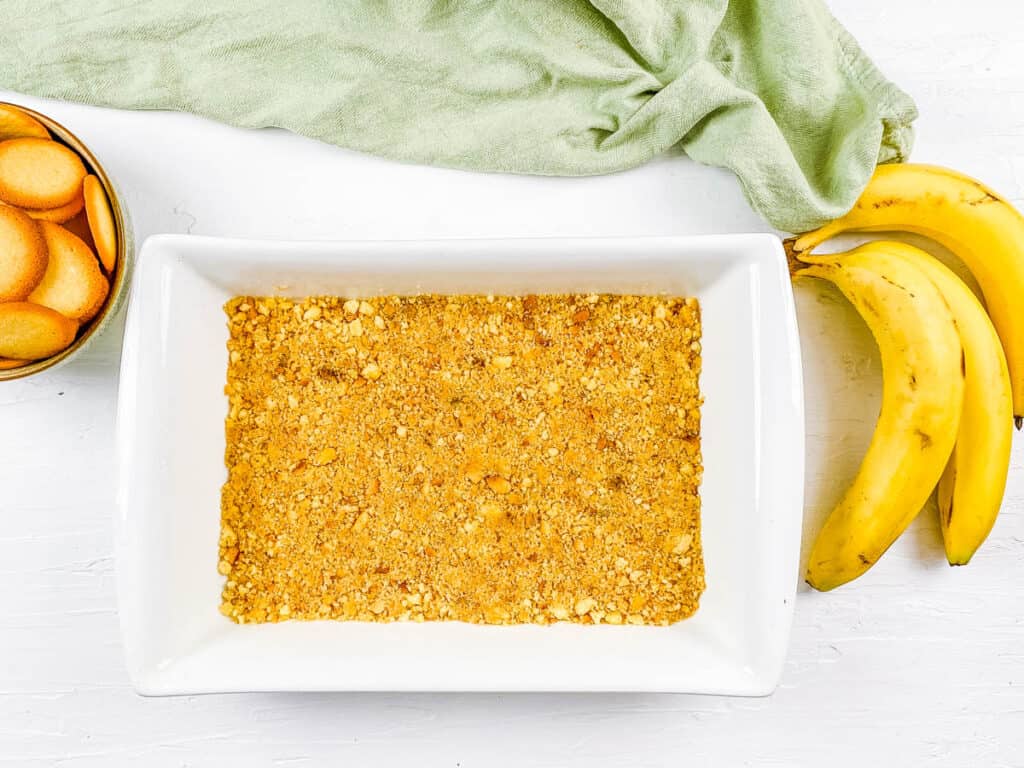
Make The Crust: Next, I’ll press the mixture into the bottom of a rectangular baking dish and place the dish in the freezer while I prepare the filling. This helps the crust stay put as the filling is spread on top.
Prepare The Cheesecake Mixture: Using a stand mixer or a large bowl and an electric hand mixer, I mix the softened cream cheese and sugar until smooth. Next, I’ll pour in the heavy cream and vanilla extract, whipping until stiff peaks form.
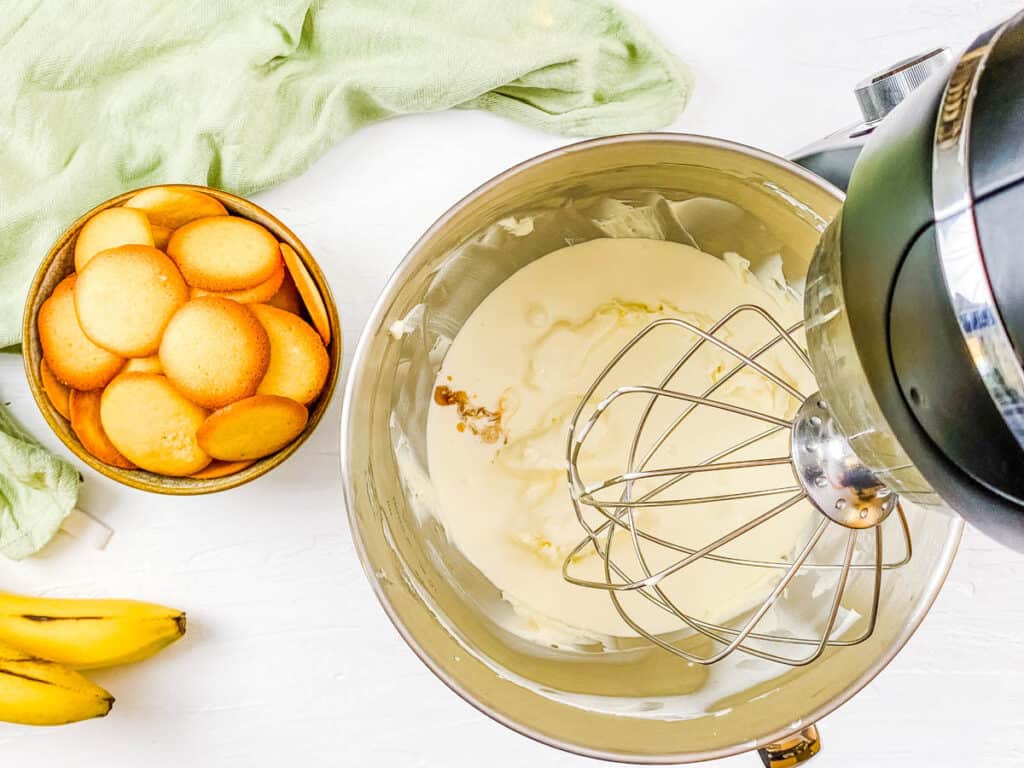
Make The Pudding: In another bowl, I’ll whisk together the vanilla pudding and milk and let it sit at room temperature for 10-15 minutes to thicken.
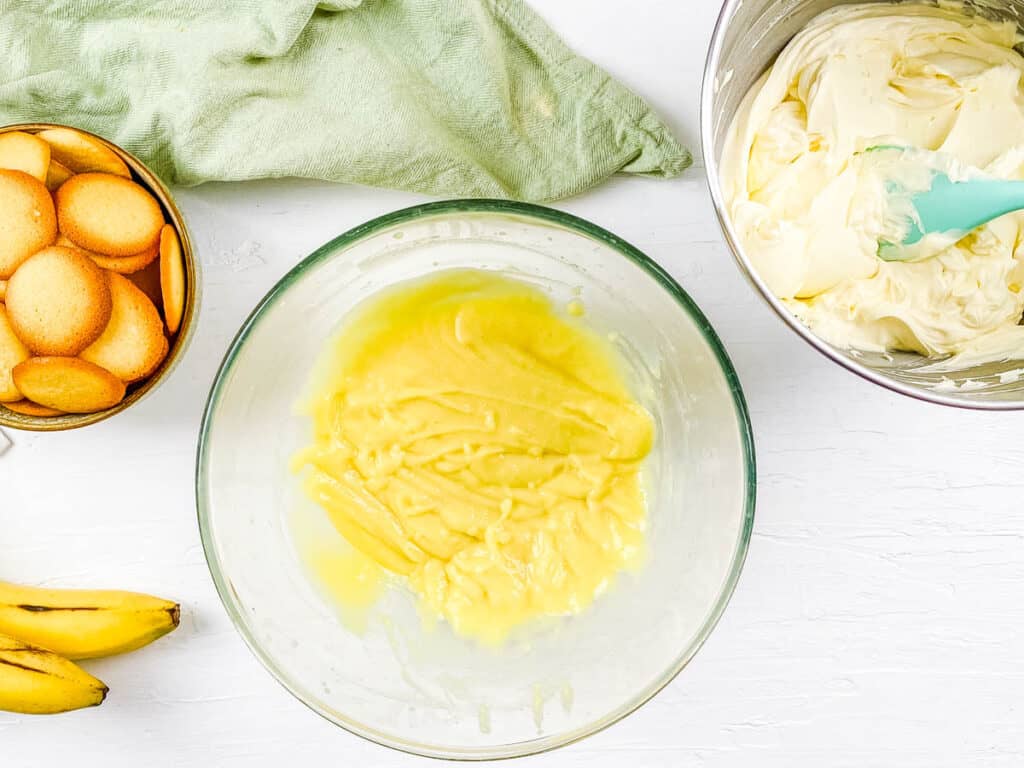
Combine: Next, I fold the pudding mixture into the cream cheese mixture and stir to combine all of the ingredients. I always make sure to diligently combine the two mixtures so all the flavors meld together. Otherwise, there might be more pockets of one mixture than the other.
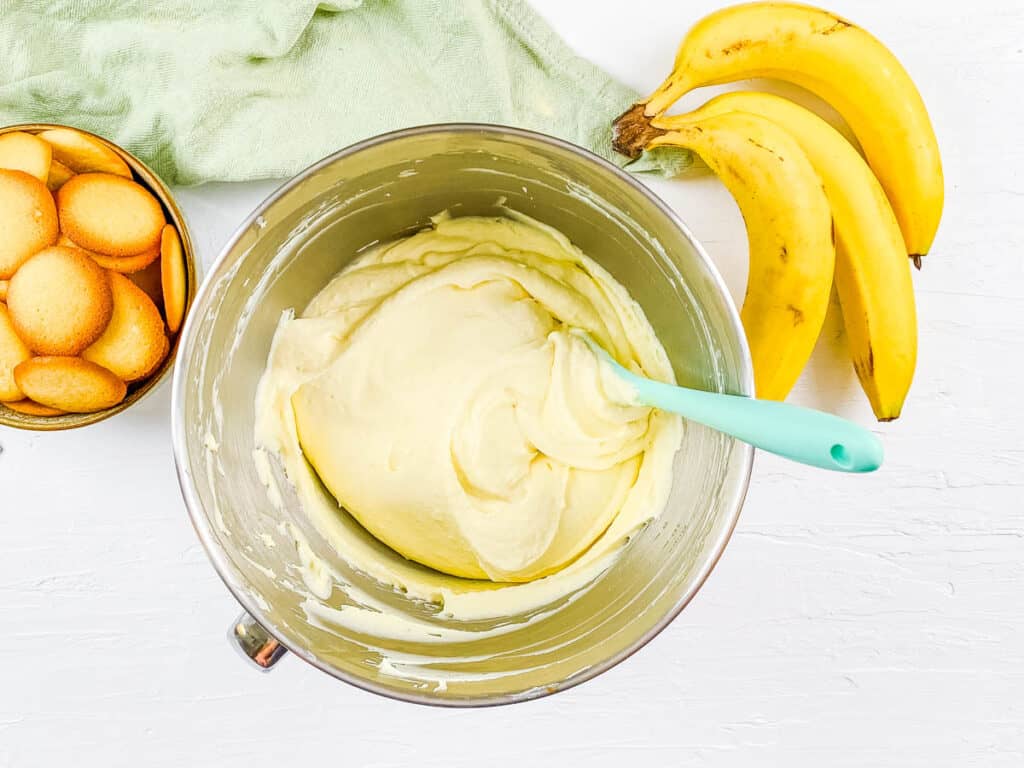
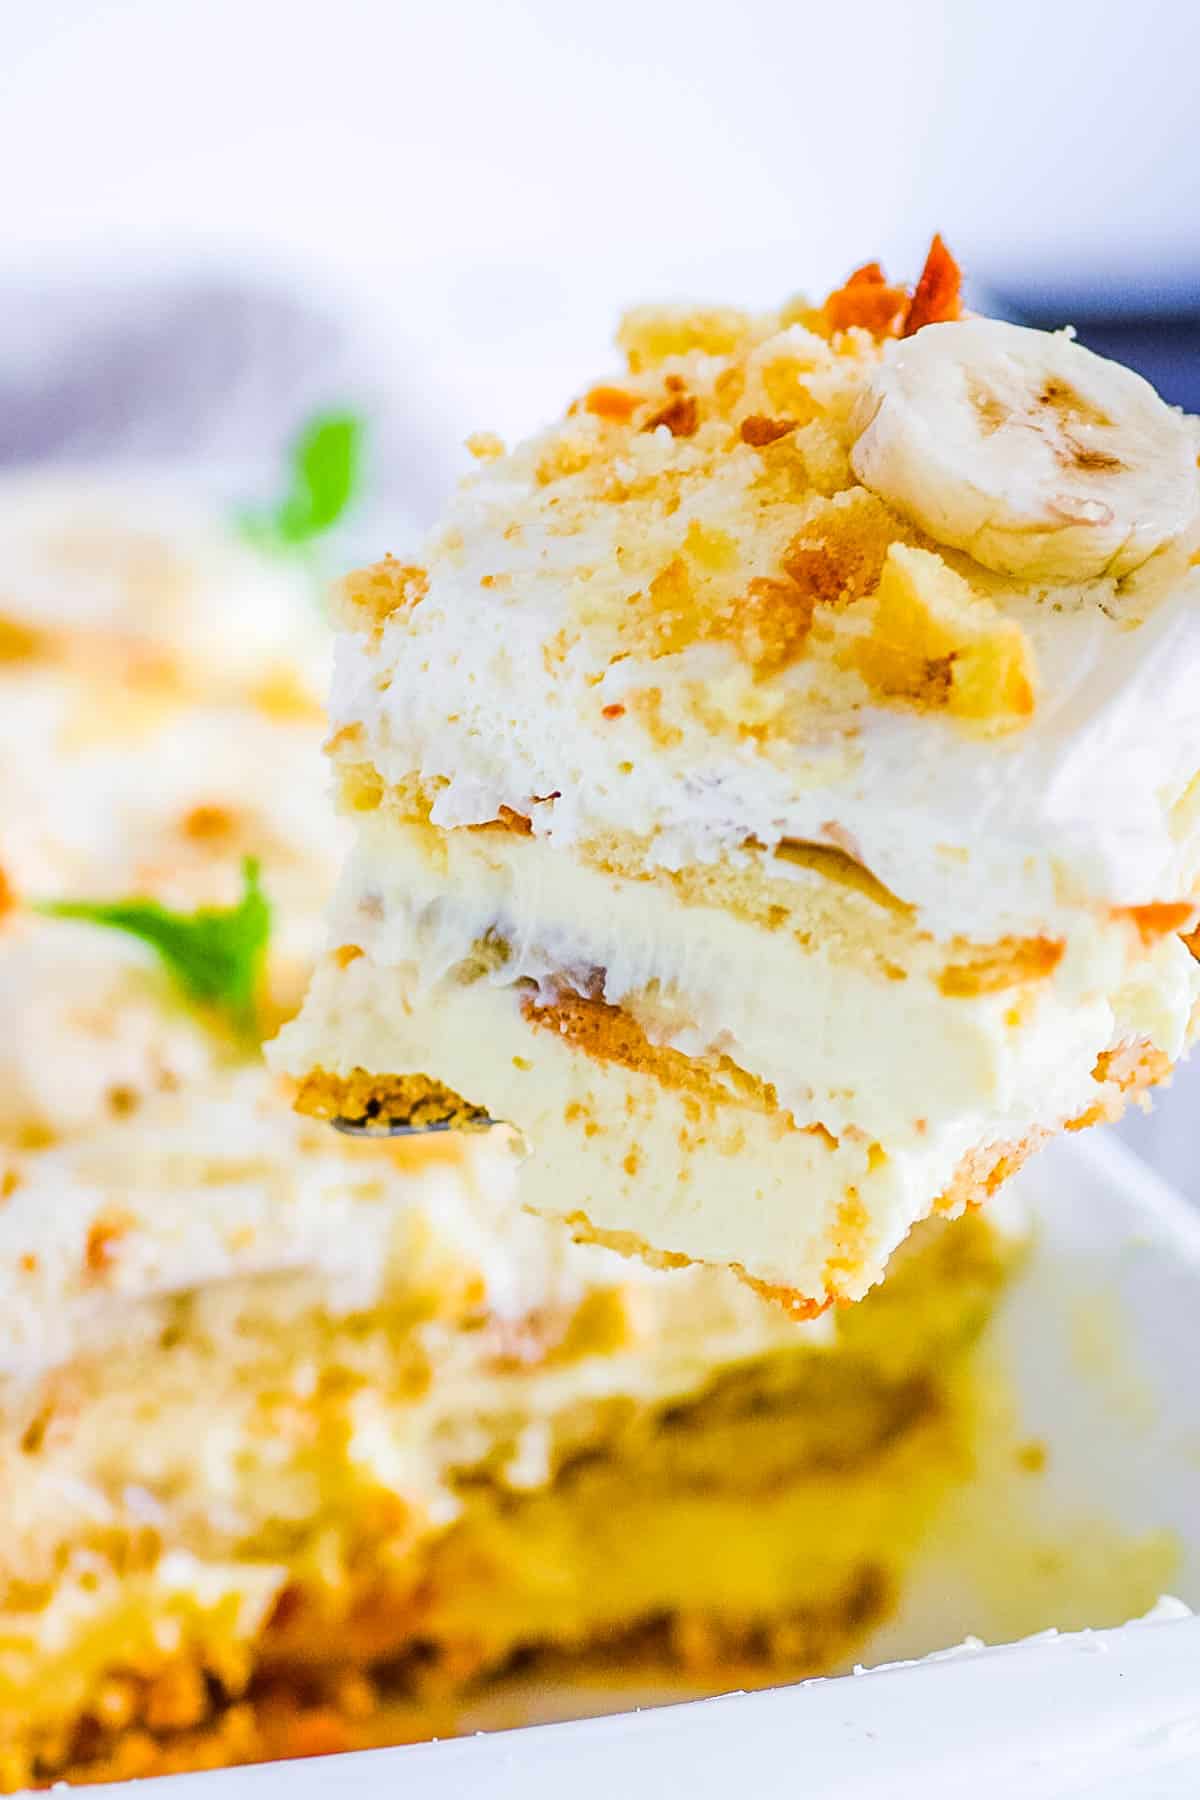
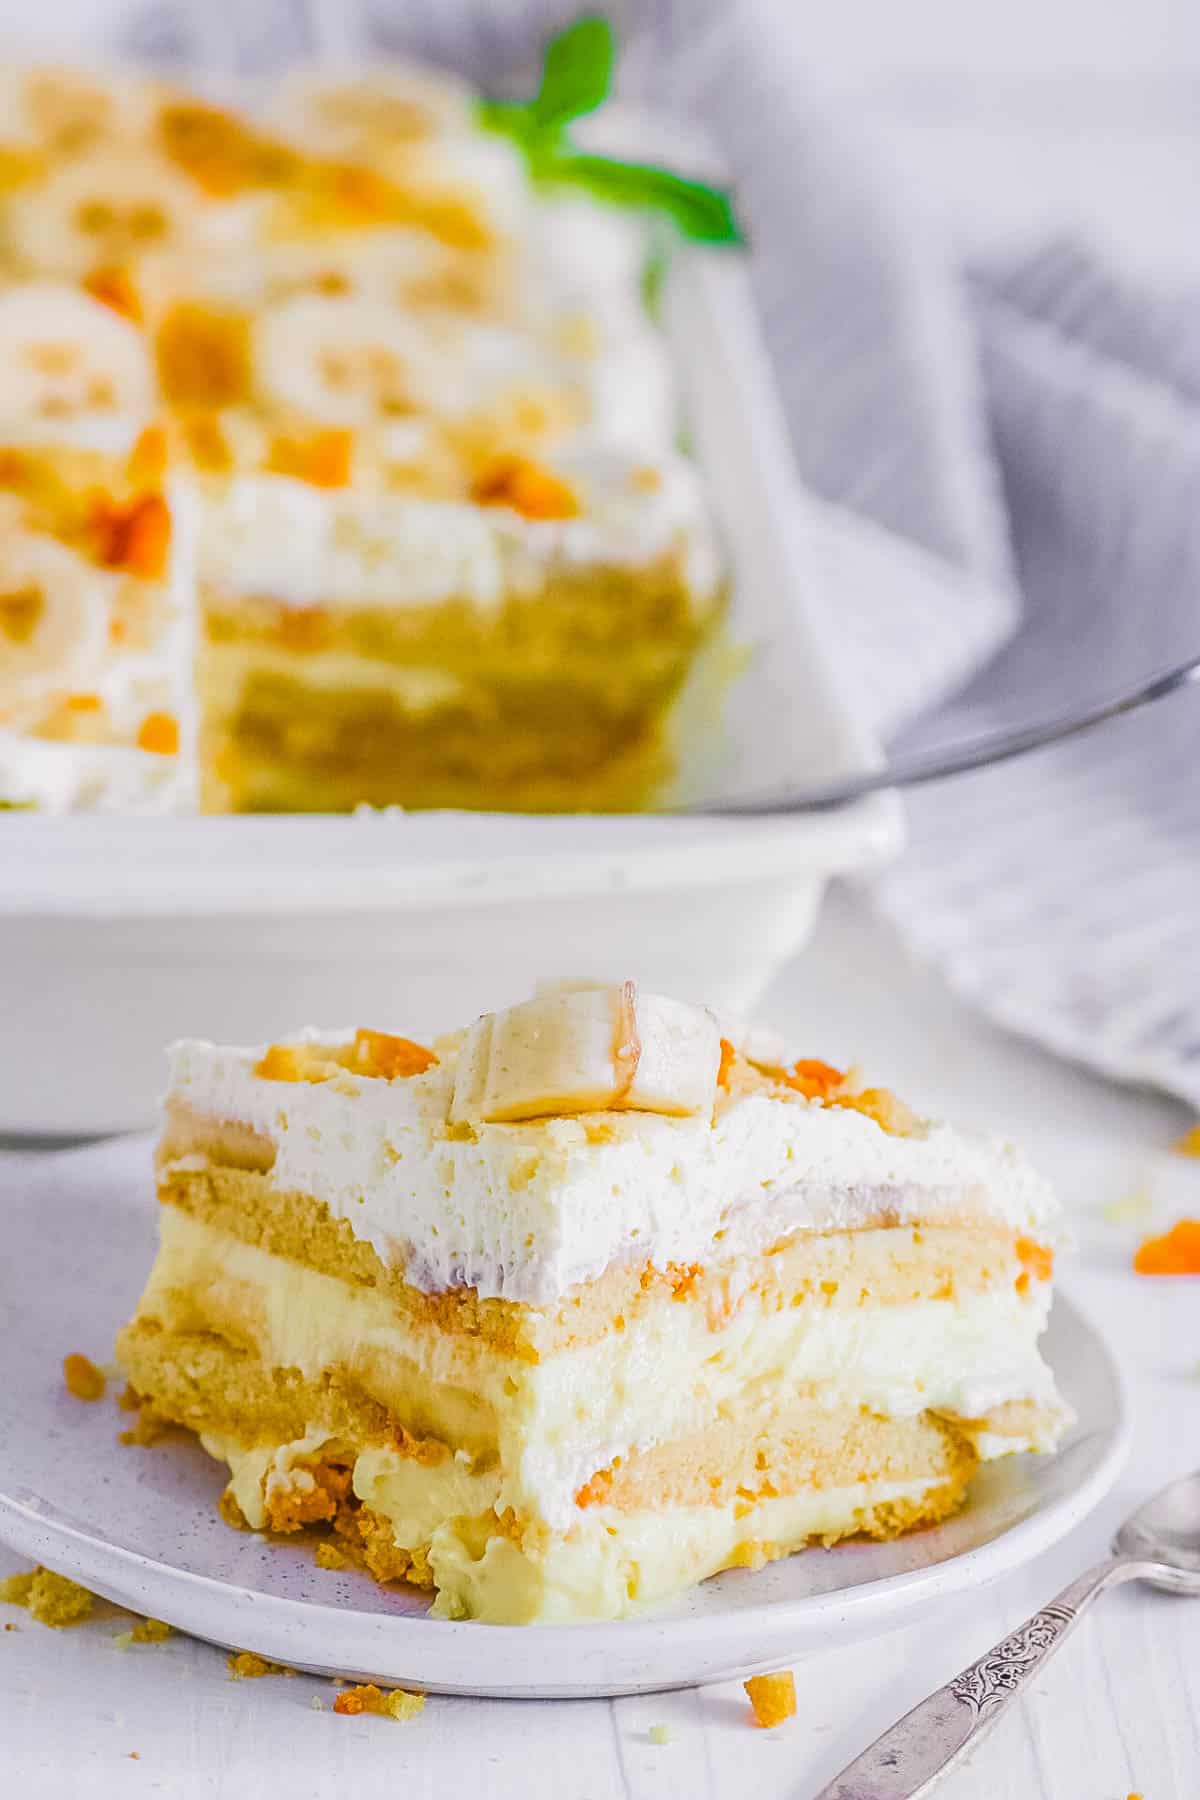
Assemble: To assemble the dessert, I pour half the filling over the cookie crust. Then, I add a layer of whole Nilla wafers and a layer of sliced banana. Next, I top with another layer of pudding and wafers and continue the layering process.
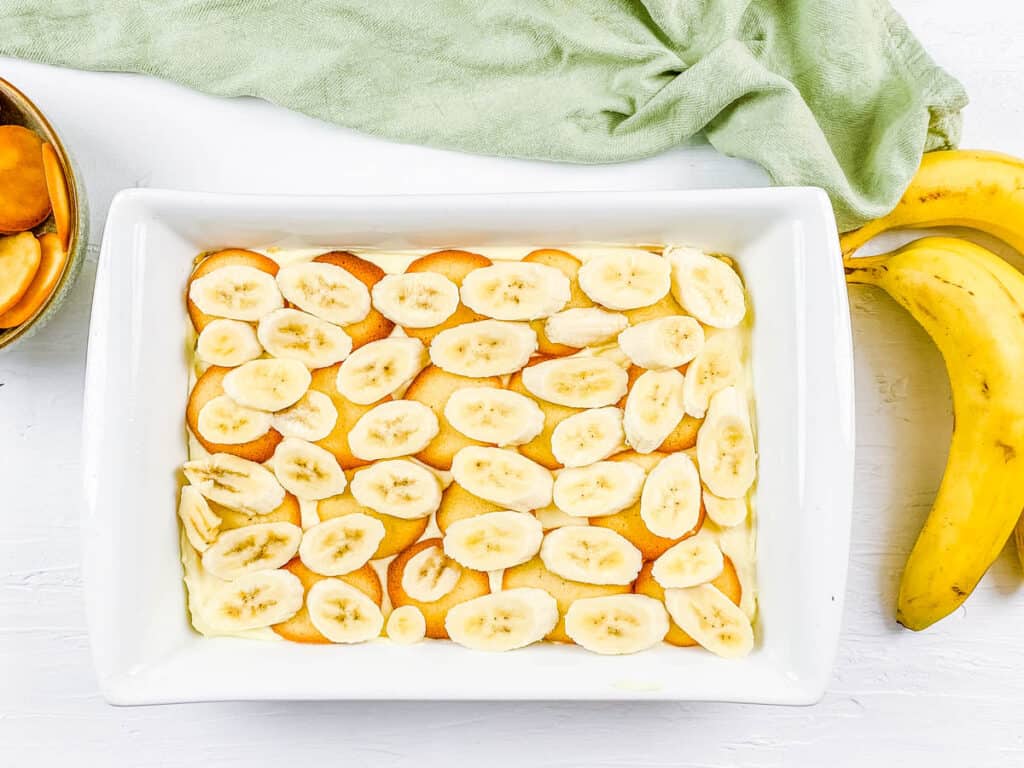
Add One Last Layer: I always add a thin cheesecake layer on top, to cover the bananas (so they don’t brown in the fridge).
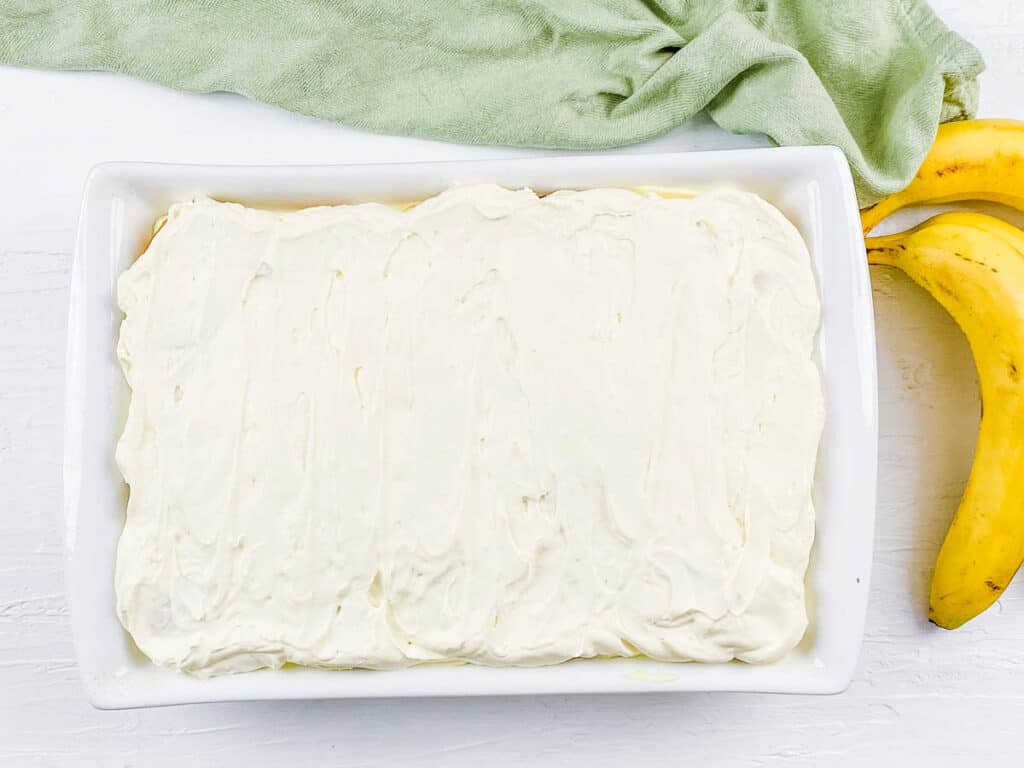
Let It Chill: I always allow this dessert to chill in the fridge for at least 2 hours. For the best results, overnight is better.
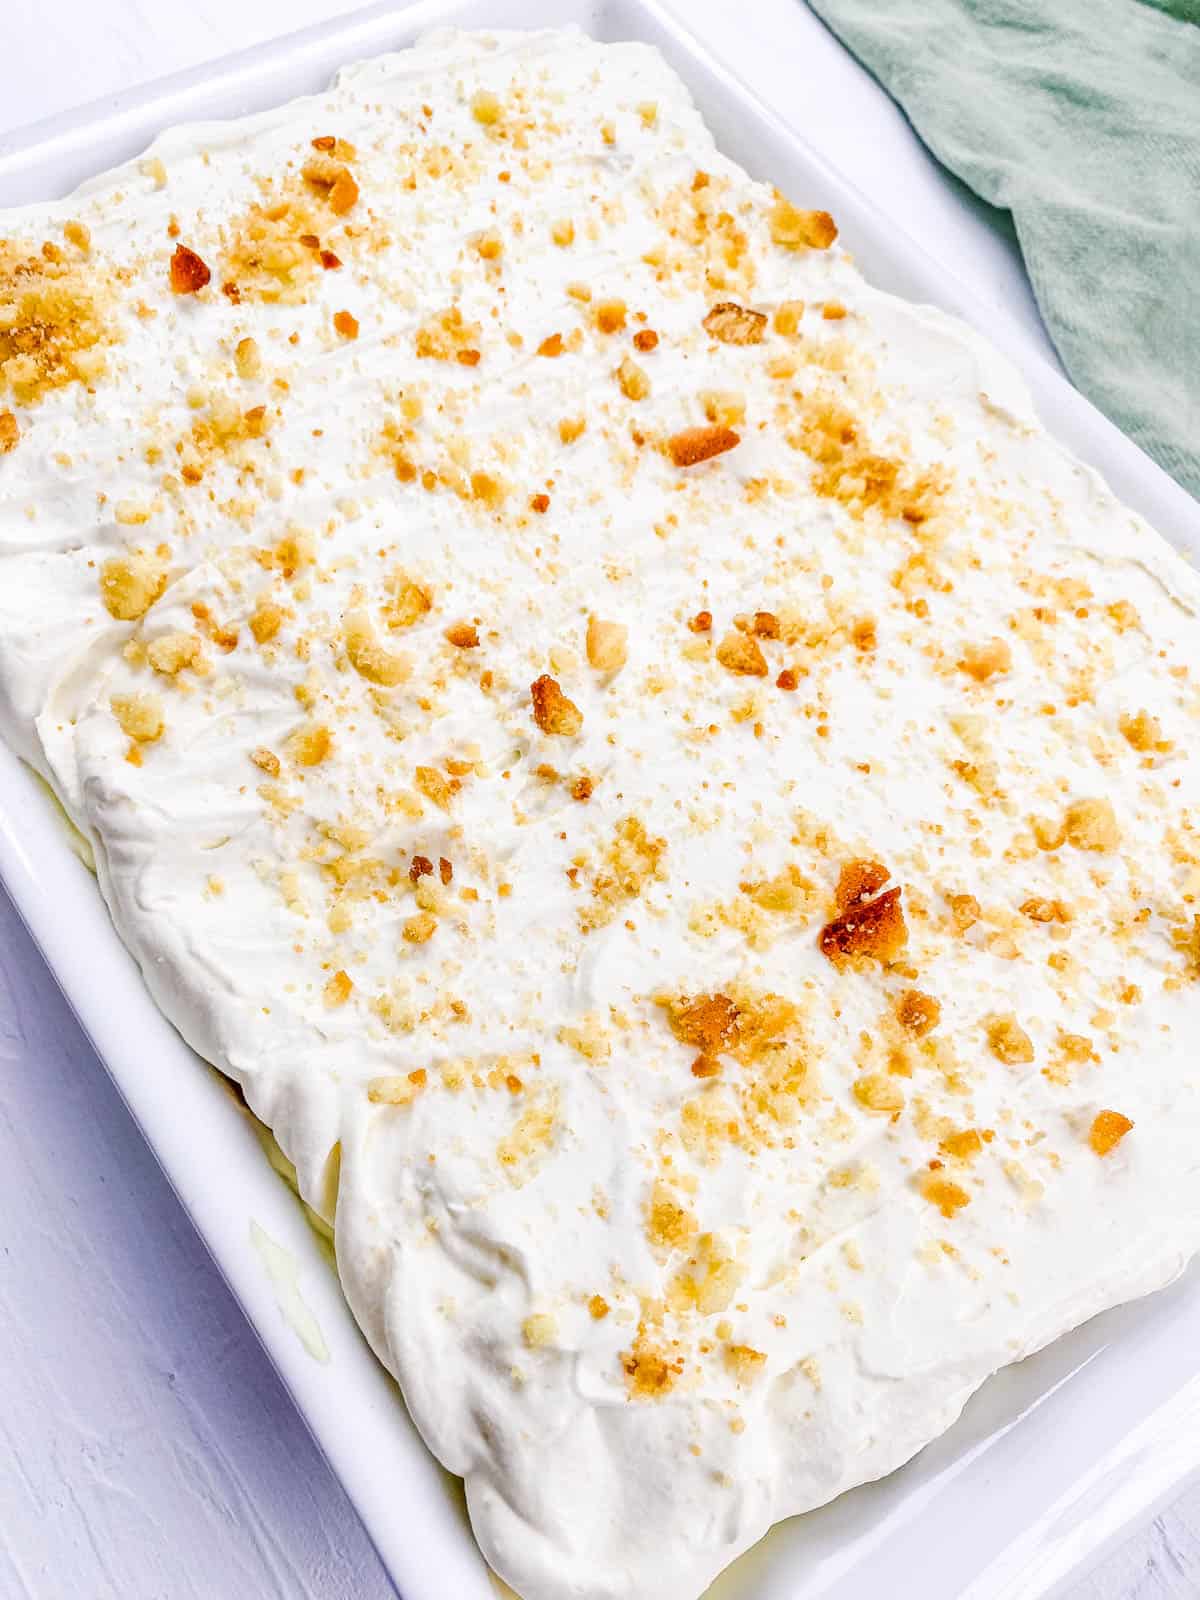
Serve It Up: I serve this up with a dollop of whipped cream (or Cool Whip), a little crushed Nilla wafers, and sliced bananas.
💭 Expert Tips
My #1 Secret Tip for this banana pudding is to let it chill overnight in the fridge.
Allowing the pudding to sit in the refrigerator for at least 8 hours, or preferably overnight, helps the flavors meld together beautifully. This resting period also allows the vanilla wafers to soften, absorbing the creamy pudding and creating a more flavorful dessert. Plus, it gives the banana slices time to infuse their flavor throughout and makes cutting and serving it way easier!
Other Tips To Keep In Mind:
- Soften Cream Cheese: I make sure to soften the cream cheese before mixing it, to avoid lumps in the pudding mixture.
- Garnish Last: I don’t add the bananas or crushed wafer garnish on top until I’m ready to serve. When bananas are exposed to air, they begin to brown. Although they’ll be just as tasty, it will ruin the presentation.
- Avoid Over-Mixing: When making the cream cheese mixture, I whip it just until soft peaks form. Don’t keep going, or the cream may separate!
📖 Variations
Make It Vegan: To make this banana dessert vegan-friendly, I substitute dairy products for dairy-free alternatives such as vegan butter, plant-based milk, vegan vanilla pudding, vegan cream cheese, and whipped coconut cream.
Change Up The Cookies: Any crispy cookie will work well in this dessert! I’ve tried peanut butter cookies, gingersnap cookies, Golden Oreos, shortbread biscuits, gluten-free cookies (to make it gluten-free), or graham crackers instead of nilla wafers!
Use Add-Ins: Add a layer of chocolate chips after the banana layer, and top with a drizzle of chocolate sauce! Or, garnish the top with my caramelized bananas!
Make It Healthier: I lighten this recipe by using low-fat cream cheese, skim milk, keto vanilla wafers, half the amount of sugar, and light or fat-free Cool Whip.
Banana Pudding Pie: Instead of using a lasagna pan, I’ll layer these ingredients in a couple of pie pans for a banana pudding pie.
Use Different Pudding Flavors: To shake up the flavors, I’ll use different flavored puddings like chocolate, banana, french vanilla, cheesecake, or butterscotch.
🍽 Serving Suggestions
My banana pudding lasagna dessert has plenty of sweetness to serve on its own! However, I’ve rounded up a few suggestions for other dessert pairings and drinks.
Drizzles: I love keeping things simple by just adding a drizzle of caramel sauce or chocolate sauce.
Drinks: I like to enjoy this refreshing dessert with a few iced drinks like my strawberry milk tea, lavender milk tea, or even chocolate milk tea!
Desserts: When I’m planning a holiday gathering or get-together, I like to add other layered desserts to the table like s’mores, pumpkin Greek yogurt parfait, or pumpkin brownies.
🧊 Storage Instructions
I store banana pudding lasagna in the refrigerator for up to 5 days in an airtight container or in baking dish by covering it tightly with plastic wrap. I do not freeze homemade banana pudding. The bananas will turn brown, and other ingredients may separate or take on a grainy texture.
❓ Recipe FAQs
To soften cream cheese quickly, I cut it into small pieces and let it sit at room temperature for about 15-20 minutes. Alternatively, I microwave it for about 10-15 seconds just until it becomes soft but not melted.
I slice the bananas about ¼ inch thick. This thickness helps them hold their shape in the layers and provides a nice texture in each bite.
Because I use instant pudding mix, I don’t need to cook it. Just mix it with cold milk and let it set for a few minutes until it thickens. Follow the package instructions for the best results.
The bananas should be ripe but not overripe. Look for bananas that are yellow with a few brown spots. They should be sweet and easy to slice, but not mushy.
If the pudding is too runny, I chill it for a bit longer to see if it thickens. If that doesn’t work, I mix in a little more instant pudding mix or fold in some whipped cream to help firm it up.
🍌 More Delicious Banana Recipes!
Love this Easy Dessert recipe? Please leave a 5-star rating 🌟 in the recipe below and/or a review in the comment section further down the page!
You can also FOLLOW ME on FACEBOOK, INSTAGRAM, and PINTEREST to see more delicious, healthy, family-friendly food, and if you have any questions, I’m here to help!
📋 Recipe Card
🎥 Watch How to Make It
No-Bake Banana Pudding Lasagna (Easy & Creamy!)
Ingredients
Base
- 1½ cup Nilla Wafers crushed
- 4 tbsp butter melted
- 1 pinch salt
- ½ tsp cinnamon
Cheesecake Filling
- 2 8 oz blocks cream cheese room temperature
- ½ cup sugar
- 2 cups heavy cream
- 1 tsp vanilla extract
- 1 3.4 oz packet instant vanilla pudding
- 1½ cups milk
- 5 large bananas sliced
- 1 11 oz box Nilla wafers
Topping Ideas
Instructions
- In a medium mixing bowl, mix together all base ingredients until well combined.
- Press into a rectangle baking dish (I used a 12×9 dish). Place in the freezer while preparing the filling.
- Mix cream cheese and sugar until smooth using a stand mixer. Add the heavy cream and vanilla extract, whip until stiff peaks form.
- In a separate bowl whisk together the vanilla pudding and milk, allow it to thicken for 10-15 minutes.
- Gently fold the pudding mixture through the cream cheese mixture.
- Pour half of the filling mixture over the prepared biscuit base.
- Add a layer of sliced banana and Nilla wafers. Top with remaining filling and another layer of sliced bananas and wafers. Add a thin cheesecake layer on top, to cover the bananas (so they don't brown in the fridge).
- Chill in the fridge, covered, for 2 hours or overnight.
- To serve, top with whipped cream or Cool Whip, crushed Nilla wafers, and sliced bananas.
Notes
- You can use either banana or vanilla instant pudding for the filling.
- To make this recipe vegan friendly, substitute the dairy products for dairy free alternatives such as vegan butter, plant based milk and whipped coconut cream.
- It’s best to chill the lasagna overnight, allowing all of the flavors to infuse and taste amazing!

















I love banana pudding, but for some reason have never made it myself. Thanks for this recipe. Can’t wait to try it!
You will love this recipe Jill! Keep me posted on how it turns out! 🙂
Ummm, yes please! This banana pudding lasagna is so good. My family loves anything banana and this dessert has become a new favorite.
Woohoo! So happy to hear that MacKenzie!
Can be made ahead of time. Sounds good. Quick and easy and looks super delicious. Combinations rich and yummy too.
Yes! It’s a great make-ahead dessert! I’m sure you will love it!
Love a good no bake dessert especially in the summertime. This was beyond delicious! The perfect dessert after dinner tonight for my family.
Totally!! So glad you liked it Gina!
This banana pudding recipe is even better than my mom’s. (Sorry, mom!) The cheesecake filling made this recipe a winner!
Awww hahah thank you so much Tara! 🙂