



Halloween Chocolate Apples
This post may contain affiliate links. As an Amazon Associate, I earn from qualifying purchases. Please read my disclosure.If you want an easy and festive treat for your next Halloween party, look no further. Crisp apples, rich dark chocolate, and colorful Halloween sprinkles make these Halloween chocolate apples a fan favorite every year. I prepare them in just 20 minutes and turn simple ingredients into a showstopping dessert that is much healthier than most commercial candies.
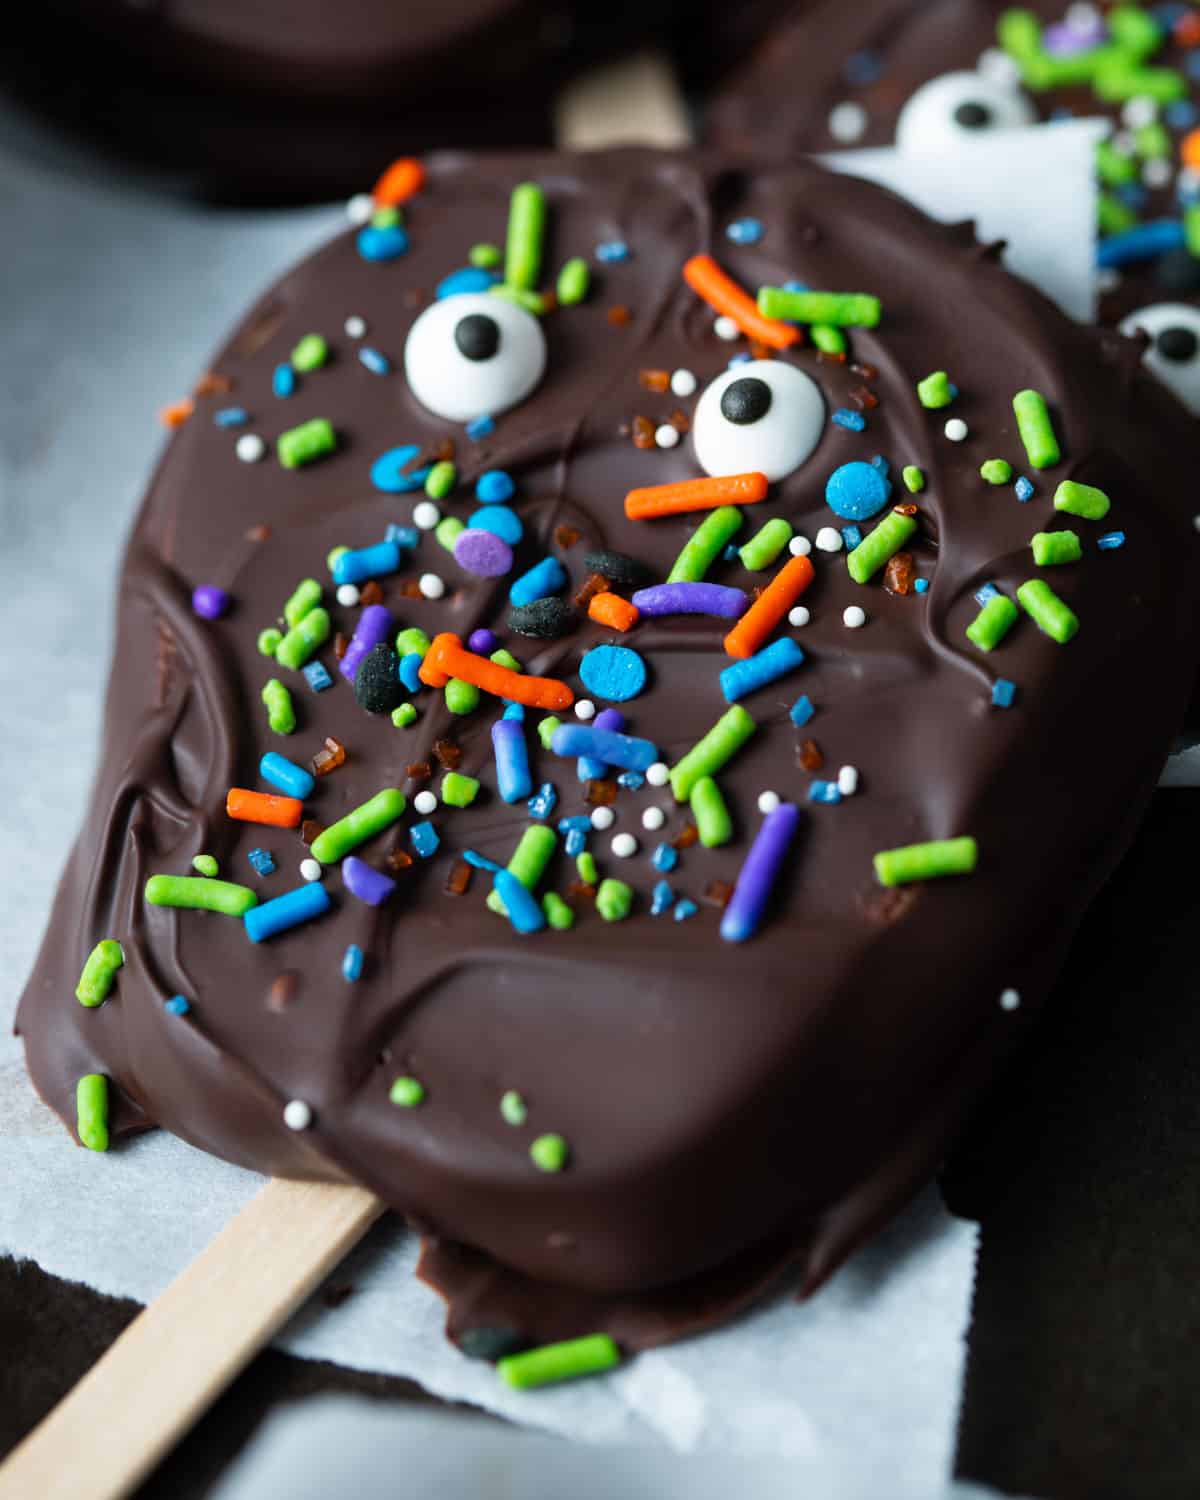
As soon as October arrives, I start looking for simple treats that are festive without requiring hours in the kitchen or less-than-healthy ingredients. Similar to healthy apple nachos, these Halloween chocolate apples are a great alternative to traditional caramel apples, delivering the same seasonal charm with a rich chocolate coating instead.
Every October, my boys start counting down the days until Halloween. And I make sure to keep the entire lead-up to it filled with healthy but spooky treats that they always get excited about. After seeing how keen they were to eat funny face Halloween apples, I wondered how else I could dress up the apples. And as much as I love caramel apples, I do not enjoy the sticky spots I find throughout the house for days after Halloween, which is why I much prefer a chocolate coating.
👩🏽🍳 Why I Love This Recipe
Fresh fruit and dark chocolate make these Halloween chocolate apples a dessert I can feel good about serving. The apples provide fiber and vitamin C, while the dark chocolate adds rich flavor without the need for refined sugar. The combination creates a treat that tastes indulgent and uses only wholesome ingredients, which pleases me as a health coach.
One reason Halloween chocolate apples work so well is their simplicity. I slice the apples, melt the chocolate, and then dip each slice, making sure they are covered entirely. Then I immediately add the decorations before the coating hardens. A quick chill in the refrigerator sets everything in place and creates a stunning finish.
A few years ago, I needed a last-minute dessert for a neighborhood Halloween gathering. To be completely honest, I had forgotten all about it, but I did not panic since I knew these chocolate apple slices would save the day. They hardened up just in time, and everyone was taken by the fun and ghoulish decorations. A friend from the neighborhood came up to compliment the dessert and said it must have taken me all day. That’s when one of my kids made sure to tell her that I had just made them and that I forgot all about the gathering. Ha! Grab your favorite decoration and make sure to give this recipe a try.
🥘 Ingredients
I use just a few simple ingredients to keep these Halloween chocolate apples wholesome and delicious. This is everything I need:
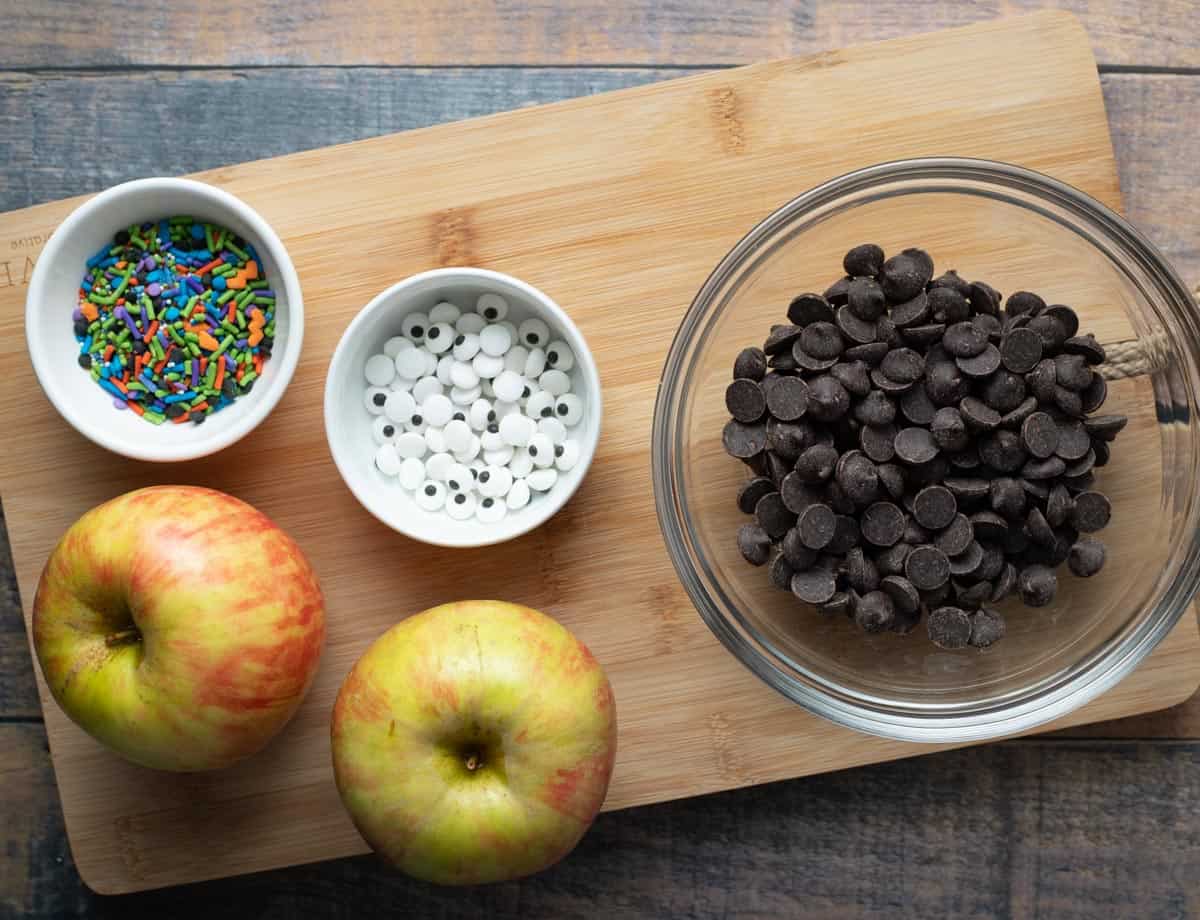
Large apples: I prefer using Honeycrisp apples for their crisp texture and naturally sweet flavor. Granny Smiths are another excellent choice if you enjoy a sweet and tart combination.
Dark chocolate chips: High-quality chocolate melts more smoothly and creates a rich coating.
Candy eyes: These instantly turn simple chocolate-dipped apples into playful Halloween monsters.
Halloween sprinkles: I use colorful Halloween sprinkles to add texture, color, and festive charm.
Popsicle sticks: These make the apples easier to hold and serve.
🔪 How To Make
Halloween chocolate apples require only a few quick steps before they are ready to enjoy. Here is how I make them:
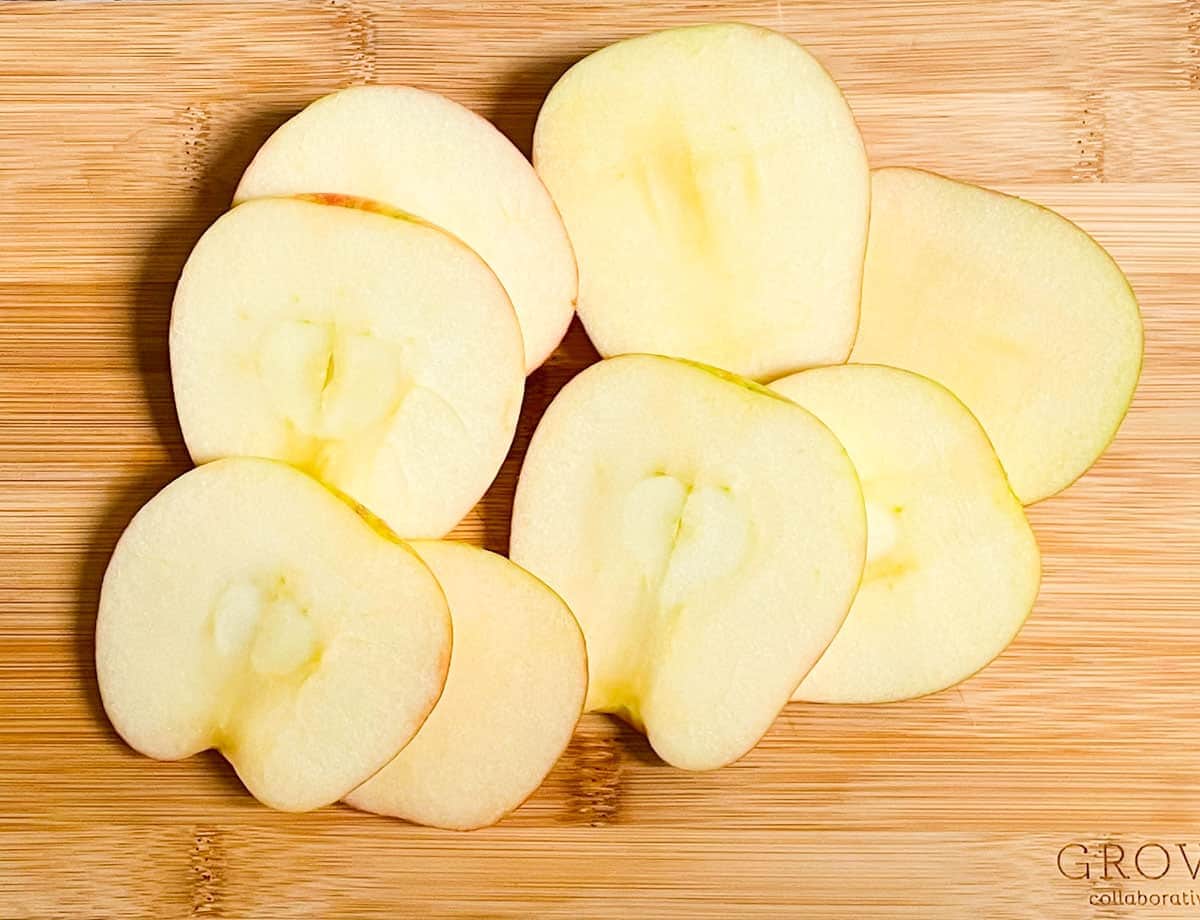
Slice the apples: I cut each apple into thin slices, but make sure they are thick enough to hold onto a popsicle stick.
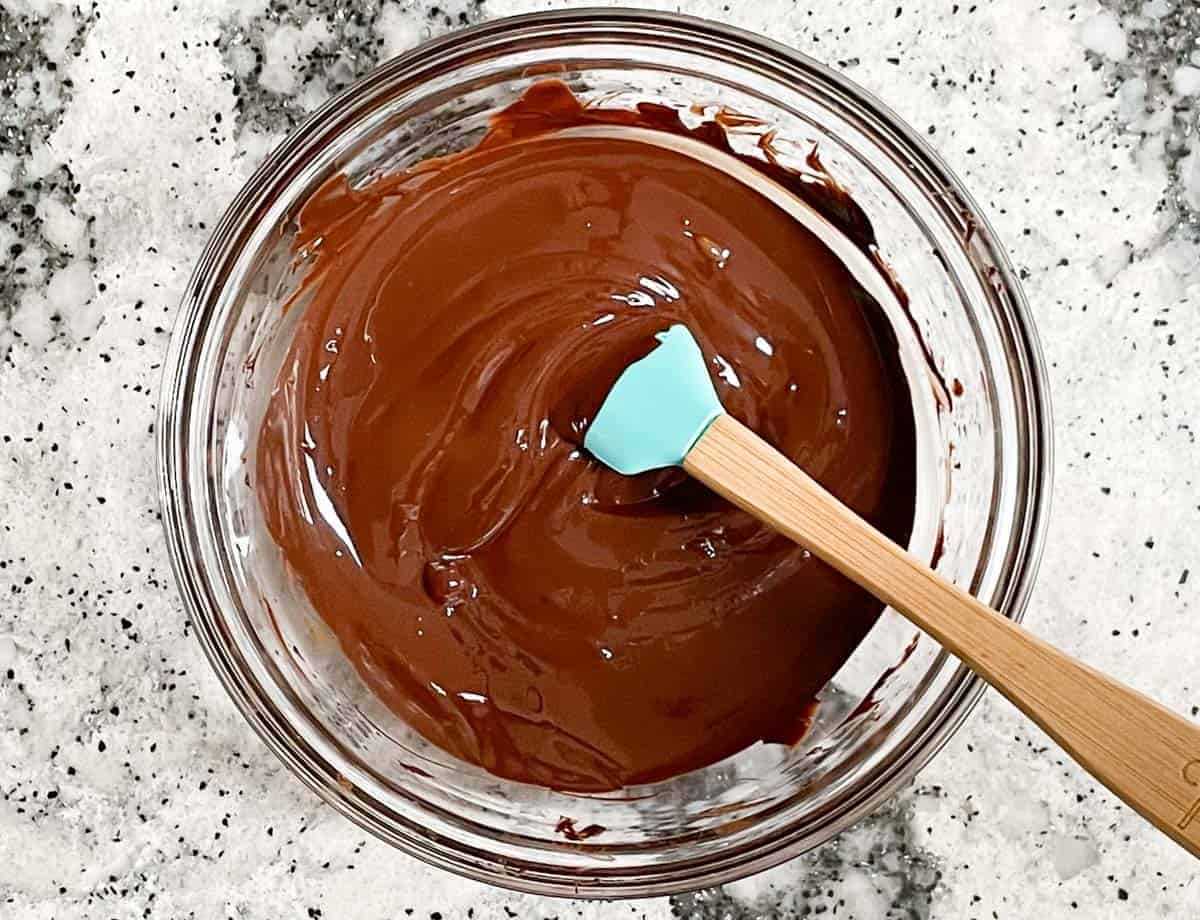
Melt the chocolate: Then I place the chocolate chips in a microwave-safe bowl and heat them in 30-second intervals, stirring after each interval until smooth.
Coat the apples: I dip each apple slice into the melted chocolate, using a spoon to help coat both sides evenly. After that, I gently tap off any excess chocolate and place the slices on a parchment-lined baking sheet.
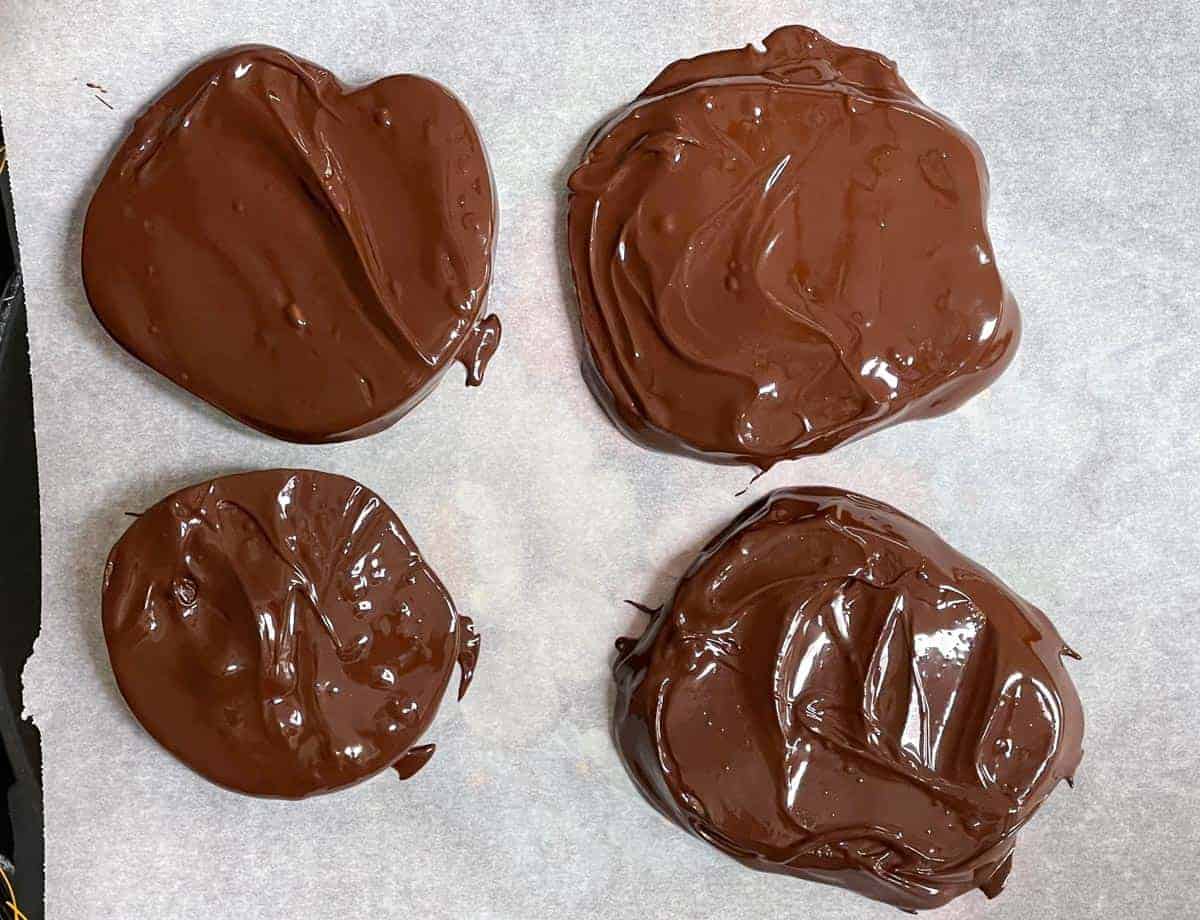
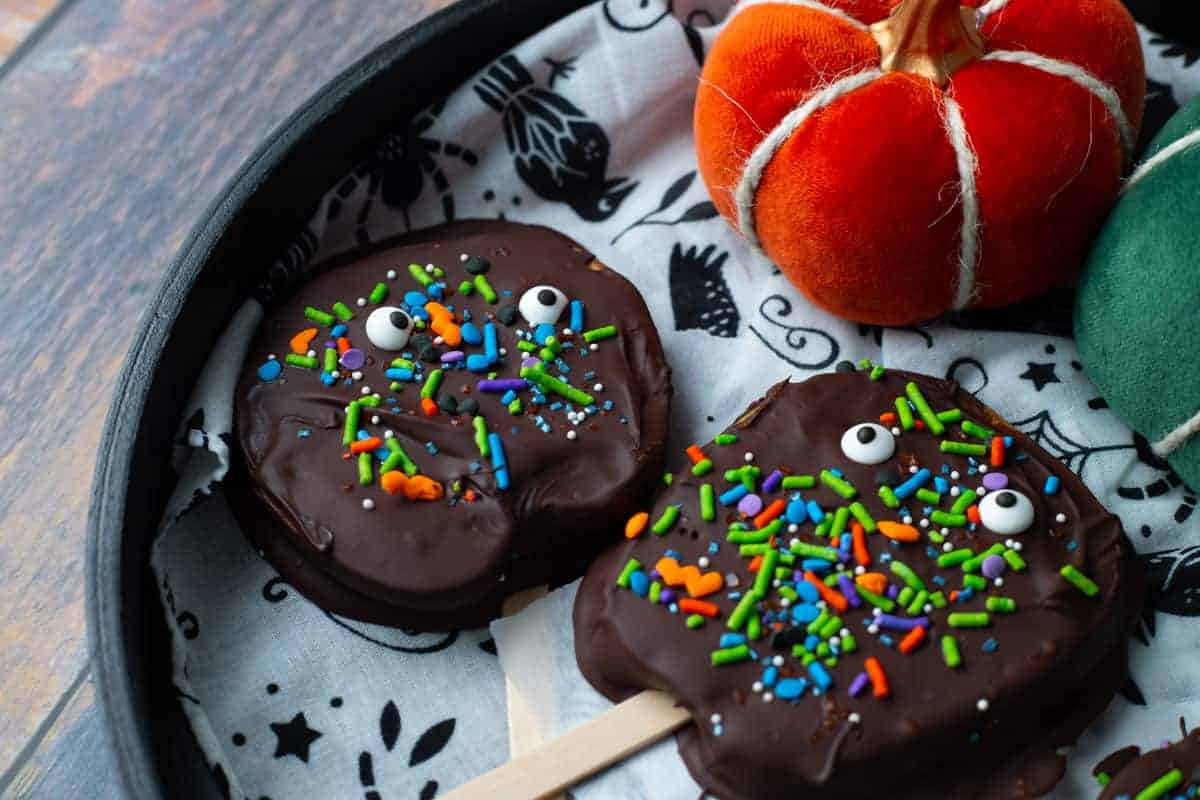
Add decorations: Before the chocolate hardens, I add the candy eyes and Halloween sprinkles to create fun monster faces.
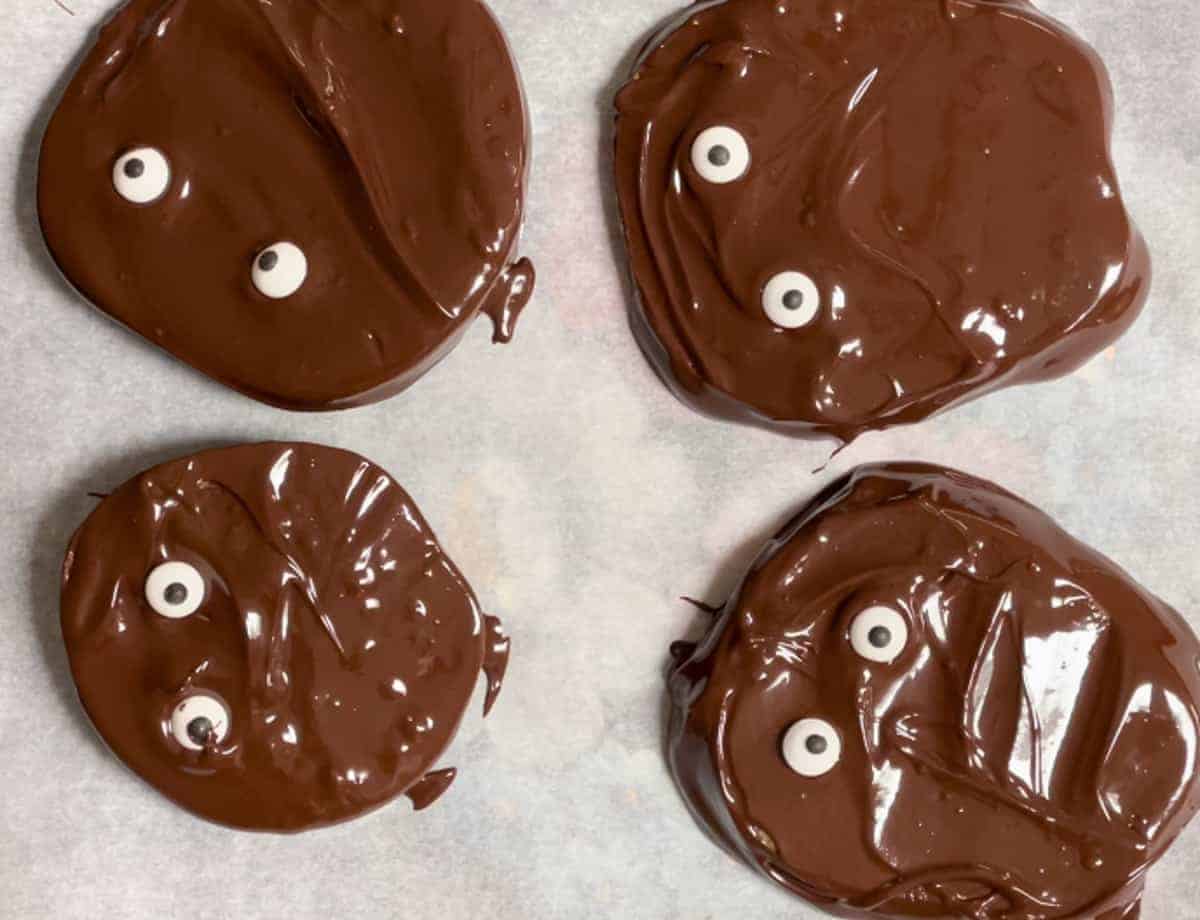
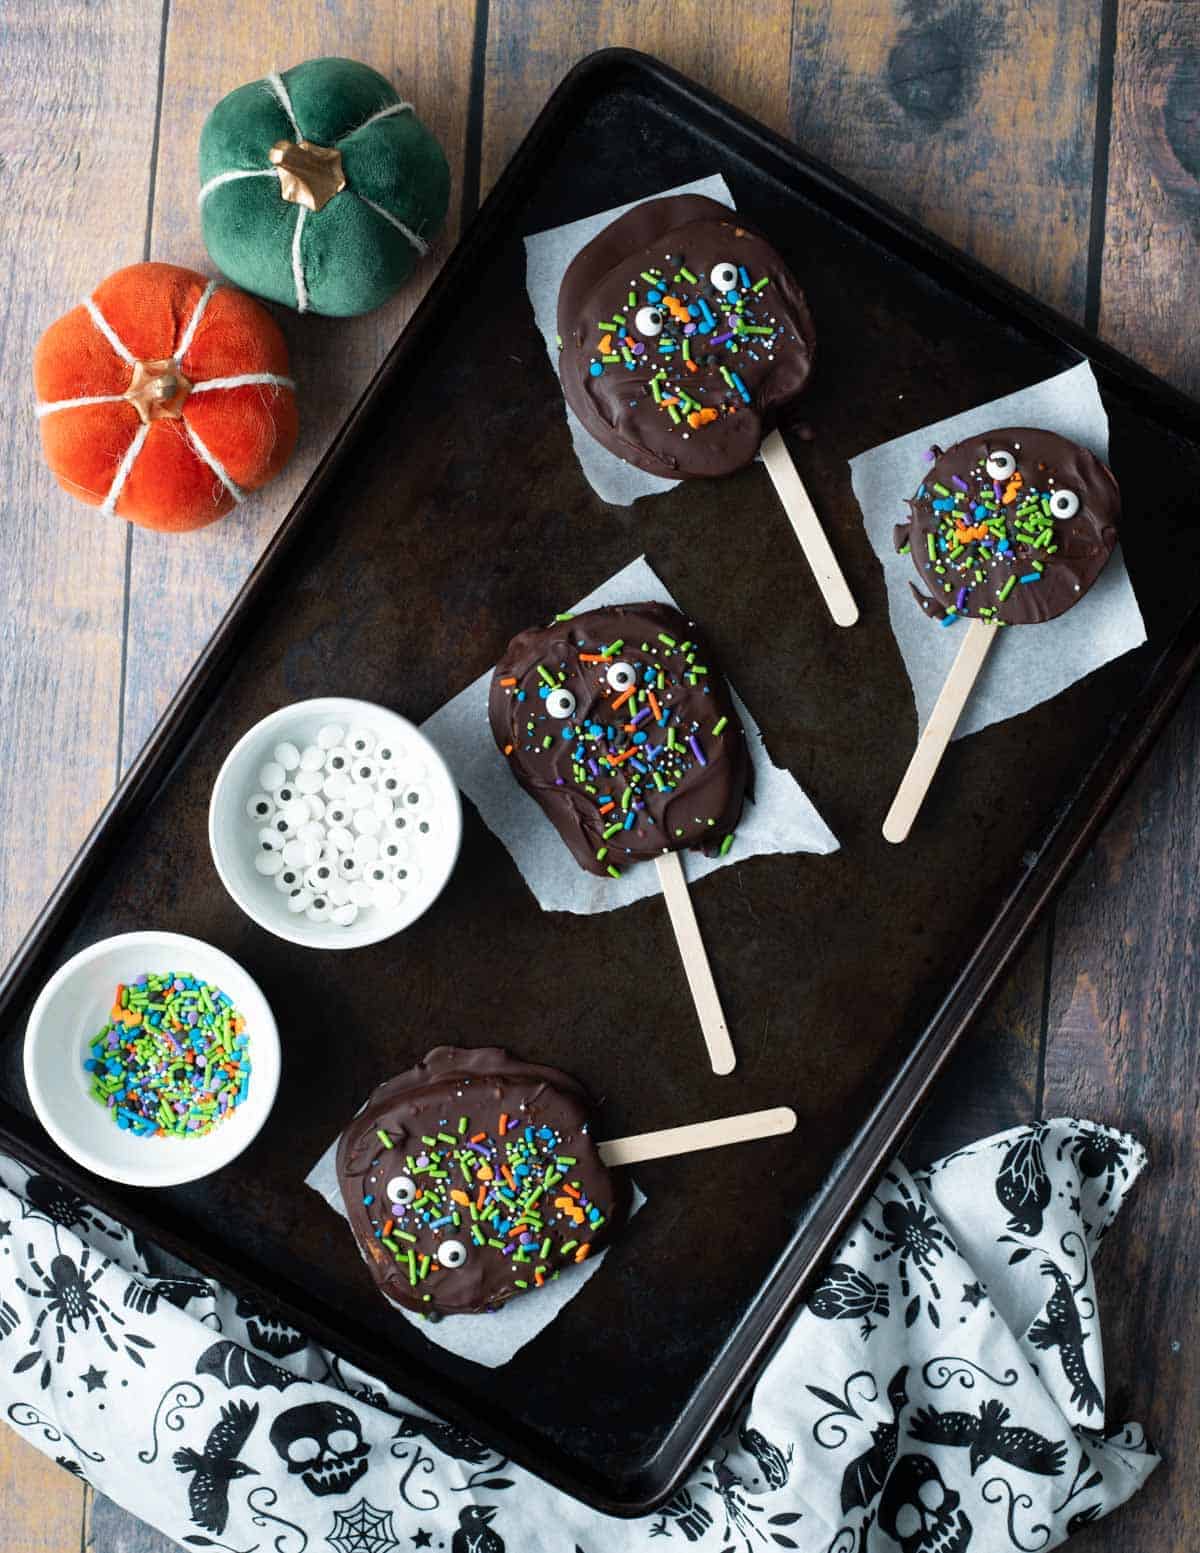
Insert sticks: I place popsicle sticks beneath the apple slices, or carefully insert them into the bottom edge.
Chill and serve: Then I refrigerate the apples for about 10 minutes until the chocolate is firm and ready to enjoy.
💭 Expert Tips
My #1 Secret Tip for this Halloween chocolate apples recipe is to dry the apple slices completely before dipping them into chocolate. Even a small amount of moisture can prevent the chocolate from sticking properly and may cause the coating to slide off once it sets.
Other Tips To Keep In Mind:
- Use cold apples: I chill the apple slices for about 15 minutes before dipping. Cold apples help the chocolate set faster.
- Choose firm fruit: Crisp apples hold up much better than softer varieties and retain a fresher texture for longer.
- Work quickly: I add the decorations immediately after dipping since the chocolate begins setting surprisingly fast.
- Line the pan: Parchment paper prevents the apples from sticking and makes cleanup easier.
- Thin the chocolate: If the chocolate feels too thick, I stir in 1 teaspoon of coconut oil for a smoother coating.
📖 Variations
There are endless ways of turning these chocolate Halloween apples into a variety of spooky characters. These have been some of the biggest hits:
Mummy apples: After I have dipped the apples in the dark chocolate, I drizzle 1/4 cup of melted white chocolate across to look like bandages. Then I add the eyes. Even my grown-up friends love this version when I set it out for Halloween parties.
Ghost treats: Instead of coating the apples in dark chocolate, I use only white chocolate and then add 2 dark chocolate chips for eyes. These look like little ghost faces and are a great option whenever I do not have candy eyes.
Jack-o’-lantern apples: I melt white chocolate and use orange vegan food coloring. After I have dipped the apples in the melted orange chocolate, I use a fine-tipped piping nozzle and black icing to create an iconic Jack-o’-lantern face. You can also use black sprinkles if you prefer. These are really striking on a dessert table.
🍽 Serving Suggestions
Halloween chocolate apples are great for dessert tables, school parties, and family movie nights. If you really want to lean into the theme, I recommend laying them out alongside Halloween monster cookies with glasses of bright red strawberry juice for the kids and enchanting witches brew cocktails for the adults.
For one of our last Halloween parties, I served a mix of items with spooky motifs and traditional fall flavors. There were slices of vegan pumpkin banana bread, Halloween chocolate apples, and some bright blue Cookie Monster cookies. I also made sure there was a tray of Halloween Jack-O-Lantern quesadillas for something a bit more savory and had glasses of boba smoothies in an assortment of colors.
🧊 Storing And ♨️ Reheating
Refrigeration: I store Halloween chocolate apples in an airtight container in the refrigerator for up to 4 days.
Freezing: I do not recommend freezing these apples treats.
❓ FAQS
How do I keep apple slices from turning brown under the chocolate?
The chocolate coating protects most of the apple’s surface from oxidation, but I still work quickly after slicing. If I need extra time, I lightly brush the slices with lemon juice before drying them thoroughly and dipping them in chocolate. I also recommend working in batches instead of slicing a lot of apples and melting a big bowl of chocolate.
Why did my chocolate coating crack after chilling?
Chocolate can crack if the coating is too thick or if the apples are extremely cold when dipped. I aim for a thin, even layer of chocolate and allow the apples to chill gradually in the refrigerator rather than placing them in the freezer.
How do I keep the popsicle sticks from falling off?
The easiest method is to place the stick underneath the dipped apple slice while the chocolate is still wet. As the chocolate hardens, it acts like glue and secures the stick in place. For extra stability, I sometimes cut a small slit into the bottom of the apple before inserting the stick.

Love this plant based holiday recipe? Please leave a 5-star rating 🌟 in the recipe below and/or a review in the comment section further down the page!
You can also FOLLOW ME on FACEBOOK, INSTAGRAM, and PINTEREST to see more delicious, healthy, family-friendly food, and if you have any questions, I’m here to help!
🎥 Video
🎥 Watch How to Make It
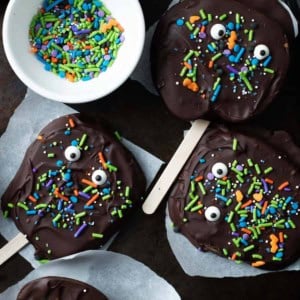
Halloween Chocolate Apples
If you want an easy and festive treat for your next Halloween party, look no further. Crisp apples, rich dark chocolate, and colorful Halloween sprinkles make these Halloween chocolate apples a fan favorite every year. I prepare them in just 20 minutes and turn simple ingredients into a showstopping dessert that is much healthier than most commercial candies.
Servings: 8
Calories: 234kcal
Ingredients
- 2 large apples
- 10 ounces semi-sweet chocolate chips
- 16 candy eyes
- Sprinkles
Equipment
- Baking Sheet
Instructions
- Slice your large apples into thin slices. To avoid the core, I make two slices on each side of the apples.
- Melt your chocolate chips in a glass bowl in the microwave in 30-second increments, stirring with a spatula between each increment until the chocolate is melted and smooth.
- Add your apple slices one at a time to the bowl of melted chocolate. Using a spoon or spatula coat the apple slice with chocolate.
- Using your fingers or tongs, place the apple slices on a baking sheet lined with parchment paper. Immediately add the candy eyes, and sprinkles before the chocolate has a chance to set.
- Place a popsicle stick under the chocolate apple slice so that the melted chocolate covers the stick. Alternatively, you can cut a small hole in the bottom of the apple slice to make room for the popsicle stick to glide it into place.
- Transfer the chocolate apple slices to the refrigerator for 10 minutes to set. Serve and enjoy!
Notes
- My #1 Secret Tip for this Halloween chocolate apples recipe is to dry the apple slices completely before dipping them into chocolate. Even a small amount of moisture can prevent the chocolate from sticking properly and may cause the coating to slide off once it sets.
- Use cold apples: I chill the apple slices for about 15 minutes before dipping. Cold apples help the chocolate set faster.
- Choose firm fruit: Crisp apples hold up much better than softer varieties and retain a fresher texture for longer.
- Work quickly: I add the decorations immediately after dipping since the chocolate begins setting surprisingly fast.
- Line the pan: Parchment paper prevents the apples from sticking and makes cleanup easier.
- Thin the chocolate: If the chocolate feels too thick, I stir in 1 teaspoon of coconut oil for a smoother coating.
Nutrition
Calories: 234kcal | Carbohydrates: 26g | Protein: 2g | Fat: 14g | Saturated Fat: 8g | Polyunsaturated Fat: 0.5g | Monounsaturated Fat: 4g | Trans Fat: 0.03g | Cholesterol: 2mg | Sodium: 4mg | Potassium: 261mg | Fiber: 4g | Sugar: 19g | Vitamin A: 48IU | Vitamin C: 3mg | Calcium: 25mg | Iron: 2mg




















Those are so cute. What a fun idea for a healthier Halloween treat.
These are adorable! Can’t wait to try them out, I’m sure my kiddo and his friends are going to LOVE them. Fun idea!
I made these apple slices with the kids this weekend, but we used St. Patrick’s Day sprinkles instead! So delicious!
these are so stinking cute & easy! I like how you cut the apples, the shape is fun for these