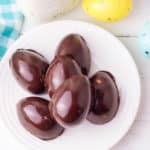
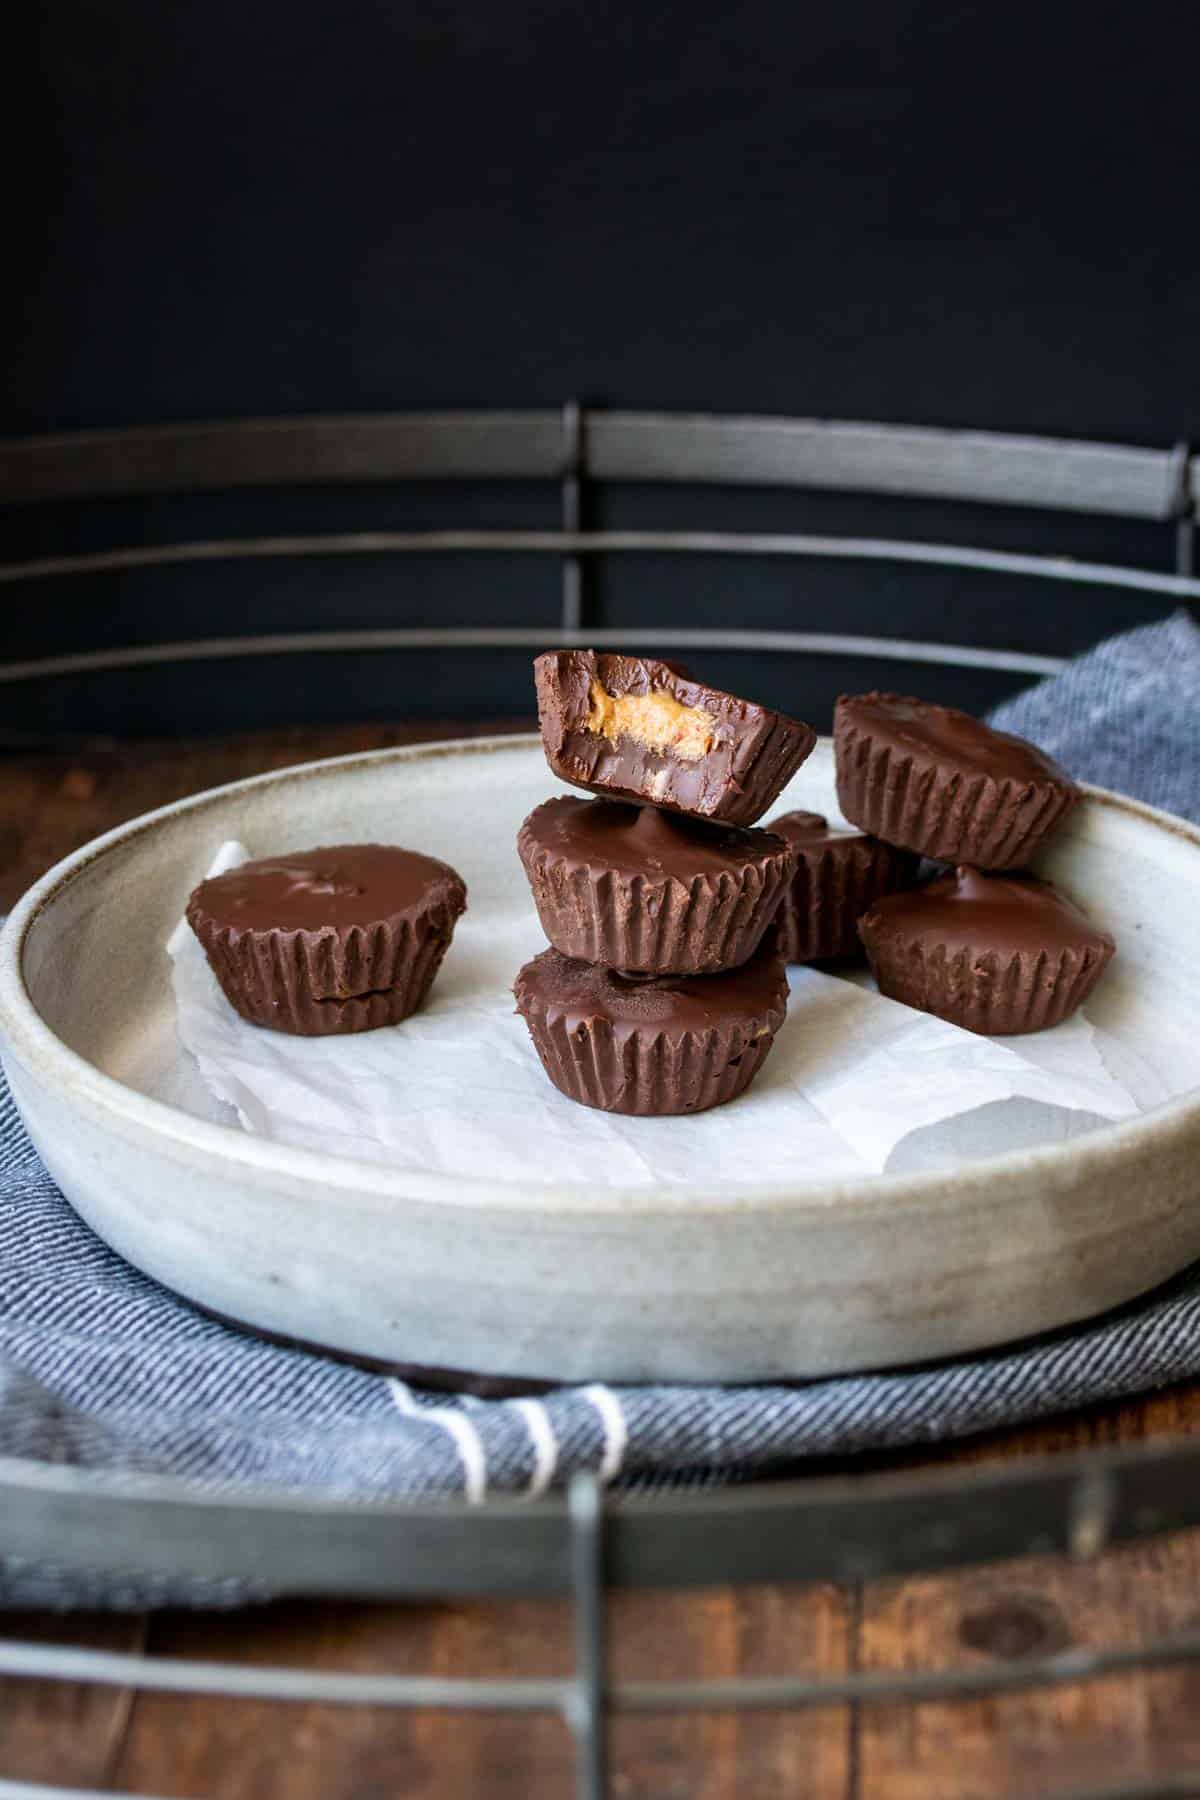
Vegan Peanut Butter Cups
This post may contain affiliate links. As an Amazon Associate, I earn from qualifying purchases. Please read my disclosure.My kids love chocolate treats, so when I made these healthy Vegan Peanut Butter Cups using peanut butter, coconut butter, and chocolate chips, I knew they would be an instant favorite. They come together in just 25 minutes and have officially become our go-to treat when someone’s sweet tooth kicks in.
I created these irresistible peanut butter cups during a family movie night when my husband had a craving for Reese’s chocolate candy. After nailing my latest vegan butter cup milkshake, I decided to combine similar ingredients to make a vegan version.
He swears they’re better than Reese’s, and honestly, I’m not arguing. It only took five simple ingredients and about 25 minutes, just enough time to sneak into the kitchen during his movie’s bathroom break. Now I’m making these as often as his other favorite, these no-bake peanut butter bliss balls we always have on hand!
👩🏽🍳 Why I Love This Recipe
I’ll be the first to admit it, I’ve got a sweet tooth. No surprise there, right? But that doesn’t mean I’m reaching for sugar-loaded treats all the time. I just find better-for-you ways to satisfy those cravings. As a health coach, I’ve learned how to create low-calorie treats with plant-based ingredients that don’t require additional sugar, just like these irresistible healthy peanut butter cups made with natural peanut butter, vegan chocolate chips, coconut butter, coconut sugar, and vanilla. No added sugars or preservatives, just wholesome ingredients that are good for your body and health.
Making them is such a breeze! All I need is a microwave, a mixing bowl, a freezer, and my little helpers. One melts the chocolate, the other mixes the creamy butter filling, and the other pours the mixtures into our small muffin tin to create the perfect peanut butter cup size. Between mixing, tasting, and pouring, it can get messy, but I wouldn’t have it any other way. The hardest part is waiting for them to come out of the freezer!
My vegan peanut butter cups are so irresistible you’d struggle to save them for later. Trust me, we’ve tried and failed several times. That’s why I make a double batch! They are hands down better than any store-bought versions and way more healthier. I’ve gift-wrapped these delicious treats for neighbors and brought them to fundraisers, and everyone thinks they’re the real Reese’s stuff. Ha!
🥘 Ingredients
Just a handful of simple whole food items is all it takes to whip up these tasty little treats! Here’s what I grab every time I make them:

Chocolate chips: I use whatever dairy-free chocolate chips I have on hand. They melt down smooth and make the perfect rich base and topping for the cups.
Coconut butter or oil: I like adding a little coconut butter or oil to help the chocolate pour more easily. It also gives the chocolate a nice glossy finish.
Peanut butter: I always go for smooth peanut butter since it mixes best, but chunky works if you like some crunch. If it’s unsalted, I’ll usually add a pinch of salt to balance the sweetness.
Coconut sugar: This is my go-to sweetener because it adds a caramel-like flavor. I taste as I go and adjust depending on how sweet we want it.
Vanilla extract: Just a splash of vanilla makes the peanut butter layer taste like a real treat.
🔪 How To Make
It might take a little more effort than tearing open a bag of candy, but honestly, it’s totally worth it. Here’s how I make them step by step:
Start the base: I pour half of the melted chocolate and coconut butter into a lined mini muffin tin. Then, I pop the tray into the freezer for about 5 minutes so the bottom layer can set.
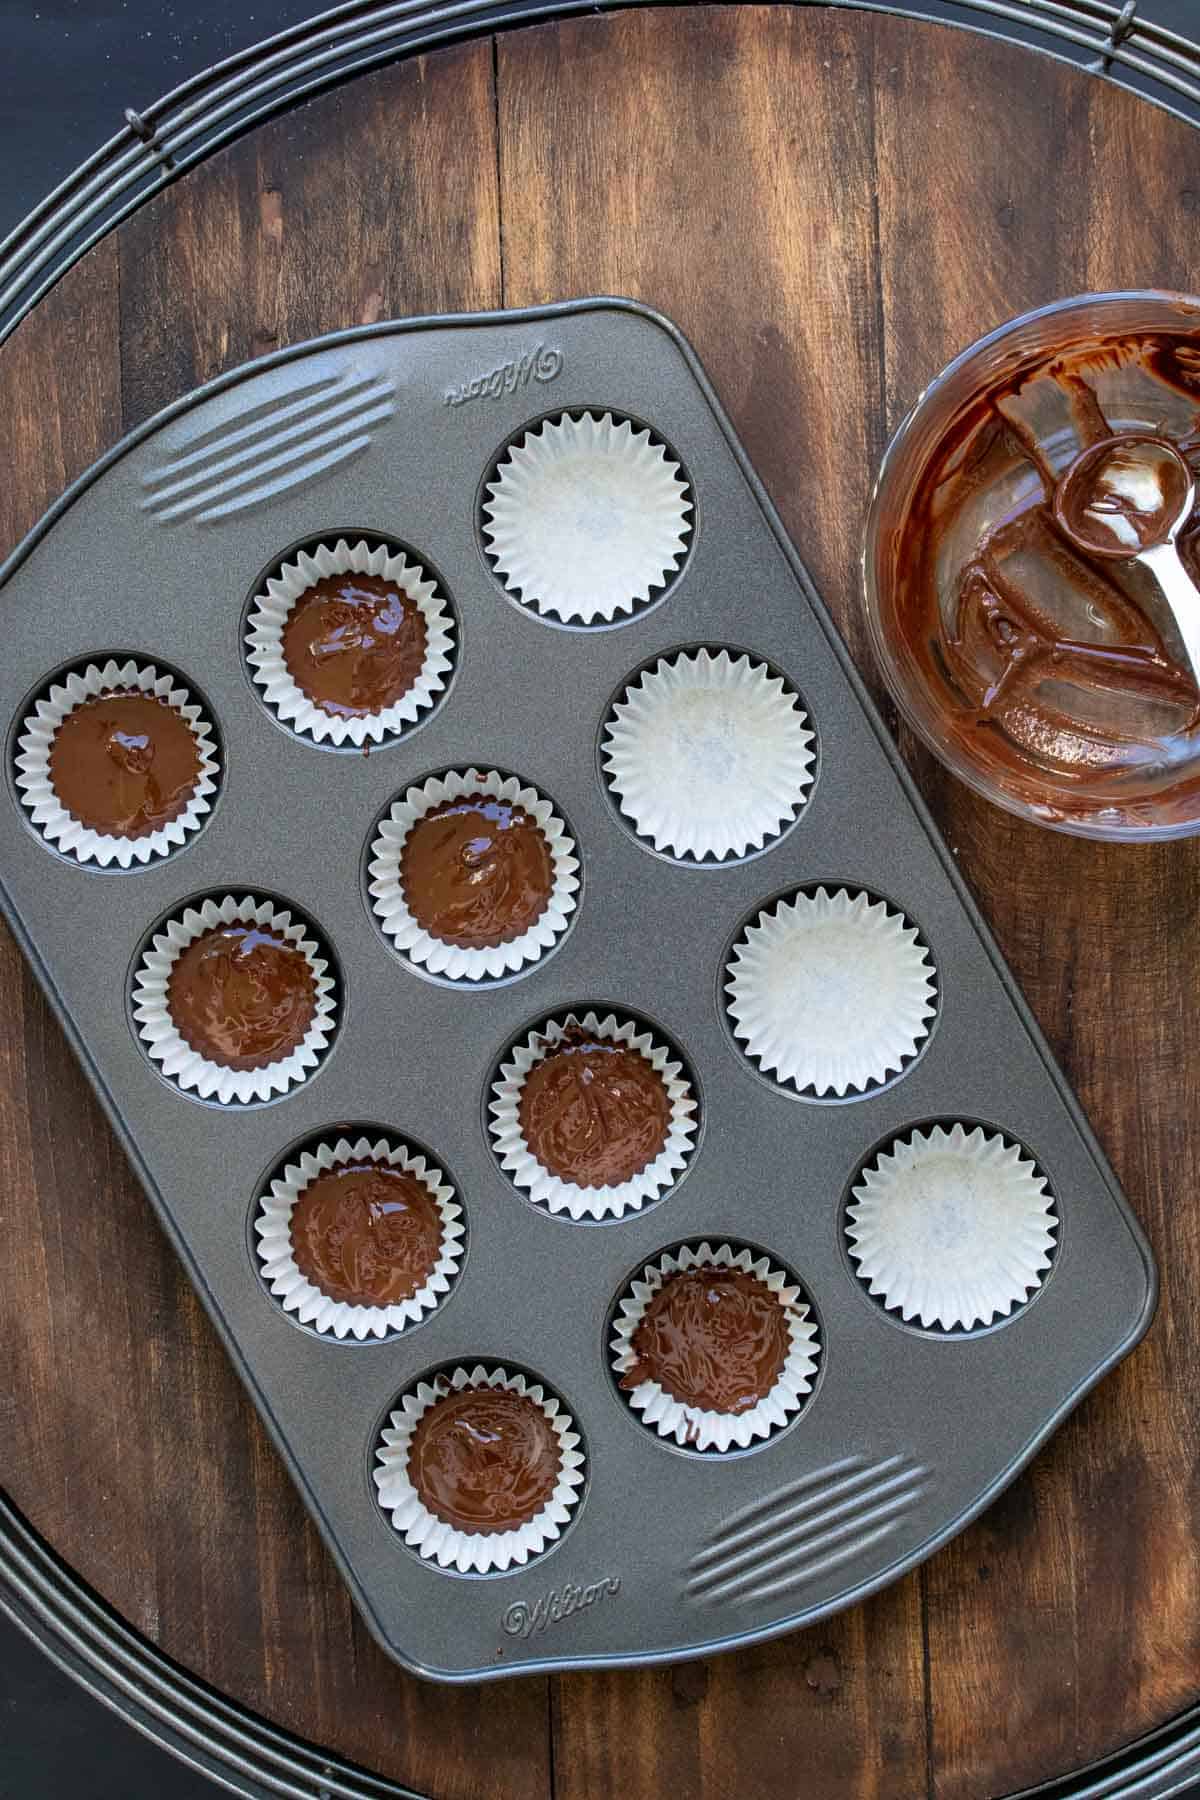
Make the filling: I add the peanut butter, coconut sugar, vanilla, and a pinch of salt to a bowl. Then, I mix it all together until it’s smooth and well combined.

Add the filling: I take about a teaspoon of the peanut butter mixture and place it right on top of the chilled chocolate layer. I press it down gently so it sits flat but doesn’t spread too far to the edges.

Top it off: I melt the rest of the chocolate and coconut butter, then pour a spoonful over each peanut butter layer. After that, I pop the tray back in the freezer for another 5 minutes to let everything set.

Finish and serve: I take the tray out of the freezer and gently peel off the liners. Then they’re ready to enjoy or store in the fridge for later.

💭 Expert Tips
My #1 Secret Tip for making my vegan peanut butter cups is to give the muffin tin a little tap on the counter after pouring the chocolate. It helps smooth out the tops and gets rid of those little air pockets that sometimes sneak in. I started doing this after one batch came out with bumpy tops and now it’s just part of my routine.
Other Tips To Keep In Mind:
- Use room temperature peanut butter: I’ve found it’s much easier to mix and spread when the peanut butter isn’t cold. If it’s been in the fridge, I let it sit out for a bit so it softens up.
- Taste the filling before assembling: Once I mix the peanut butter, sugar, and vanilla, I always give it a quick taste. That way I can adjust the sweetness or add a tiny pinch more salt if needed.
- Use a small spoon or cookie scoop: A small spoon or mini cookie scoop makes it easier to portion the chocolate and peanut butter layers evenly. It helps keep everything neat and the cups more uniform.
- Keep them cold until ready to serve: These cups stay firm and taste best when stored in the fridge. If I leave them out too long, they start to soften, especially in warmer months.
📖 Variations
These vegan peanut butter cups are one of my favorite treats to keep in the fridge, and I love how easy it is to change them up. For a variation, I suggest the following favorites:
Crunchy peanut butter: If you want a little texture, try using crunchy peanut butter instead of smooth. The little peanut pieces make it extra fun for the kids.
Add a sprinkle of sea salt on top: Right after pouring the final layer of chocolate, I sometimes add a pinch of flaky sea salt. It gives that sweet and salty combo that everyone in my house loves.
Use dark chocolate: If I want them a little less sweet, I go for a good-quality dark chocolate. It balances so nicely with the creamy filling and tastes a bit more grown-up.
🍽 Serving Suggestions
Although my family can finish off a batch of these in one sitting, I think they’re even better when served alongside a few other healthy treats we love:
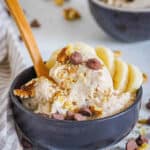
When I have guests over for brunch, I like to make a healthy platter of treats with these chocolate peanut butter cups and healthy no-bake date bars to satisfy everyone’s sweet tooth. During hot summer days, my boys chop them up and fold pieces into their chocolate banana ice cream for an extra indulgent treat.
After dinner, I pair them with ginger snap cookies for our treat night and movie. And when we go for picnics, I love to make these chewy mochi cookies and fill them with a creamy sweet filling or chocolate. The pairing combinations are endless with these peanut butter cups!
🧊 Storage Directions
Refrigeration: I store the peanut butter cups in an airtight container in the fridge. They stay fresh for up to a week.
Freezing: These freeze really well. I lay them flat in a container with parchment between layers and keep them frozen for up to two months.
Reheating: I don’t reheat these since they’re meant to be enjoyed cold. If they’ve been in the freezer, I just let them sit out for a few minutes to soften before serving.
❓Recipe FAQs
What if I don’t have muffin liners?
That’s no problem. I’ve made these using a silicone muffin pan, and they pop right out without sticking. If you’re using a regular muffin tin, just grease it lightly with a little oil or spray to keep things from sticking. The liners just make cleanup easier, which I love, especially when I’ve got other things going on in the kitchen.
Can I make these without added sugar?
Yes, I’ve skipped the coconut sugar before and they were still really good. If your peanut butter and chocolate chips already have some sweetness, you might not even miss it. It’s a good way to make them a little lighter for everyday snacking. I just taste the peanut butter filling and adjust from there.
Can the kids help make these?
Oh yes, this is one of my favorite recipes to make with my boys. They love scooping the peanut butter filling and helping pour the chocolate. I handle the melting part on the stove or microwave, but they do the rest and have a blast. Plus, they’re so proud when they get to say they made dessert!


Love this plant based dessert recipe? Please leave a 5-star rating 🌟 in the recipe below and/or a review in the comment section further down the page!
You can also FOLLOW ME on FACEBOOK, INSTAGRAM, and PINTEREST to see more delicious, healthy, family-friendly food, and if you have any questions, I’m here to help!
📋 Recipe Card

Vegan Peanut Butter Cups
My kids love chocolate treats, so when I made these healthy Vegan Peanut Butter Cups using peanut butter, coconut butter, and chocolate chips, I knew they would be an instant favorite. They come together in just 25 minutes and have officially become our go-to treat when someone’s sweet tooth kicks in.
Servings: 16
Calories: 203kcal
Ingredients
- 2 cups chocolate chips
- 2 tablespoons coconut butter , or 1 T coconut oil (see note)
- ¼ cup smooth peanut butter
- 3-4 tablespoons coconut sugar , or sub with any other sugar you prefer (see note)
- ½ teaspoon vanilla extract
- Pinch of salt , optional and only needed if peanut butter is not salted
- 16 mini muffin liners
Instructions
- Melt half of the chocolate chips and coconut butter/oil in a bowl in the microwave or using a double boiler on the stove. I used the microwave and it took about a minute. Be careful not to overheat and burn the chocolate. The chips may not look melted but as you mix them they do melt more.
- Line a small muffin tin (or use regular sized if preferred) with the muffin liners. Pour the chocolate into the bottom, I used about 1 ½ -2 teaspoons in each.
- Put it in the freezer to set for about 5 minutes.
- Meanwhile, mix the peanut butter, sugar, vanilla and optional salt in a bowl until combined.
- When the chocolate is set, put about 1 teaspoon of the peanut butter mixture in each muffin liner on top of the chocolate. You can put the mixture in the fridge to harden a bit if you want so you can form balls to avoid peanut butter showing on the edges when finished. It’s not needed for flavor, just presentation.
- Melt the rest of the chocolate and coconut butter/oil.
- Pour it over the peanut butter, it was about 1 1/2 – 2 teaspoons over each again.
- Put it in the freezer to set for about 5 minutes.
- Remove from freezer, remove liners and enjoy! Keep them in the fridge to stay hard. The longer they stay out the softer they will get.
Notes
- My #1 Secret Tip for making my vegan peanut butter cups is to give the muffin tin a little tap on the counter after pouring the chocolate. It helps smooth out the tops and gets rid of those little air pockets that sometimes sneak in. I started doing this after one batch came out with bumpy tops and now it’s just part of my routine.
- Use room temperature peanut butter: I’ve found it’s much easier to mix and spread when the peanut butter isn’t cold. If it’s been in the fridge, I let it sit out for a bit so it softens up.
- Taste the filling before assembling: Once I mix the peanut butter, sugar, and vanilla, I always give it a quick taste. That way I can adjust the sweetness or add a tiny pinch more salt if needed.
- Use a small spoon or cookie scoop: A small spoon or mini cookie scoop makes it easier to portion the chocolate and peanut butter layers evenly. It helps keep everything neat and the cups more uniform.
- Keep them cold until ready to serve: These cups stay firm and taste best when stored in the fridge. If I leave them out too long, they start to soften, especially in warmer months.
Nutrition
Calories: 203kcal | Carbohydrates: 21g | Protein: 3g | Fat: 13g | Saturated Fat: 1g | Sodium: 24mg | Potassium: 26mg | Fiber: 3g | Sugar: 16g | Calcium: 2mg | Iron: 1mg