




Vegan Chocolate Lava Cake
This post may contain affiliate links. As an Amazon Associate, I earn from qualifying purchases. Please read my disclosure.Whenever I am craving something quick, warm, and chocolatey, I make this vegan chocolate lava cake. Cocoa powder, almond butter, and melted chocolate chips give these cakes a soft molten center with slightly firmer crispy edges. The best part is that they bake in just 20 minutes, which is why I make them so frequently.
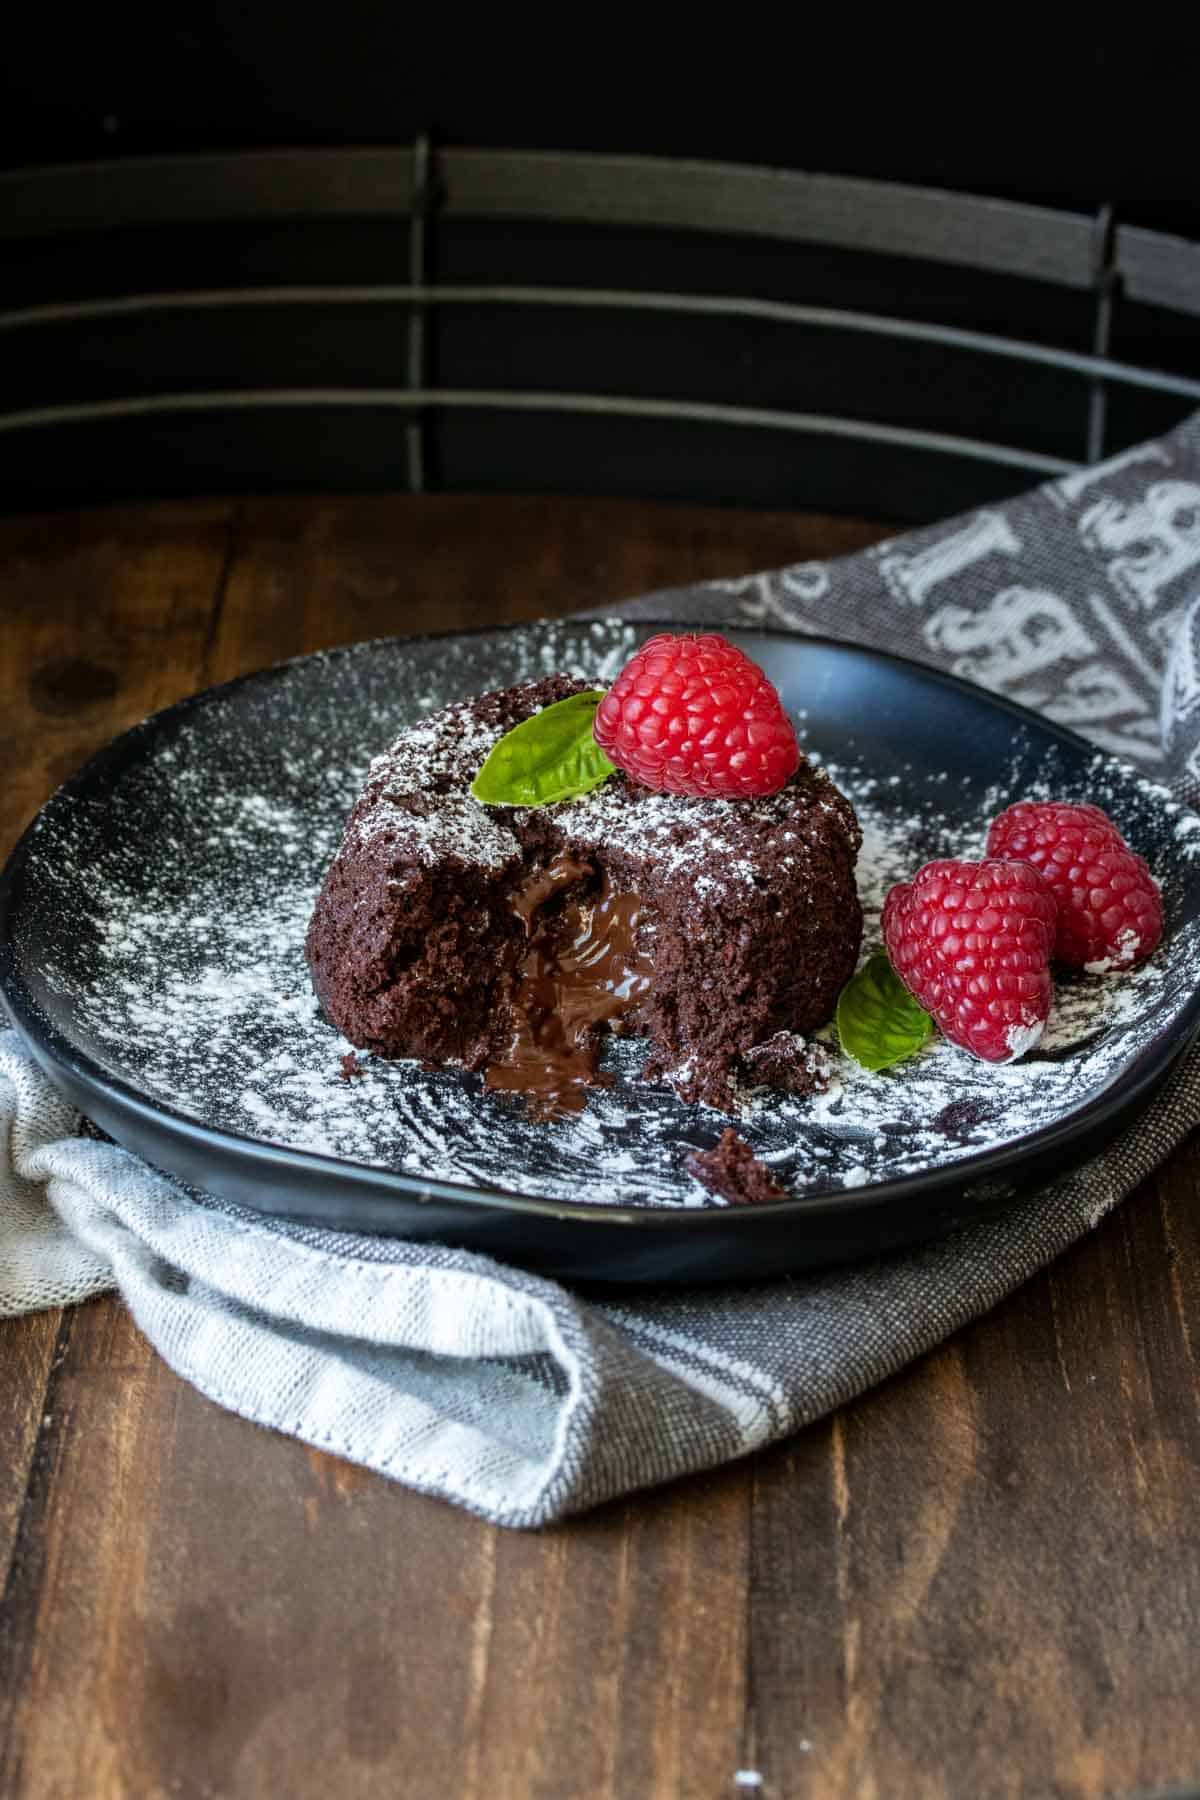
For a long time, I believed that chocolate lava cake was one of those desserts that could only be properly executed at a restaurant. And when I made this vegan lava cake at home with the perfectly molten middle, I realized it is actually one of the easiest desserts I have made. If you enjoy plant-based, rich chocolate treats, then you should try my equally moist vegan chocolate zucchini cake next.
I started making this vegan chocolate lava cake when I wanted a dessert that suited our lifestyle and required a bit more effort than my vegan chocolate mug cake. The first time I tested this recipe, my eldest son stood in the kitchen, breathing in the decadent aromas, as he inched closer and closer to the oven. Eventually, he was right up against the glass, watching and waiting. He told me he wanted his cake as gooey as possible when he ate it. And despite my warnings, he burnt his mouth on the first bite. But he said it was totally worth it.
👩🏽🍳 Why I Love This Recipe
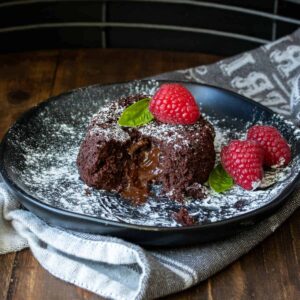
One thing I love about this vegan chocolate lava cake recipe is how well the texture bakes up despite not using traditional baking ingredients. There is something of an art involved in achieving that trademark lava center, and this can be even more of a challenge when the ingredients are entirely plant-based. I depend on cocoa powder alone for keeping the cake structured, while the almond butter adds enough richness to keep the centers soft and smooth.
The key to getting this recipe to work as well as it does comes down to adjusting the moisture so that the outsides bake faster than the inside. When it comes to the batter, I use a straightforward mixing technique and make sure the batter stays loose and glossy. I start by mixing the dry ingredients separately, before stirring in the wet ingredients.
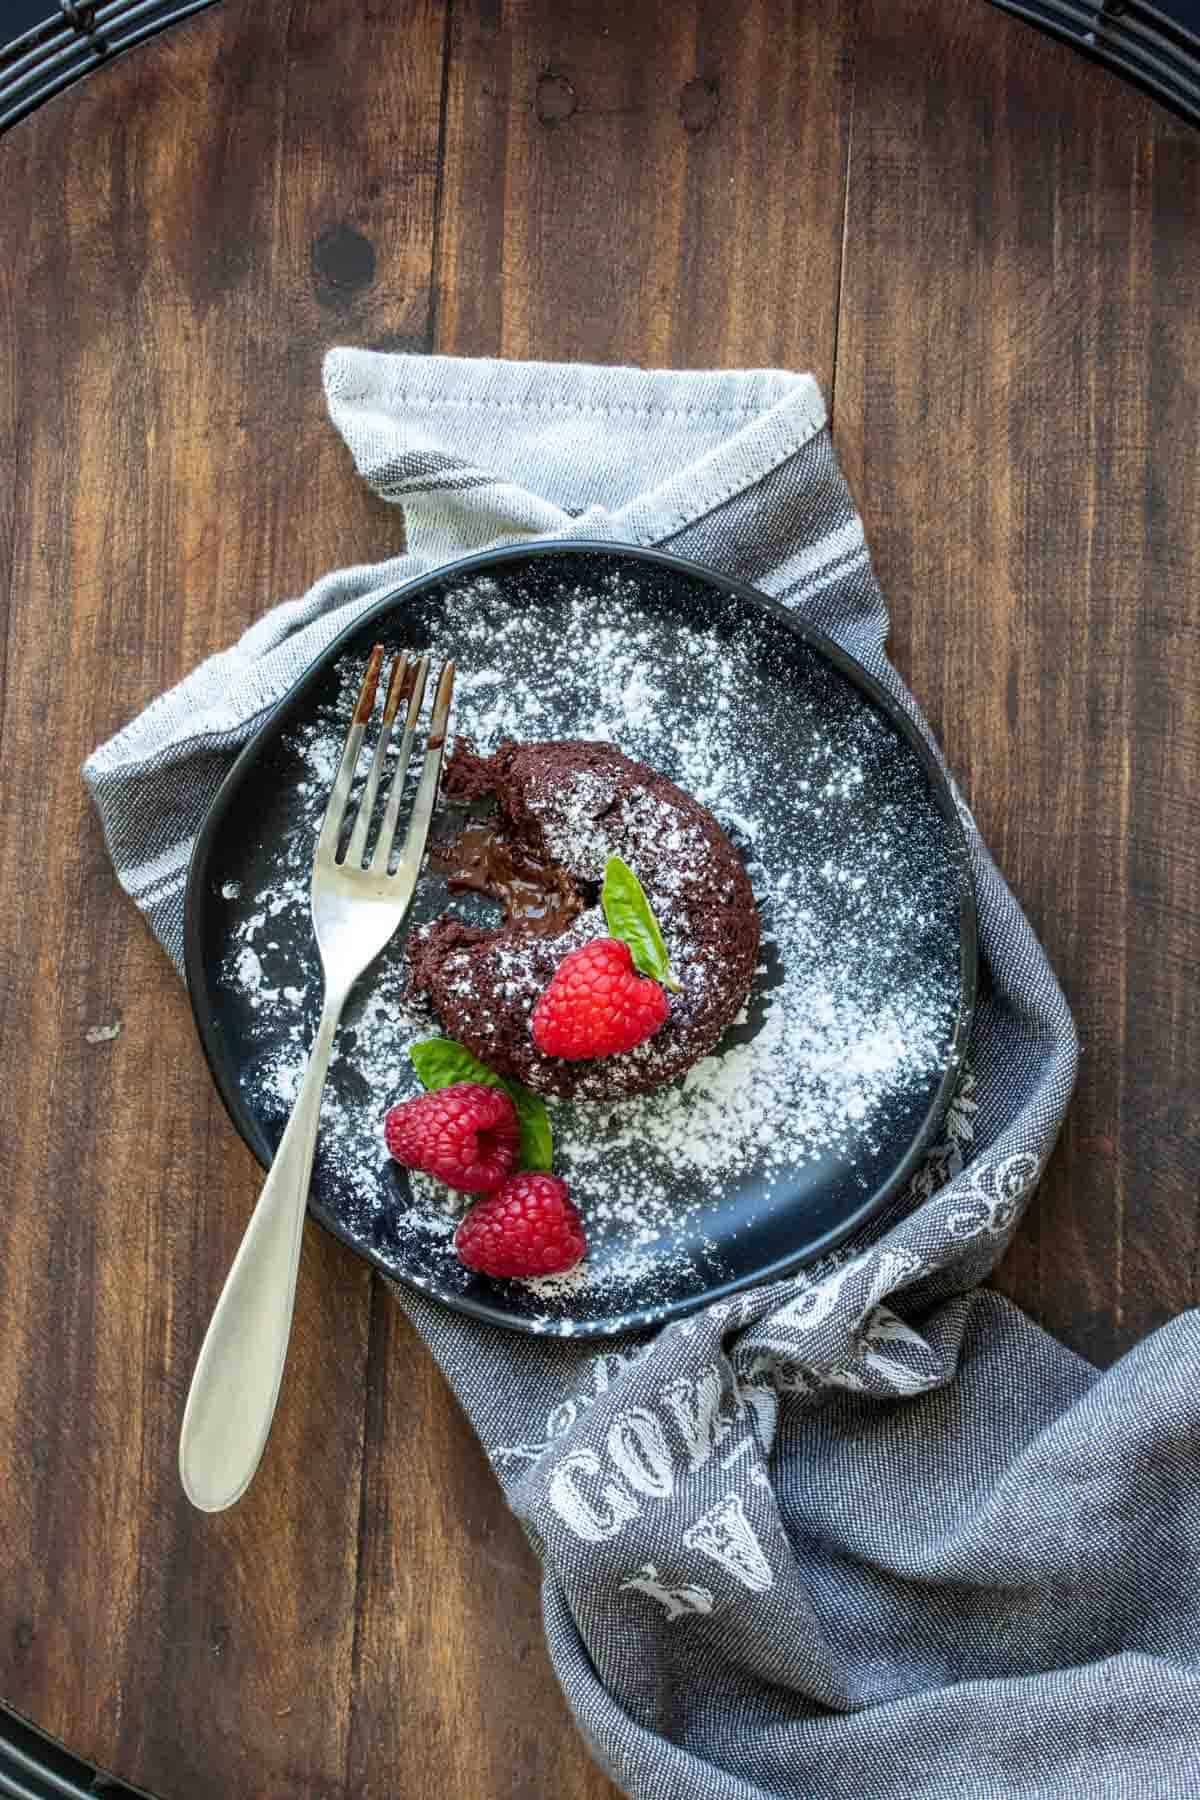
After I pour the batter into the prepared ramekins, I add extra chocolate chips to the center for more moisture and a more pronounced molten texture. I never skip this step as it is the entire point of this cake. And finally, I bake these cakes until they look slightly underdone, rest very briefly, and serve immediately to keep the interior like lava.
During the colder months, I like making desserts most nights of the week. Of course, I could not get away with just scooping some ice cream into bowls and calling it a day. Winter desserts need to be warm, comforting, and, according to my boys, they should always contain chocolate. No arguments here. After a week of different desserts, my boys could not agree on one dessert.
One wanted cake, another wanted chocolate pudding, and the other wanted everyone to make up their minds. This vegan chocolate lava cake was the only logical choice. And if, like my boys, you cannot make up your mind when it comes to dessert, make this lava cake and get the best of both worlds.
🥘 Ingredients
I use simple pantry staples that work together to keep these vegan chocolate lava cakes soft without needing eggs or flour. Here is everything I use:
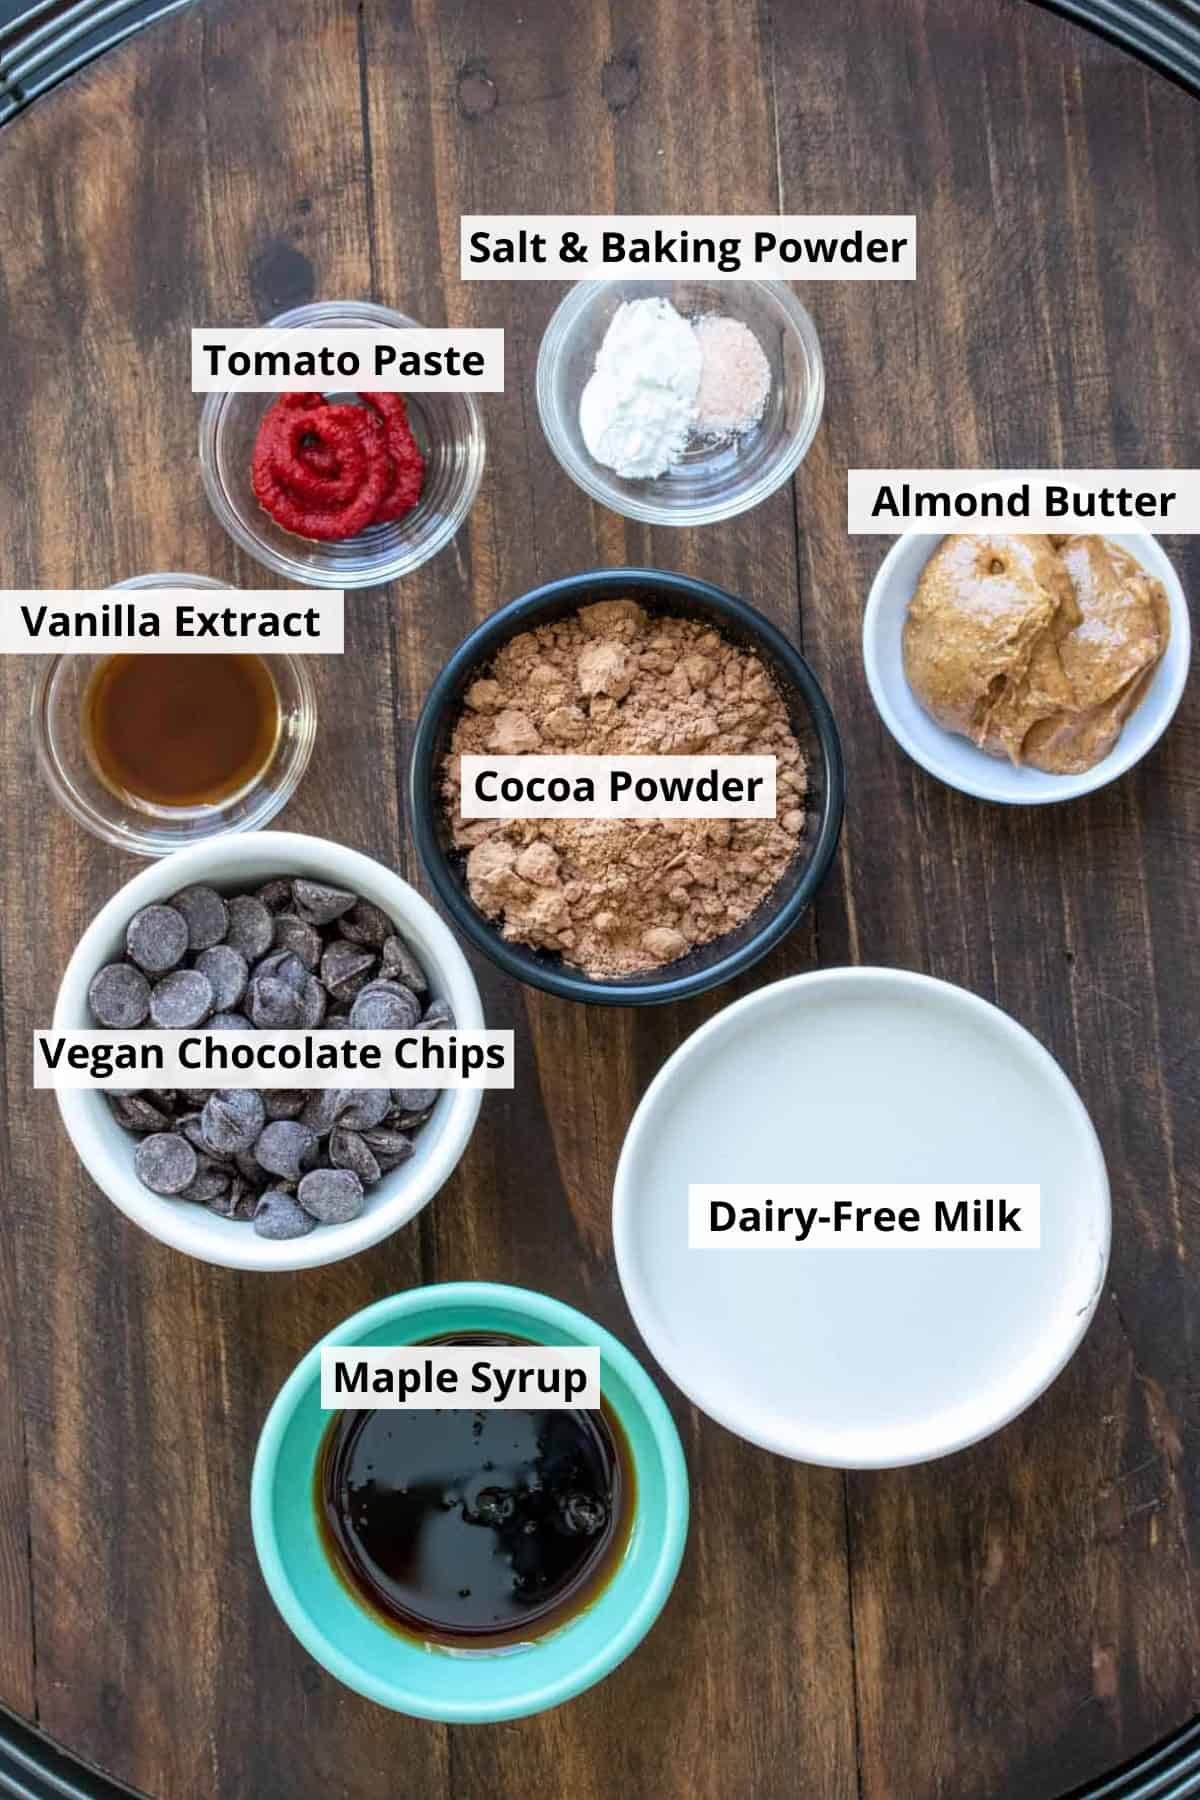
Cocoa powder: This forms the base of the cake and gives it enough structure to bake into soft edges while keeping the middle tender.
Dairy-free chocolate chips: These melt into the batter and help create the molten center. I like using semi-sweet chocolate chips to balance the maple syrup.
Maple Syrup: I use this to sweeten the cakes and keep the batter moist.
Almond butter: Almond butter gives my cakes a richness and texture which egg would normally provide. It also adds a lovely nutty flavor.
Tomato paste: I add this to enhance the chocolate flavor. It may sound strange, but it works surprisingly well.
Dairy-free milk: I usually use cashew milk or oat milk, as it blends smoothly into the batter without thinning it out.
Vanilla extract: Vanilla softens the bitterness from the cocoa powder and brings out the chocolate notes.
Sea salt: A small amount of salt sharpens the sweetness and keeps the flavors balanced.
Baking powder: I use this to give the cakes a slight lift.
🔪 How To Make
Making these vegan chocolate lava cakes usually requires just one bowl. The batter comes together quickly, and cleanup is manageable. This is how I make them:
Preheat and prep ramekins: I start by preheating the oven to 425F and lightly greasing each ramekin with oil, then dusting them with cocoa powder.
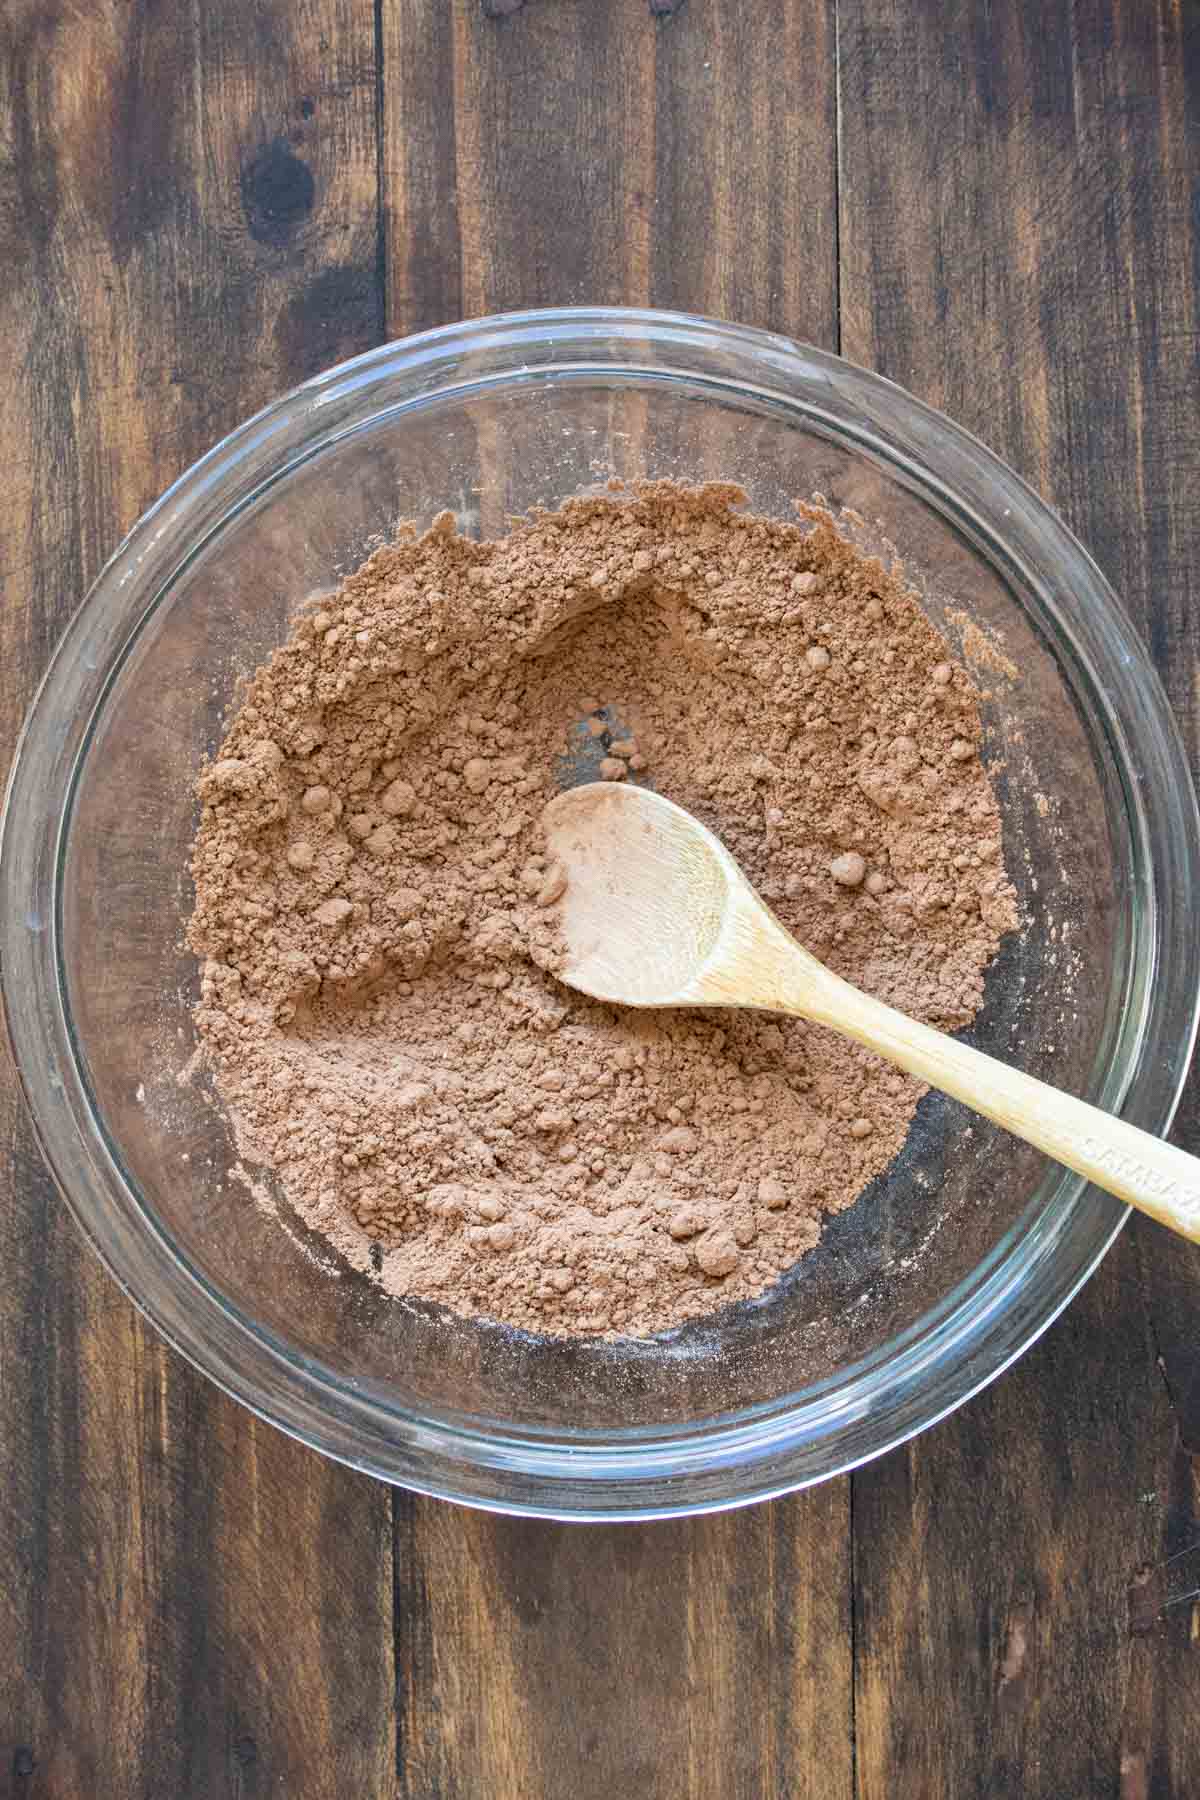
Mix dry ingredients: In a mixing bowl, I whisk together the cocoa powder, baking powder, salt, and chocolate chips until there are no lumps of cocoa.
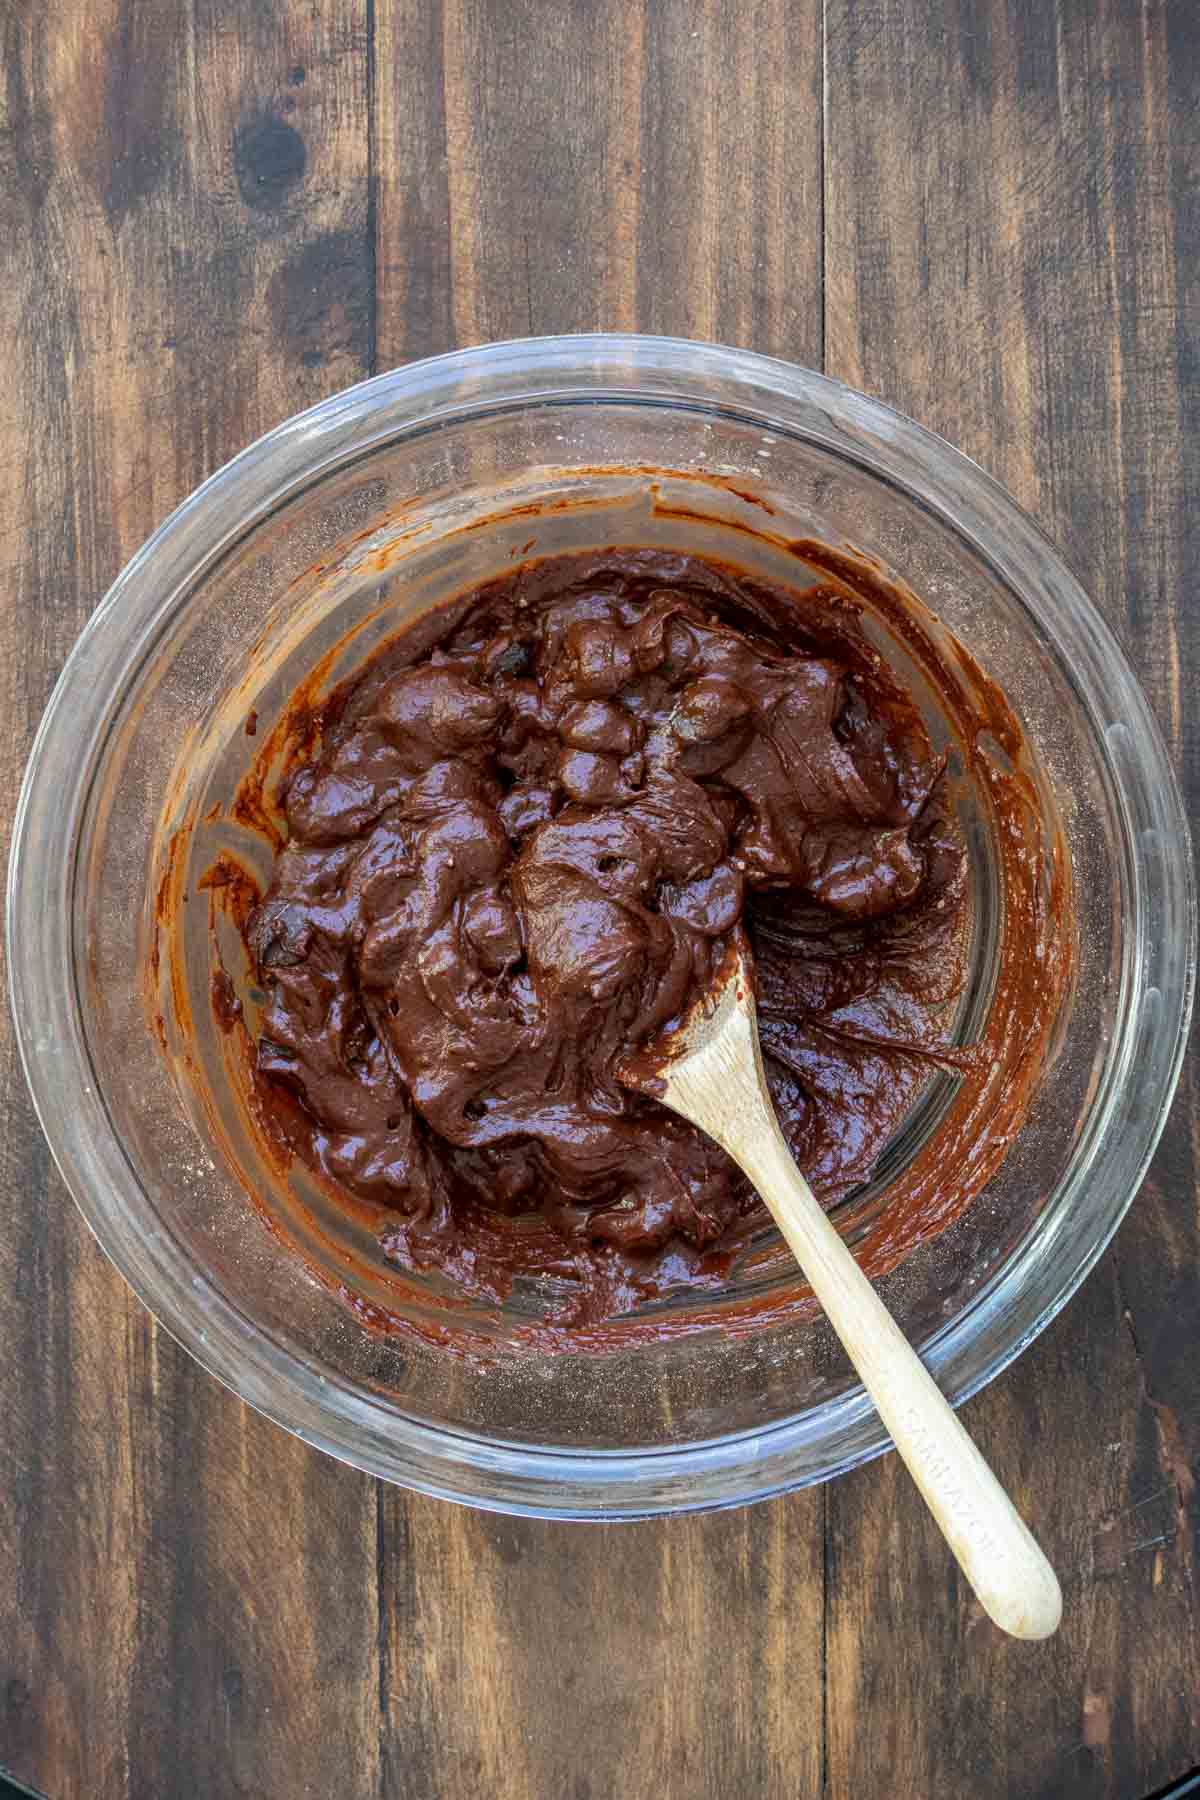
Stir in wet ingredients: Next, I add the maple syrup, almond butter, tomato paste, dairy-free milk, and vanilla extract to the dry ingredients. I stir together until fully combined and glossy.
Fill ramekins: I divide the batter equally between the ramekins, filling each 3/4 full. Then I add 1 teaspoon of chocolate chips in the middle of each for an extra gooey center.
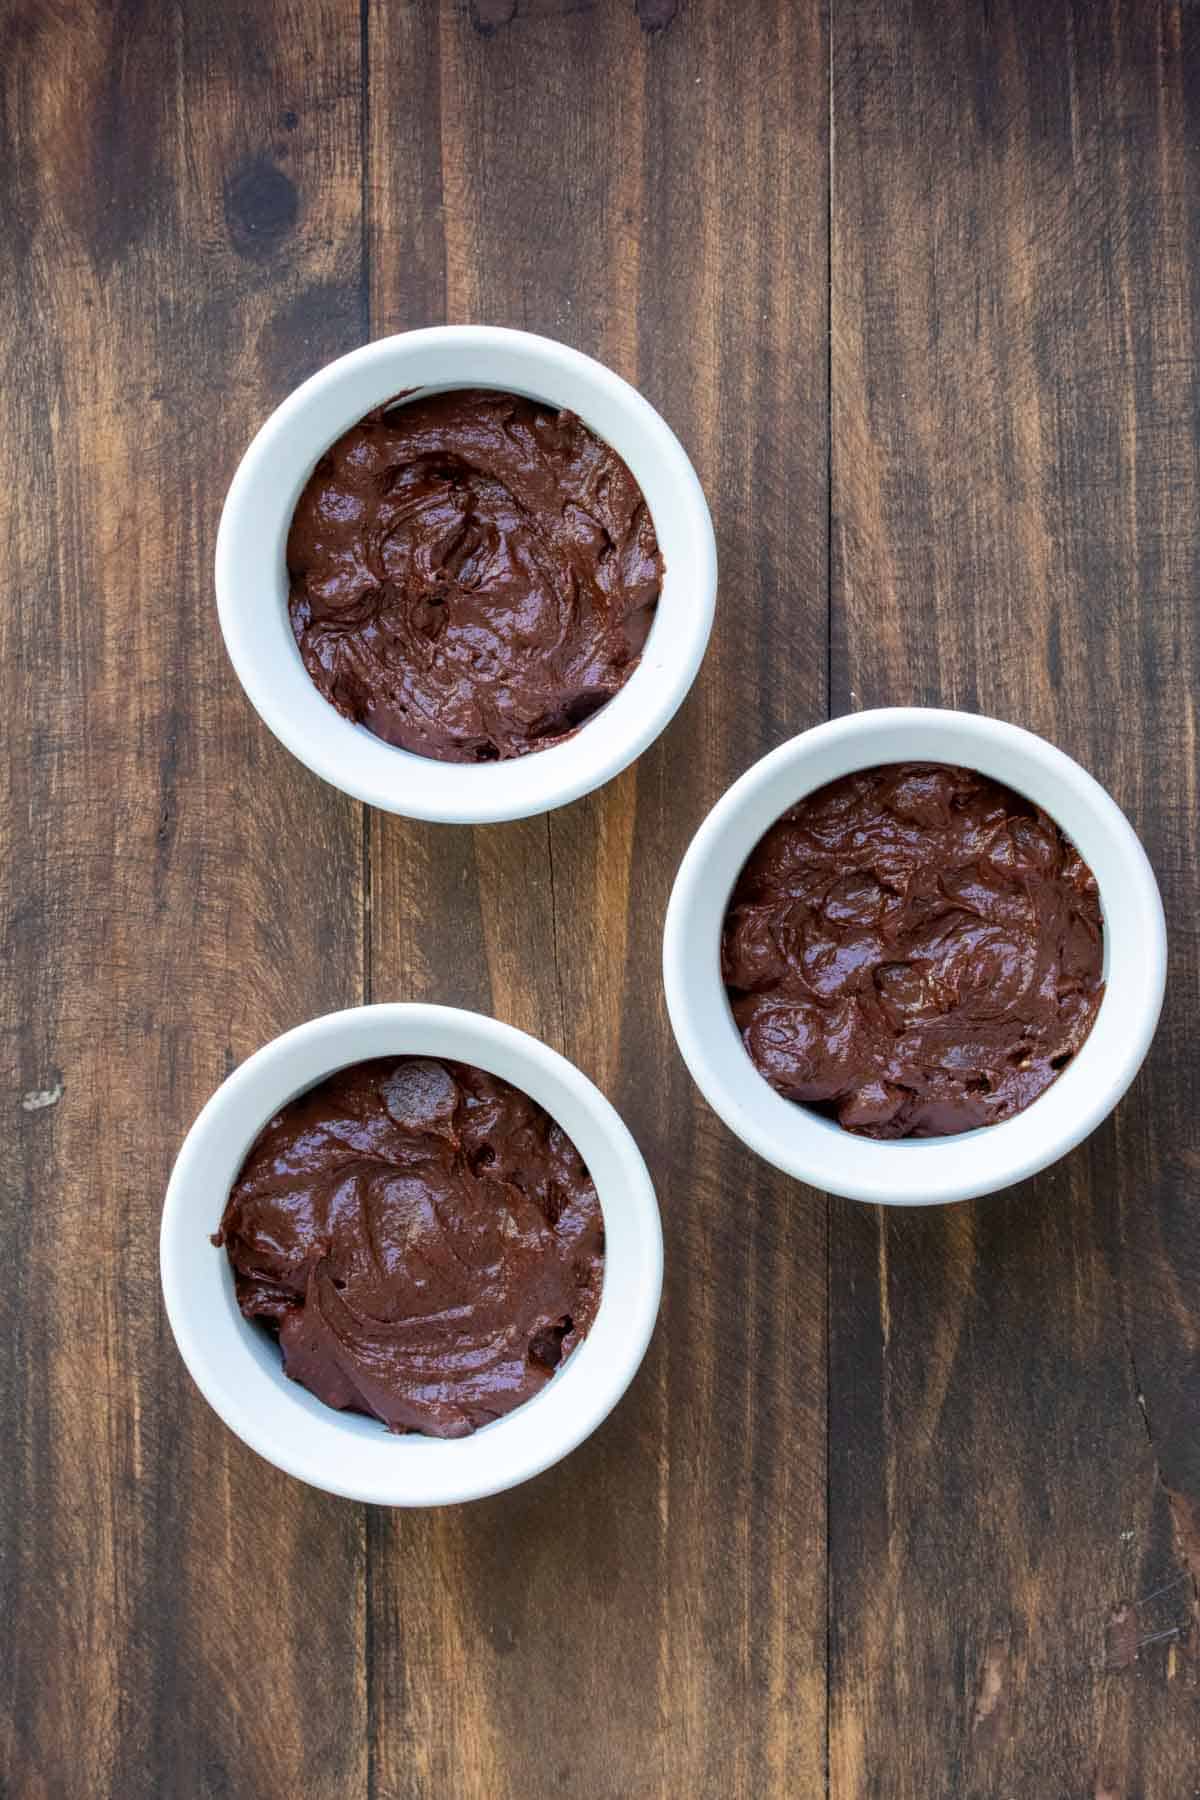
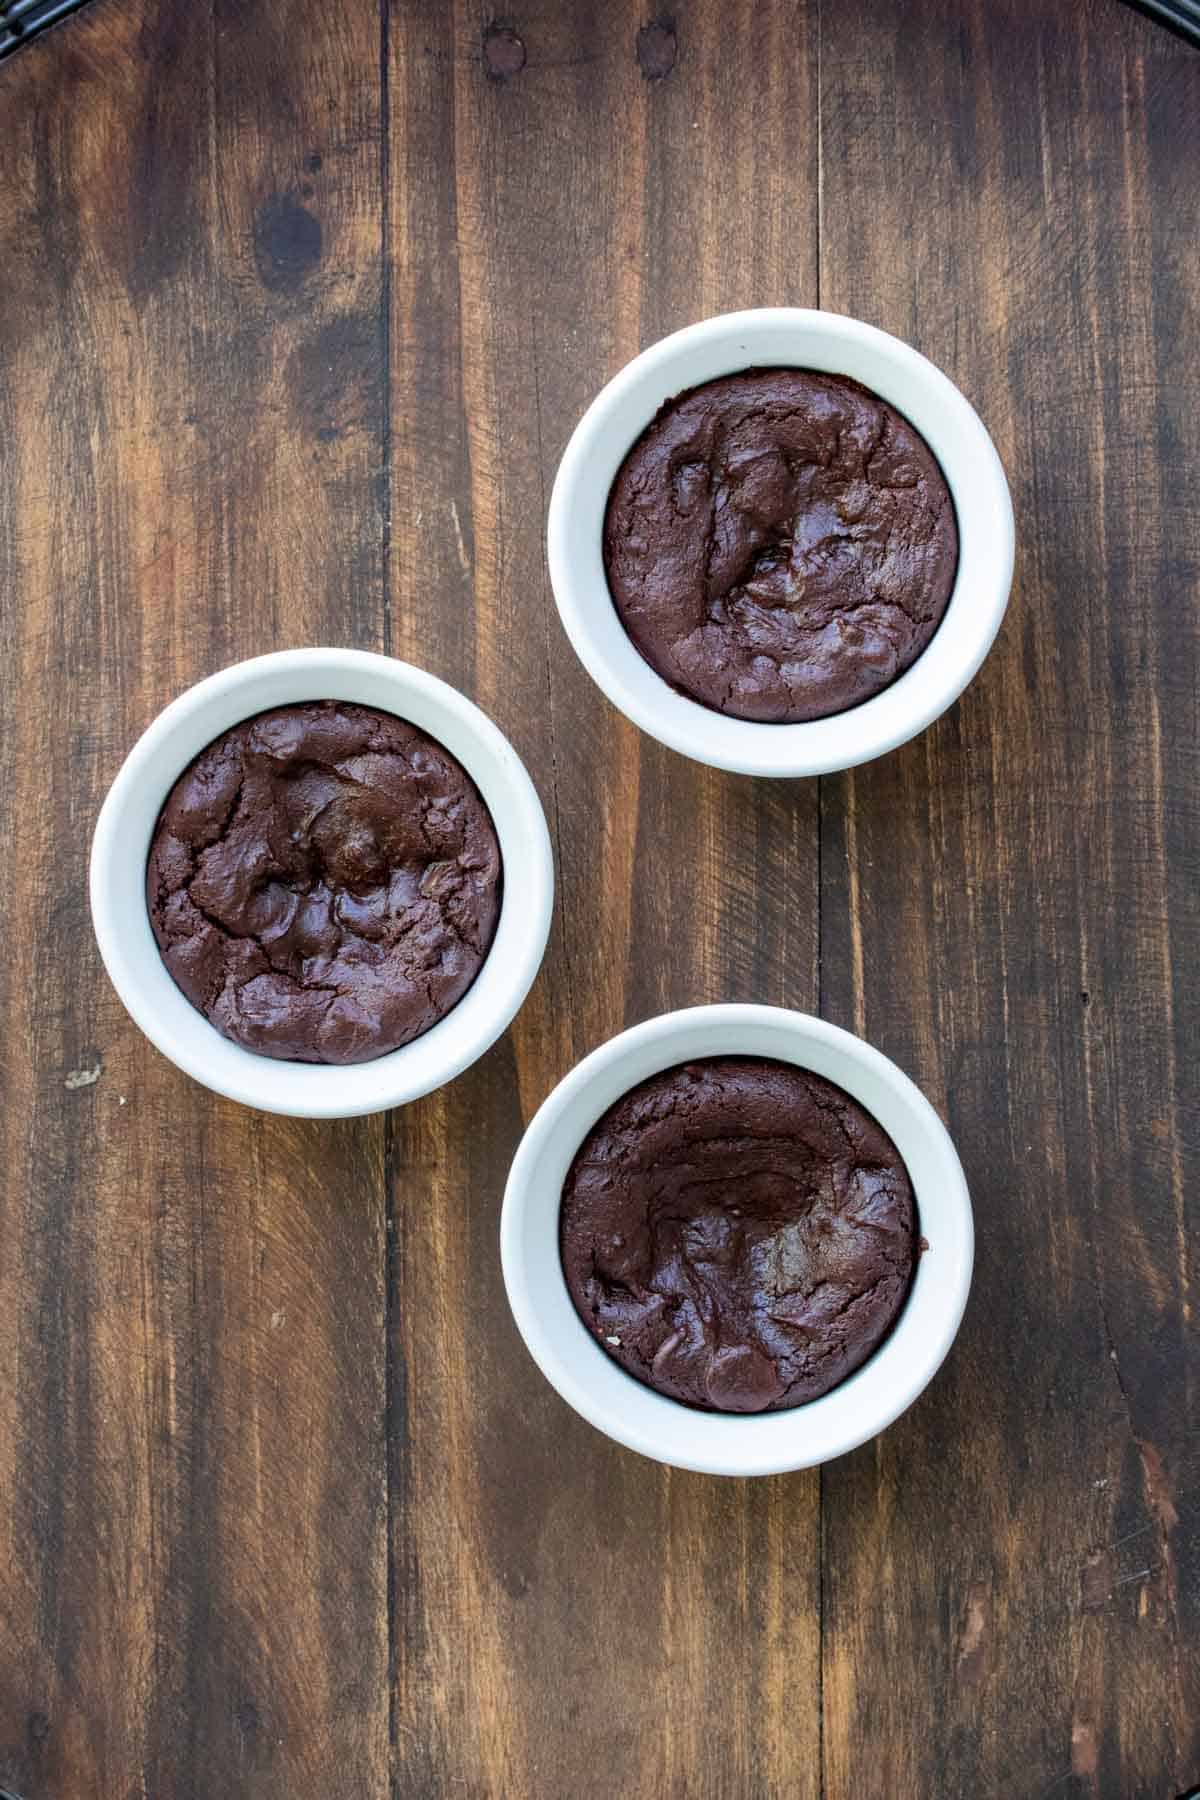
Bake and serve: I bake the cakes for about 15 minutes until the tops look set but still slightly soft in the center. I let them cool for just a minute or two, then serve immediately.
💭 Expert Tips
My #1 Secret Tip for this vegan chocolate lava cake recipe is to not overbake the cakes. The centers continue to set from residual heat once the ramekins leave the oven. I remove them while the middles still look slightly underdone, and that is what keeps the lava texture intact. If the tops look completely firm all the way through, the centers bake solid instead of molten.
Other Tips To Keep In Mind:
- Prepare ramekins properly: Greasing my ramekins thoroughly and then dusting them with cocoa powder ensures that the cakes release cleanly without sticking around the edges.
- Use Dutch-processed cocoa: I use good quality dutch processed cocoa powder since it has a smoother, less acidic flavor, which blends seamlessly with the almond butter and maple syrup, while yielding a superior chocolate flavor.
- Serve quickly: These taste best warm from the oven, and the centers stay molten for about 10 minutes before becoming noticeably firmer.
- Choose chips carefully: For the molten center, I pick the highest cocoa percentage dairy-free chocolate chips I can find. A higher cocoa content means they melt at a lower temperature and stay liquid for longer once the cakes are out of the oven.
- Almond butter consistency: I use a smooth, runny almond butter rather than a stiff or chunky one. Thick nut butter leaves streaks of uneven pockets in the batter, which affects texture and taste.
📖 Variations
I have tested several variations of this vegan chocolate lava cake, and these are 3 versions that stay in regular rotation:
Peanut butter center: For a creamier texture with a distinctive flavor, I add 1 teaspoon of natural peanut butter to the middle of each ramekin before baking. My boys love this one since it tastes like warmed peanut butter cups.
Orange chocolate: I stir 1 teaspoon fresh orange zest into the batter, and garnish the finished dessert with a few segments of sugared orange slices. The citrus brightens the cocoa and reminds my husband of Terry’s Chocolate Oranges. I make this for him during the holiday season.
Ganache center: If I have more time to spare, I freeze 1 generous teaspoon of vegan chocolate ganache and add it to the center of the ramekin just before baking. I love making this version for dinner parties, as I do not have to worry about the center firming up while my guests chat.
🍽 Serving Suggestions
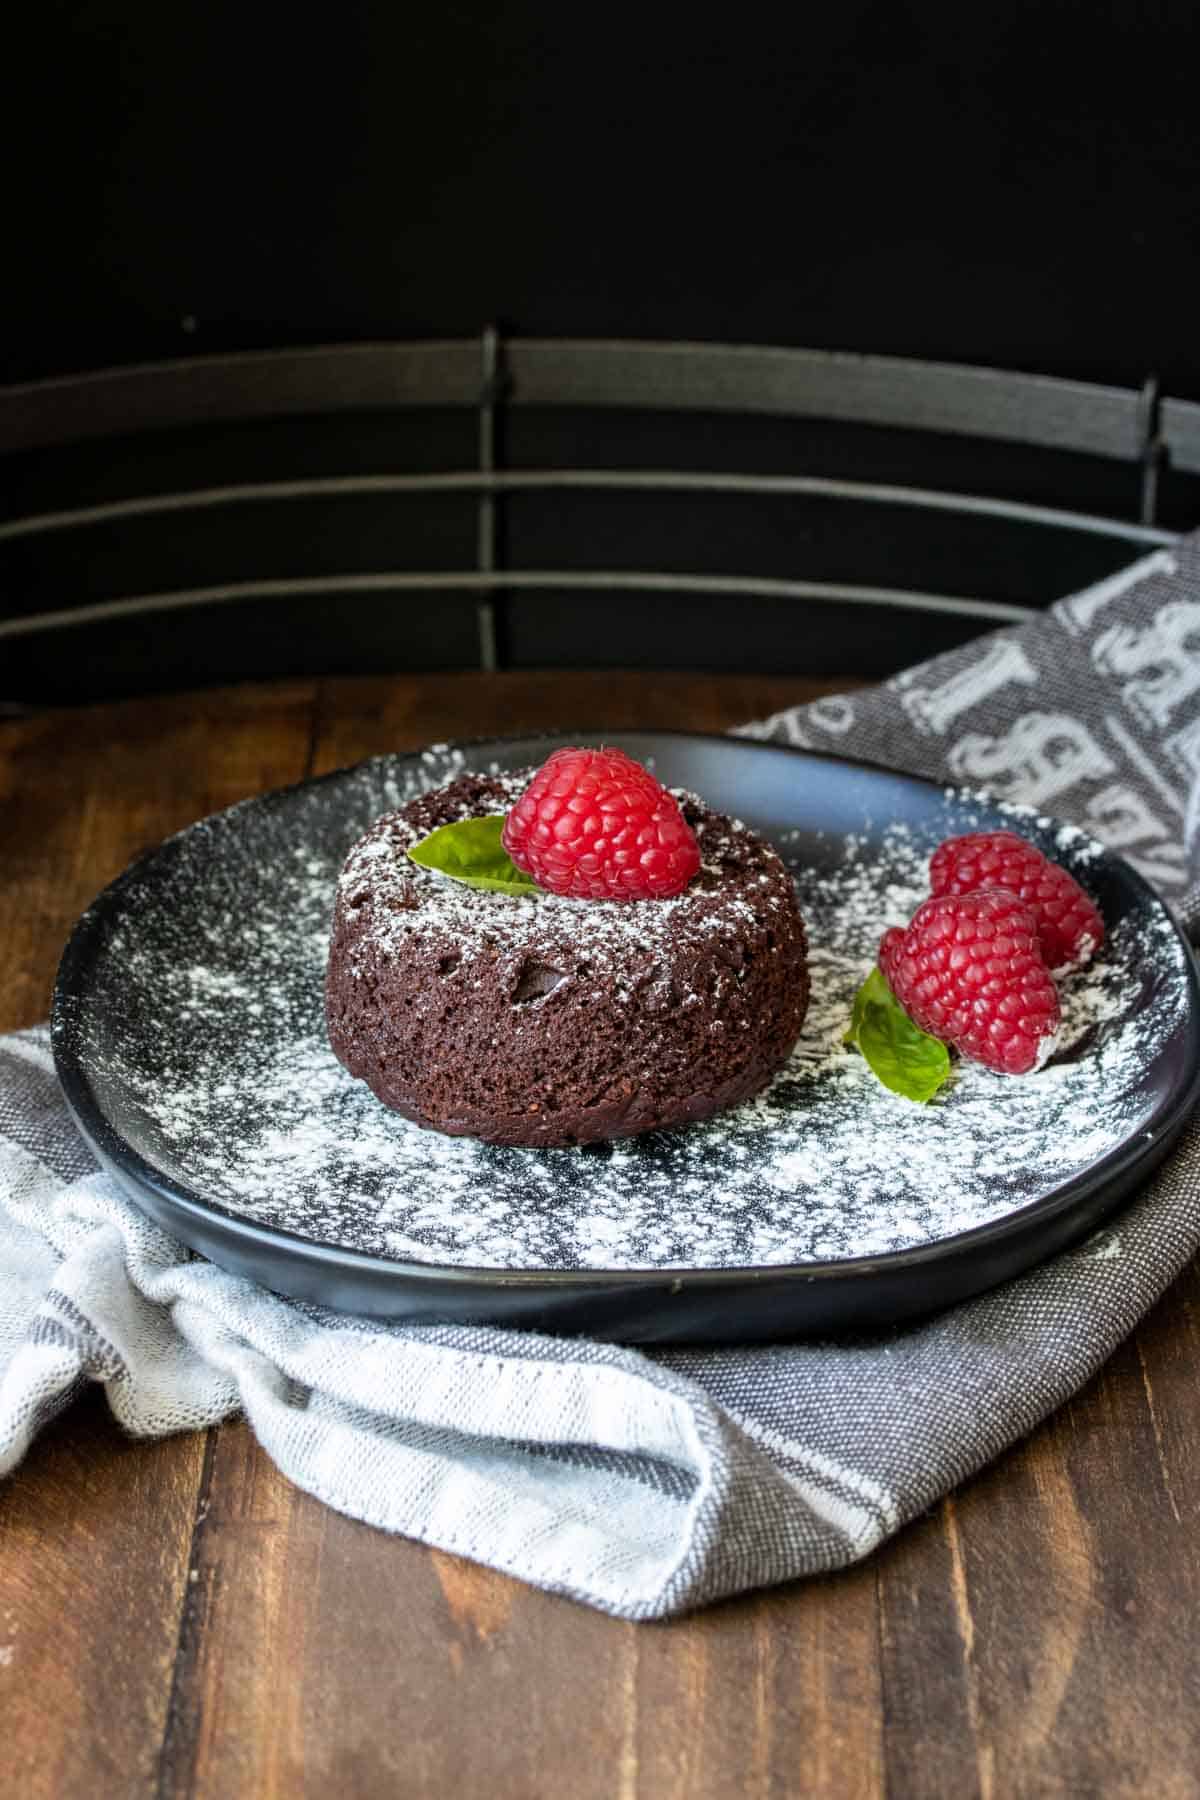
Since these vegan chocolate lava cakes are so quick and easy to make, I highly recommend serving them at your next dinner party. As a food photographer, I can assure you that this is one dessert that plates up beautifully. Turn them out onto a plate, dust them with some powdered sugar, and serve them with a dollop of vegan whipped cream and fresh raspberries. You could also go for a richer garnish and add a scoop of caramel nice cream and a drizzle of vegan caramel sauce.
For more casual desserts, my boys enjoy these lava cakes with a warm mug of oat milk hot chocolate. Last week, I made these on a lazy Sunday afternoon as an impromptu treat and plated them up with one homemade vegan Ferrero Rocher perched on the top of each one and an artistic zigzag of healthy vegan chocolate sauce.
🧊 Storing And ♨️ Reheating
Refrigeration: I store leftover lava cakes covered and in the ramekins in the refrigerator for up to 3 days. The centers firm up slightly once chilled, but the texture remains soft.
Freezing: I freeze individually wrapped baked cakes for up to 1 month.
Reheating: If frozen, I let the cakes thaw in the refrigerator overnight. Then, to reheat, I microwave the cakes for 20-30 seconds until heated through. The centers will not stay fully molten, but they will still be lovely and soft.
❓Recipe FAQs
What can I use instead of tomato paste in this chocolate lava cake?
Tomato paste adds richness and helps the chocolate flavor taste fuller, without giving the cakes a savory taste. If you do not want to use it, you can leave it out completely, but the cocoa may taste flat. I also recommend replacing it with small amounts of espresso, instant coffee, or even a spoonful of dairy-free yogurt. A teaspoon of espresso works especially well as it sharpens the chocolate flavor.
What should the chocolate lava cake batter look like?
The batter should look thick, glossy, and smooth, almost like a soft brownie batter. It should spread slowly when spooned into the ramekins, but not look dry or stiff. I stop mixing as soon as the batter is smooth and the cocoa is fully incorporated, so as not to overwork the mixture.
Why did my lava cake sink in the middle after baking?
This is completely normal, so do not panic. Lava cakes are designed to have a center that stays soft and dense, and as the cake cools even slightly, the steam from that warm liquid center condenses, causing the top to deflate. I always view a slightly sunken top as a sign that my center is still lovely and molten. What I do not want to see is the entire cake collapsing or pulling away from the edges in a wet, raw-looking way. If this happens, it means the oven temperature was not high enough to set the outside properly.

Love this Vegan Dessert recipe? Please leave a 5-star rating 🌟 in the recipe below and/or a review in the comment section further down the page!
You can also FOLLOW ME on FACEBOOK, INSTAGRAM, and PINTEREST to see more delicious, healthy, family-friendly food, and if you have any questions, I’m here to help!
📋 Recipe Card
Easy Vegan Chocolate Lava Cake (Rich & Gooey!)
Whenever I am craving something quick, warm, and chocolatey, I make this vegan chocolate lava cake. Cocoa powder, almond butter, and melted chocolate chips give these cakes a soft molten center with slightly firmer crispy edges. The best part is that they bake in just 20 minutes, which is why I make them so frequently.
Servings: 2
Calories: 531kcal
Ingredients
For The Cake
- 6 tablespoons cocoa powder , plus extra for dusting
- ½ cup dairy free chocolate chips
- ½ teaspoon baking powder
- 1/8 teaspoon sea salt
- ¼ cup maple syrup
- 1 tablespoon almond butter
- 1 tablespoon tomato paste
- 6 tablespoons cashew milk , or other plant based milk
- 1 teaspoon vanilla extract
Optional for extra gooey center (I liked it without, my kids liked it with)
- 2 teaspoons dairy free chocolate chips
Equipment
- Ramekin Dishes or muffin tins
Instructions
- Preheat oven to 425 degrees F / 220 C
- Mix cocoa powder, chocolate chips, baking powder and salt in a bowl breaking up clumps.
- Add in the rest of the ingredients and mix well.
- Prep your ramekins with a spray of oil, rub around to coat. Then dust each with a little cocoa powder.
- Split the batter into the ramekins.
- If you want an extra gooey center, add 1 teaspoon of chocolate chips in the middle of each ramekin and push down to cover them with batter.
- Bake for 15 minutes. Allow to cool a bit, but enjoy warm.
Notes
- My #1 Secret Tip for this vegan chocolate lava cake recipe is to not overbake the cakes. The centers continue to set from residual heat once the ramekins leave the oven. I remove them while the middles still look slightly underdone, and that is what keeps the lava texture intact. If the tops look completely firm all the way through, the centers bake solid instead of molten.
- Prepare ramekins properly: Greasing my ramekins thoroughly and then dusting them with cocoa powder ensures that the cakes release cleanly without sticking around the edges.
- Use Dutch-processed cocoa: I use good quality dutch processed cocoa powder since it has a smoother, less acidic flavor, which blends seamlessly with the almond butter and maple syrup, while yielding a superior chocolate flavor.
- Serve quickly: These taste best warm from the oven, and the centers stay molten for about 10 minutes before becoming noticeably firmer.
- Choose chips carefully: For the molten center, I pick the highest cocoa percentage dairy-free chocolate chips I can find. A higher cocoa content means they melt at a lower temperature and stay liquid for longer once the cakes are out of the oven.
- Almond butter consistency: I use a smooth, runny almond butter rather than a stiff or chunky one. Thick nut butter leaves streaks of uneven pockets in the batter, which affects texture and taste.
Nutrition
Calories: 531kcal | Carbohydrates: 76g | Protein: 9g | Fat: 27g | Saturated Fat: 2g | Sodium: 176mg | Potassium: 480mg | Fiber: 10g | Sugar: 53g



















This was fabulous!! Super easy to make and absolutely delicious! I used 7-8 ounce ramekins, and it worked beautifully!
Awesome! Thanks for letting me know Judi!