Authentic Guyanese Roti (Paratha Oil Roti)
This post may contain affiliate links. As an Amazon Associate, I earn from qualifying purchases. Please read my disclosure.Guyanese roti is a recipe from my childhood: it’s a popular hot and flaky flatbread found in India and parts of the Caribbean, served alongside bold and flavorful dishes. You can enjoy it with curries, meat stews, or slathered in butter! With my easy recipe, I’ll help you make this delicious oil roti at home, using just a few simple ingredients and a hot skillet!
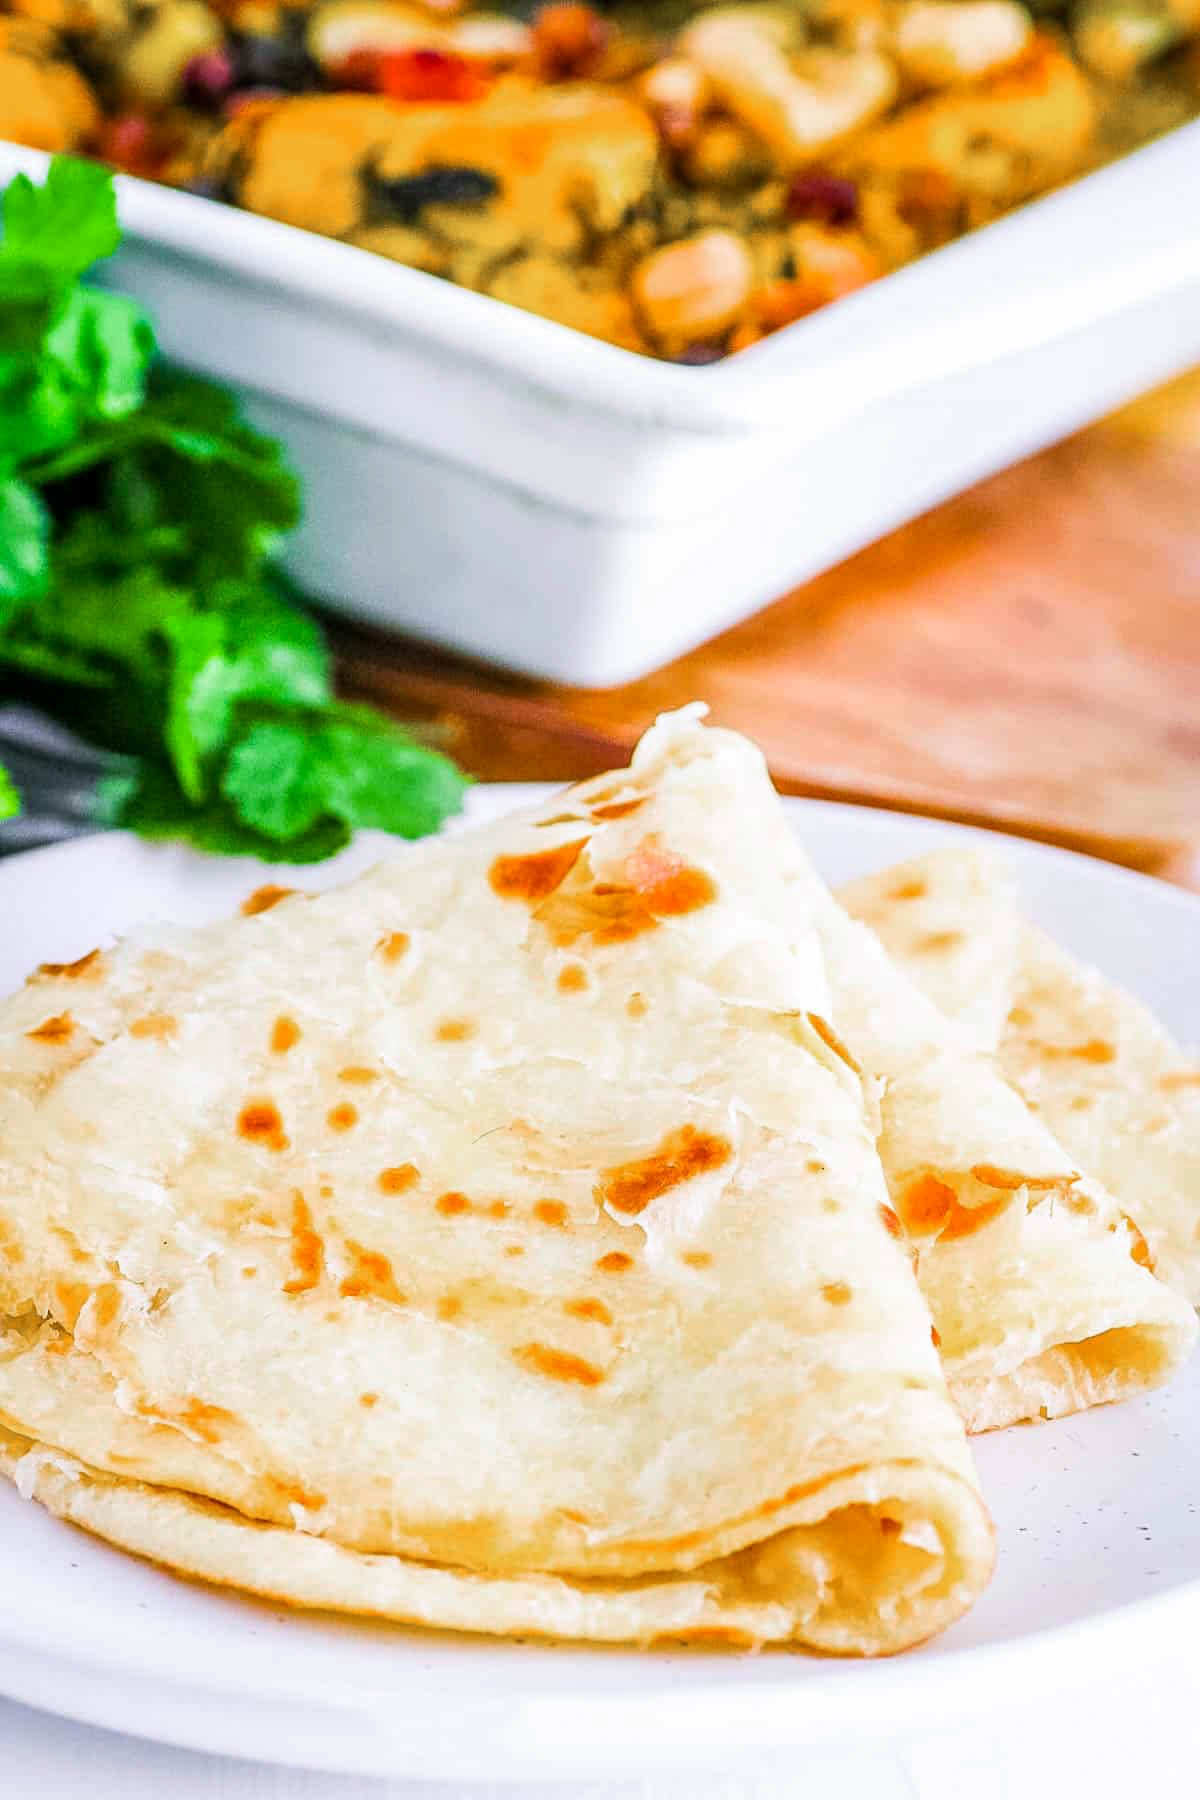
Guyanese oil roti is one of my favorite sides for chutney, stir-fries, and curry. In Guyana, a country in South America, this flatbread is also known as oil roti. It’s also popular in Caribbean countries like Trinidad, Tobago, Grenada, and Jamaica. However, it originated in South Asia and goes by different names with slight variations such as paratha roti and sada roti.
Guyanese roti and curry is a wildly popular combo, and for good reason! The rich and fragrant taste of curry powder complements the mild taste of the paratha. I’ll often use it to sop up all the leftover sauce when I’m eating any type of curry dish!
At first glance, this flatbread recipe seems complicated, but I promise it’s actually very easy to make. Each step is simple, and you don’t need any special skills. Simply knead flour, baking powder, salt, water, and oil into a soft dough, then roll it out and cook it in a hot skillet to create those signature flaky layers of paratha oil roti.
👩🏽🍳 Why I Love This Recipe
My authentic oil roti recipe gives you a true taste of Guyanese cuisine right at home. Whether I’m serving a spicy curry or a hearty stew, this roti is a regular in my house!
My recipe for Guyanese roti is simple, requiring only a few basic pantry staples. You don’t need any fancy international ingredients or special equipment. And you’ll get those perfect, flaky layers that this roti is known for!
If you’ve ever bought flatbread from the store, you know how overpriced it can be. Guyanese roti ingredients are inexpensive. You can make my recipe for a fraction of the cost and enjoy roti that tastes way better than store-bought.
This recipe is already vegan friendly, and I have included some easy tips to turn this into a gluten-free roti with a few simple substitutions.
Plus, it freezes incredibly well, making it perfect for batch cooking. Double my recipe and you can store roti in the freezer for up to two months. This is the best Guyanese roti recipe if you’re looking for meal prep ideas too!
Latest Recipe Video!
🥘 Ingredients
My easy Guyanese style roti only requires five ingredients! Find the full list of ingredients and nutrition facts at the bottom of this post within the recipe card.
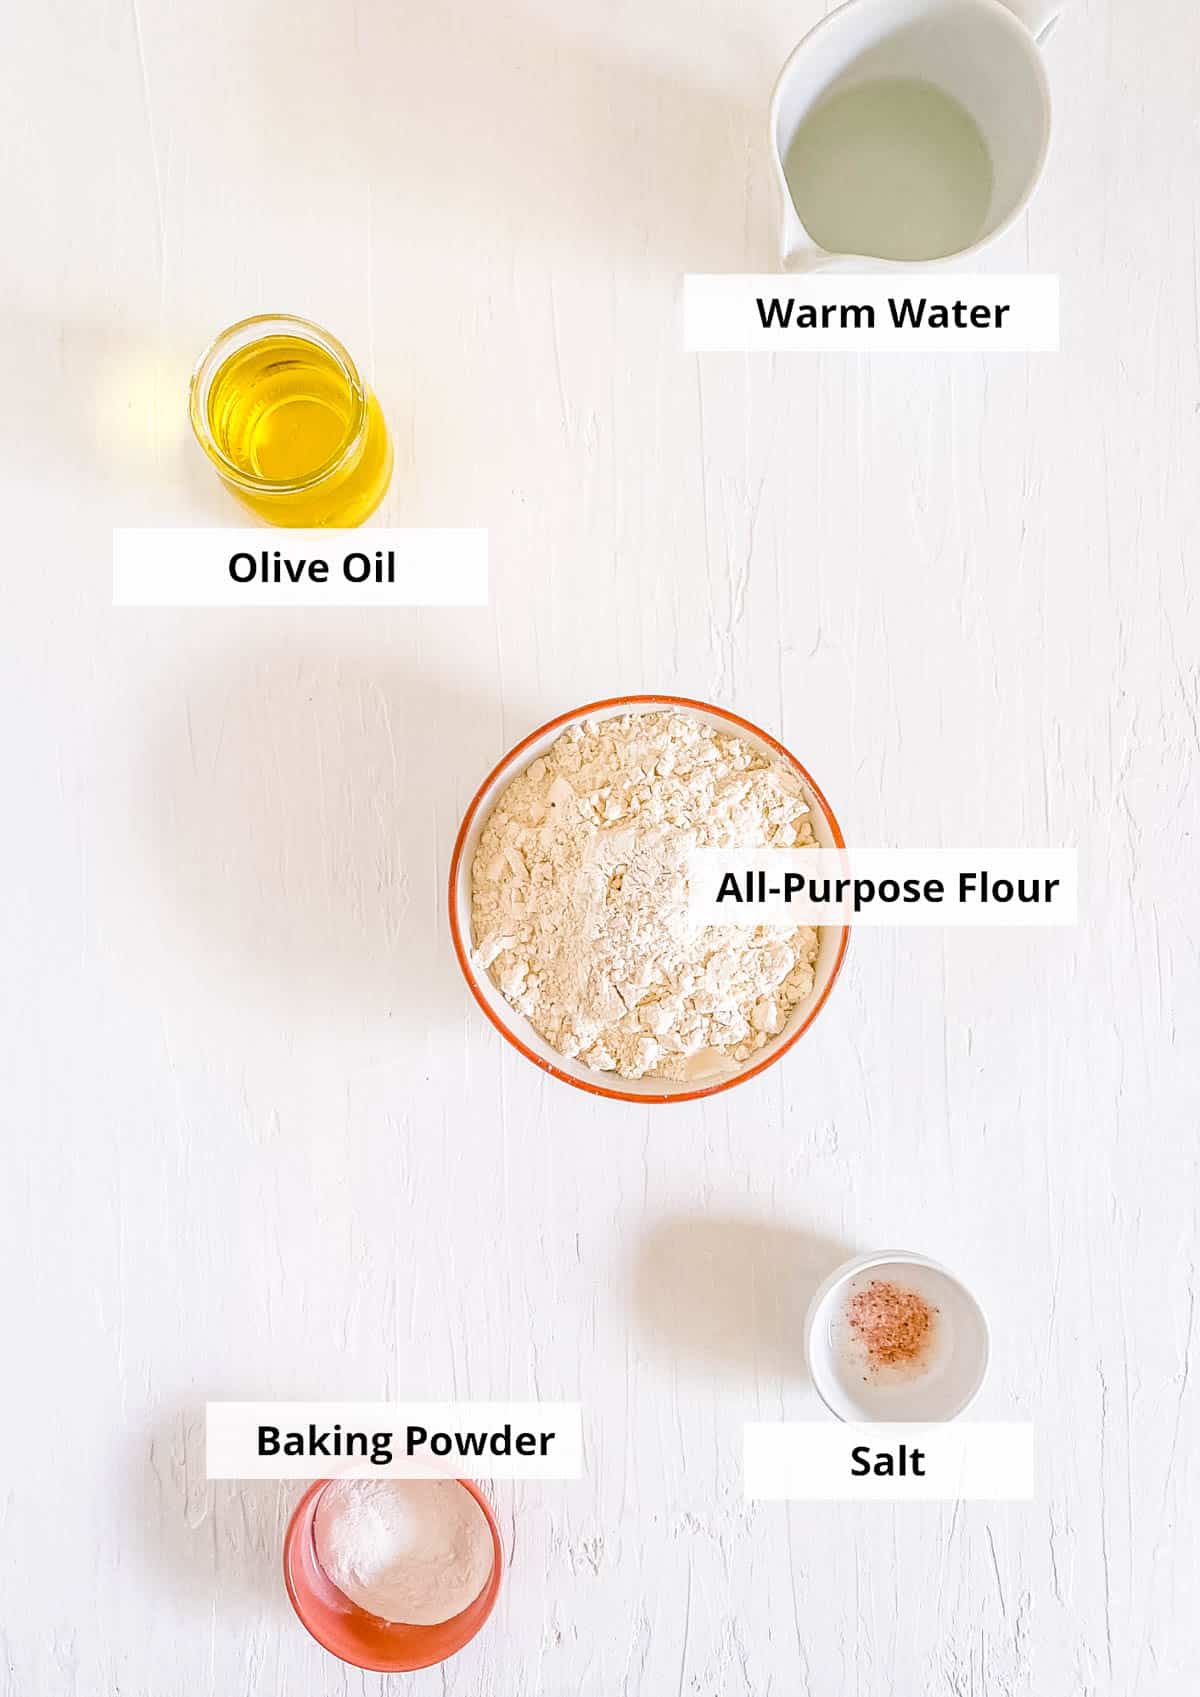
All-Purpose Flour: The base of my Guyanese roti recipe is all purpose flour. Feel free to replace ¾ cup with whole wheat flour for a nutty flavor and more fiber.
Baking Powder: Baking powder is a leavening agent that creates carbon dioxide bubbles, which causes air pockets and bubbles to form once it hits the hot pan.
Salt: Bread is bland without a small amount of salt to enhance the flavor! Don’t leave it out.
Warm Water: Water moistens the flour to form the roti dough. It’s important to use warm water so the dough easily comes together.
Oil: Oil creates a soft roti that’s not stiff or dry. Use a neutral flavored oil like canola or vegetable oil, or ghee works great too. Olive oil will also work, it might just subtly change the flavor.
🔪 How To Make Guyanese Roti
Learning how to make roti Guyanese style is pretty simple and my recipe walks through every step. The dough comes together easily and it cooks quickly in the hot skillet.
Check out my video below to see how simple it is to make my Guyana roti recipe!
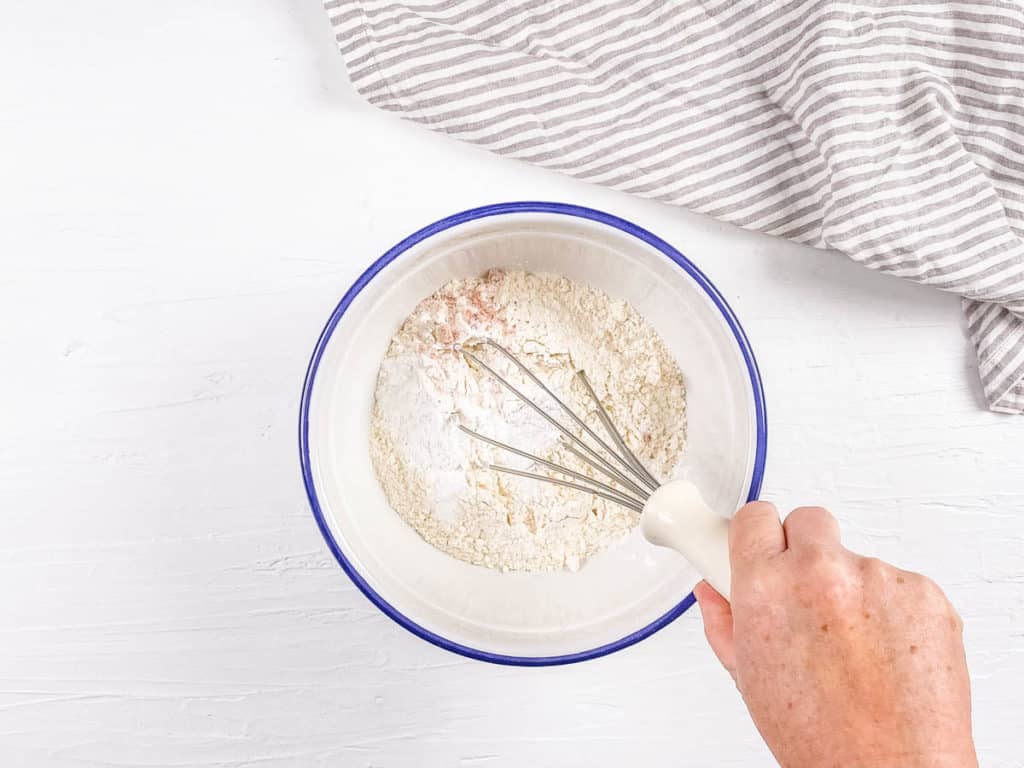
Whisk Dry Ingredients: In a large bowl, I’ll first whisk the all-purpose flour, baking powder, and salt.
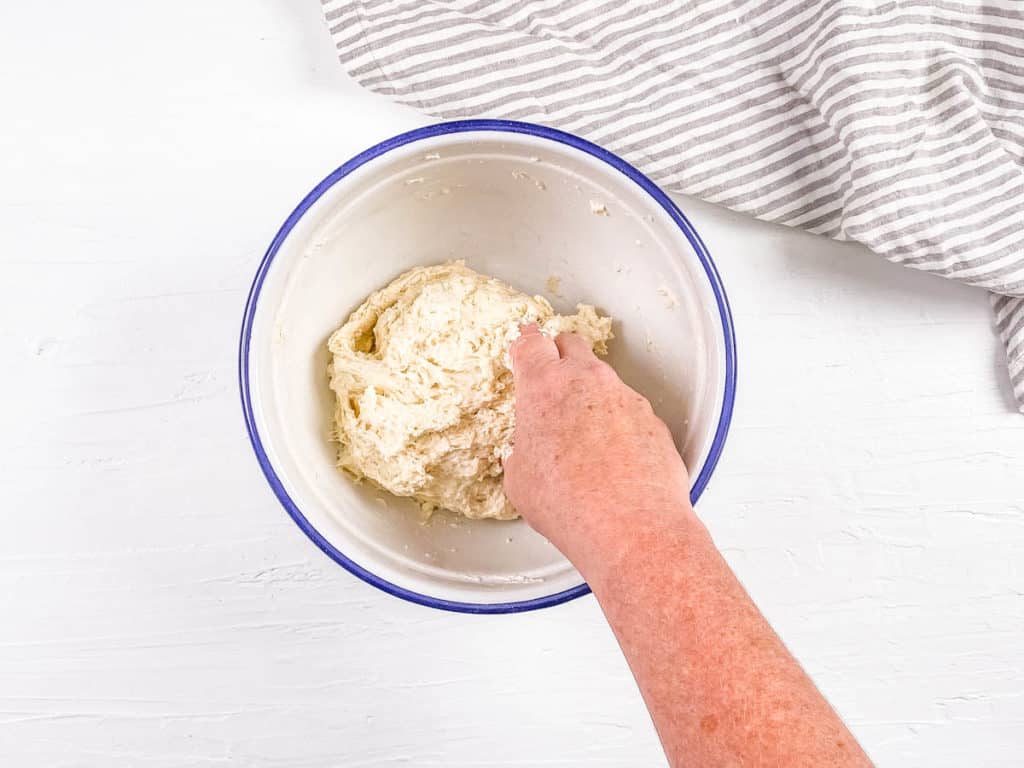
Make Dough: I make sure to add just enough water to create a sticky dough. I use a rubber spatula or my bare hands to combine the mixture. You can add more water if the dough is dry.
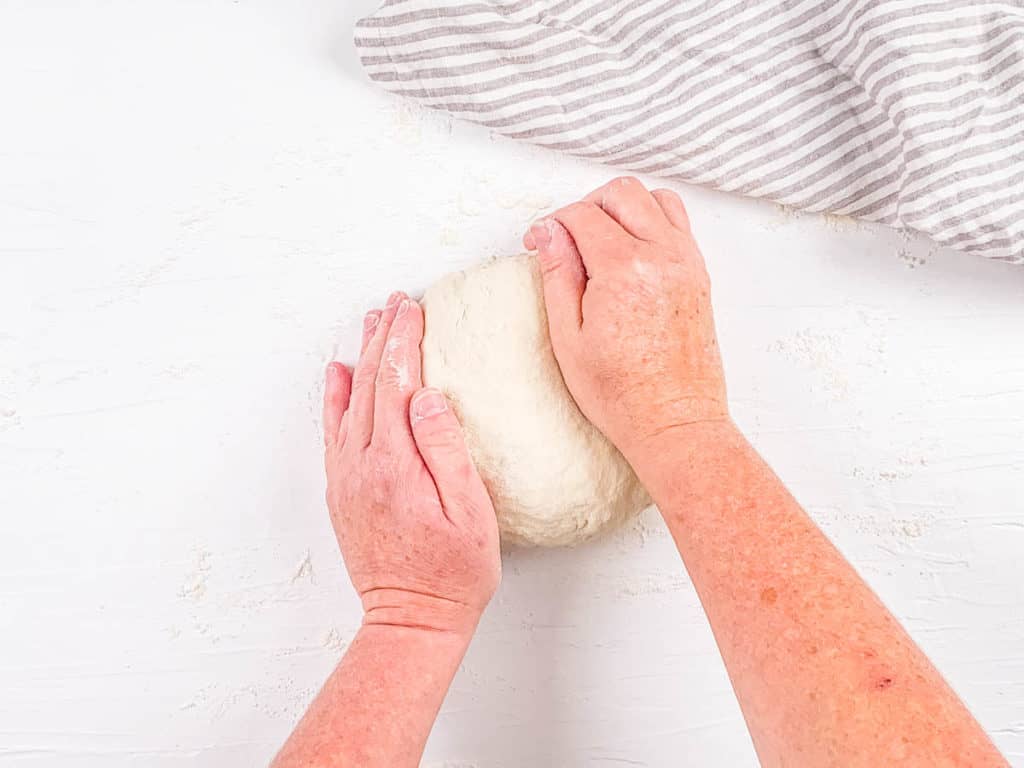
Knead Dough: Sprinkle flour onto your work surface and place the soft dough on it. I’ll typically knead for 2 to 3 minutes.
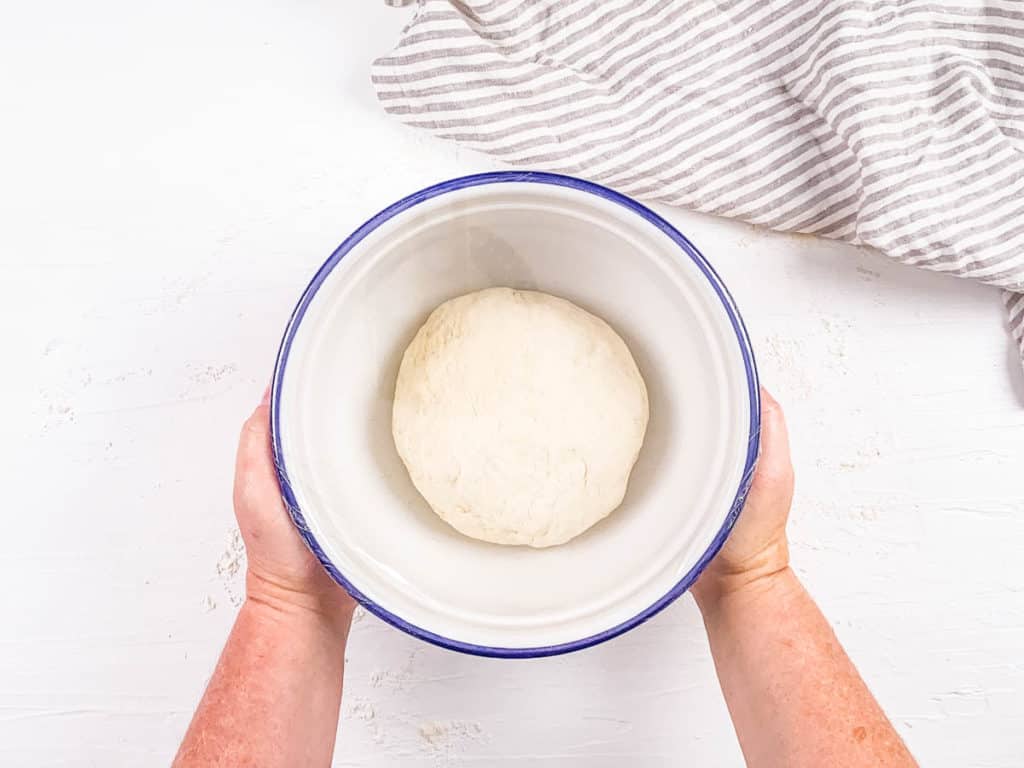
Let Dough Rest: Cover with a damp paper towel and let the dough rest for 30 minutes. This step is important in my Guyanese roti dough recipe.
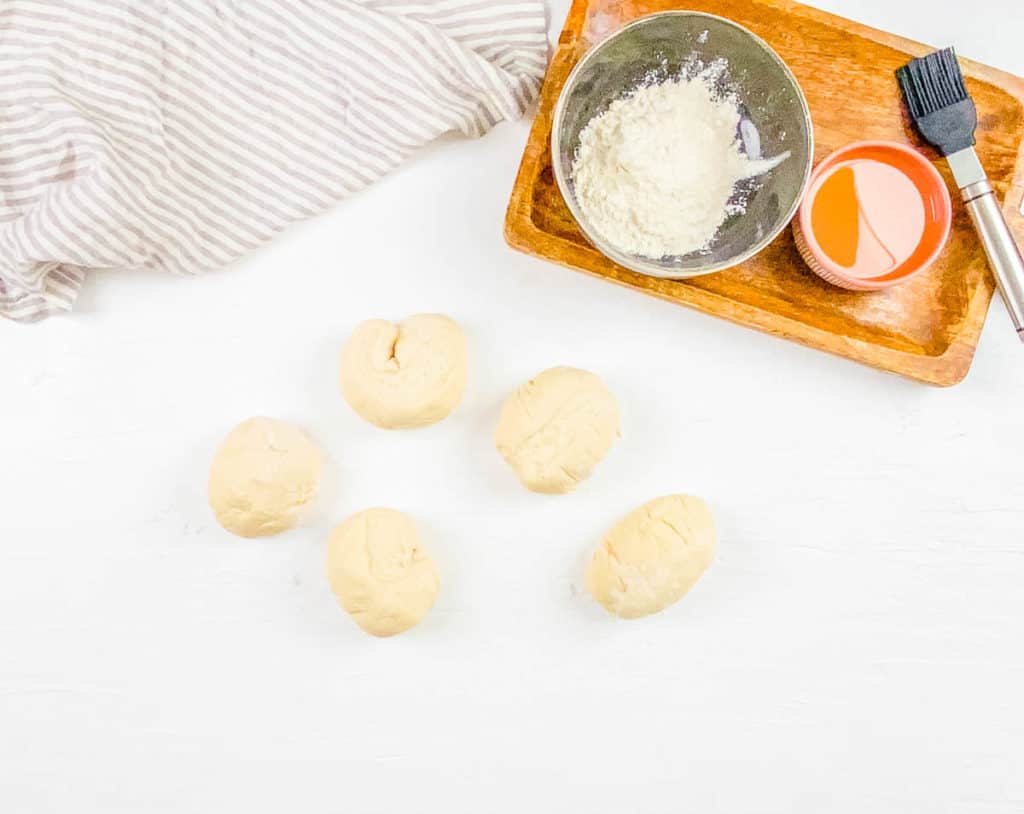
Cut Dough: Cut the dough into 5 equal pieces.
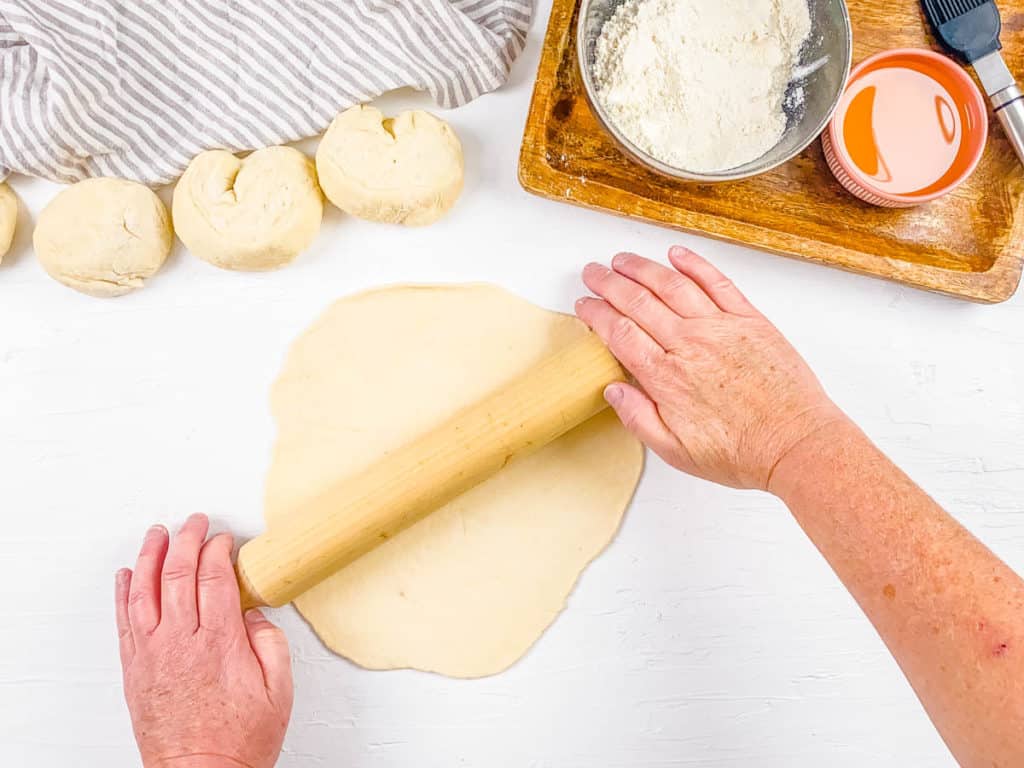
Roll Dough: On a lightly floured work surface, use a rolling pin to roll one of the small balls into a thin, flat circle.
Brush With Oil: Brush a thin layer of oil over the top of the dough. I use a pastry brush but your fingers work just fine too.
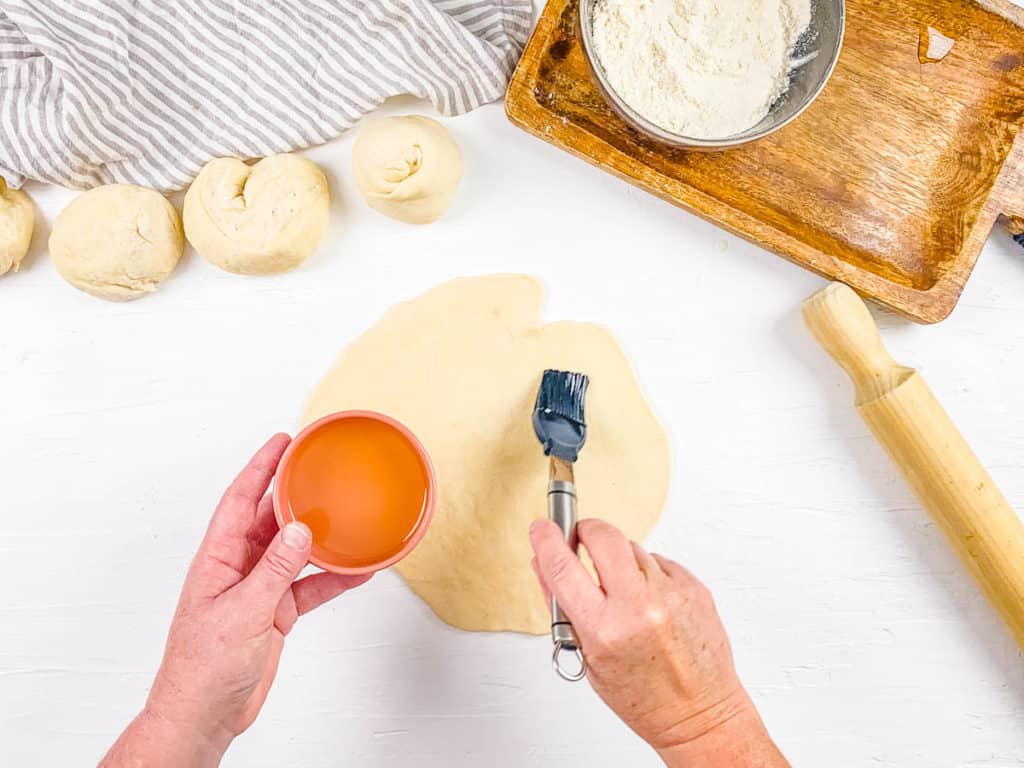
Cut The Dough: Use a sharp knife to cut the dough from the center to the edge.
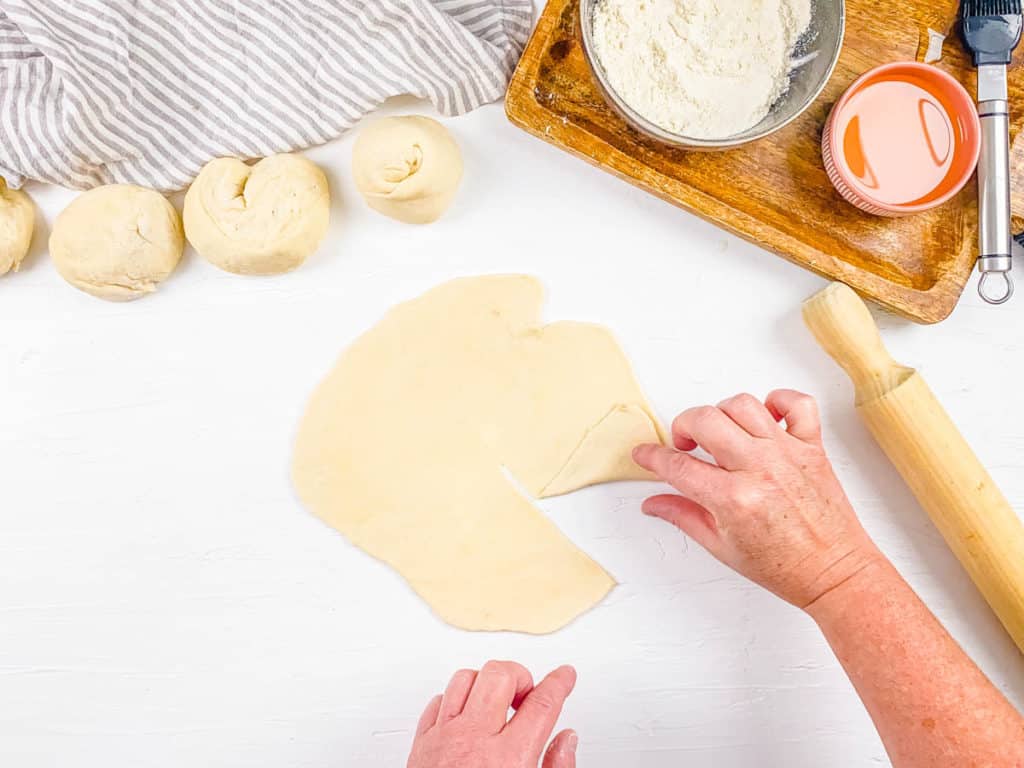
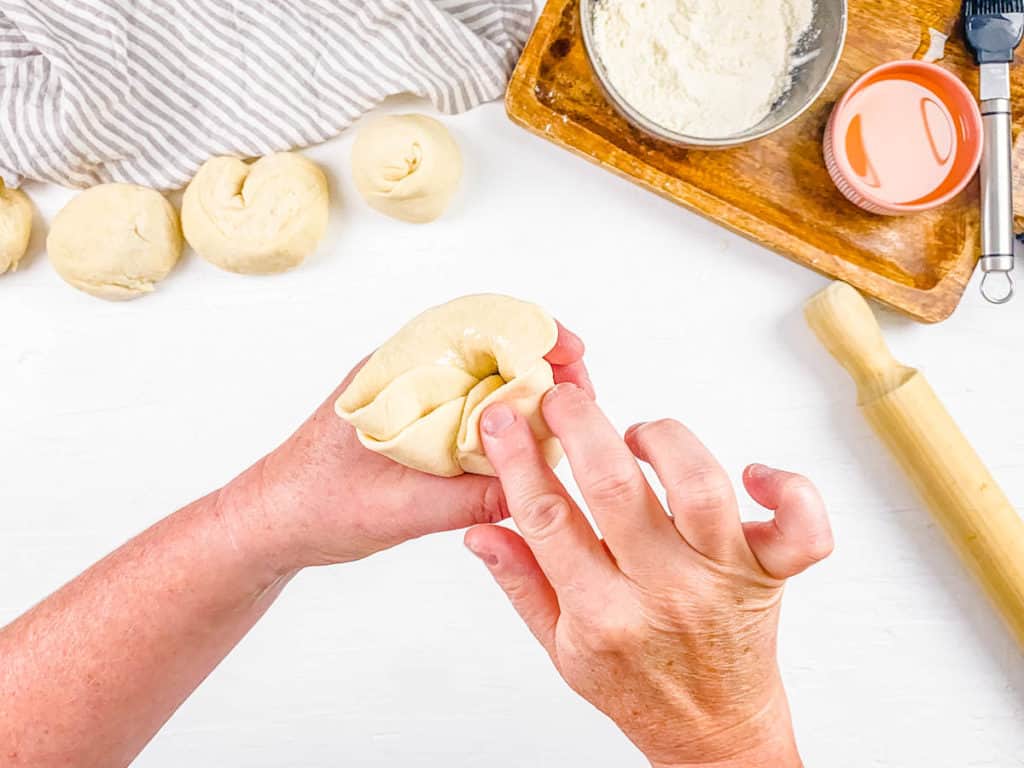
Form Cone & Repeat: Roll the dough into a cone shape by tucking the edges into the center. Repeat with the rest of the dough balls.
Let Dough Rest: At this point, I’ll cover the dough with a damp cloth and let it rest again for 30 minutes.
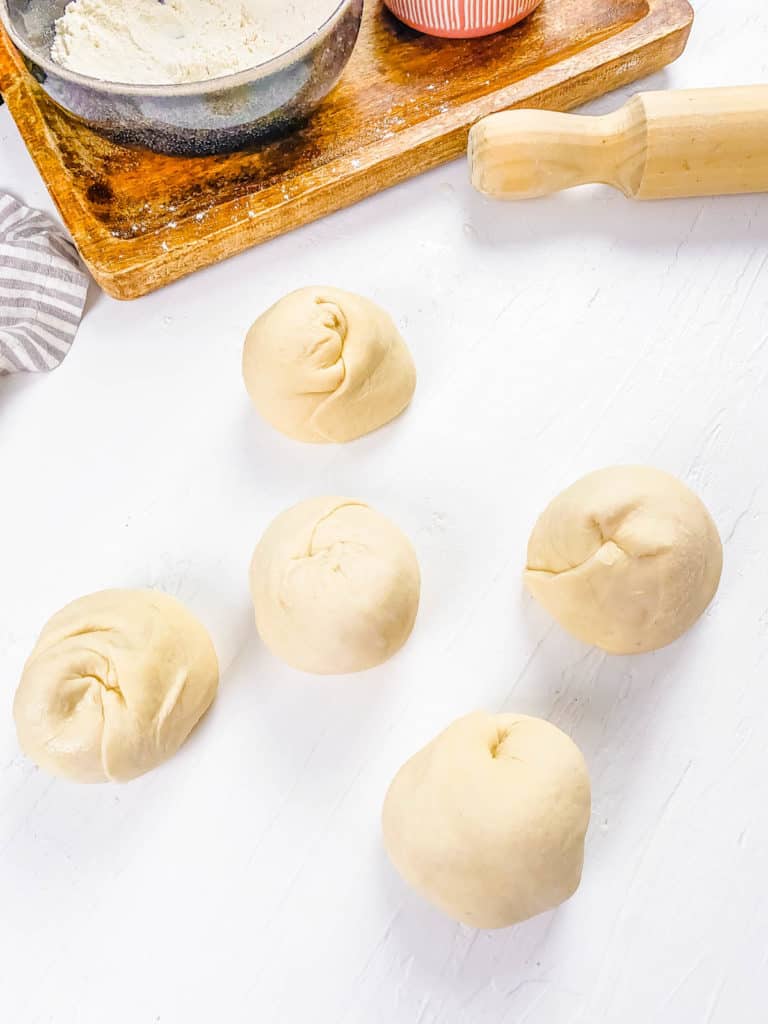
Roll Dough Again: Preheat a large nonstick or cast iron skillet over medium-high heat. Sprinkle your work surface with extra flour and roll one of the dough balls into ⅛ inch thickness.

Cook Roti: Cook the roti on the hot frying pan until small air pockets form, about 30 seconds. When I see light brown spots forming I know it’s almost time to flip.
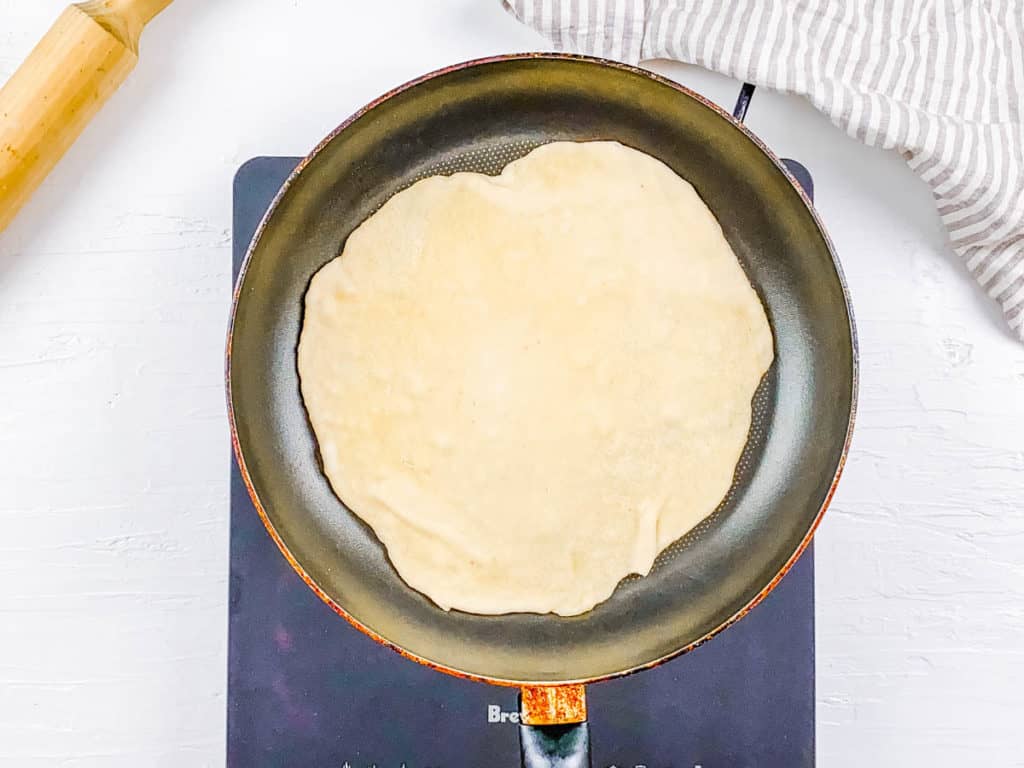
Flip Roti: Carefully turn the hot roti over and brush with oil. Cook for another 30 seconds then flip it over one more time. Lightly brush the top with oil as it cooks for 30 more seconds.
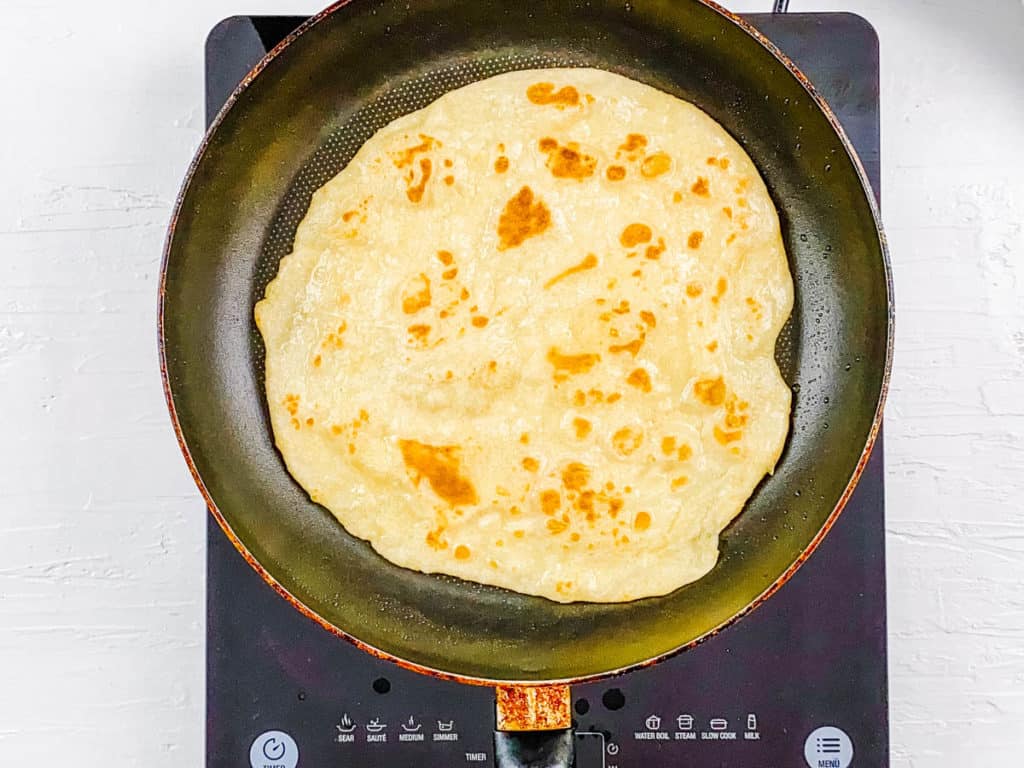
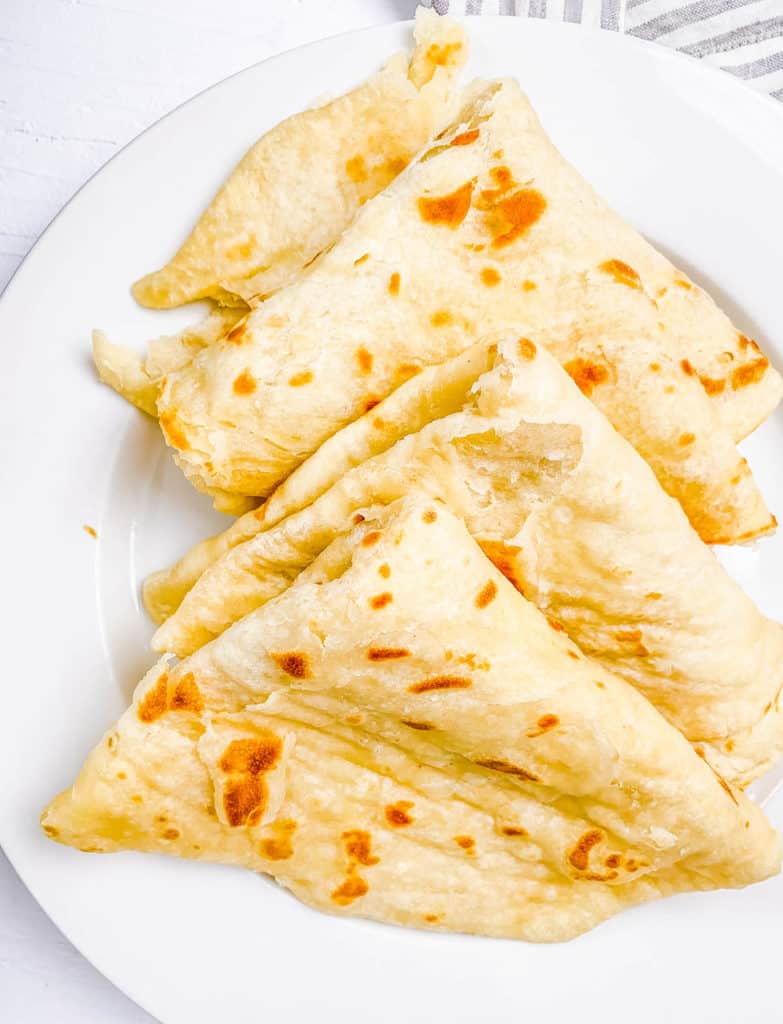
Clap The Roti: This is my favorite part of making this Guyana roti. First, remove the roti from the heat and place it in a container with a lid. Shake for a minute or so to loosen the layers.
Serve Warm: Enjoy warm with your favorite curry dish!
💭 Expert Tips
My #1 tip for making perfect roti is to make sure your dough is kneaded until it’s soft, smooth and elastic, and then let it rest for at least 30 minutes. This resting period helps the gluten relax, making the dough easier to roll out and resulting in a softer, flakier roti.
Other Important Tips For Success:
- Achieving The Right Resting Time: If the dough is difficult to roll out or springs back, it needs to rest longer.
- Measure The Ingredients Exactly: The flour to water ratio is vital in a Guyanese oil roti recipe. I recommend adding the water in stages when mixing the dough. The dough should be sticky and not dry, but easy to handle. I always measure my flour using a “spoon and level” method – spooning the flour into my measuring cup and leveling it with a knife vs. scooping the flour out with my measuring cup.
- Even Rolling: Roll the dough evenly to ensure it cooks uniformly. If it’s not even, thicker areas can remain uncooked while thinner parts might burn.
- Hot Skillet: Preheat your skillet until it’s very hot before cooking the roti. High heat is crucial for achieving the perfect puff and slight char.
- When To Flip: As soon as you see bubbles forming on the surface of the roti, quickly flip it to the other side. This prevents overcooking and keeps the roti soft.
- Cover After Cooking: I always keep the cooked rotis covered with a clean kitchen towel or foil to maintain their softness and prevent them from drying out.
📖 Variations
Gluten-Free Roti: Replace the all-purpose flour with a 1:1 gluten-free all-purpose flour blend. My favorite brand is Bob’s Red Mill 1:1 All-Purpose Flour in the blue bag. The texture of the roti will change slightly, but it should still have good flavor.
Guyanese Oil Roti With Yeast: While yeast isn’t a traditional ingredient, it helps to ensure the paratha stays soft and flaky, especially if it’s your first time making it. Add 1/4 teaspoon of rapid rise yeast to the dry ingredients then follow the recipe as directed.
🍽 Serving Suggestions
Guyanese paratha roti is incredibly versatile and can be served in endless ways. Sometimes I’ll go traditional and serve it with a curry or stew, but I’ll also serve it alongside soup or use it to make wraps. Here are some of my favorites.
With Curry: You can serve roti with any curry such as my sweet potato cauliflower curry, chickpea and potato curry, or vegan panang curry with tofu.
With Stews And Soups: Enjoy it with hearty stews, like my Indian stew with rice and lentils or my comforting stewed red kidney beans recipe. It’s also wonderful alongside any soup. One of my favorites is my curried cauliflower soup.
With Dips: Flatbread goes perfectly with chutneys like mango chutney, tamarind chutney, or cilantro chutney for a refreshing contrast. It’s also a great way to serve my savory butter bean hummus and creamy edamame guacamole.
As A Wrap: Use it to make wraps like my yummy vegan hummus avocado wrap or my incredible samosa wraps.
🧊 Storage Directions
Room Temperature: Once the roti has cooled, I wrap it in a clean towel and place it inside an airtight container or zip-top bag for up to 4 days.
Freezer: For longer storage, I will freeze the roti. First, I separate each roti with parchment paper, then place them in a freezer-safe container or Ziploc bag. It keeps well in the freezer for up to 2 months.
Reheating: I use the microwave in 10-second increments until just warm. If I’m reheating from frozen, I let the roti thaw for a few hours at room temperature and then warm it up in the microwave or a skillet.
Make Ahead: Prepare the dough up to 3 days ahead of time. Store in the refrigerator in an airtight container until ready to use. Let the dough come to room temperature, then cook as directed.
❓ Recipe FAQs
If the dough is too sticky, I add more flour a tablespoon at a time until it’s more manageable. If it’s too dry and crumbly, I add more warm water a teaspoon at a time until the dough comes together smoothly. Roti dough should be soft and pliable.
Traditionally, “clapping” the roti involves slapping the cooked flatbread between your hands to loosen the layers and create air pockets, which make it flaky. In my recipe, I place it in a container with a lid and shake it vigorously for a minute. My method makes handling the warm bread easier and produces an even texture.
Traditionally Guyanese paratha (oil) roti is cooked on a tawa, which is basically a large round cast iron pan. Which is why, since I don’t have a tawa, I’ll use a cast iron skillet because it retains heat well and ensures even cooking, which creates perfectly cooked roti. However, a heavy-bottomed non-stick skillet or even a crepe pan can also be used if you don’t have a cast iron skillet. The key is to use a skillet with consistent heat distribution to achieve the best texture and flavor.
First, I preheat my cast iron skillet over medium-high heat for a few minutes. Then, I sprinkle a few drops of water on the skillet, and if they sizzle and evaporate almost immediately, I know the skillet is ready. A hot skillet gives the roti the desired puffy texture and char.

🍲 More Delicious Side Dish Recipes!
Love this vegetarian side dish recipe? Please leave a 5-star rating 🌟 in the recipe below and/or a review in the comment section further down the page!
You can also FOLLOW ME on FACEBOOK, INSTAGRAM, and PINTEREST to see more delicious, healthy, family-friendly food, and if you have any questions, I’m here to help!
📋 Recipe Card
🎥 Watch How to Make It
Guyanese Roti
Ingredients
- 2 ½ cups all-purpose flour
- 2 tsp baking powder
- ½ tsp salt
- 1 ¼ cup warm water
- ½ cup oil
Instructions
- Whisk together the flour, baking powder and salt.
- Add 1 cup of warm water and mix to form a slightly sticky dough. Add additional water if the dough is too dry.
- Place the dough on a lightly floured surface and knead for 2-3 minutes.
- Cover and rest the dough for 30 minutes.
- After the dough has rested, cut into 5 equal parts.
- Take one ball of dough and roll it out thin on a lightly floured bench.
- Brush a thin layer of oil over the top surface of the dough.
- Using a knife cut the dough from the center to the outside edge.
- Roll the dough to form a cone, tucking the ends into the center.
- Repeat with remaining dough.
- Cover and allow the dough to rest for a further 30 minutes.
- Preheat a large skillet over medium heat.
- Roll one dough ball on a lightly floured surface to approx ⅛ inch thickness.
- Cook on the preheated skillet until small air pockets/bubbles start to form, approx 30 seconds.
- Turn the roti over and brush lightly with oil. Cook for a further 30 sec and flip the roti over again to cook for another 30 seconds. Lightly brush with oil.
- Remove from the heat and ‘clap’ the roti. This can be done with your hands however many find the roti too hot to handle so you can place the roti in a container with a lid and shake it for 1 minute to loosen the layers and release the air pockets.
- Serve warm with your favorite curry.
Notes
- Add the water in stages when mixing the dough. You want the dough to be slightly sticky but not dry.
- Resting the dough helps the dough to relax making it easier to roll.
- You may want to keep the dough covered with a damp towel when not working with it to stop it from drying out if you are in a warm climate.
- Keep the cooked roti warm while cooking the remaining dough.
- Roti is best served warm.
- Substitute all-purpose flour for gluten-free flour to make this recipe gluten-free.
- Leftover roti can be stored, covered, in the fridge for up to 4 days. Microwave for 30 – 40 seconds to reheat.






I just made this and it might be my favorite way to do roti.
Aw yay! I’m so happy to hear that Ruschell!
I love how straightforward this is. My daughter loves flatbreads so we will have to give this a try 🙂
Yay! I can’t wait to hear how you all like this recipe!
I love being able to make Roti at home, this is super delicious! Thank you!
So happy to hear that! Thank you Heather!
The Paratha Oil Roti turned out perfectly flaky and delicious. The recipe was easy to follow and the end result was absolutely amazing.
Yay! That’s great Gianne, thanks for letting me know!
I love roti and love this recipe for making it at home. It was easier than I thought it would be! And so yummy with curry.
Yay!! So happy to hear that! And yes, eating this with curry is one of my favorite combinations!
My mouth is watering. These roti look so light and fluffy! I could devour 3 or 4 with some curry in no time!
Yay! Thanks Shashi – enjoy!
The roti is so delicious and so flaky. That rolling into a cone form must be the trick to get that desired flakiness.
Yes! That’s exactly right Anita! Glad you loved this recipe!
Super easy and delish! Can’t wait to make again. Thank you! 🙂
Woohoo! Thanks Kristen!
This was my first time making this to go along with our meal and it came out great! Thanks for a great recipe that was easy to follow!
Awesome!! So happy to hear that Gina – thanks for letting me know!