




Easy Pita Pizza (4 Ways!)
This post may contain affiliate links. As an Amazon Associate, I earn from qualifying purchases. Please read my disclosure.Craving pizza but want something quick without the fuss of rolling out dough? This pita pizza checks all the boxes for flavor, nutrition, and convenience that does not involve takeout. I use whole wheat pitas, tomato sauce, and melted cheese for a classic base that can be topped with anything. It is ready in just 15 minutes and is ideal for busy days.
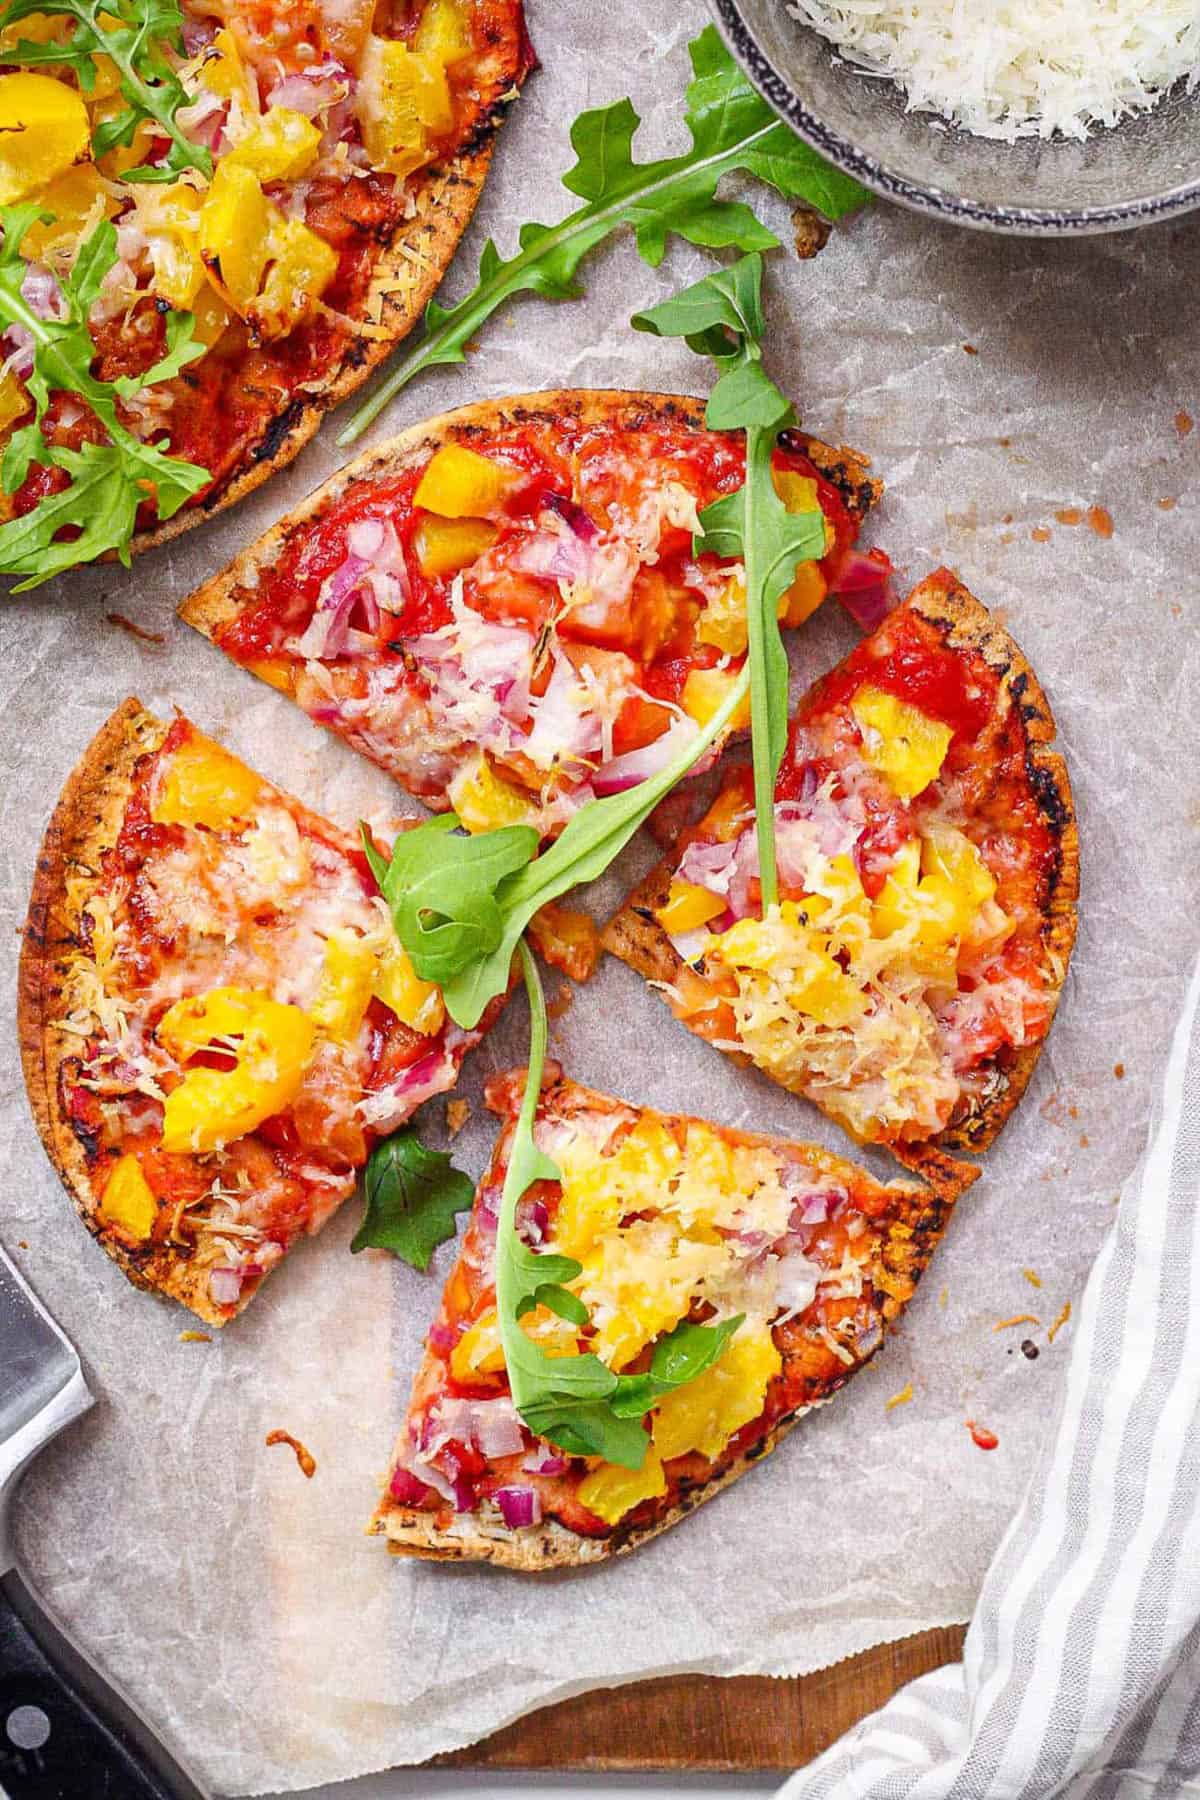
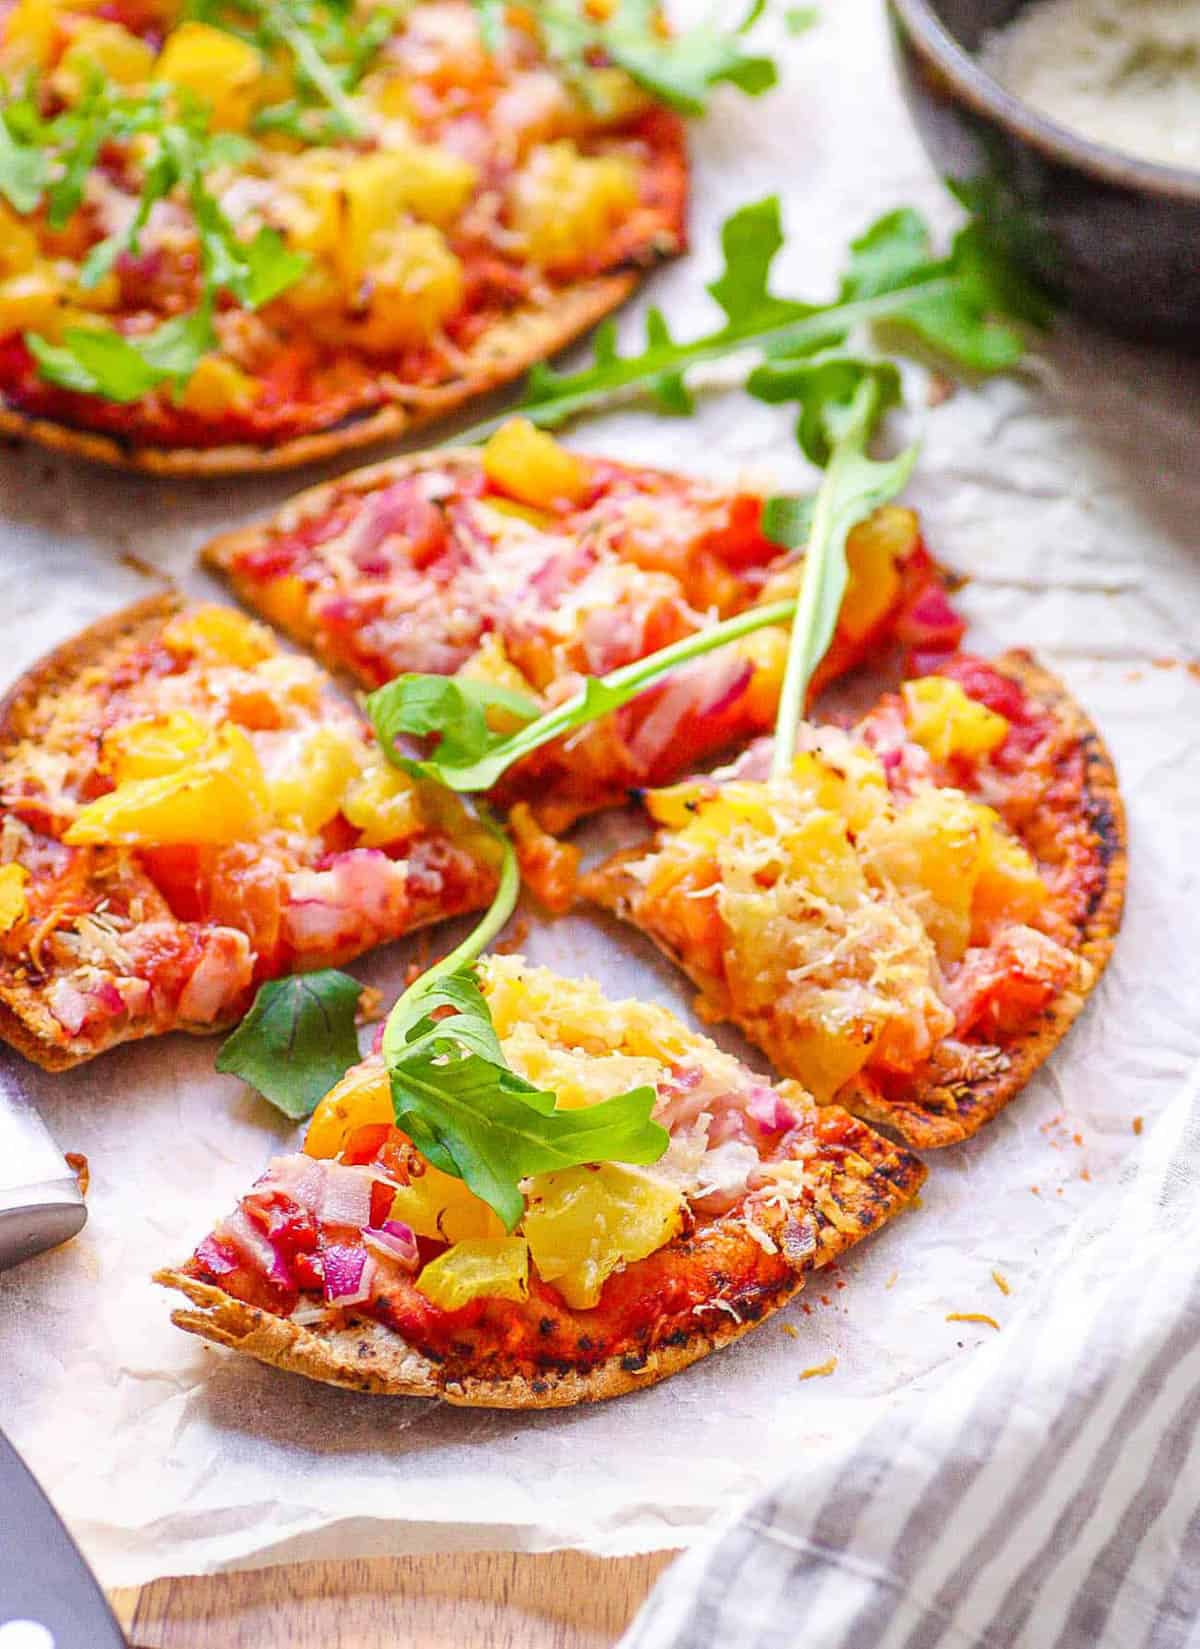
Pita pizza is one of my favorite ways to enjoy a homemade and healthy version of a beloved classic. Just like my healthy English Muffin pizzas, this recipe requires no working with or rolling out of dough. The base is already prepared, leaving me free to focus on layering flavors with my sauces and toppings. If your family can never agree on the same toppings, this is a great way to make everyone happy. Try it!
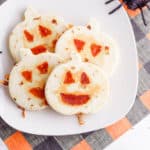
I started making these pita pizzas when quick lunches were a must. The meal needed to be quick, filling, delicious, and healthy. Since my family loves the grilled cheese pita sandwich, turning pitas into pizzas seemed like a logical step. This also served as a “craft” during school vacation. I laid out a variety of toppings and sauces and let my kids go wild. They even made a smiley face with olives and cherry tomatoes just for me.
👩🏽🍳 Why I Love This Recipe
I love being able to make a pizza that uses simple, wholesome ingredients, without making too much mess. And the fact that my kids enjoy it makes me love it even more. I use whole wheat pitas for fiber, while the tomato sauce brings a slight acidity, and the cheese provides a rich finish once melted. Homemade pizzas are also one of my favorite ways of using veggies as fun toppings.
Since this recipe uses pitas instead of standard bases or dough, I treat them a little differently. I warm the pita slightly before adding toppings to ensure the base holds its structure. Then I bake it just until the cheese melts and the edges crisp up. I like keeping the toppings light to ensure everything cooks properly without becoming soggy.
When my kids were little, they thought pitas were actually called Peter bread. Ha! This was a great way to get them interested in pita pizzas with loads of veggie toppings. I added some spinach and called it a Peter Pan pita pizza, since it was the same color as his tights. Olives, red bell peppers, and tomatoes adorned the Peter Parker pizza. And our famous Stinky Pete, aka the prospector from Toy Story 2, was how I got my kids to try some really sharp and stinky cheese. Next time you make these for your kids, have some fun with them!
Latest Recipe Video!
🥘 Ingredients
For this pita pizza, I use everyday staples that do a great job of delivering that trademark pizza flavor. This is what I use:
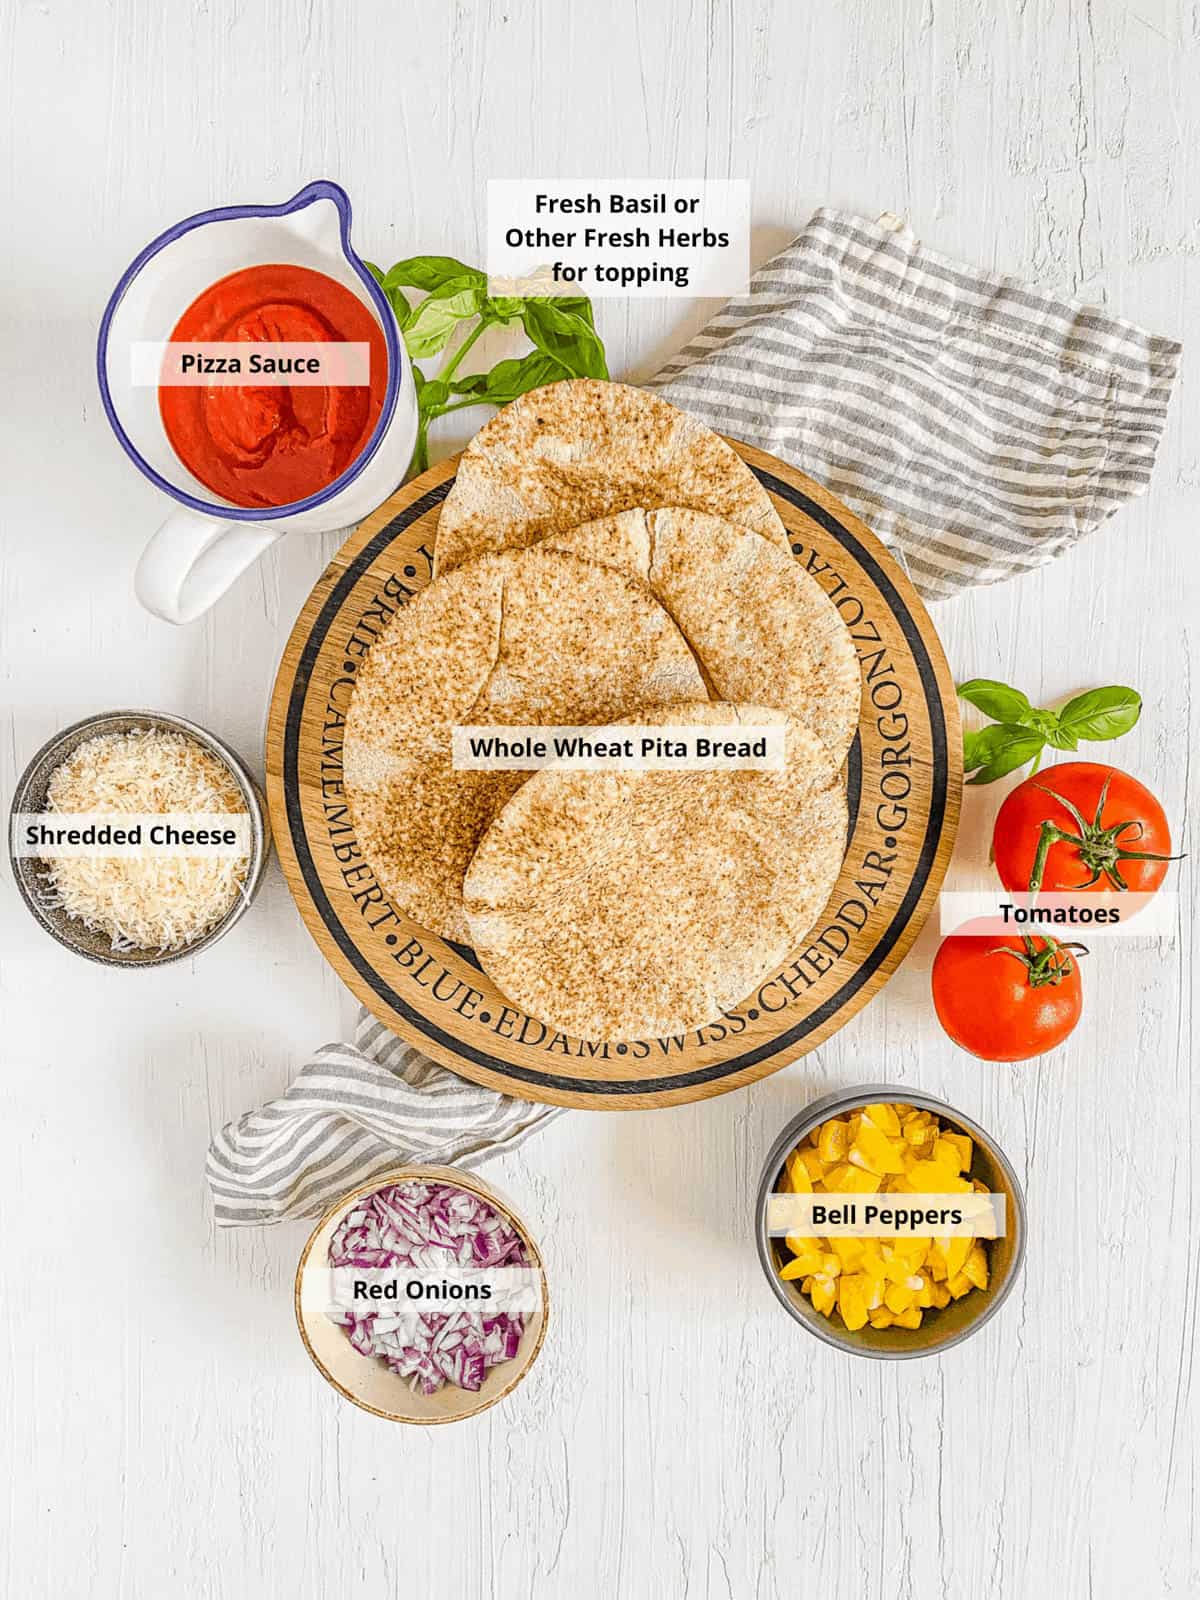
Whole wheat pita bread: I use whole wheat pitas for a sturdier base and added fiber. I usually choose the ones that are slightly thicker.
Pizza sauce: Store-bought pizza sauce works well, or sometimes I use my healthy marinara sauce instead.
Cheese: I use shredded parmesan or mozzarella, depending on what I have, adding just enough to melt across the surface.
Vegetables: I like using sliced red onion, bell peppers, mushrooms, and tomatoes for a mix of natural sweetness and texture.
Seasoning: Dried oregano, garlic powder, or chili flakes enhance the overall flavor.
🔪 How To Make
Making these pita pizzas could not be quicker or easier. You can even let your kids assemble them. This is how I do it:
Prep ingredients: I start by warming the pitas in a toaster oven or in a pan over a low heat. Then I chop and prepare any vegetables I may be using.
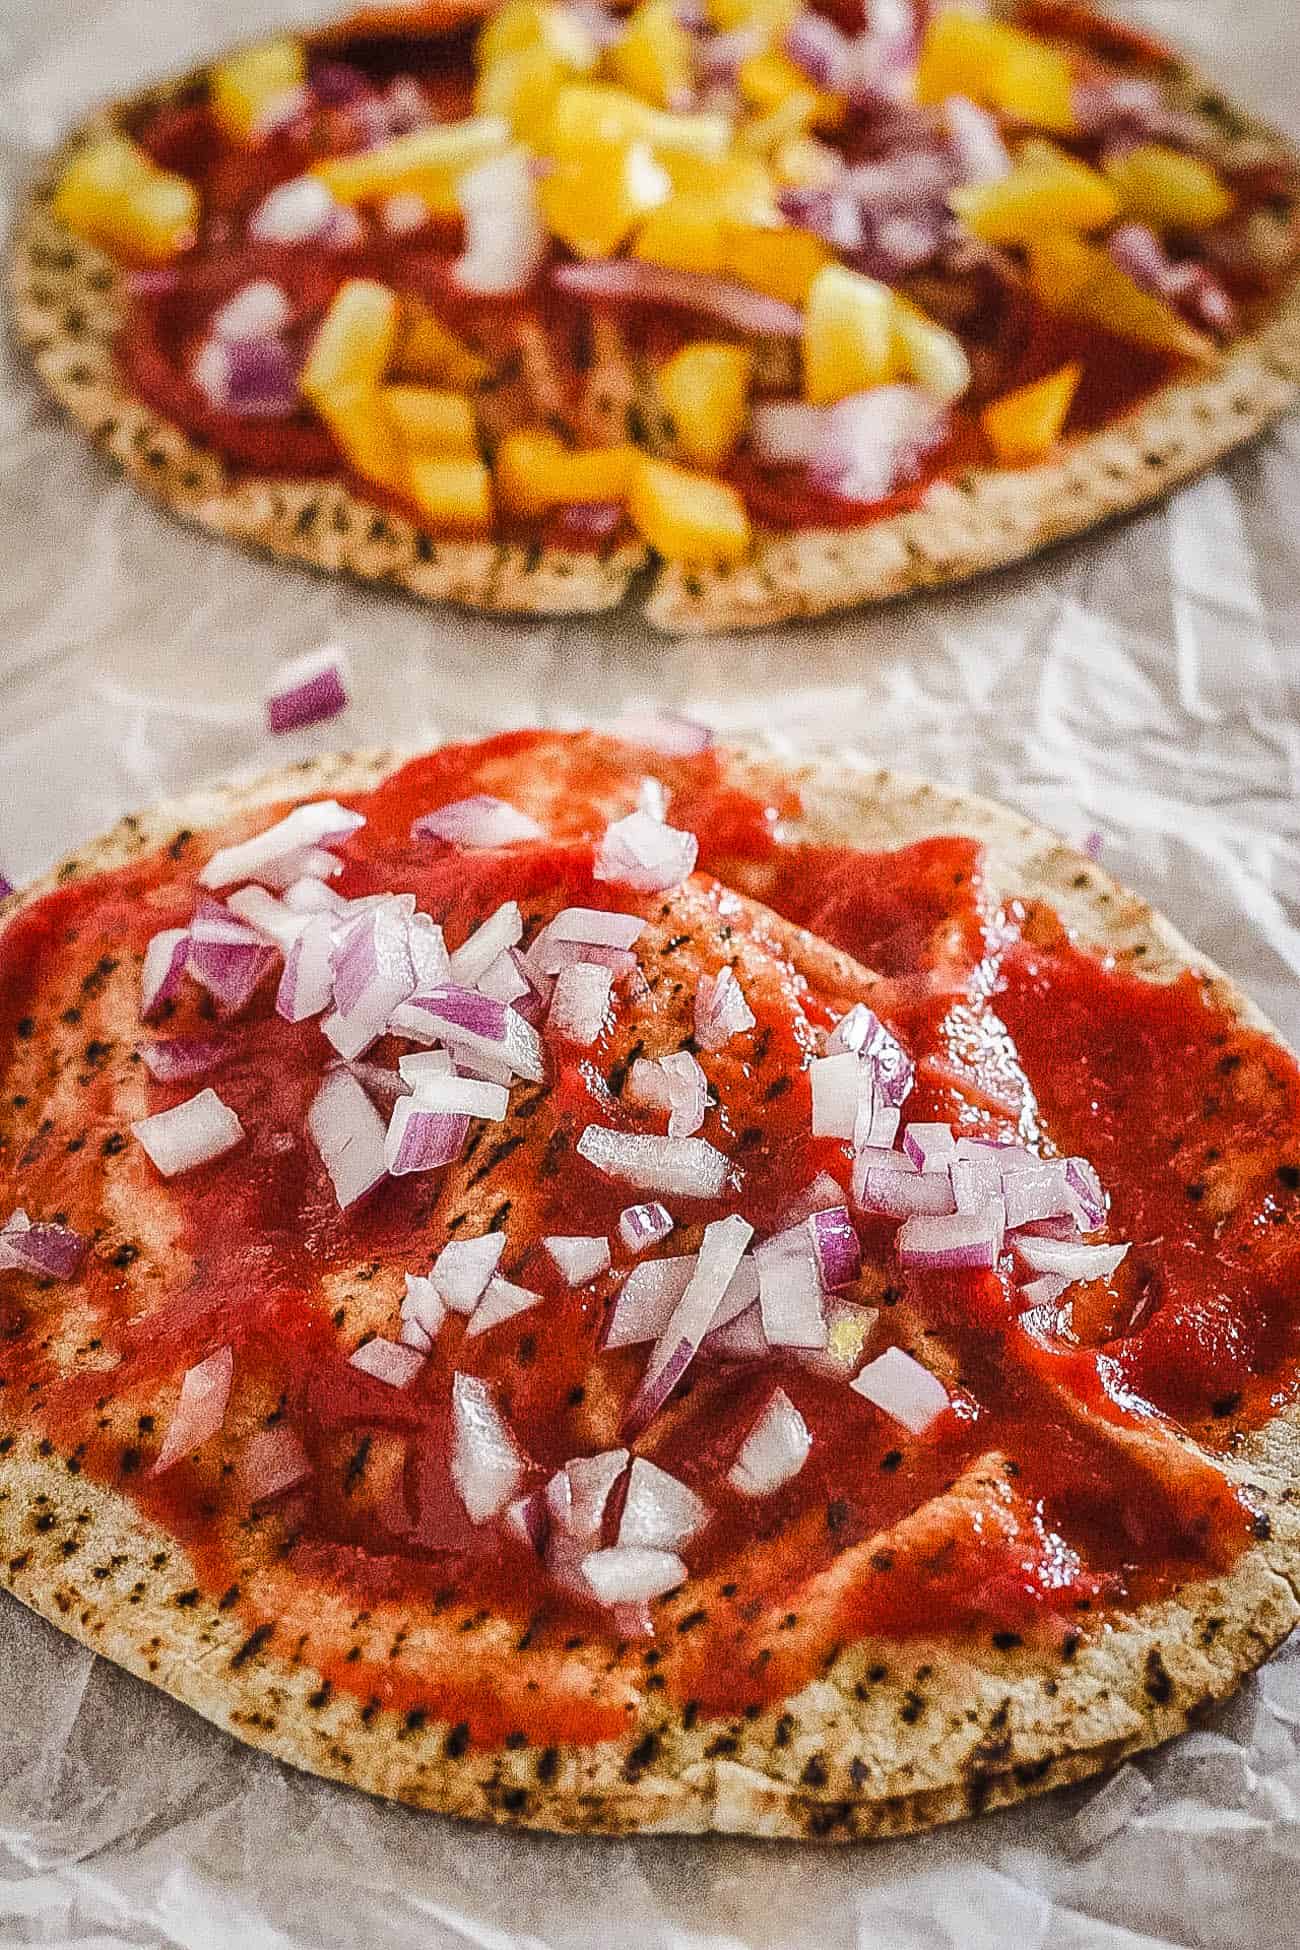
Add toppings: Next, I brush the top of the pitas with a layer of pizza sauce, and add a handful of my selected veggies, and spread them over the base. Then I top the veggies with 1/4 cup of shredded cheese.
Bake: I cook the pita pizzas in a toaster oven until the cheese melts and the edges are crispy.

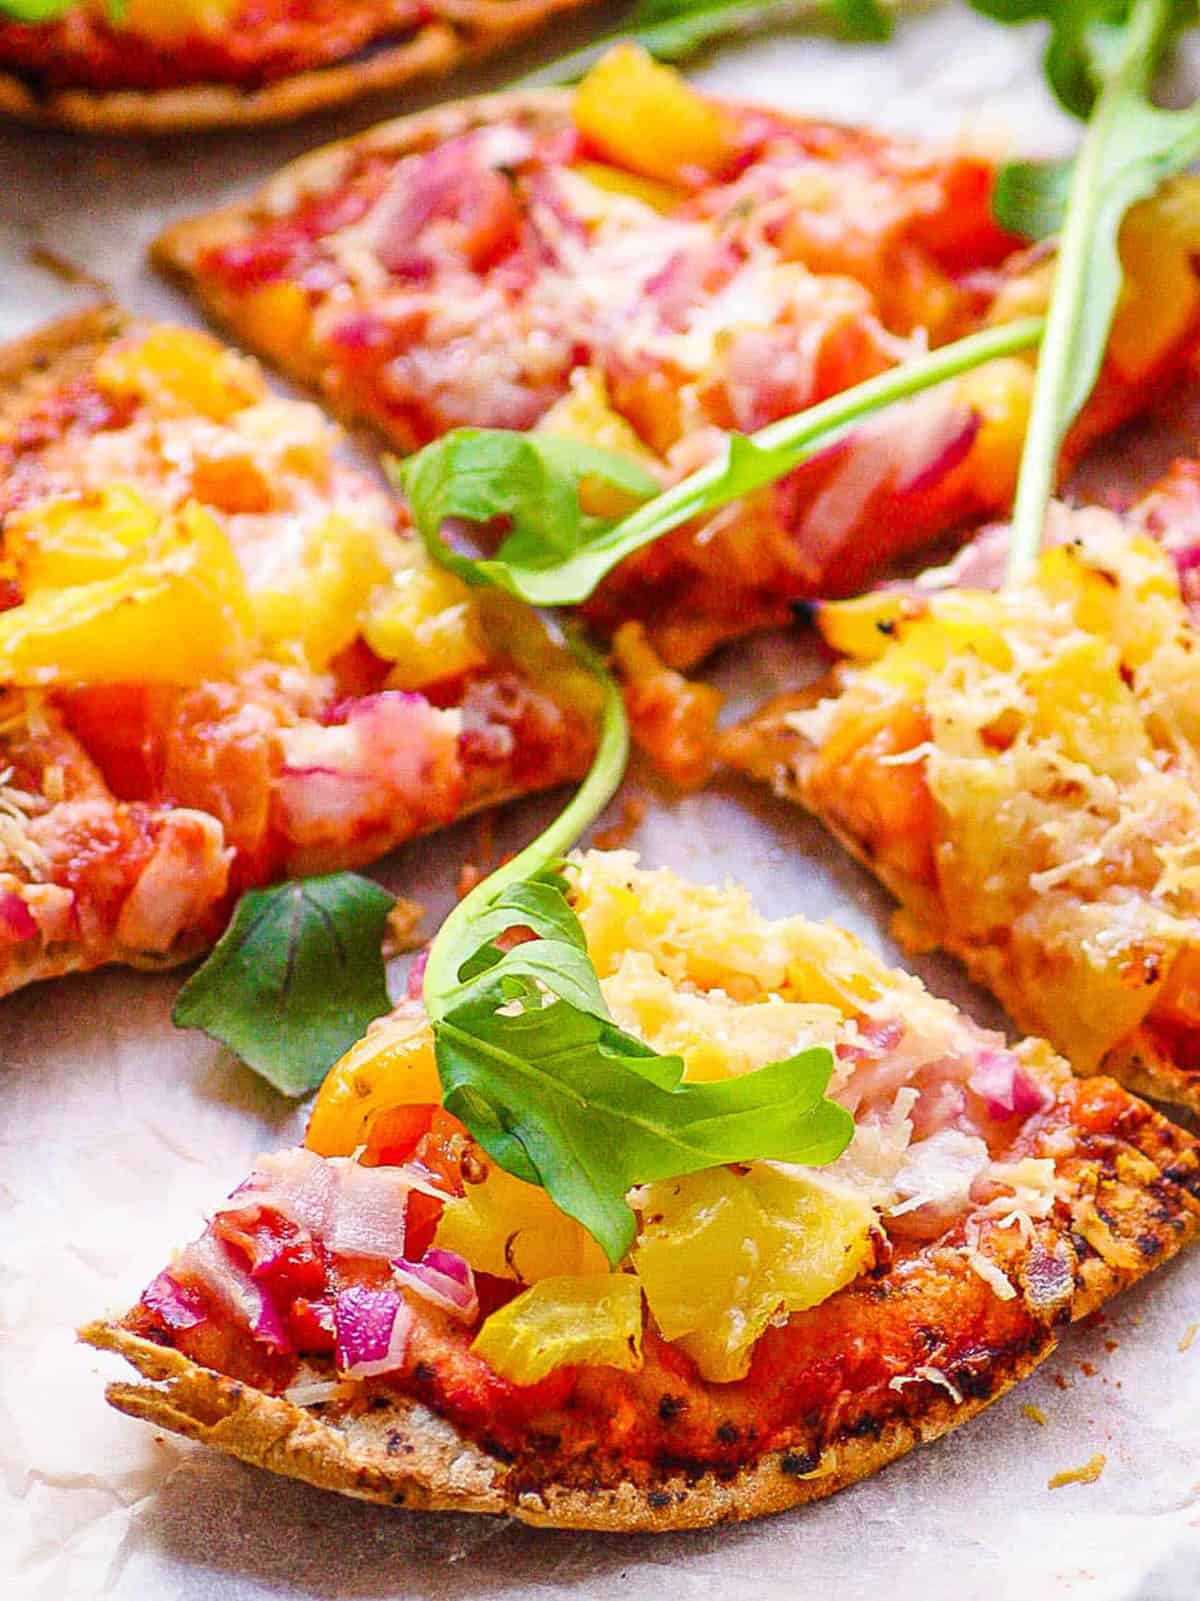
Slice and serve: I slice the pizzas into quarters and serve them warm.
💭 Expert Tips
My #1 Secret Tip for this pita pizza recipe is to toast the pitas before adding sauce or toppings. This gives me a sturdier base and prevents the pita from absorbing moisture and becoming soggy instead of crispy.
Other Tips To Keep In Mind:
- Rest before serving: Before I cut my pizzas, I let them sit for a minute or 2 and give the cheese a chance to set. This stops the cheese and toppings from sliding off when I cut it.
- Season your layers: I like to season my cheese and toppings with fresh or dried herbs and spices for a truly flavorful bite.
- Prep ingredients before starting: Before I even put my pitas in the oven, I like slicing and prepping all my toppings and cheese to make the process quick and easy.
- Make ahead: I like freezing unbaked topped pita pizzas in the freezer ahead of busy weeks. These should be wrapped tightly in plastic wrap and will keep for 6 weeks.
📖 Variations
I have tried many variations over time, but these are the 4 that get the most repeats and compliments in my house:
Classic cheese mix: For this one, I stick to the basics and use 1/2 cup of mozzarella with a sprinkle of parmesan and a few pieces of fresh, torn basil before serving. If my kids are in an extra-picky mood, this is what I make.
Loaded veggie version: I add 1/2 cup of mixed sliced vegetables and use slightly less cheese for a more nutritious option. For this one, I like using green bell peppers, mushrooms, tomatoes, and zucchini. I recommend sauteeing the veggies in a pan before using them as a topping.
Pesto base swap: I swap out the tomato sauce for 2 tablespoons of my vegan basil pesto and top it with mozzarella and fresh tomatoes. This reminds me of a caprese salad and does well with a drizzle of balsamic glaze.
Mediterranean mix: For this version, I use 1/4 cup of drained cubed feta, sliced kalamata olives, a handful of spinach, and 2-3 chopped sundried tomatoes. This one has a slight tanginess, which my husband loves.
🍽 Serving Suggestions
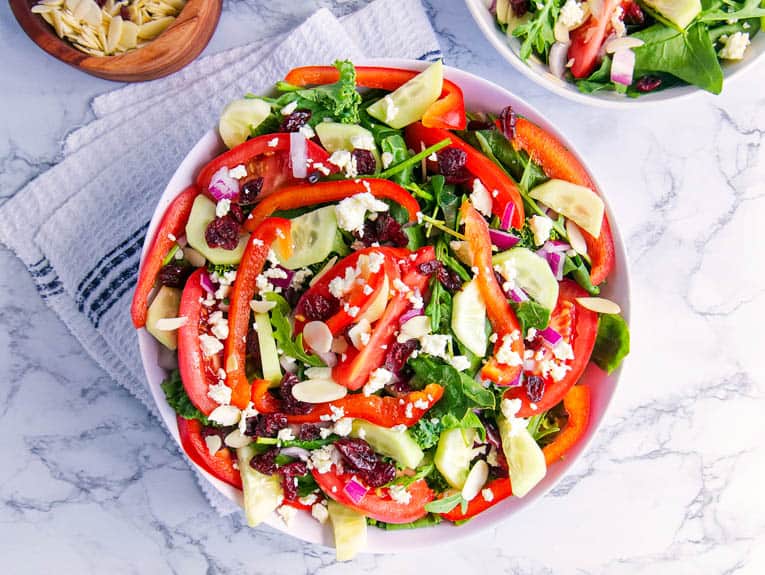
Whenever I make pita pizzas, I like serving them with lighter sides that are fresh and crisp. And if my kids have selected their own toppings, I know I need to sneak some veggies onto the plate. I recommend serving these pita pizzas with my Chick-fil-A kale salad for a refreshing contrast. If you have decided to make classic margherita pizzas, try dipping them in some of my homemade vegan ranch dressing. Trust me, you will love it.
The last time I made pita pizzas, I deviated slightly from the regular sauce and toppings and decided to use a few leftovers from a party I hosted the night before. I layered a thin spread of tomato sauce, followed by some kale dip with cream cheese and parmesan, and topped it with slices of my miso mushrooms. Since it was cheesy enough, I finished it off with a light dusting of parmesan. Next time, I am making a larger version of this for my family. It was divine!
🧊 Storing And ♨️ Reheating
Refrigeration: I store leftover pita pizzas in an airtight container in the refrigerator for 3-4 days.
Freezing: I wrap fully cooked and cooled pizzas tightly with plastic wrap and freeze for up to 2 months.
Reheating: To reheat, I place my refrigerated or frozen pizzas in a toaster oven, oven, or air fryer at 350F until warmed through and the base has crisped.
❓Recipe FAQs
What is the best method for making these pita pizzas if I do not have a toaster oven?
A standard oven set to 350F works well, but the broiler setting is the closest to what a toaster oven does. I recommend crisping up your bases for 2-3 minutes on the bake setting before adding your sauce and toppings. Then place the assembled pizzas on a foil-lined baking sheet, and place it on the middle rack. Make sure to watch them constantly, as the broiler can take the pizzas from golden to burnt fast. You could also use your air fryer on 35F and cook each pita pizza for 10-14 minutes.
How do I stop my vegetable toppings from releasing too much moisture?
Raw vegetables like tomatoes, mushrooms, bell peppers, and zucchini have a naturally high water content. To prevent this, I would recommend sauteeing your vegetables before adding them to the pizza, as this will release most of their liquid. This will also concentrate the flavor of the toppings, which works in your favor. But if you prefer to use raw toppings, then be sure to keep the cuts thin and uniform, and not overcrowd the base.
What do I do with pita bread that has already dried out and cracked?
Do not throw it away! Dried-out pitas are quite salvageable. When this happens, I run the pit under cold water briefly on each side, wrap it in a damp paper towel, and microwave it for 15-20 seconds. The steam generated from the paper towel rehydrates the bread from the inside out and brings back enough pliability for me to use it without further cracking or splitting.
🍕 More Flatbread & Pizza Recipes!

Love this healthy pizza recipe? Please leave a 5-star rating 🌟 in the recipe below and/or a review in the comment section further down the page!
You can also FOLLOW ME on FACEBOOK, INSTAGRAM, and PINTEREST to see more delicious, healthy, family-friendly food, and if you have any questions, I’m here to help!
📋 Recipe Card
🎥 Watch How to Make It

Easy Pita Pizza (4 Ways!)
Craving pizza but want something quick without the fuss of rolling out dough? This pita pizza checks all the boxes for flavor, nutrition, and convenience that does not involve takeout. I use whole wheat pitas, tomato sauce, and melted cheese for a classic base that can be topped with anything. It is ready in just 15 minutes and is ideal for busy days.
Servings: 4 servings
Calories: 276.5kcal
Ingredients
- 4 Whole wheat pita breads make sure you get one that has ~130 calories and at least 4g fiber per round
- ½ red onion diced
- 1 yellow bell pepper diced
- 2 tomatoes diced
- 1 cup freshly grated parmesan cheese you can use up to 1/4 cup per pizza, no more than that!
- 8 tbsp pizza sauce more or less as needed
Instructions
- Warm your pita bread in a toaster oven or in a pan over low heat and chop your veggies
- Top 1 pita bread with 1-2 tbsp sauce, and a handful of each of the veggies (use as much as you like – the more veggies, the more fiber and nutrients are on your pizza!) I like to use a ton of veggies.
- Top with 1/4 cup of cheese, or less depending on how much cheese you like (1/4 cup is about 100 calories)
- Heat the pizzas in a toaster oven until the cheese melts. Alternatively, if you don’t have a toaster oven, you can heat the pizzas under a broiler at 350 degrees until the cheese melts (or in your regular oven at 350 degrees).
Notes
- My #1 Secret Tip for this pita pizza recipe is to toast the pitas before adding sauce or toppings. This gives me a sturdier base and prevents the pita from absorbing moisture and becoming soggy instead of crispy.
- Rest before serving: Before I cut my pizzas, I let them sit for a minute or 2 and give the cheese a chance to set. This stops the cheese and toppings from sliding off when I cut it.
- Season your layers: I like to season my cheese and toppings with fresh or dried herbs and spices for a truly flavorful bite.
- Prep ingredients before starting: Before I even put my pitas in the oven, I like slicing and prepping all my toppings and cheese to make the process quick and easy.
- Make ahead: I like freezing unbaked topped pita pizzas in the freezer ahead of busy weeks. These should be wrapped tightly in plastic wrap and will keep for 6 weeks.
Nutrition
Serving: 1pita | Calories: 276.5kcal | Carbohydrates: 31.9g | Protein: 16.9g | Fat: 10g | Sodium: 975.5mg | Fiber: 6g | Sugar: 3.5g














What a genius way to make a quick & easy pizza! I just think I might do this tonight. 🙂
Thanks so much Carrie! Enjoy!
This is perfect for dinner tomorrow night! My family is going to absolutely love this. So excited!
Yay!! I can’t wait for you all to try this recipe!
This looks so delish! Super healthy, too. I’m gonna make one for my son 🙂
Thanks so much Sharon! I’m sure he will love it!
This made the perfect dinner this week! I loved all the variations and everyone got to customize their own.
Yay! I’m so happy to hear that Caitlyn! 🙂
This is such a great way of using up leftover pitas! There are always so many in a pack and we can never finish them. So much lighter too. Love all the different variations we can try too.
Totally!! When we make this recipe we can easily go through almost a whole pack of pitas! Enjoy!
Love the pita pizza idea, and all the variations! So simple and delicious.
Thanks so much Biana!
I will try these tonight. I’ve been thinking how to make healthy pita pizzas at home, brought all the ingredients and it’s what’s for dinner!!! I let you know how they come out and if my Fiance loves them too??? Ms. High
Awesome!! I’m sure you and your fiance will enjoy these pita pizzas! They are one of my favorite weeknight meals 🙂 Keep me posted on how they turn out!
How is the Trader Joe’s pizza sauce in comparison to others? I have tried the typical pizza sauce brands and found them to be pretty bad. I want something that actually tastes tomato-y and fresh. Thanks in advance for the answer!
Hi Judy! I actually love the Trader Joe’s pizza sauce — I think it’s one of the best (they have a freshly made one in the prepared foods section that’s even better than the jarred version). Hope that helps!
Thank for sharing your yummy recipe. I love it and featured it in my round up “15 healthy recipes you can make with your toddler”. Feel free to come check it out and grab a button if you like ‘i was featured’ swag.
The post lives here: https://www.creativecarissa.com/2012/11/15-healthy-recipes-you-can-make-with.html
Cheers!
Carissa
Aw thanks so much for featuring me Carissa! Hope you and your family enjoyed the mini pizzas! 🙂
Just tried this last night! My husband wanted to order take out pizza but I told him that we should try this instead. I made it and the first thing he said was “this is great!”. He ate the whole thing AND made a second one. Thank you!! Will add this to my weekly recipes.
Woohoo!! That is so awesome – sounds like your husband is as big a fan of this recipe as my hubby is 🙂 So glad you both liked this recipe!
Love the recipe! I plan on making it this weekend. I appreciate your healthy and wholesome ingredients 🙂
Yaaay! Thanks Stephanie! I hope you loved these when you made them!
That pizza looks great. Children tend to like pizza and this is a good way to introduce healthy eating with something they enjoy.
Absolutely! That’s the idea 🙂 And as Val mentioned above, you can get the kids involved when you make these fun pizzas as well!
So pretty and colorful! This is a great idea for a quick family dinner — each kid would get to pick their own toppings and then you can pop them all in the oven. Done and done. Also, I love Trader Joe’s whole wheat pizza dough but this seems so nice and easy to pull together.
Thanks Val! You are totally right – you could make this into a “pizza bar” and each kid could make their own pizza with a variety of topping options! I love Trader Joe’s whole wheat pizza dough too, but it definitely takes more time to make since you have to roll it out/bake it/etc. Hope you like this when you try it! 🙂
This looks so easy to make and delicious too! I’ll have to try it this weekend.
Thanks so much!! I’m sure you will love it!
Looks amazing…will add this to the menu for my wife’s bday dinner this weekend!
Aw yay! I hope she loves it and I hope she has a great birthday weekend!
Great recipe. Tried it at home. Will make it available to my catering clients
Awesome!! That’s great Norman!