

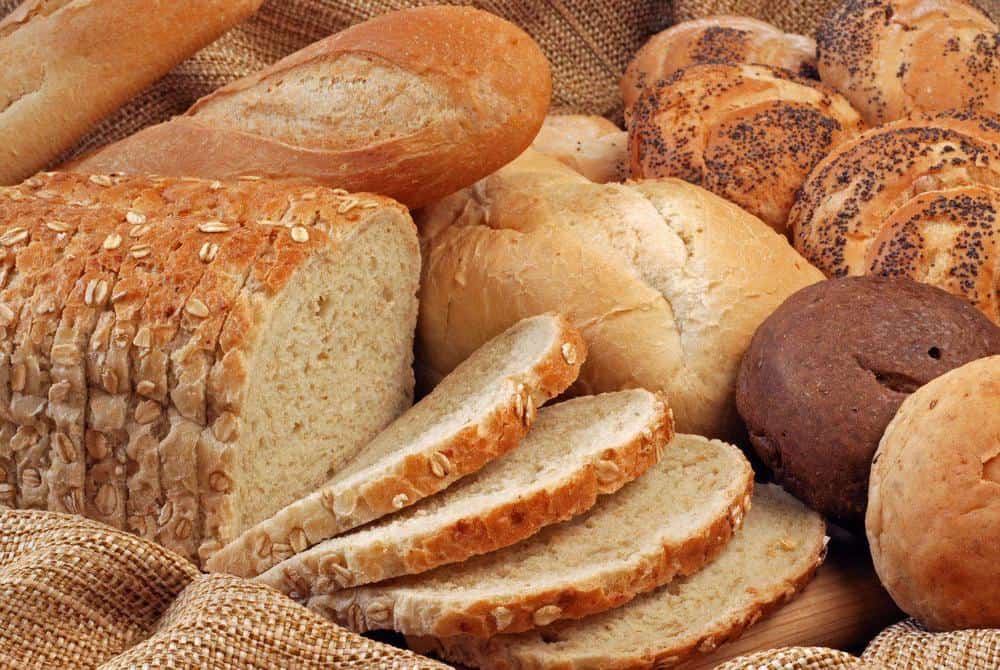
Easy Low-Calorie Gluten Free Bread Recipe
This post may contain affiliate links. As an Amazon Associate, I earn from qualifying purchases. Please read my disclosure.My homemade gluten-free bread recipe is incredibly delicious and super easy to make in both the oven and a bread machine. It slices effortlessly and has the perfect soft, chewy texture that is ideal for sandwiches, toast, and all your favorite bread-based meals. This is such a simple low calorie gluten free bread that anyone can make!

I’ve been eating gluten-free for quite a few years now, and when I first started switching to gluten-free items, bread was one of the hardest swaps to make! On top of that, I don’t love most store-bought gluten-free bread because it has a ton of additives and processed starches to make up for the lack of wheat flour or other gluten-containing grains like rye or barley. So while it’s gluten-free, you end up eating bread that’s higher in refined carbs and sugar and low in fiber, protein, and other critical nutrients.
I have found a handful of good gluten-free bread brands out there like Happy Campers, Canyon Bakehouse, and Udi’s, but they can be hard to find and are also pretty expensive compared to regular bread!
That’s why I am super excited to share my easy gluten free bread recipe. It’s not only good for you but is also soft, fluffy, and tastes great! Whether you have celiac disease, a gluten allergy or sensitivity, are following a gluten-free diet, or just want to try a different homemade healthy bread, this recipe is for you!
👩🏽🍳 Why I Love This Recipe
Making gluten-free bread at home can be tricky, which is why I have tested this recipe over 50 times so that I could guarantee the end result!
I’m happy to share that this is the most delicious and healthiest gluten free bread recipe I’ve ever made. It tastes just like regular bread with a soft and tender crumb that will win over any bread lover!
My recipe is just as healthy as it is delicious. Made with whole grains, it’s a high-fiber gluten-free bread recipe that is also high in protein and low in sugar. One slice has almost 6 grams of fiber, 8 grams of protein and 2 grams of sugar.
Plus, it’s really easy to customize this low fat gluten free bread. You can easily make my recipe vegan and dairy free with just a few swaps (see my variations section below). That makes it the perfect gluten free sandwich bread for anyone.
But my favorite thing is that my homemade gluten free bread recipe doesn’t require any kneading or fancy ingredients. It’s perfect for beginner bakers. You also have the option of baking it in your oven or a bread machine — see my notes below on how to do this!
Latest Recipe Video!
🥘 Ingredients
You only need a few basic ingredients to make my gluten-free homemade bread. You can find everything you need at your local grocery store. Scroll down to the recipe card at the bottom of the post for the exact amounts and nutritional information.

Gluten Free Flour: Almost any gluten free flour will work as long as it includes xanthan gum, which mimics gluten. Typically gluten free flour is a mixture of brown rice flour, potato flour, tapioca starch (or potato starch), maybe a few other gf flours, and xanthan gum.
Dried Yeast, Apple Cider Vinegar, and Baking Powder: These leavening agents are essential for helping my healthy gluten free bread rise. The dried yeast ferments to produce carbon dioxide, giving the bread lift, while apple cider vinegar reacts with the baking powder to create bubbles, enhancing the texture.
Cane Sugar, Warm Almond Milk, And Salt: Together, these ingredients activate the yeast and add flavor. Using unsweetened almond milk instead of regular milk also keeps this recipe dairy-free. While I haven’t tested other plant-based milks, I believe that any low-fat non-dairy milk should work, just make sure it’s unsweetened.
Egg Whites And Olive Oil: These act as binders that bring the dough together. To make my recipe vegan and dairy-free, you can replace the egg whites with aquafaba, which is one of many vegan egg substitutes. In the variations section below, I’ve included details on how much aquafaba you’ll need and how to use it.
Sesame Seeds: I use this for topping the bread, and trust me, a little bit goes a long way! I have also used sunflower seeds, pumpkin seeds, or a mix of chopped nuts and seeds – and all work well. Or, if you prefer, make your bread without a topping and omit this ingredient.
What Gluten-Free Flour Is Best For Bread?
One of the most important things I’ve found when making any gluten free bread recipe is choosing the right flour. For yeast bread, you must use a gluten-free flour blend meant for yeast recipes that includes xanthan gum or add xanthan gum to the blend. Gluten free bread without xanthan gum won’t have the proper texture.
I would recommend these five flours for yeast breads:
- Arrowhead Mills Organic Gluten Free All Purpose Flour
- Better Batter Blend
- Judee’s All Purpose Gluten Free Bread Flour
- Bob’s Red Mill Gluten Free All Purpose Baking Flour (need to add xanthan gum)
- Pillsbury Gluten Free Flour Blend
You can also experiment with mixing your own gluten-free flour blend! It’s a great way to control what grains you’re using if you have other grain allergies or if you live at high elevations or in places where baking is impacted by environmental factors.
Custom flour blends can also improve the texture of your bread and other baked goods. Here are some gluten-free flours that I have used to make my own custom flour blends, and that work well for baking bread:
- Buckwheat Flour
- Sorghum Flour
- Cassava Flour
- Millet Flour
- Oat Flour
- Brown Rice Flour
🔪 How To Make Gluten-Free Bread
I promise, learning how to make healthy gluten free bread is easy, even if you’re not an experienced baker. The dough comes together effortlessly, and I’ve included instructions on how to bake the bread in both the oven and a bread machine.
Watch my video below to see the step-by-step process of making my gluten free low calorie bread.
Proof The Yeast: In a small bowl, I mix together the yeast, sugar, and warm milk. Then I cover the bowl and set it aside in a dry, warm place (typically room temperature) to proof for about 10 minutes.

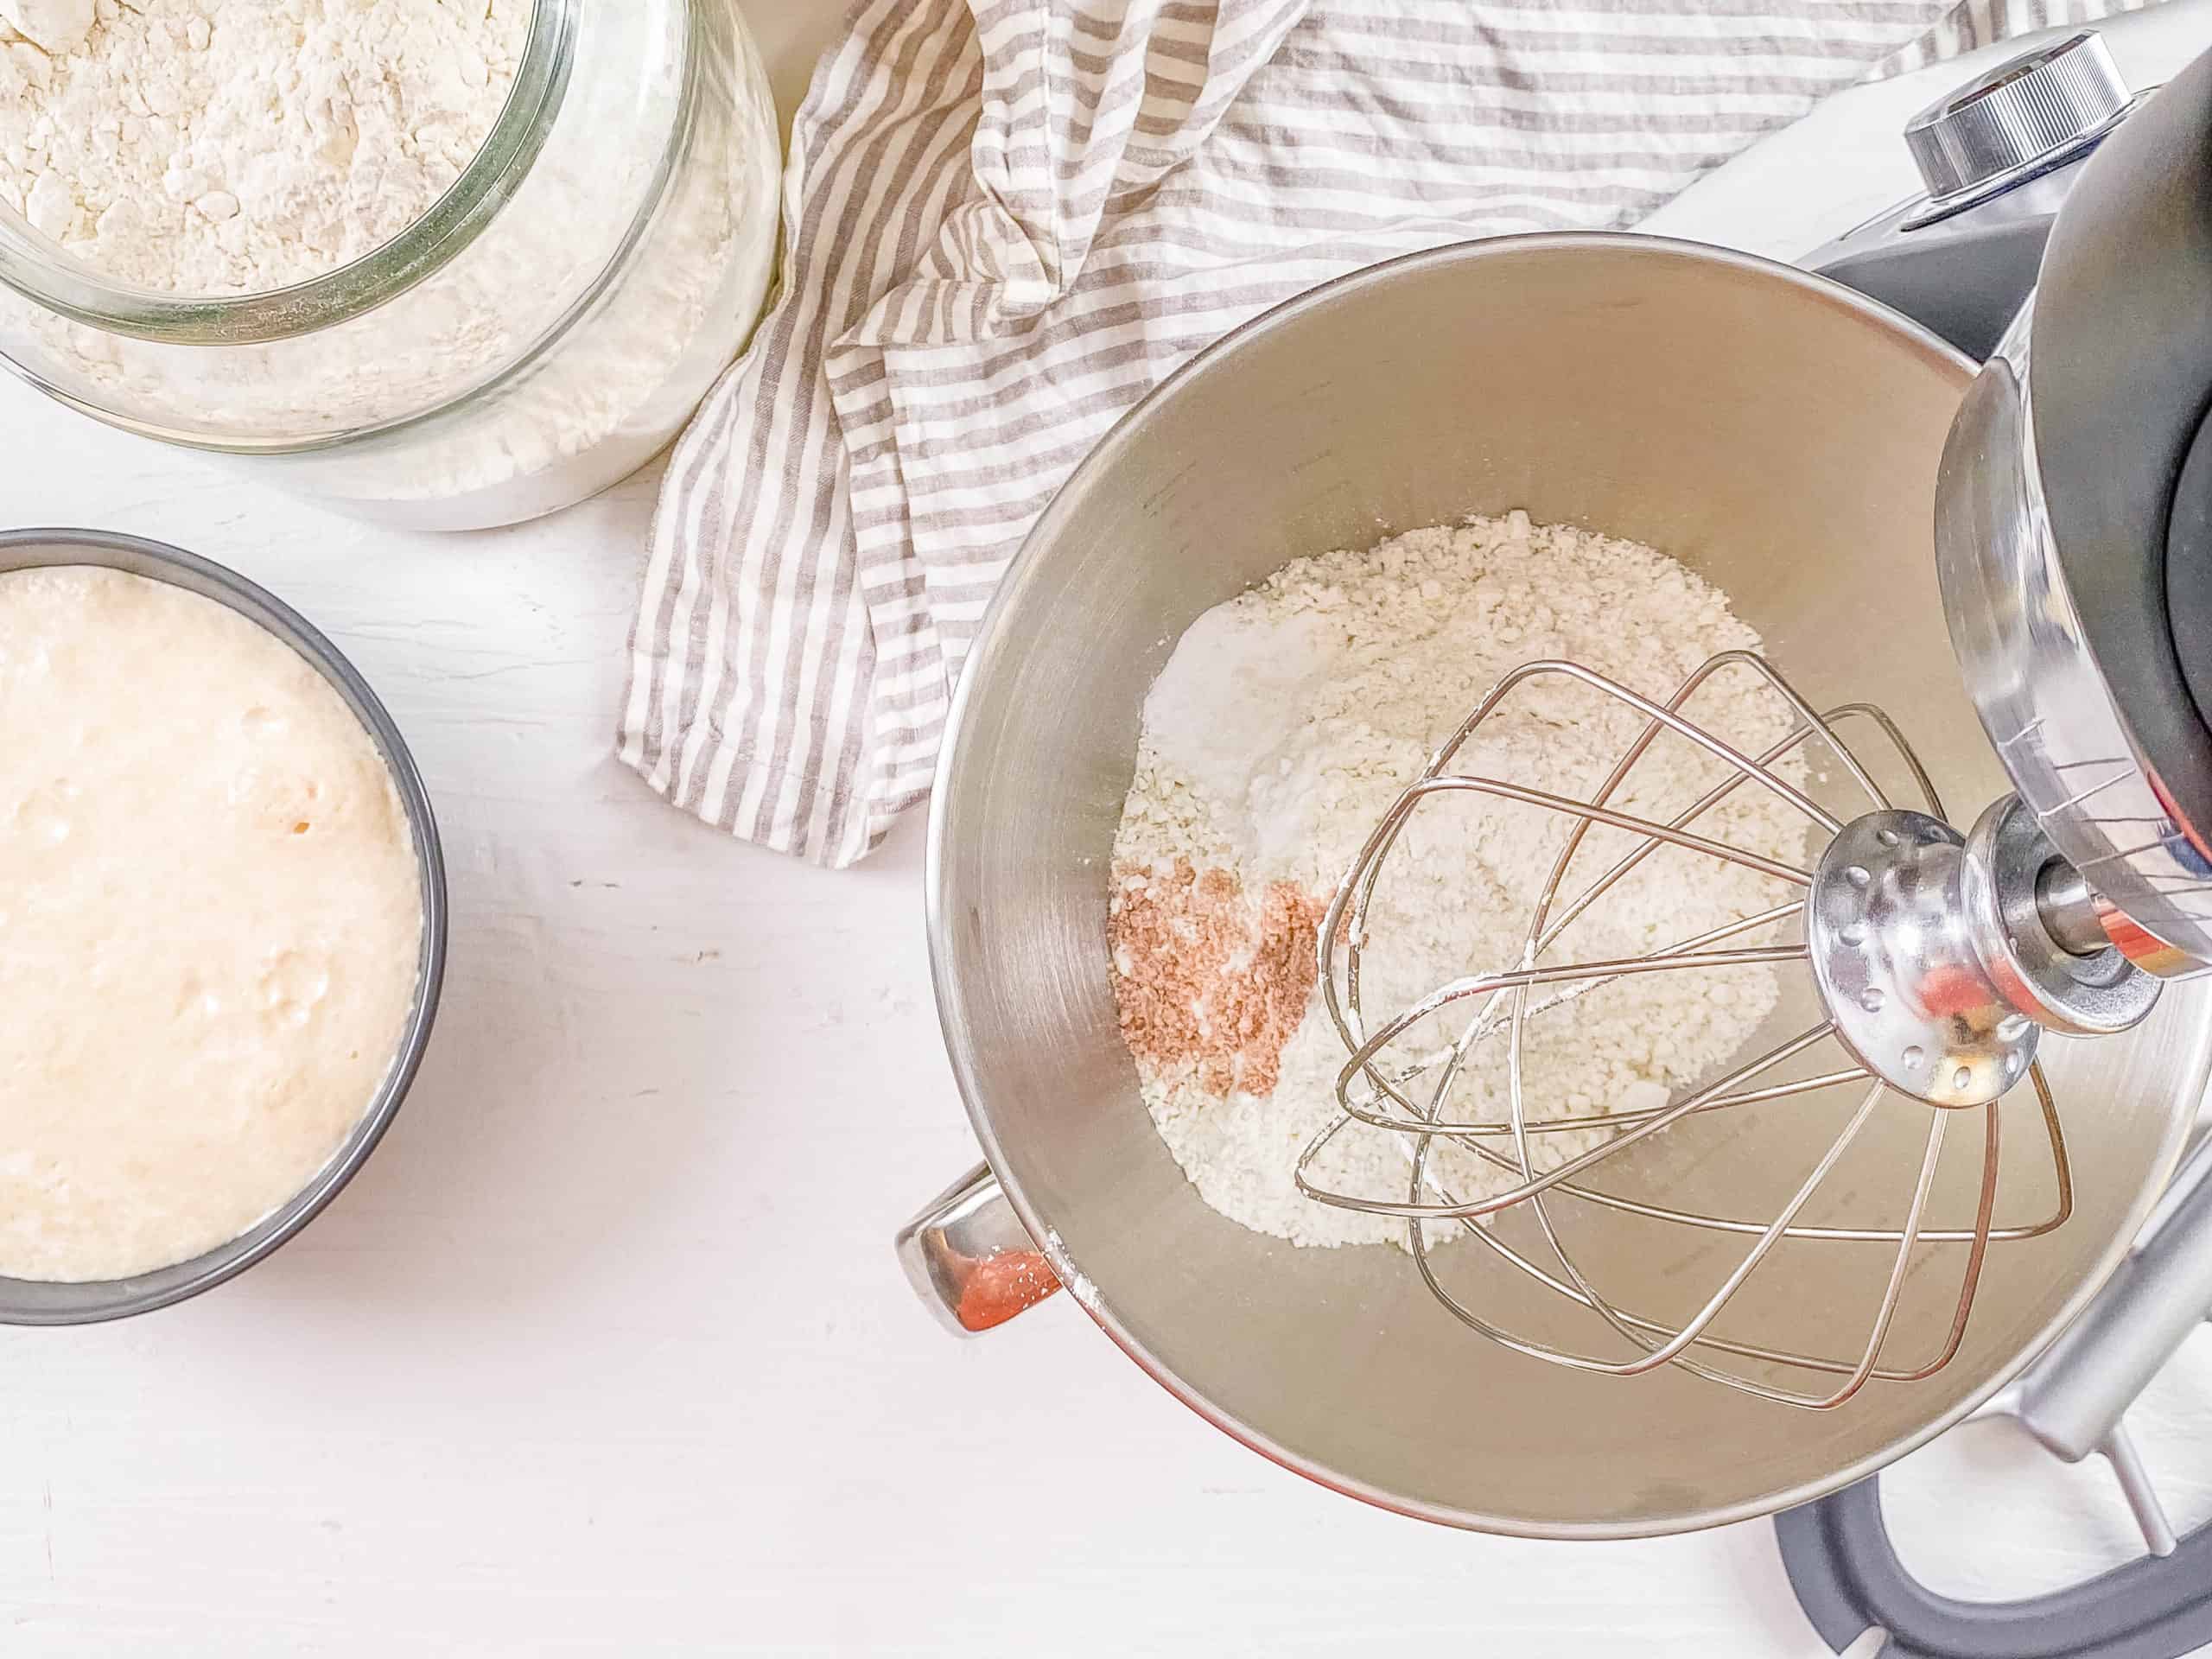
Combine The Dry Ingredients: While the yeast is proofing, I whisk together the flour, baking powder, and salt in the large bowl of a stand mixer.
Mix The Wet Ingredients: Once the yeast starts to bubble, I add it to the flour mixture along with the apple cider vinegar, oil, and egg whites.
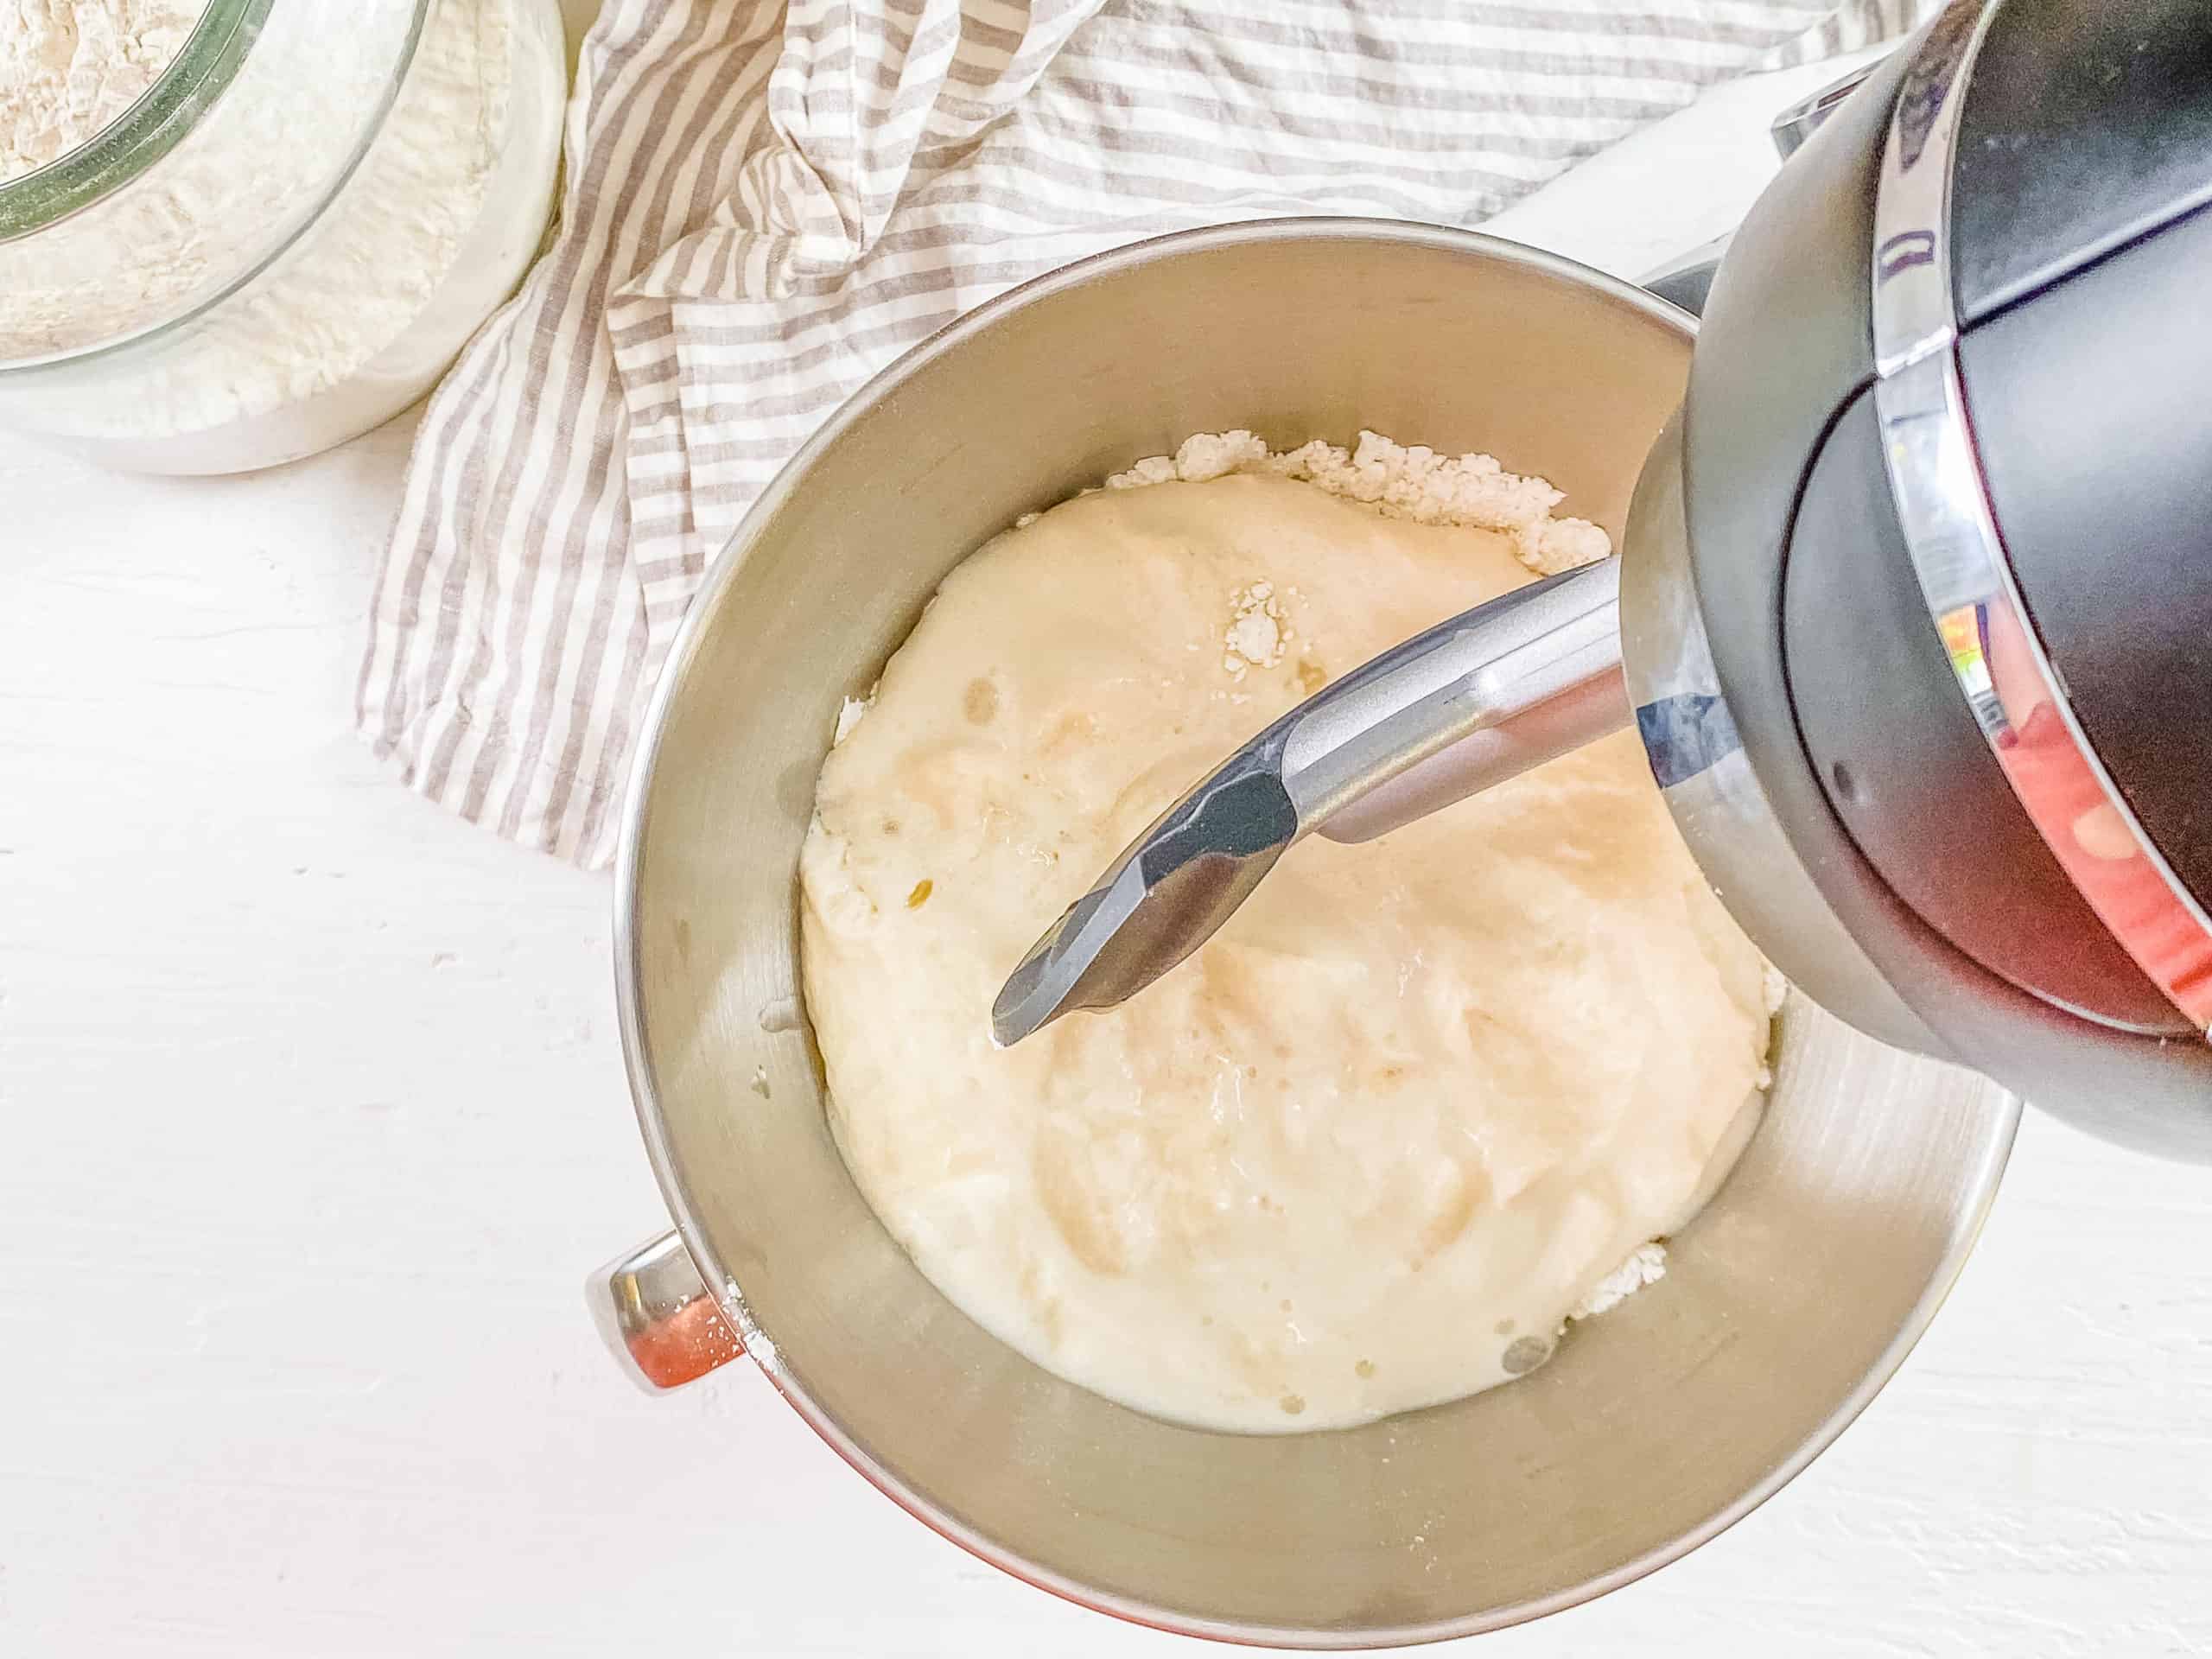
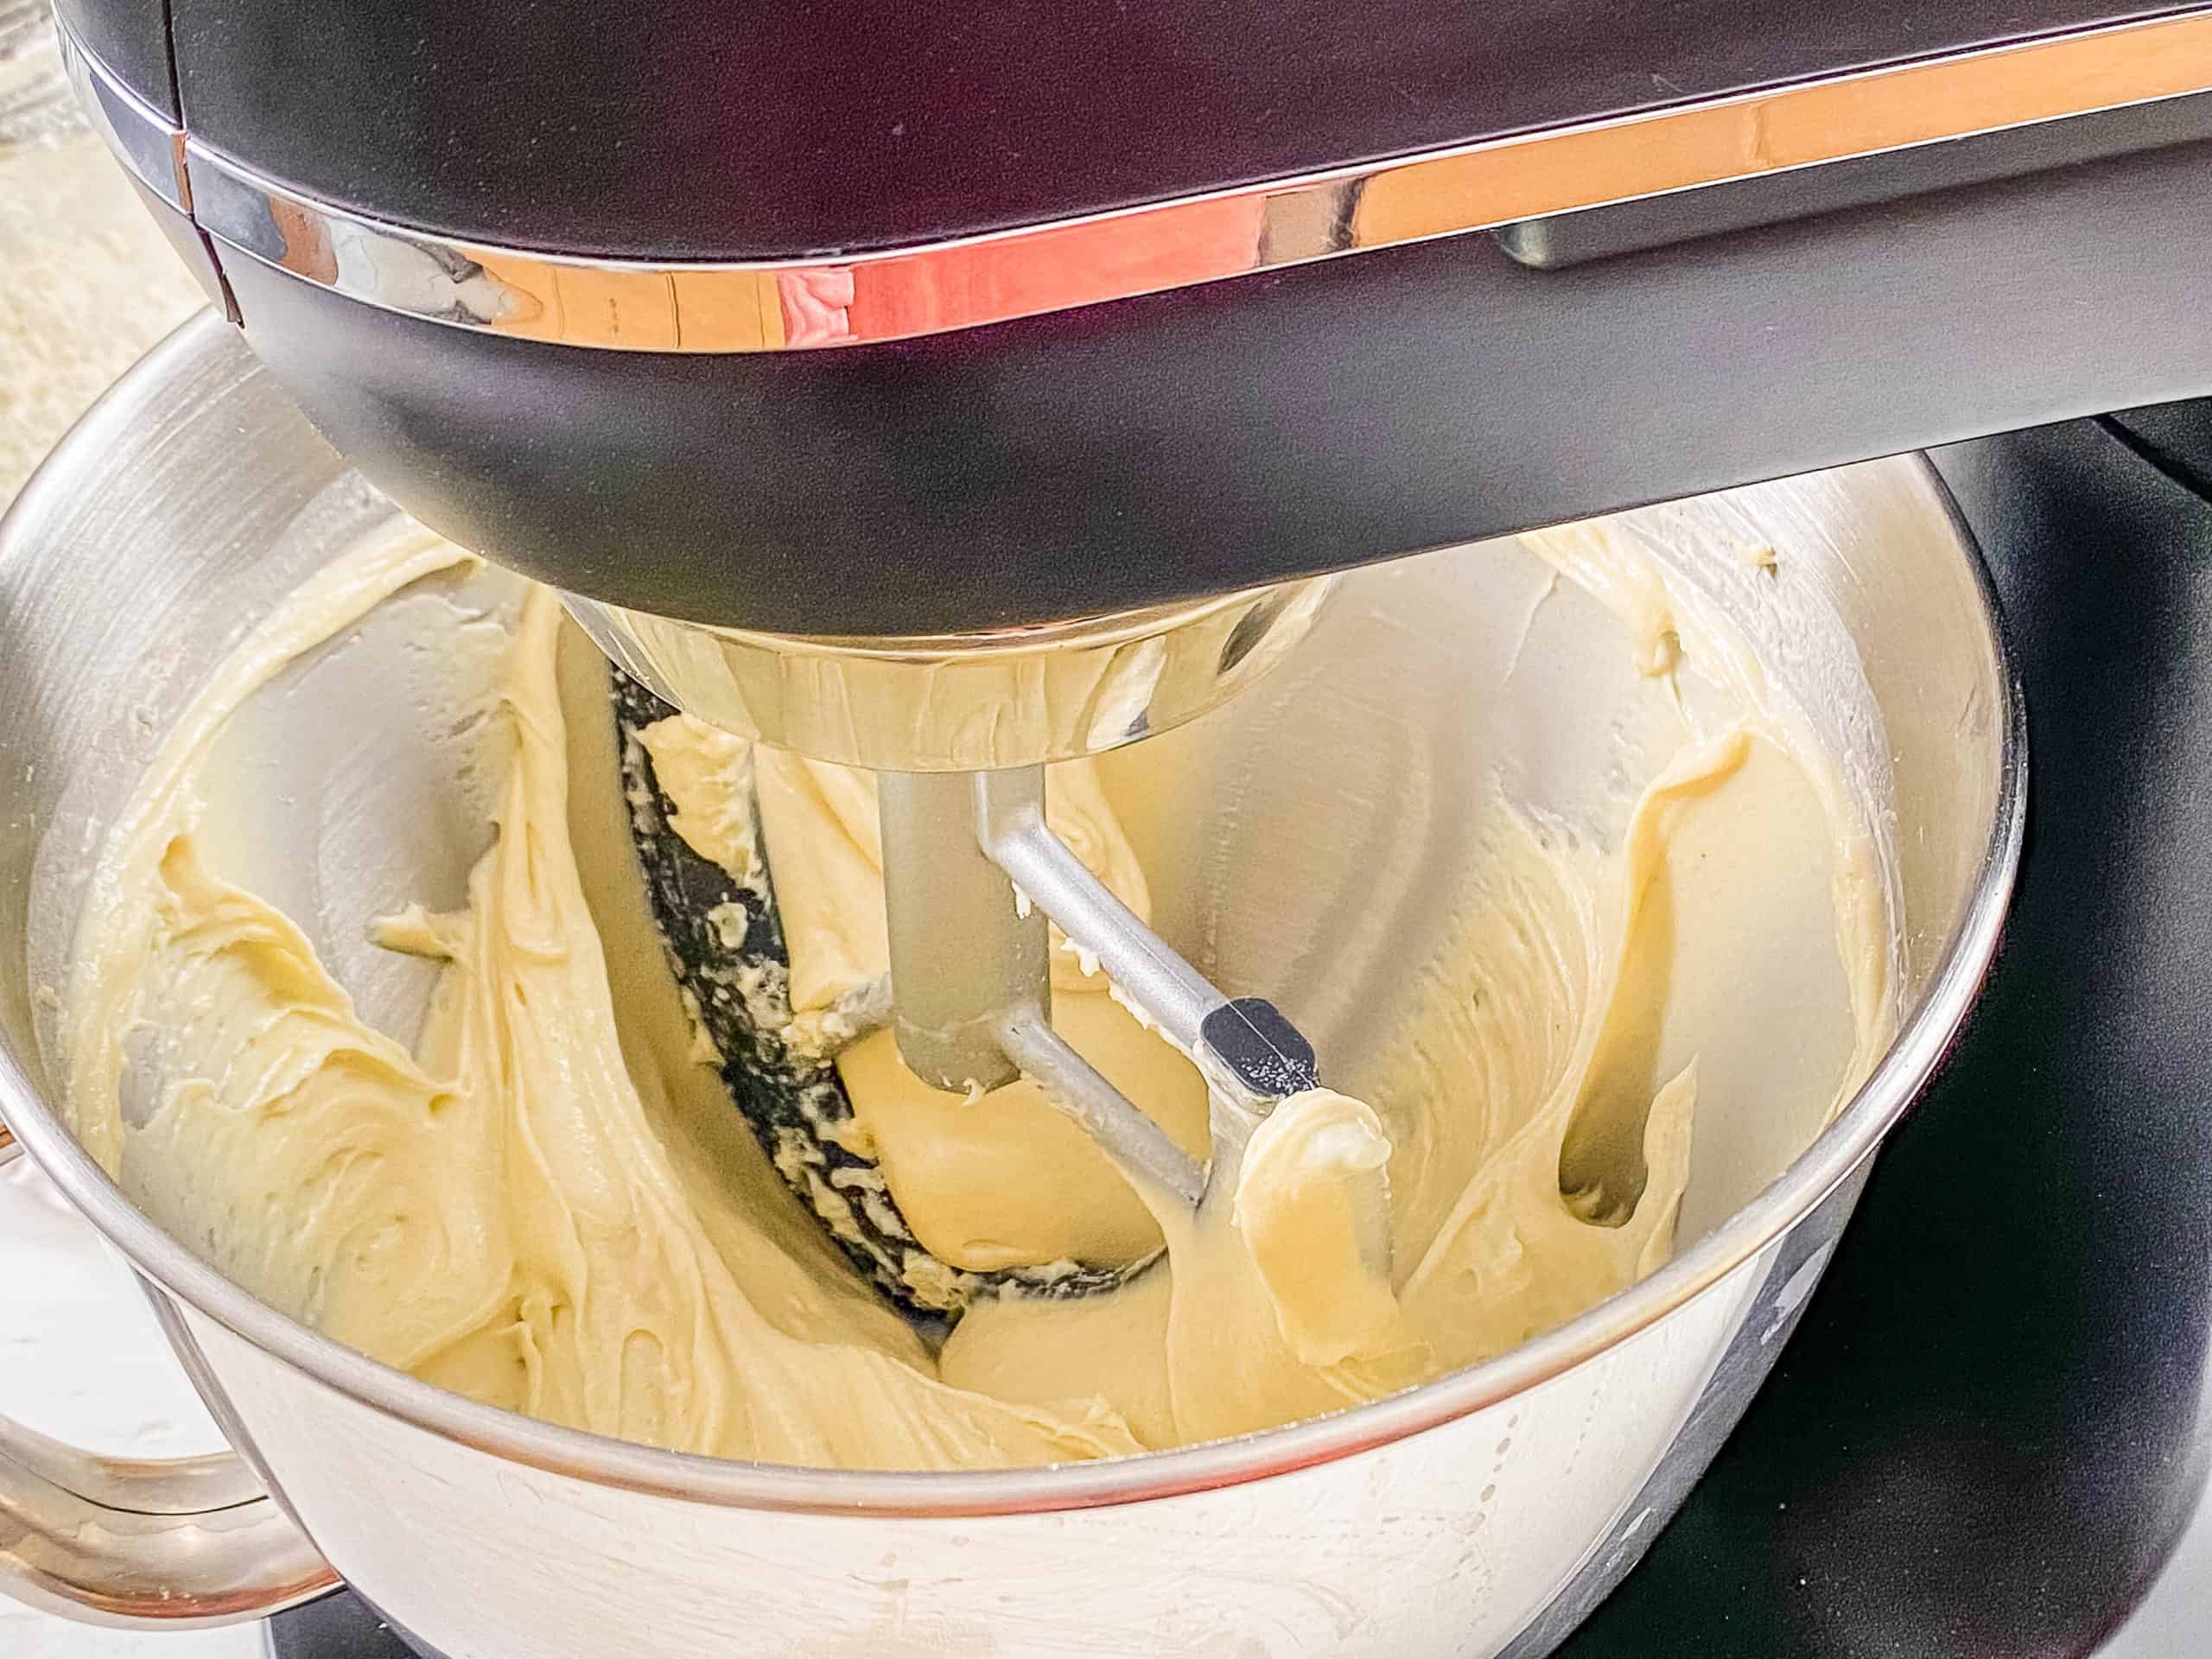
Mix The Dough: With everything in the bowl, I use the paddle attachment (not a dough hook) and beat the batter for 30 seconds until combined. Then I scrape down the sides of the bowl and continue to beat for another 3 minutes on medium speed.
Add The Dough To Bread Pan: First, I line a 13 x 5 inch bread tin with baking paper, lightly spray it with oil, and pour the gluten-free bread dough into the pan. Then I smooth out the top with a rubber spatula.

Allow The Dough To Rise: Once in the pan, I sprinkle the top of the bread with sesame seeds. Next, I loosely cover it with plastic wrap and a tea towel and place it in a warm spot to allow the dough to rise for 1 hour. When there are about 15 minutes, I preheat the oven to 350 degrees Fahrenheit (180 degrees Celsius).

Bake The Bread: After the dough has had time to rise, I remove the plastic wrap and place the bread loaf pan in the oven. Then I let it bake for 60 to 65 minutes, covering it with foil midway through to stop it from burning.
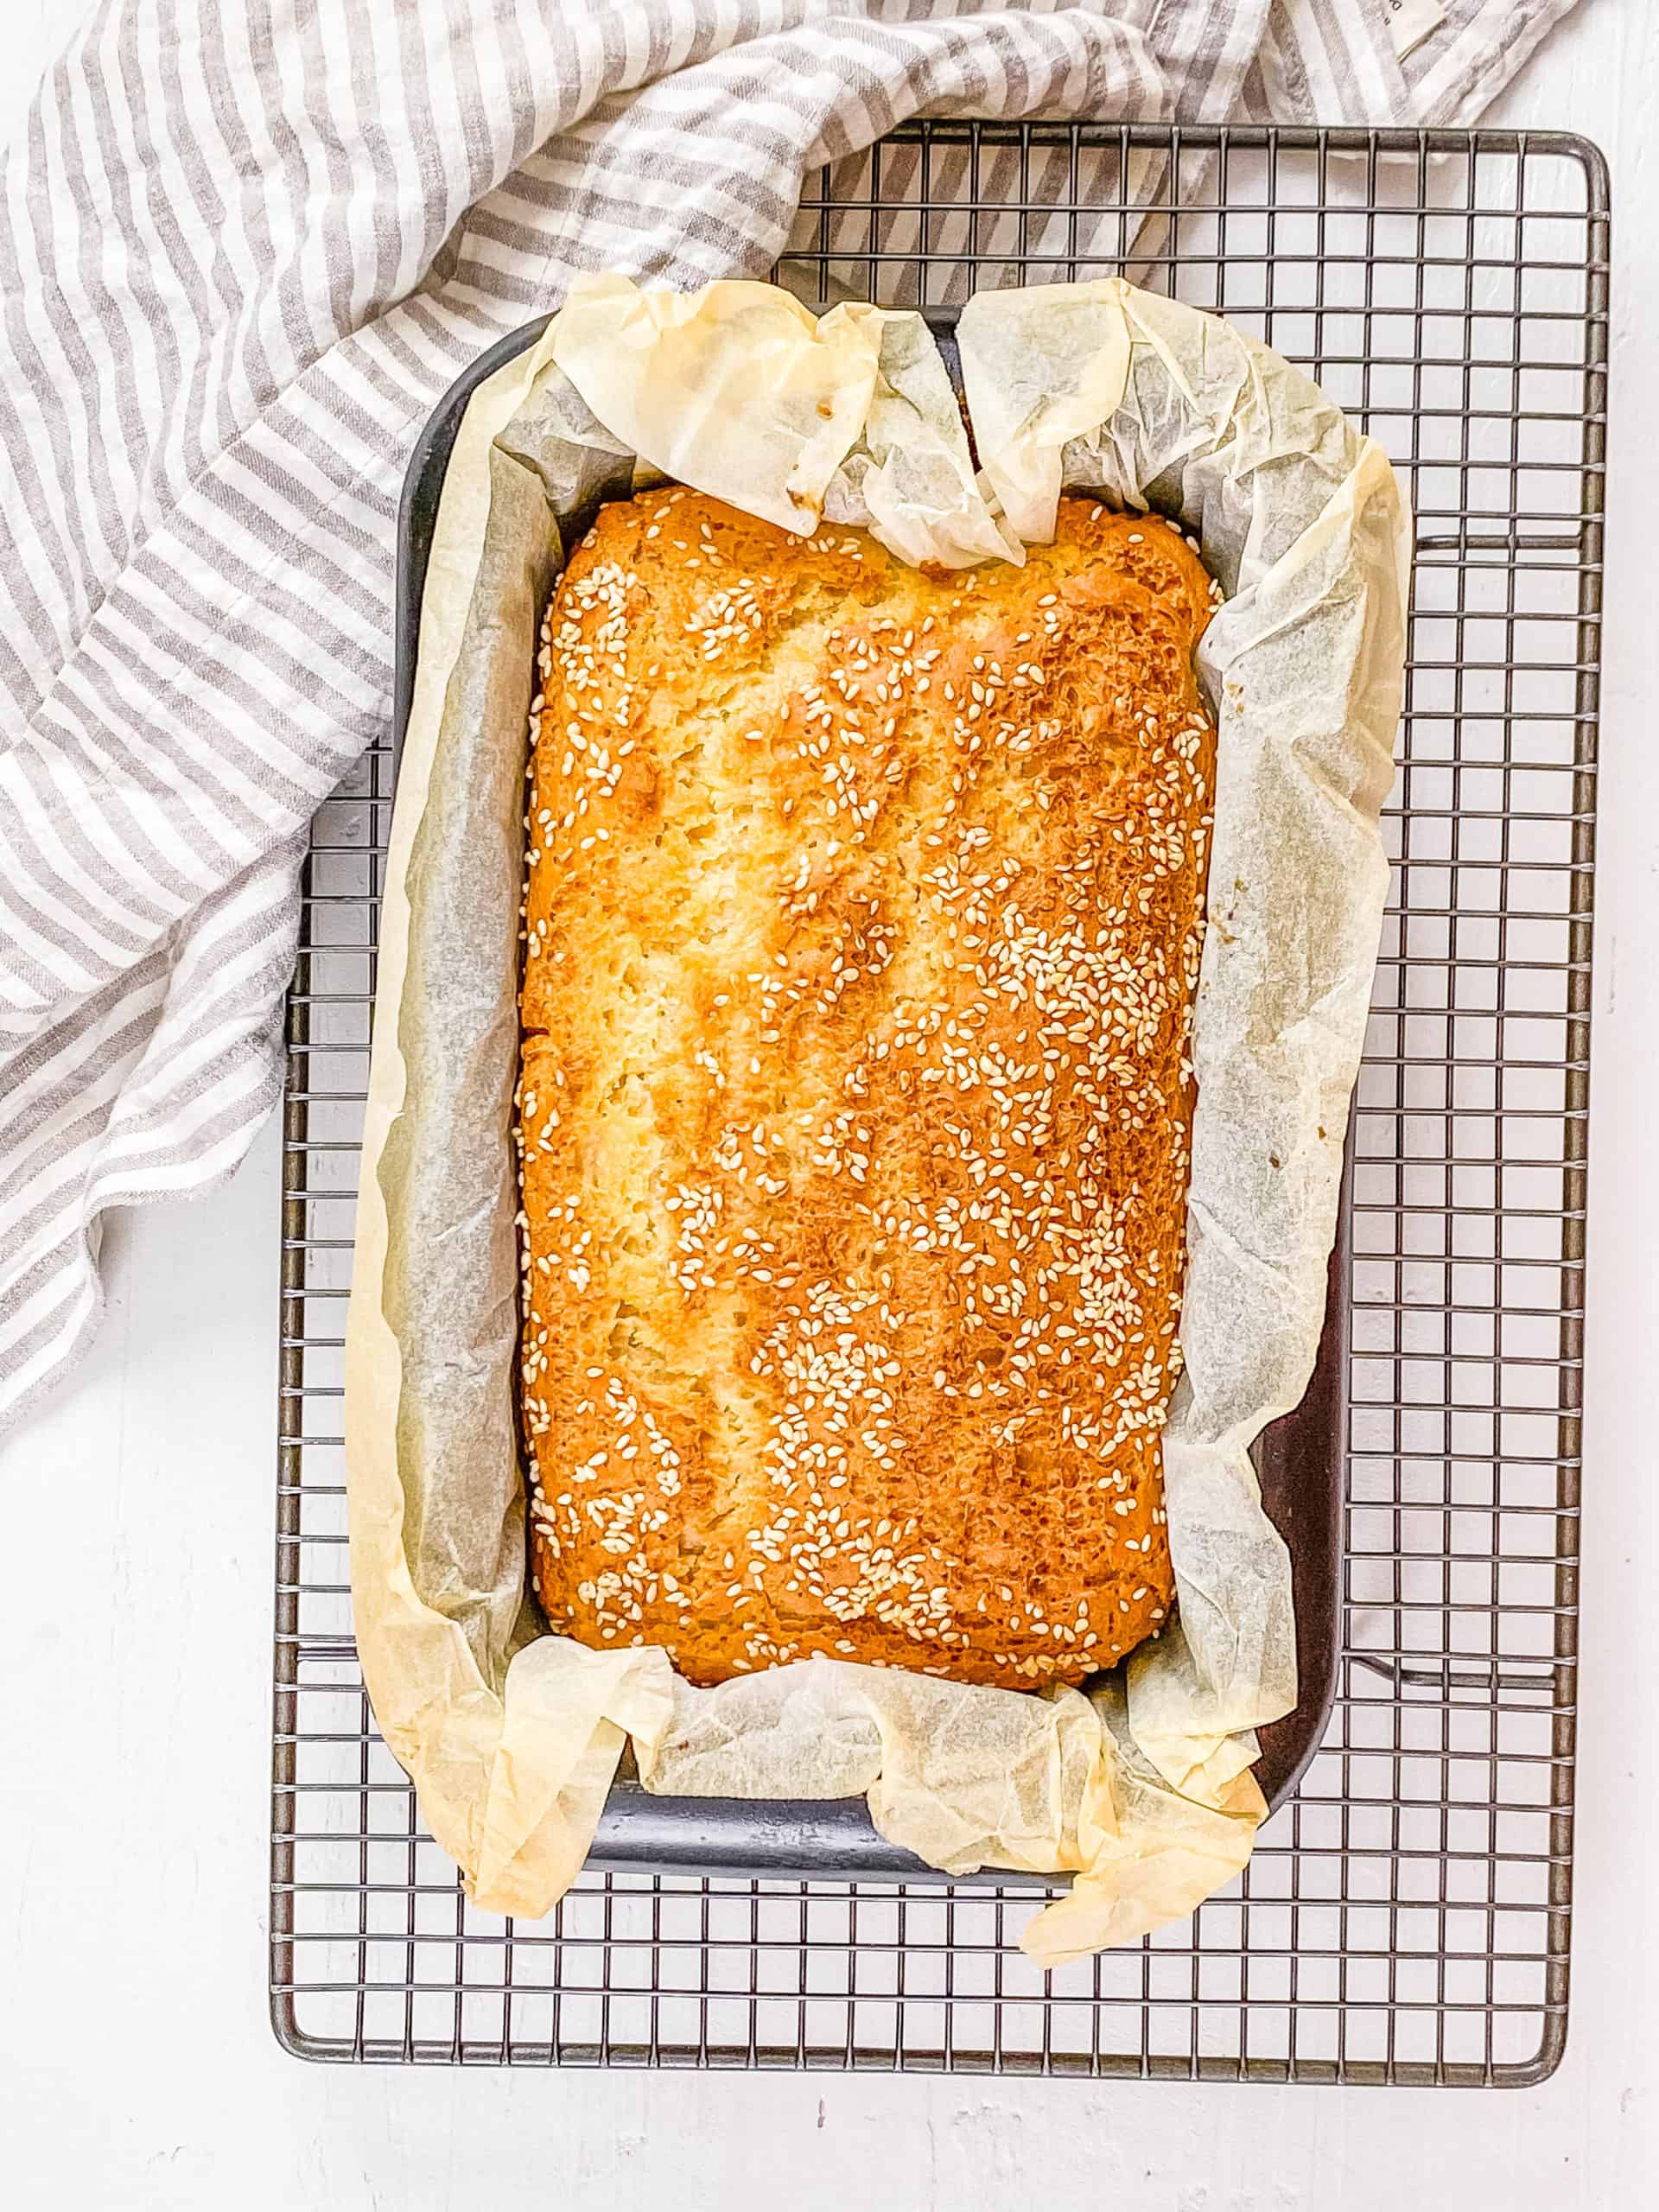
Cool On A Wire Rack: When baked through, I remove the bread from the oven and let it cool in the bread pan for five minutes. Then, I transfer it to a cooling rack to cool completely.
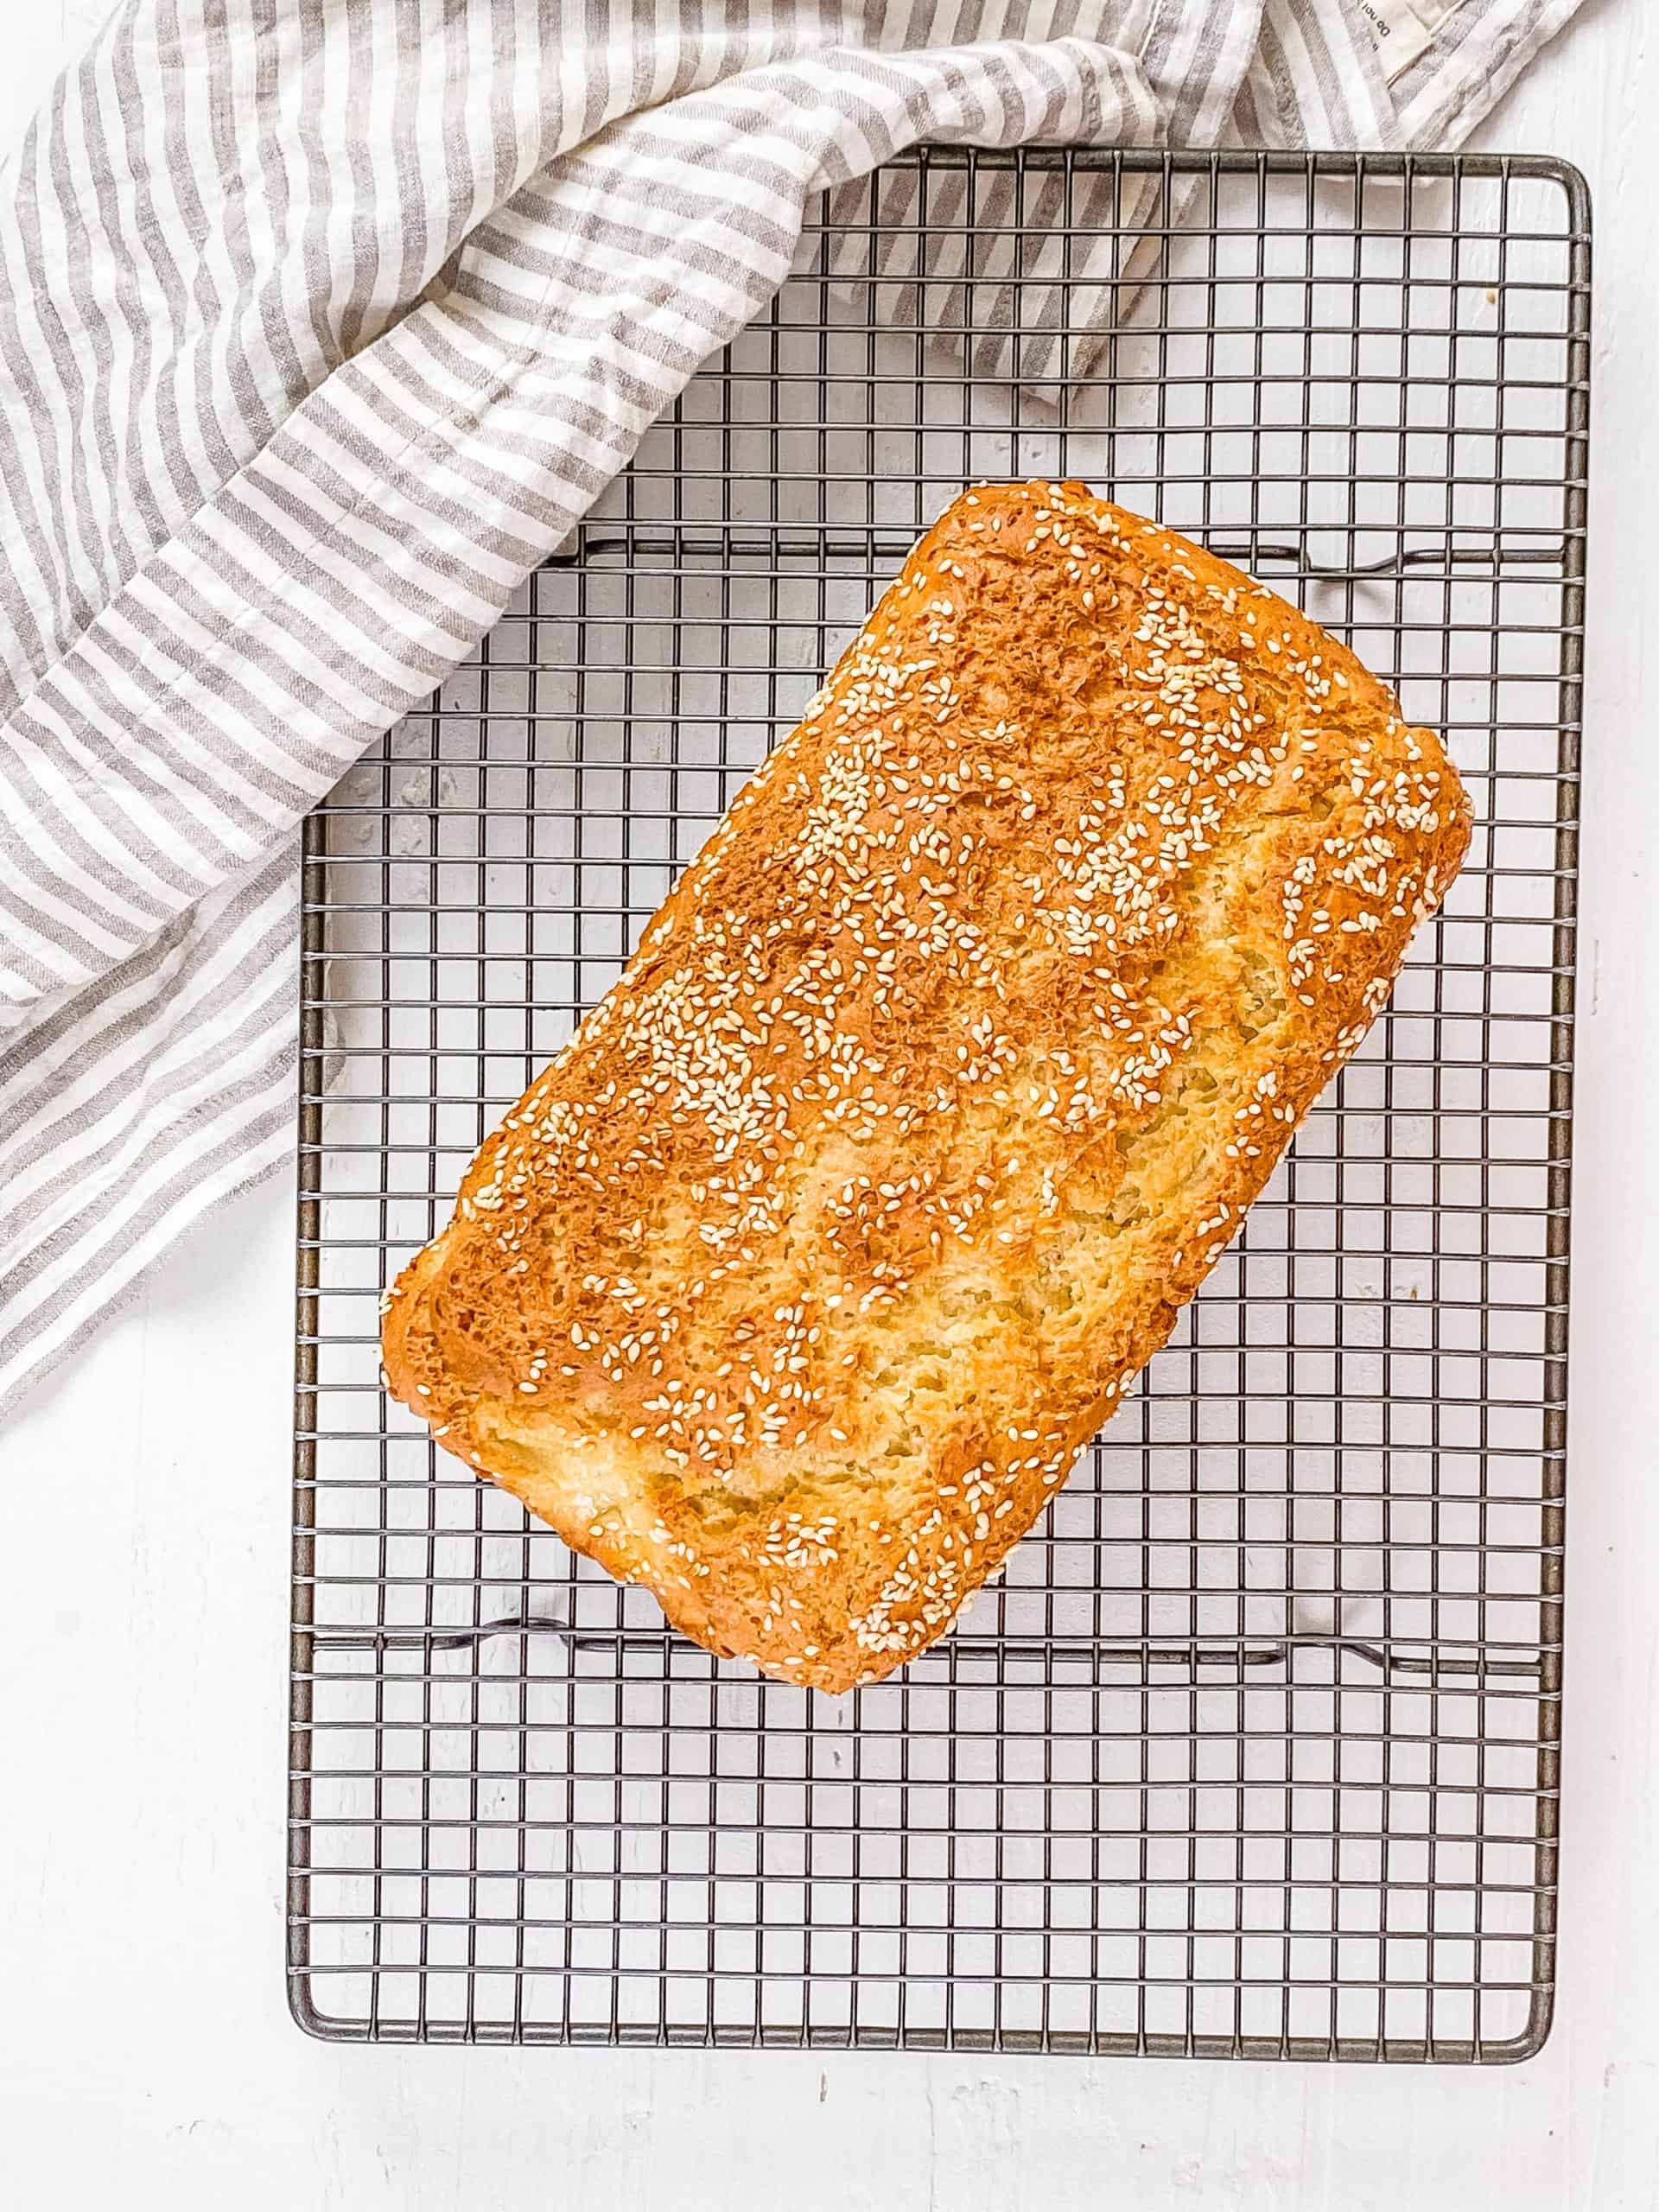
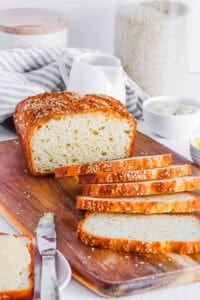
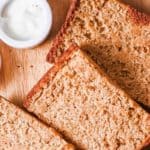
Slice And Serve: Once the bread has cooled completely, I slice it with a bread knife or any serrated knife, and serve it at room temperature.

How To Make Gluten-Free Bread In A Bread Machine
It’s actually really easy to make my low calorie gluten free bread recipe in a bread machine. You just have to use instant yeast instead of regular active dry yeast. Here’s how you do it:
- Add your wet ingredients into the bread pan: almond milk, olive oil, sugar, egg whites, and apple cider vinegar, in that order.
- Add your dry ingredients into the bread pan: flour, baking powder, and salt.
- Make a hole in the center of the dry ingredients and pour your instant yeast into the hole.
- Select the “gluten-free bread” setting and start your bread machine.
Alternatively, you could add all the ingredients at once, and if you did that, the order of the ingredients would be: almond milk, egg whites, oil, apple cider vinegar, flour, salt, sugar, instant yeast. Then you’d select “gluten free bread” for the setting and hit start. Let the bread cool completely before slicing.
Note: If your bread machine does not have a gluten-free setting, choose the setting that has only one mixing cycle (typically it’ll be the “quick” or “basic” or “rapid” cycle). Select light or medium for the crust.
💭 Expert Tips
My #1 Secret Tip for making my simple gluten-free bread recipe is to ensure your yeast isn’t expired and to test it if it’s a little old. Having fresh yeast is so important for getting your bread to rise and making sure it has the right soft and fluffy texture!
You can test-proof the yeast before adding it to your flour mixture by dissolving it in warm water (between 95 to 100 degrees Fahrenheit) with a little honey or sugar.
If it forms small bubbles and becomes creamy, your yeast is still active. You can also proof yeast in milk or plant-based milk, as used in this recipe.
Other Tips To Keep In Mind:
- Use Room Temperature Ingredients: For baking, room temperature ingredients work best. It’s also important not to substitute any ingredients in this recipe as I can’t guarantee it will turn out as well (bread recipes can be finicky!)
- Try Different Flour Blends: All gluten free flours are slightly different, so you might need to try one or two to get the right texture. Remember trying to make a gluten free bread recipe without xanthan gum added to the mix won’t work.
- Spoon And Level Dry Ingredients: When measuring out your dry ingredients, spoon them into your measuring cup and then level the top. This ensures you don’t end up with too much flour and your bread won’t be overly dense.
- Don’t Use Hot Milk: The ideal temperature for instant yeast is 95 to 110 degrees Fahrenheit (35 to 43 degrees Celsius). If the almond milk is any hotter, it could kill the yeast and your bread will not rise.
- Use A Stand Mixer: I really do recommend using a stand mixer for making your bread batter. It’s much harder to mix it by hand!
- No Need To Knead: My whole grain gluten-free bread recipe with yeast comes together with very little work. It’s as simple as mixing until a smooth batter is formed, allowing it to rise, and then baking it.
- Line Your Bread Pan: If you are using a bread tin or loaf pan, line it with parchment paper to give your loaf a more traditional shape and ensure easy removal. The narrower your bread pan, the taller your bread will be. I used a 13×5 inch pan for this recipe. If you want your bread to be super soft, the Pullman loaf pan is the best choice!
- Find A Warm Dry Place: Make sure you let your bread rise in a warm dry place. Room temperature is fine, but don’t let it rise in the oven or the fridge! The oven is too hot and will kill the yeast, the fridge is too cold and it will take forever to rise.
- Remove From The Pan: Don’t let your bread cool completely in the bread pan. The moisture from the bread will get trapped by the pan and the bottom of your bread will get soggy. Instead, let it cool for 5 minutes in the pan and then transfer it to a wire rack to finish cooling.
- Toast Lightly: My low calorie gluten free bread tastes best slightly toasted and warm, but not so toasted that it becomes crunchy!
✔️ Troubleshooting Gluten-Free Bread Making
Don’t give up if your first attempts at making my low calorie gluten free bread don’t yield a perfect loaf. For the best results, see my expert tips, and try these additional solutions to the most common gluten-free baking issues.
How To Fix Gluten-Free Bread That’s Too Crumbly
With normal bread, chains of gluten proteins help hold the bread together. That’s why so many bread recipes don’t call for many binders, like eggs. But when it comes to gluten-free bread you need something else to help the bread hold together and prevent too much crumbliness.
There are typically 3 reasons why your bread might be too crumbly: 1) You didn’t have enough liquid in the batter, 2) The batter needs more fat 3) You need to use more binder.
Solution: The easiest way to add a little more binding power is to add an egg (or flax-eggs) to your bread to help keep everything together. Chia seeds or even plain flax seeds can also be good options.
How To Fix A Loaf That Is Too Dense
Typically a dense loaf of bread can be caused by two things: 1) Your leavening agent (baking powder, yeast) has expired or is stale, or you need more of it! 2) You didn’t measure the ingredients accurately. If your loaves are too dense (but still taste and look great) then you might want to add a little more leavening to the mix.
Solution: Baking soda, baking powder, and gluten-free yeast are all good options to achieve an airy texture. Yeast especially can also add a little more flavor.
In terms of measuring ingredients, I use the spoon and level method (spooning my ingredients into a measuring cup, level with the back of a knife). I also recommend weighing your ingredients for even more precision.
How To Fix A Gritty Bread Texture
Gritty bread is one of the most common struggles when making gluten free bread. The issue can be either with the flour, or your baking time.
Solution: All gluten free flour blends are slightly different, so the texture of the bread will vary depending on which flour you use. I had to test a few to find the right one when I was making this recipe.
Also, check your baking time, and make sure you’re not trying to bake your bread too quickly which doesn’t give the dough any time to rise and settle.
If you’re still struggling with gritty texture you can try giving your bread batter a little more time to rise before you put it in the oven. The extra time should give the dough a chance to soften and also help bread batters even out.
What To Do If Your Gluten-Free Sandwich Bread Is Too Dry
Moisture is another challenge with any healthy gluten-free bread recipe, but simply adding more water or milk to your dough usually isn’t an option. Instead, try to add moisture by adding a more substantial ingredient that’s less likely to evaporate in the oven.
Solution: Apple sauce is one of my go-to ingredients because it’s a great way to add a little more moisture. For savory breads, sour cream or yogurt can also add some moisture and protein to your finished bread. Just remember that sour cream and yogurt also add to the fat content and increase the calories.
What To Do If Your Bread Has A Mushy Center Or A Dense Bottom
This problem is common in almost all bread baking. Mushy centers and dense bottoms are a sign that your bread is underbaked. It can also sometimes mean that you didn’t use enough leavener, especially if baking longer leads to an overly dense texture or hard bread.
Solution: Start by lowering your oven temperature and extending the cooking time slightly. Try reducing the temperature by degrees Fahrenheit (10 degrees Celsius) and baking for another 20-30 minutes. Make sure to check the bread a couple of times to make sure it isn’t finished baking early.
📖 Variations
Vegan: You can easily turn this into an easy vegan gluten free bread recipe! To make this vegan, I will typically substitute aquafaba for the egg whites. When doing this, I use the ratio of use 6 tablespoons of aquafaba as a replacement for the 3 egg whites to make a gluten-free egg-free bread recipe.
Nut Free: To make gluten-free nut-free bread just use a different plant milk (like unsweetened oat milk or soy milk) instead of the almond milk.
Different Flours: The best flour to use is a gluten free flour blend meant for yeast baking, with xanthan gum added. I like Bob’s Red Mill Gluten Free All Purpose Baking Flour, which is made specifically for baking yeast breads. While I also like Bob’s Red Mill Gluten Free 1:1 Flour, it’s not supposed to work as well for gluten free bread with yeast. I’ve heard that Better Batter and Pillsbury gluten free flour also works well. Keep in mind that if you use the Bob’s Red Mill, you will have to add 3.5 teaspoons of xanthan gum to this yeast bread recipe or your bread won’t rise properly.
Different Toppings: You can easily elevate my gf bread recipe with toppings. I used sesame seeds, but you can use any mixture of nuts or seeds to top this bread! I like the texture and flavor the seeds provide. You can also just omit them altogether.
🍽 Serving Suggestions
My healthy gluten free bread recipe is incredibly versatile and can be used in a variety of dishes. From sandwiches to breakfast ideas, it’s perfect for almost anything you can think of. Here are some delicious ways to enjoy this bread:
For Breakfast: It’s a fantastic base for breakfast toast ideas! My gluten free bread is also wonderful with this low calorie omelette or vegan frittata. You can even use it to make regular healthy french toast or a crock pot french toast casserole.
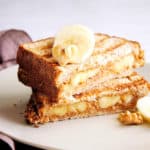
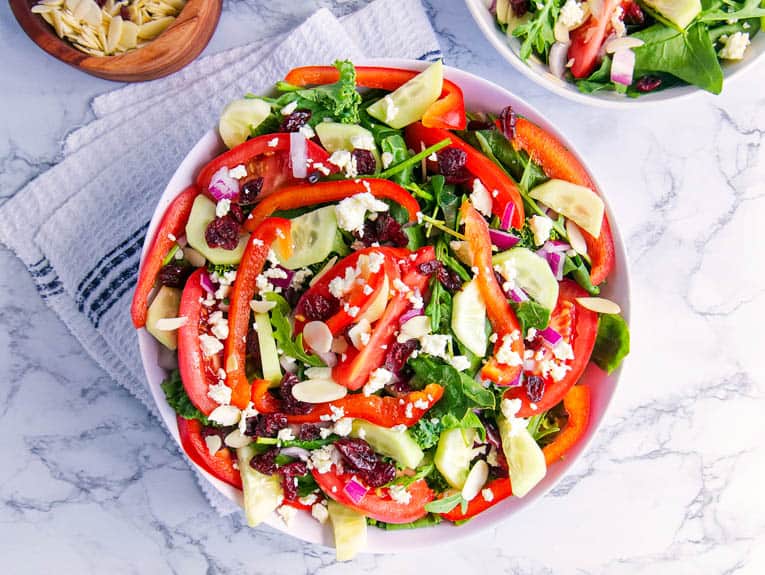
For Sandwiches: I’ll use this low calorie gluten free bread to make some of my favorite sandwiches like this Panera Mediterranean veggie sandwich copycat recipe or a classic banana peanut butter sandwich. It also makes for a delicious grilled sandwich like this grilled cheese with pickles.
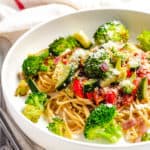
With Soups & Stews: Pair it with your favorite soups and stews. Its soft, chewy texture is perfect for dipping and soaking up flavors. It’s fantastic with this vegetarian mushroom soup and vegan tomato soup. For a heartier meal, I have served some slices of this low-calorie gf bread with this vegan minestrone soup or vegan white bean chili. My bread also makes great gluten-free croutons to top your soups and stews with!
🧊 Storage Directions
Fridge: Since my low calorie gluten free bread doesn’t have any preservatives, I recommend storing it in the fridge to maintain freshness. Once the bread has cooled, I slice it and wrap it tightly in plastic wrap, then wrap it in foil and place it in an airtight container. You can store it in the fridge for up to 2 weeks.
Freezer: If you want to make the bread in bulk and use it for months, freezing is the perfect solution. I wrap the loaf tightly and place it in an airtight freezer bag or container. The bread will last in the freezer for up to 3 months. When you’re ready to use it, defrost the bread in the fridge and then heat it in a toaster oven or regular oven.
❓Recipe FAQs
Is Yeast Gluten Free?
Most yeast is gluten-free, but there are a couple of exceptions. Brewer’s yeast and yeast extract are the types that typically contain gluten. However, these aren’t usually used for baking. The most common types of yeast for baking—baker’s yeast, dry yeast, and instant yeast—are generally gluten-free. To be safe, always choose a gluten-free certified yeast brand before baking!
HOW DO I KNOW WHEN THE BREAD IS FULLY BAKED?
To ensure your low calorie gluten free bread is fully baked, I recommend using a few simple methods. First, visually inspect the bread: it should be golden brown on top, and the edges should start to pull away from the sides of the pan. Another reliable method is to check the internal temperature with a kitchen thermometer; it should read around 200-210 degrees Fahrenheit (93-99 degrees Celsius).
CAN I USE THIS RECIPE TO MAKE BREAD ROLLS?
Yes, but since this is a batter dough and doesn’t hold its shape, you’ll need to use a muffin tin or small molds. Simply pour the batter into the muffin tin or molds, filling each about halfway to allow room for rising. Then bake as directed but keep an eye on them as they will require less time in the oven.
How do I get gluten-free bread to rise?
In traditional bread making, gluten is what causes bread to rise. Without gluten, you need a rising agent to help your bread rise! We make our gluten free bread recipe with yeast and baking powder, and choose a flour that has xanthan gum added to help this bread become nice and fluffy. Yeast, baking powder (or baking soda), and xanthan gum are the three ingredients that help gluten-free bread to rise.


Love this plant based gluten free recipe? Please leave a 5-star rating 🌟 in the recipe below and/or a review in the comments section further down the page!
You can also FOLLOW ME on FACEBOOK, INSTAGRAM, and PINTEREST to see more delicious, healthy, family-friendly food, and if you have any questions, I’m here to help!
📋 Recipe Card
🎥 Watch How to Make It
Easy Low-Calorie Gluten Free Bread Recipe
My homemade healthy gluten-free bread recipe is super easy to make, is low-calorie, and has a soft chewy texture! It's the perfect substitute for traditional bread for anyone needing a gluten-free option. It slices well and works for sandwiches, toast, and all of your other favorite bread-based meals!
Servings: 8 servings
Calories: 268kcal
Ingredients
- 2¼ tsp dried yeast
- 2 tbsp sugar
- 1¼ cup unsweetened almond milk warmed
- 3¼ cup gluten-free flour
- 1 tsp baking powder
- 1 tsp salt
- 2 tsp apple cider vinegar
- ¼ cup olive oil
- 3 egg whites
- 2 tbsp sesame seeds optional
Instructions
To Make In The Oven
- In a small bowl mix together the yeast, sugar and warm milk. Stir, cover and set aside to proof for approx 10 minutes.
- Whisk together the flour, baking powder and salt in the bowl of a stand mixer.
- When the yeast starts to bubble add it, along with the apple cider vinegar, oil and egg whites to the flour mixture.
- Use the paddle attachment and beat the batter for 30 seconds until combined. Scrape down the edges and continue to beat for a further 3 minutes on a medium speed.
- Line a 13 x 5 inch bread tin with baking paper, lightly spray it with oil and fill the tin with batter. Smooth off the top with a spatula.
- Sprinkle with sesame seeds if using, loosely cover with plastic wrap and a tea towel and place in a warm spot to allow the dough to rise for 1 hour.
- When you have about 15 minutes left for your dough to finish rising, preheat the oven to 350 degrees F / 180 C.
- Remove the plastic wrap and place the bread tin in the oven. Cook for 60 – 65 minutes, cover with foil midway through to stop it from burning.
- When cooked through, remove from the oven, cool in the tin for 5 minutes then allow to cool completely on a cooling rack.
To Make In A Bread Machine
- Note: You will need instant yeast, not active dry yeast for this version. Add your wet ingredients into the bread pan: that would be the almond milk, olive oil, sugar, egg whites, and apple cider vinegar, in that order.
- Add your dry ingredients into the bread pan: the flour, baking powder, and salt.
- Make a hole in the center of the bread pan, and pour your yeast into the hole. Select the "gluten free bread" setting and start your bread machine.
- Alternatively, you could add all the ingredients at once, and if you did that, the order of the ingredients would be: almond milk, egg whites, oil, apple cider vinegar, flour, salt, sugar, yeast. Then you'd select "gluten free bread" for the setting and hit start. Let the bread cool completely before slicing.
- Note: If your bread machine does not have a gluten-free setting, choose the setting that has only one mixing cycle (typically it'll be the "quick" or "basic" or "rapid" cycle). Select light or medium for the crust.
Notes
- Add xanthan gum to the mix if the gluten free flour that you’re using doesn’t have it already added.
- There’s no need to knead this bread mixture, it’s as simple as mixing until a smooth batter is formed, allowing it to rise and baking. Super simple!
- Topping your bread with seeds is optional although they do add a delicious flavor.
- Store bread in an airtight container in a cool dry place.
- Allow bread to completely cool before slicing.
- Bread is best used within 24 hours of making.
- This bread toasts really well.
- Use a slightly wet spatula when smoothing off the top of the bread, this helps the batter to smooth evenly in the tin.
- For best results make sure to use baking powder and yeast that are not expired, and are fresh, and that all ingredients are at room temperature.
- Make sure your water is between 95-110 degrees before mixing it with the yeast and other ingredients.
- When you’re measuring out your dry ingredients, spoon both into your measuring cup and then level. That will ensure you don’t end up with too much flour and your bread won’t be overly dense.
Nutrition
Serving: 2slices | Calories: 268kcal | Carbohydrates: 41g | Protein: 8g | Fat: 10g | Saturated Fat: 1g | Polyunsaturated Fat: 2g | Monounsaturated Fat: 6g | Sodium: 363mg | Potassium: 112mg | Fiber: 4g | Sugar: 5g


The recipe is great! I used Bob’s 1:1. I will definitely try Bob’s All Purpose and add xantham gum next time. The loaf in the picture doesn’t look like a 13×5 pan was used. If a standard bread pan is used, how long should I bake it so it’s more like sandwich bread size?
Hi Debbie! So glad it turned out well with Bob’s 1:1! For a standard 9×5 loaf pan, the bake time will be shorter — I’d start checking around 45–50 minutes and use a toothpick to test doneness. The loaf should be nicely domed and golden. Thanks for the great question!
Hi, the bread looks lovely. I’m just curious about your description of ‘wholegrain’ and whether tapioca starch is a wholegrain. Also, how can we tell if the tapioca starch is modified or not? Thanks, Lisa
Hi Lisa! That’s a really thoughtful question — you’re right to look closely at this. Tapioca starch is derived from cassava root, and while it’s a natural ingredient, it is a refined starch rather than a true whole grain. The gluten free flour I used is made with whole grains though! Thank you for raising this!
Can you use soy milk instead of almond milk?
Hi Christina! Yes that should work!