

Poolish Pizza Dough
This post may contain affiliate links. As an Amazon Associate, I earn from qualifying purchases. Please read my disclosure.If there’s one thing I love, it’s making poolish pizza dough. The deep flavor, airy texture, and crisp-yet-chewy bite make every homemade pizza unforgettable. I’ve perfected this method over the years, and trust me, once you try a poolish starter, you’ll never go back! Plus, my recipe is naturally dairy-free and easily made vegan.

You’ve probably heard of Vito Iacopelli’s double-fermented pizza dough, it’s super popular, and for good reason! His poolish pizza is packed with flavor and has that perfect light, airy bite. I was so inspired by his technique that I wanted to create my own version, one that’s just as delicious but simple enough for anyone to make at home.
After plenty of experimenting, I’ve nailed the perfect balance of fermentation, hydration, and ease. I even love using this poolish pizza dough as the base for my favorite healthy vegetarian pizza, it turns out so good every time!
👩🏽🍳 Why I Love This Recipe
I’m absolutely obsessed with making pizza using a poolish starter, it’s my not-so-secret trick for getting the most flavorful, light, and airy crust ever. Poolish is this super simple pre-ferment that works its magic overnight, giving the dough a deep, rich taste that makes it feel like it came straight from a pizzeria. I love how it takes an ordinary pizza crust and turns it into something next-level, with those beautiful air pockets, a crispy edge, and a soft, chewy bite that’s just perfection!
My take on this dough is inspired by the legendary Vito Iacopelli’s double-fermented pizza method, his recipe has pizza lovers everywhere obsessed! He uses a mix of 00 flour and bread flour, but I’ve made things a little easier by sticking to just 00 flour. The best part? You still get that amazing Neapolitan-style crust without any extra fuss.
And trust me, whether it’s a Friday night pizza party or a fun weekend bake, kids (and adults!) love this dough! My vegan friend always begs me to make this for her, and honestly, it’s so easy! I just swap out the honey for a little sugar, and boom, vegan-friendly perfection.
Seriously, whether you’re making a classic Margherita pizza, loading it up with veggies, or going wild with your own toppings, this dough handles like a dream and bakes up beautifully. If you want a pizza recipe that’s easy but feels straight-up gourmet, this is the one!
Latest Recipe Video!
🥘 Ingredients
I make this pizza dough with four simple ingredients you probably already have in your kitchen.
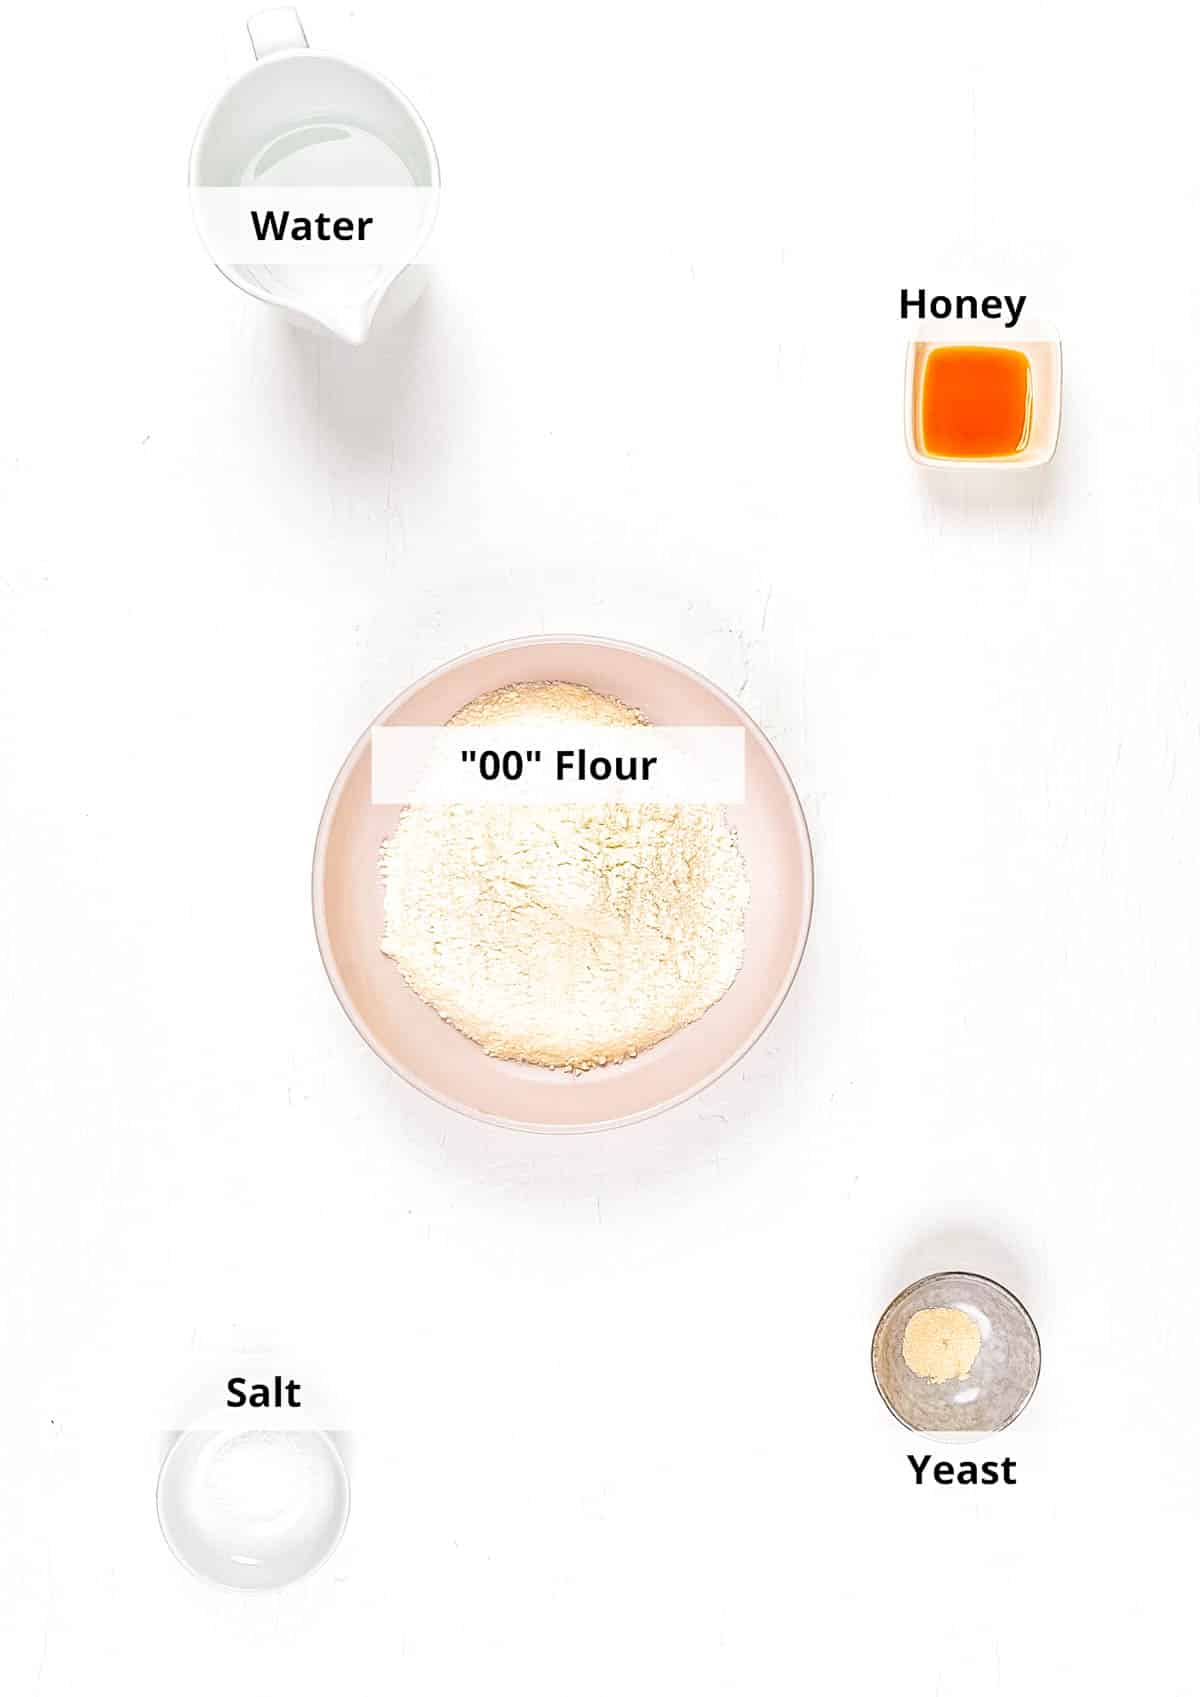
Flour: I always go for “00” flour for the best texture, but all-purpose flour works just fine too! Either way, you’ll get a delicious, airy crust.
Dried Yeast: This little powerhouse makes the poolish ferment quickly and gives the dough its signature rise, texture, and flavor. A tiny bit goes a long way!
Water: Simple but essential, I use water in both the poolish and the dough to bring everything together perfectly.
Honey: I love adding a bit of honey because it feeds the yeast and speeds up fermentation. You can skip it, but trust me, it makes a difference!
Salt: A must-have! Salt enhances the dough’s flavor, making every bite more delicious.
🔪 How To Make
Making a poolish might be unfamiliar to you, but I promise it’s worth it. It really isn’t much different than making regular pizza dough, and the end result is so delicious.
Poolish Starter
Mix Dry Ingredients: I start by whisking together the flour and yeast in a large bowl.

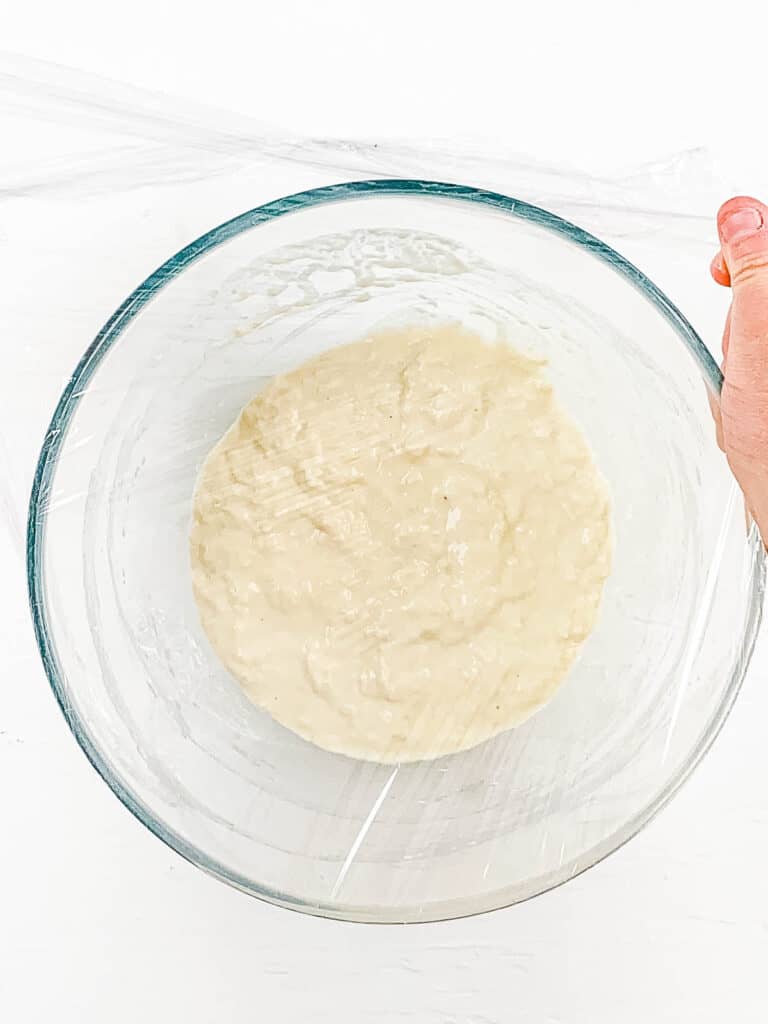
Mix Wet Ingredients, Combine: I stir the honey into warm water until it fully dissolves, then pour it into the flour mixture and mix everything together. At this stage, the dough looks a bit shaggy, but that’s exactly what we want!

Cover: I cover the bowl with plastic wrap and let it sit at room temperature for 12 hours to ferment. When I uncover it, the poolish is bubbly, airy, and smells absolutely amazing – sweet, yeasty, and just a little tangy, like the start of something incredible!
Pizza Dough
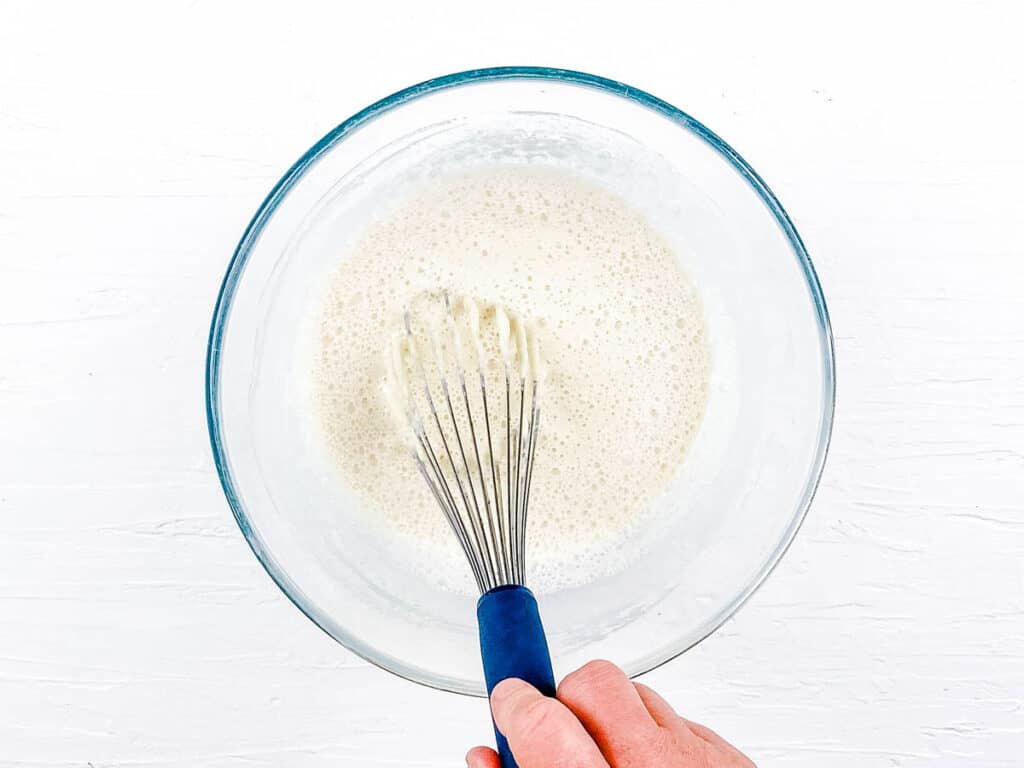
Whisk: I whisk the water into the poolish in a large mixing bowl until it fully dissolves. It transforms into a smooth, bubbly mixture, ready for the next step.
Form Dough: I add the flour and salt, then mix everything together with a wooden spoon until it starts coming together into a dough. It’s a little sticky at first, but that’s exactly how it should be!

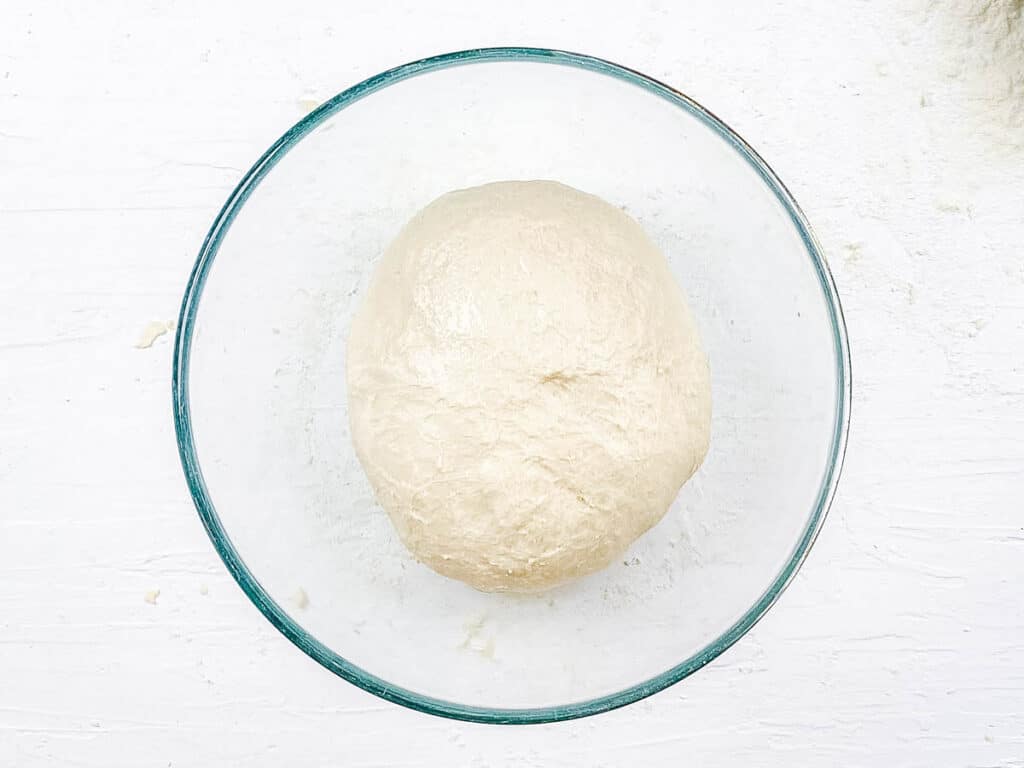
Knead The Dough: I turn the dough onto a lightly floured surface and knead it for about 5 minutes. It starts off sticky, so I sprinkle just a little flour when needed, but not too much, I want to keep that hydration! If I’m feeling lazy, I use a stand mixer with a dough hook instead. Either way, I knead until the dough is smooth and elastic!
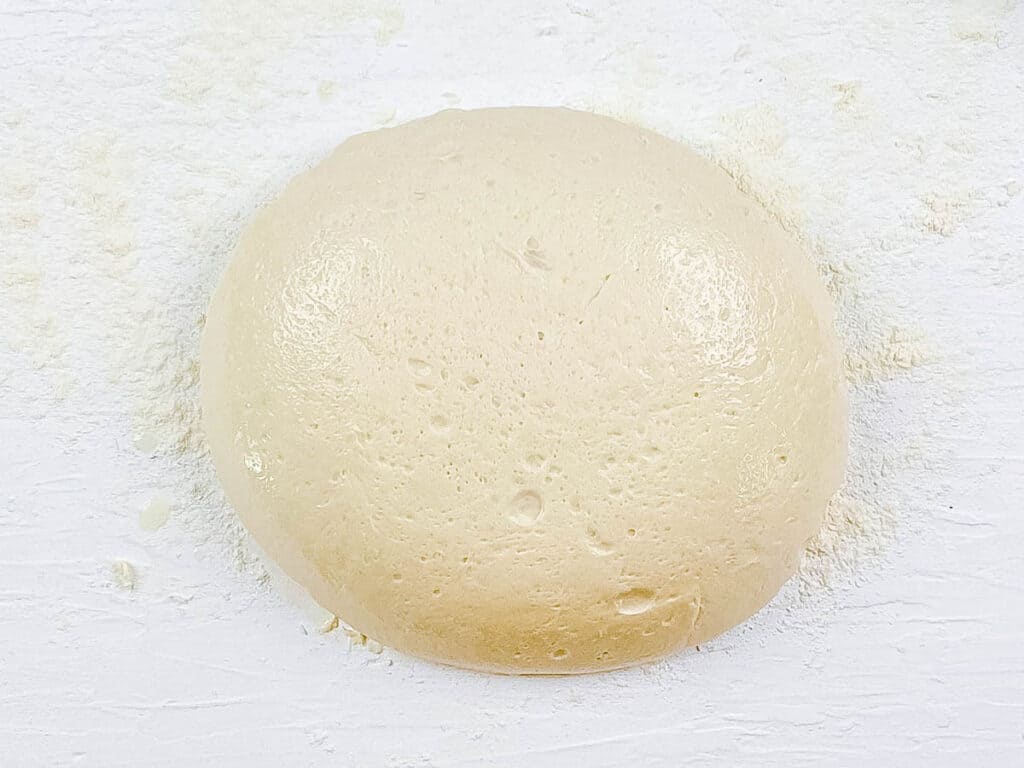
Cover & Let Sit: I shape the dough into a ball and place it in a lightly oiled bowl, then cover it with plastic wrap. It sits at room temperature for 2 hours to start bulk fermentation, then goes into the fridge for 12 hours to cold ferment, that’s where the magic happens! When I’m ready to use it, I let it come back to room temperature for 1-2 hours.
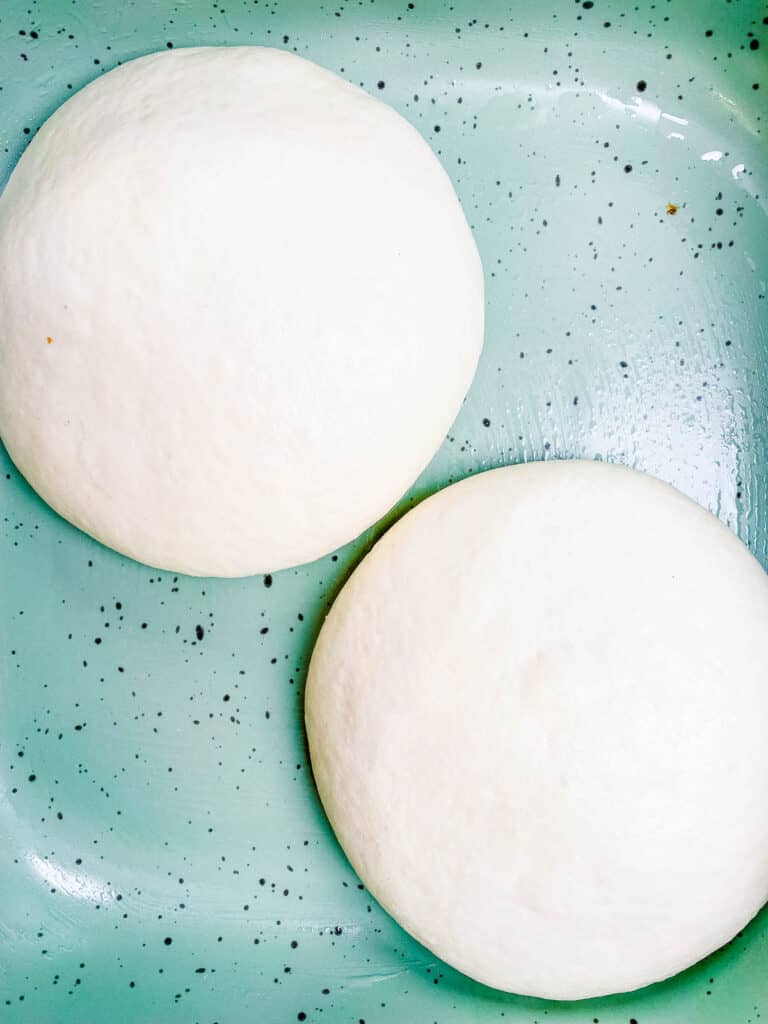
Divide Dough: I turn the dough onto a lightly floured surface and divide it up, four pieces for 8-inch pizzas or two for 10-12 inch pizzas.

Form Balls & Cover: I gently roll each piece into a smooth dough ball, making sure to keep the seam side down. Then, I place them in a lightly oiled dish or dough box, cover them up with a lid or plastic wrap, and let them rest at room temperature for a couple of hours. This gives the dough time to relax, making it super easy to stretch later!

Preheat Oven: While the dough rests, I preheat the oven to 400°F (200°C). Getting the oven nice and hot is key to achieving that perfect crispy-yet-chewy crust!
Shape: I gently stretch and shape the dough into a circle using my hands, letting gravity do some of the work. I avoid using a rolling pin to keep all those lovely air bubbles intact for a light, airy crust!

Top: I add my favorite toppings, keeping it simple with classic tomato sauce and mozzarella or getting creative with fresh veggies, herbs, and drizzle of olive oil.

Cook: I slide the pizza onto a hot pizza stone or tray and let it bake until the crust is golden and bubbly about 8-10 minutes. As soon as it’s out of the oven, I can’t resist digging in. Serve it up hot and enjoy every delicious bite!

💭 Expert Tips
My #1 Secret Tip for making the best poolish pizza dough is to be patient with the fermentation. Seriously, don’t rush it! I know waiting 8-12 hours might feel like forever, but trust me, this is where the magic happens. When I first started making poolish dough, I was so tempted to use it early, but once I saw how those air bubbles transform the dough, I knew patience was the key. Now, I always let it do its thing, and the result? A crust that’s light, airy, and full of incredible flavor, totally worth the wait.
Other Tips To Keep In Mind:
- I always go for “00” flour when I can. It gives the dough a light, airy texture, but if I don’t have it, all-purpose flour does the job too.
- I’m careful with my water temperature. Warm water keeps the yeast happy, but hot water can kill it and ruin the rise, so I always keep it just right.
- I don’t stress about sticky dough. A little extra flour on my hands and work surface helps, and using a bench scraper makes kneading so much easier.
- Ooni: If I want that wood-fired flavor, I use my outdoor pizza oven like the Ooni. I let the dough cold-proof in the fridge overnight, then bake it up for the perfect crispy, bubbly crust.
📖 Variations
I love how versatile this poolish pizza dough is, once you master the base, you can switch things up and make it your own.
Garlic-Herb: I love adding minced garlic and fresh herbs for a fun flavor boost! I mix them into the dough while kneading or brush a garlic herb mixture over the crust before baking.
Vegan: I make this dough vegan-friendly by swapping honey for a teaspoon of sugar, it’s that easy! Just mix it with the water to dissolve, and you’re good to go.
Poolish Neapolitan Pizza: When I want that classic Neapolitan vibe, I top my pizza with fresh tomato sauce, mozzarella, parmesan, basil, and extra virgin olive oil. No need for a 3-day dough, this poolish version is quicker and just as delicious.
Garlic Breadsticks: This dough isn’t just for pizza, I also use it to make cheesy garlic breadsticks or soft, fluffy dough balls. They’re perfect for dipping into my creamy Alfredo sauce.
🍽 Serving Suggestions
I love that this pizza isn’t just a meal, it’s an experience! Here are some of my favorite ways to enjoy this poolish pizza dough:
Classic Pairing: I love serving this pizza with a simple side salad, think fresh arugula and spinach salad with tomatoes, and a drizzle of balsamic glaze. It adds the perfect fresh bite to balance out the crispy, cheesy pizza.
Dipping Heaven: I always keep some warm healthy marinara or garlic butter on the side for dipping crusts. Trust me, it takes pizza night to the next level.
Make It a Feast: When I’m feeling extra hungry, I pair my pizza with homemade garlic knots or crispy mozzarella sticks.
Perfect for Sharing: If I’m hosting, I like to make different pizza varieties from pita pizza to dessert pizza, I cut them into small slices, and let everyone mix and match their favorites. Pizza parties are the best.
🧊 Storage Directions
Refrigeration: I store it in an air-tight container in the fridge for up to 3 days.
Freezing: If I want to keep my poolish for later, I freeze it – it stays good for up to 3 months.
Reheating: Leftover pizza? I bring it back to life by reheating it in a hot skillet for a few minutes to crisp up the crust.
❓Recipe FAQs
What is poolish and why should I use it?
Poolish is a simple pre-ferment that boosts flavor, texture, and digestibility, giving the crust a light, airy structure with a slight tang, just like an artisan pizza. I let it ferment for several hours or overnight (at least 12 hours is ideal) to let the gluten develop fully before mixing it into my final dough.
What is the difference between poolish and sourdough?
I get this question a lot! Even though they both add incredible flavor and texture to dough, they’re actually pretty different. Sourdough starter takes a long time to ferment (usually 5-8 days) while poolish is much quicker, ready to use in just 8-16 hours. Who doesn’t love the idea of a perfectly fermented pizza dough in just one day?!
Another big difference is the yeast. Sourdough is made from just flour and water, allowing natural wild yeast to develop over time. Poolish, on the other hand, uses commercial yeast, which means less waiting and more predictable results.
Personally, I love poolish because it’s so much easier to work with and gives the dough a slightly sweet, mild flavor with just a hint of sourness versus sourdough, which has a much stronger tang. It’s the perfect way to get artisan-style pizza without the commitment of maintaining a sourdough starter!
What kind of yeast do you use for poolish?
Poolish for pizza dough is made using commercial yeast. For best results, I recommend using either active dry yeast or fresh yeast.
My poolish didn’t bubble, what went wrong?
It’s usually inactive yeast or incorrect water temperature. Make sure your yeast is fresh, and use warm (not hot) water to activate it properly.


Love this healthy pizza recipe? Please leave a 5-star rating 🌟 in the recipe below and/or a review in the comments section further down the page!
You can also FOLLOW ME on FACEBOOK, INSTAGRAM, and PINTEREST to see more delicious, healthy, family-friendly food, and if you have any questions, I’m here to help!
📋 Recipe Card
🎥 Watch How to Make It

Poolish Pizza Dough
If there’s one thing I love, it’s making poolish pizza dough. The deep flavor, airy texture, and crisp-yet-chewy bite make every homemade pizza unforgettable. I’ve perfected this method over the years, and trust me, once you try a poolish starter, you’ll never go back! Plus, my recipe is naturally dairy-free and easily made vegan.
Servings: 4
Calories: 480kcal
Ingredients
For The Poolish
- 1½ cup “00” flour, or all-purpose flour
- ⅛ tsp dried yeast
- 1 cup water room temperature
- 1 tsp honey
Equipment
Instructions
For The Poolish
- Whisk together the flour and yeast.
- Stir the honey into the warm water until melted.
- Pour the water mixture into the flour and mix until well combined.
- Cover with plastic wrap and sit at room temperature for 12 hours to ferment.
Poolish Pizza Dough
- Whisk the water into the poolish to dissolve it.
- Add the flour and salt and mix to form a dough.
- Turn the dough out on to a lightly floured bench and knead for 5 minutes. The dough will be sticky so sprinkle lightly with flour when it becomes too sticky to knead, continue kneading until smooth.
- Form a ball with the dough and place into a lightly oiled bowl. Cover with plastic wrap and sit at room temperature for 2 hours and then place in the fridge for 12 hours.
- Remove from the fridge and allow the dough to come to room temperature for 2 hours.
- Turn the dough out onto a lightly floured bench and divide into 4 equal amounts for 8” pizza bases or cut into 2 for 10”-12” bases.
- Gently roll each piece of dough into a smooth ball. Place the ball, seam side down, into a lightly oiled dish or dough box. Cover with a lid or plastic wrap and allow the dough to rest at room temperature for 2 hours.
- Preheat the oven to 400 degrees F / 200 C.
- Shape the dough and top with your favorite toppings.
- Cook in a hot oven for 8-10 minutes or until cooked through.
- Serve immediately and enjoy!
Notes
- My #1 Secret Tip for making the best poolish pizza dough is to be patient with the fermentation. Seriously, don’t rush it! I know waiting 8-12 hours might feel like forever, but trust me, this is where the magic happens. When I first started making poolish dough, I was so tempted to use it early, but once I saw how those air bubbles transform the dough, I knew patience was the key. Now, I always let it do its thing, and the result? A crust that’s light, airy, and full of incredible flavor, totally worth the wait.
- I always go for “00” flour when I can. It gives the dough a light, airy texture, but if I don’t have it, all-purpose flour does the job too.
- I don’t stress about sticky dough. A little extra flour on my hands and work surface helps, and using a bench scraper makes kneading so much easier.
- I let my poolish do its thing. It needs a good 8-12 hours to ferment, and I know it’s ready when it’s full of bubbles and smells amazing.
- I’m careful with my water temperature. Warm water keeps the yeast happy, but hot water can kill it and ruin the rise, so I always keep it just right.
Nutrition
Serving: 2slices | Calories: 480kcal | Carbohydrates: 101g | Protein: 13g | Fat: 1g | Saturated Fat: 0.2g | Polyunsaturated Fat: 1g | Monounsaturated Fat: 0.1g | Sodium: 590mg | Potassium: 141mg | Fiber: 4g | Sugar: 2g


This was perfect. Really light and my kids loved it too.
Awesome! Thanks for letting me know Dannii!
Poolish is new to me, but I’m super excited to try the fermeted dough pizza!
It’s super easy to make, I think easier than sourdough for sure! Hope you like this recipe!
I really prefer thin pizza crust like this so I can’t wait to try this recipe for our next pizza night.
Yay! You will love this recipe Amanda!
As a pizza lover, I can’t wait to try out this Poolish Pizza Dough recipe! The technique of fermenting the dough for an extended period really makes a difference in the texture and flavor. I appreciate the detailed instructions and tips for achieving the perfect crust. Can’t wait to impress my family and friends with my homemade pizza skills, lol!
Thanks so much Sangeetha! I can’t wait to hear how this turns out for you! 🙂
Great pizza recipe! It felt very light just like we like it! Thanks for the recipe!
Thank you so much Tavo! So happy to hear that!