




Homemade Baby Teething Biscuits Recipe
This post may contain affiliate links. As an Amazon Associate, I earn from qualifying purchases. Please read my disclosure.My homemade baby teething biscuits are a healthy, easy recipe made with just 4 pantry ingredients and no added sugar. They bake into firm sticks that give a teething baby something sturdy to gnaw on. One batch makes 36, so I always have a stash ready for rough teething days.

Recipe Highlights
- Make 36 teething biscuits in about 35 minutes with 4 pantry ingredients.
- No added sugar, salt, eggs, wheat, or dairy.
- Simple swaps and flavor ideas to match your baby’s taste.
- A step-by-step double-bake method for safe, hard, crunchy biscuits.
When my kids started teething, I spent way too much time in the baby aisle reading labels. Most of the teething biscuits I found had added sugar, refined flour, or ingredients I couldn’t pronounce. I wanted a snack I could trust, so I started testing my own at home.
What finally worked was a banana and oat dough that I roll thin and bake twice. Ripe bananas sweeten the dough on their own, and oat flour gives the biscuits enough strength to hold up to lots of chewing. It took several batches to get the texture right, but now it comes out the same every time.
These became a staple in our house. During teething weeks, I kept a jar on the counter and handed one over whenever my baby got fussy. My kids still ask for them now that they’re older because they like the mild banana taste and the crunch.
👩🏽🍳 Why I Love This Recipe
This recipe solves every problem I had with store-bought teething biscuits. They’re completely free of the most common baby allergens – no wheat, soy, dairy, eggs, or nuts.
Each biscuit has just 33 calories, 1 gram of fiber, and 1 gram of sugar, and all of that sugar comes from the bananas. There’s no added sugar and almost no sodium, which matters because the Dietary Guidelines for Americans recommend no added sugar for kids under 2. The recipe is also vegan, and it’s gluten-free when made with certified gluten-free oats.
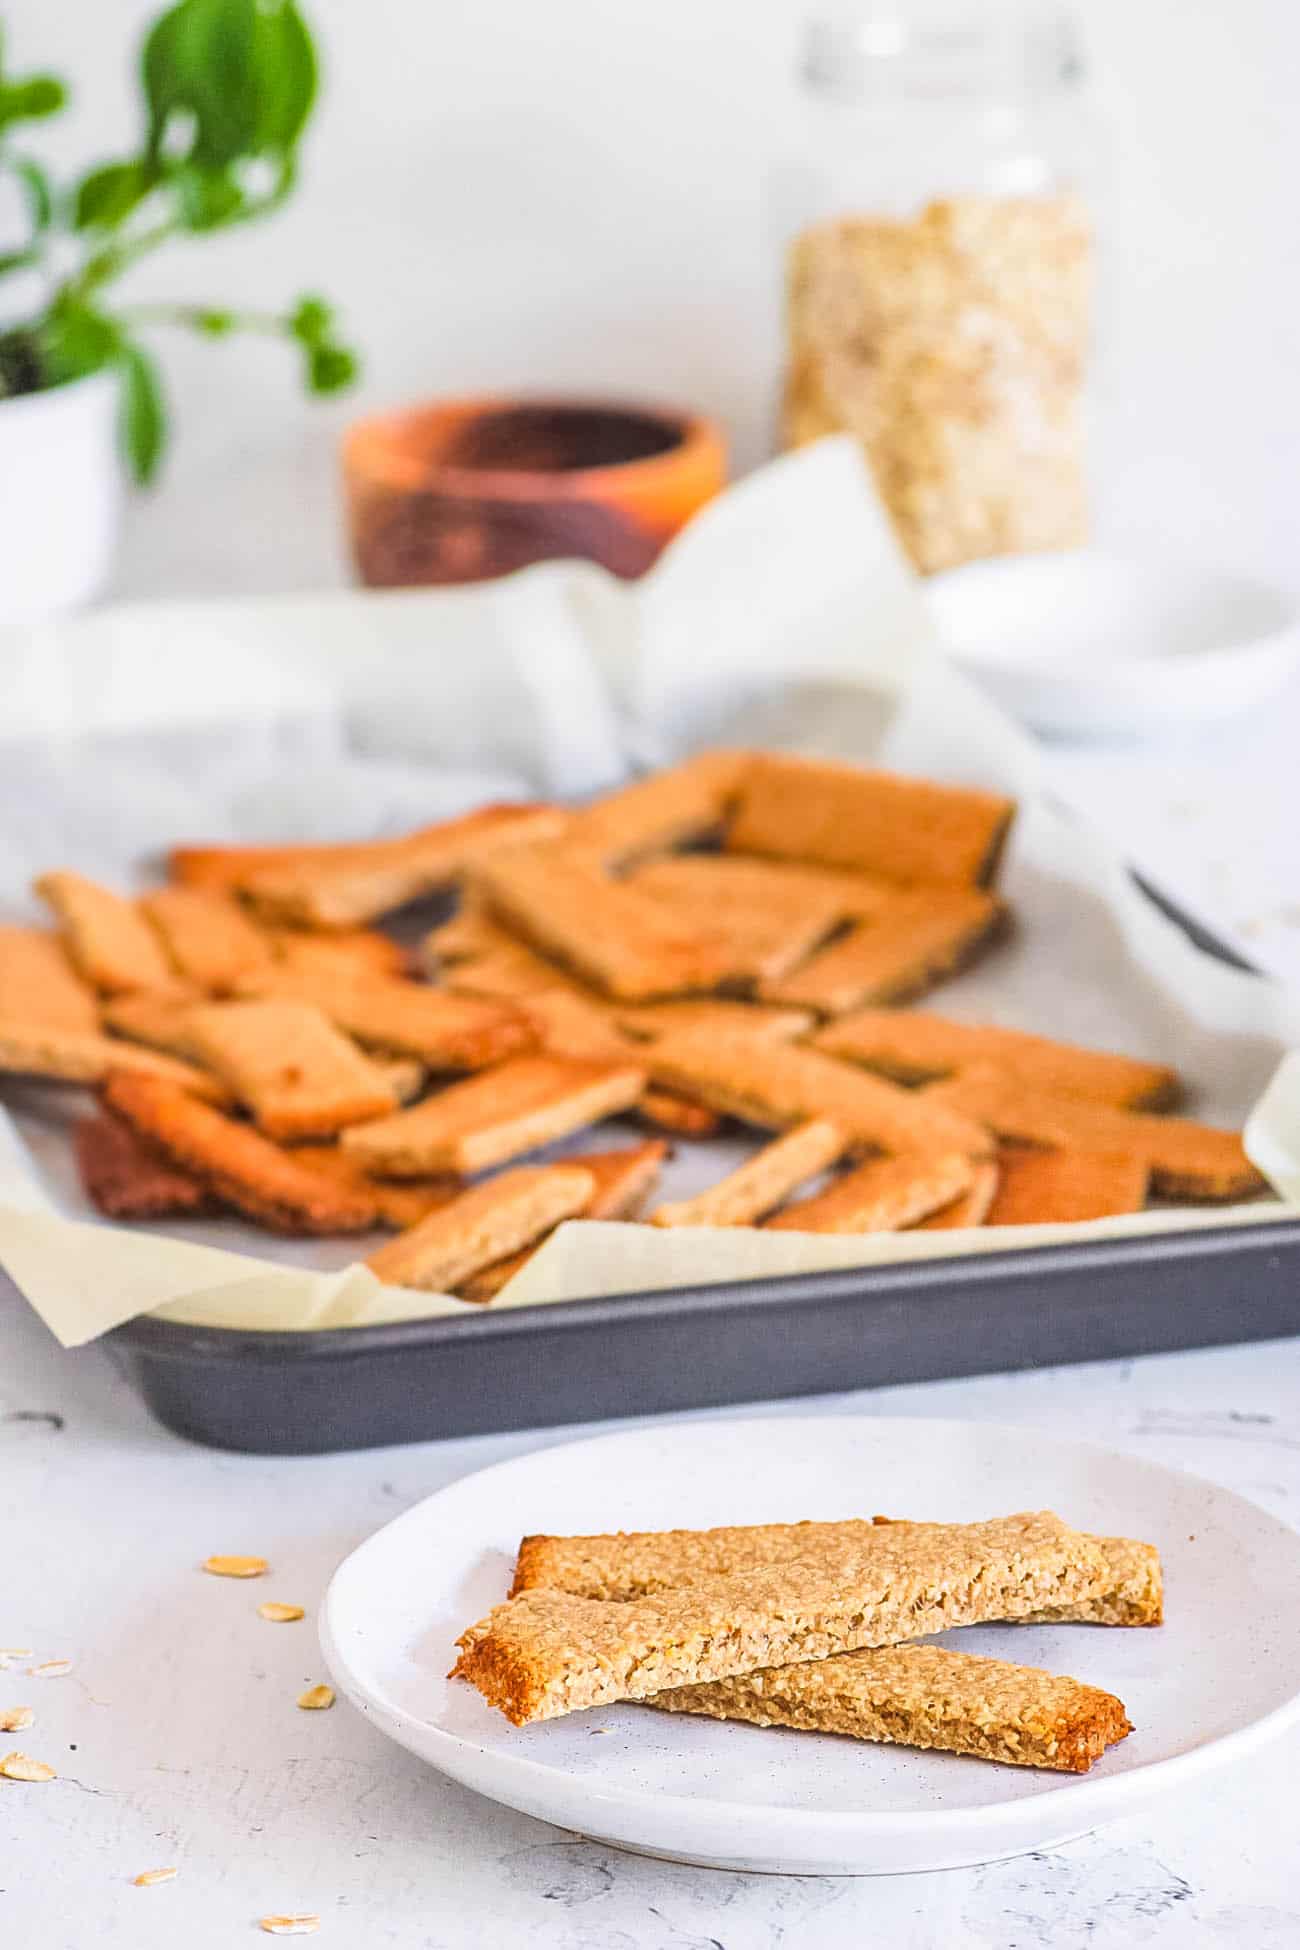
The double-bake method is what makes this recipe work. The first bake sets the dough as one sheet, so it’s easy to cut clean sticks. The second bake dries each stick from all sides, which turns a soft cookie into a hard biscuit that holds up to gumming.
This recipe also grows with your child. For younger babies, I hand over a whole stick to gnaw on, since a long stick is easier for them to hold. Toddlers eat them as a snack, and my older kids still grab a few with their lunch. The ingredients are affordable, and the biscuits freeze well, so making a big batch is easy.
🥘 Ingredients
I kept this ingredient list short on purpose, so every item has a job.

Rolled Oats: I grind rolled oats into a fine flour that forms the base of the dough and gives the biscuits their firm structure. When I need the recipe to be gluten-free, I buy certified gluten-free oats, since regular oats can pick up wheat during processing. Substitutes: I can use store-bought oat flour (2 cups, since it’s more packed), oat baby cereal (2 cups), or quinoa flour (2 cups) as replacements. I don’t recommend all-purpose flour for this recipe.
Melted Coconut Oil: I add coconut oil to bind the dough and keep it moist enough to roll out without cracking. I use refined coconut oil so the biscuits don’t taste like coconut. Substitute: I can use melted unsalted butter (2 tablespoons) as a 1:1 replacement if dairy isn’t a concern.
Vanilla Extract: I like to add vanilla to round out the banana flavor, which makes the biscuits taste sweeter without any sugar. Substitute: I can use alcohol-free vanilla (1 teaspoon) as a 1:1 replacement, or leave it out.
Ripe Bananas: Bananas are the only sweetener in this recipe and the main source of moisture. I use 2 small ripe bananas (or 1 large), totaling 6 ounces in weight. I pick bananas with lots of brown spots on the peel because they’re the sweetest and mash the smoothest. Note: I never add honey, maple syrup, or other sweeteners. Honey isn’t safe for babies under 12 months because of the risk of infant botulism.
🔪 How To Make
This recipe comes down to four steps: blend, roll, cut, and bake twice. Here’s how I make it:
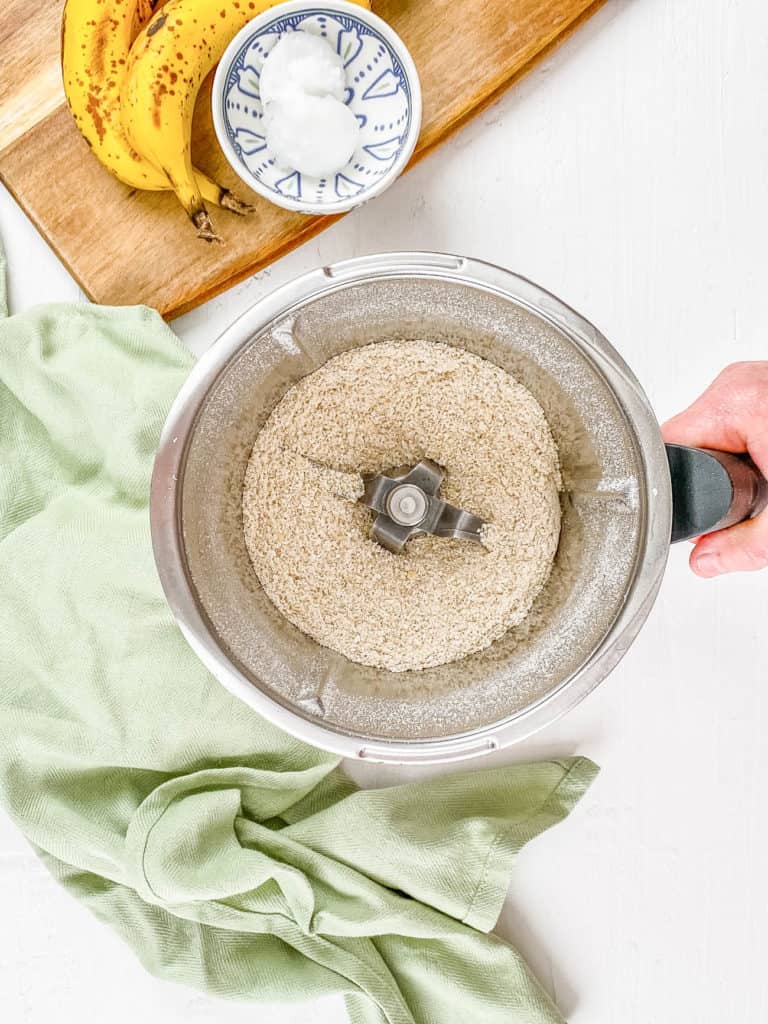
Preheat Oven And Blend Oats: I preheat my oven to 350 degrees Fahrenheit, then pulse the rolled oats in my food processor for 2 to 3 minutes until they turn into a fine powder.
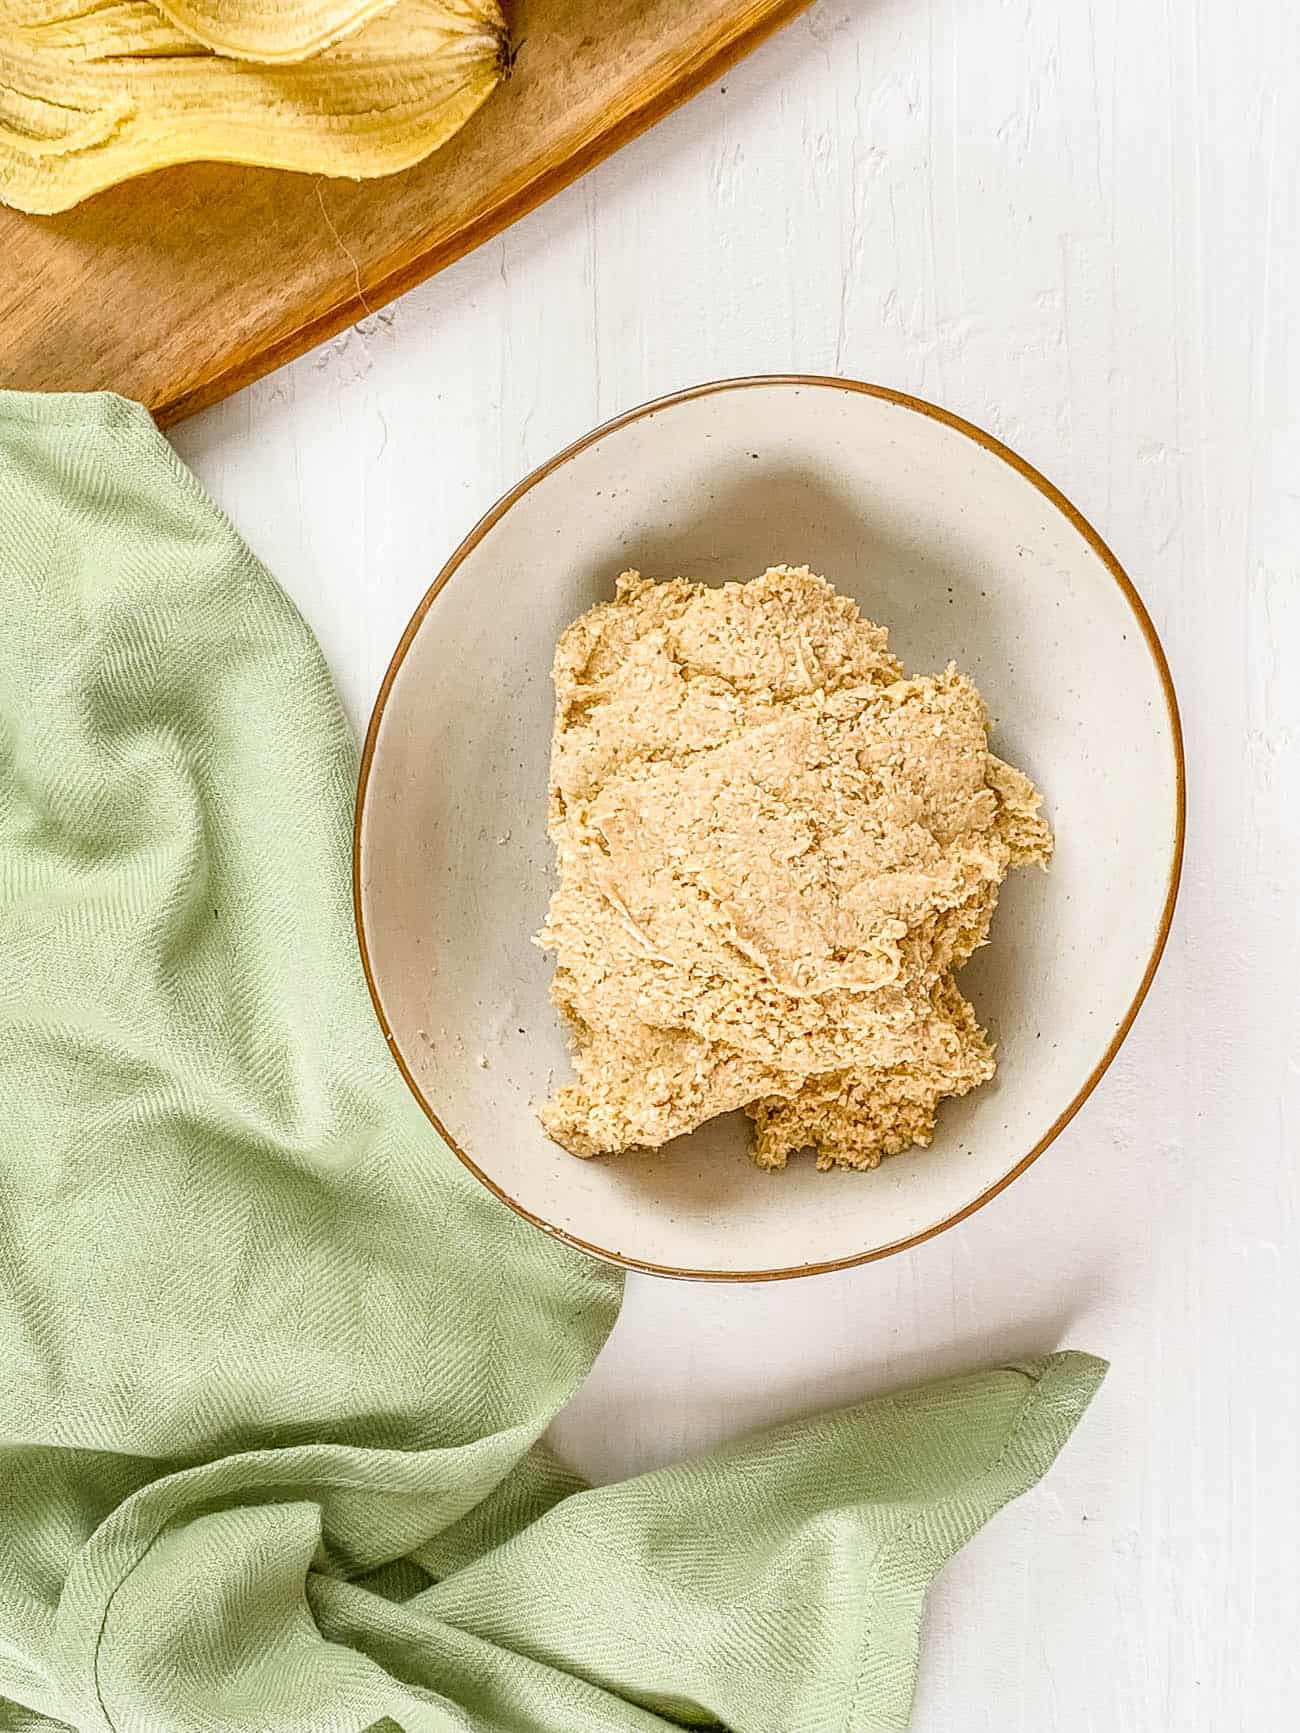
Form The Dough: I add the melted coconut oil, vanilla, and bananas to the oat flour and blend until a soft dough forms. It should hold together when I press it between my fingers.
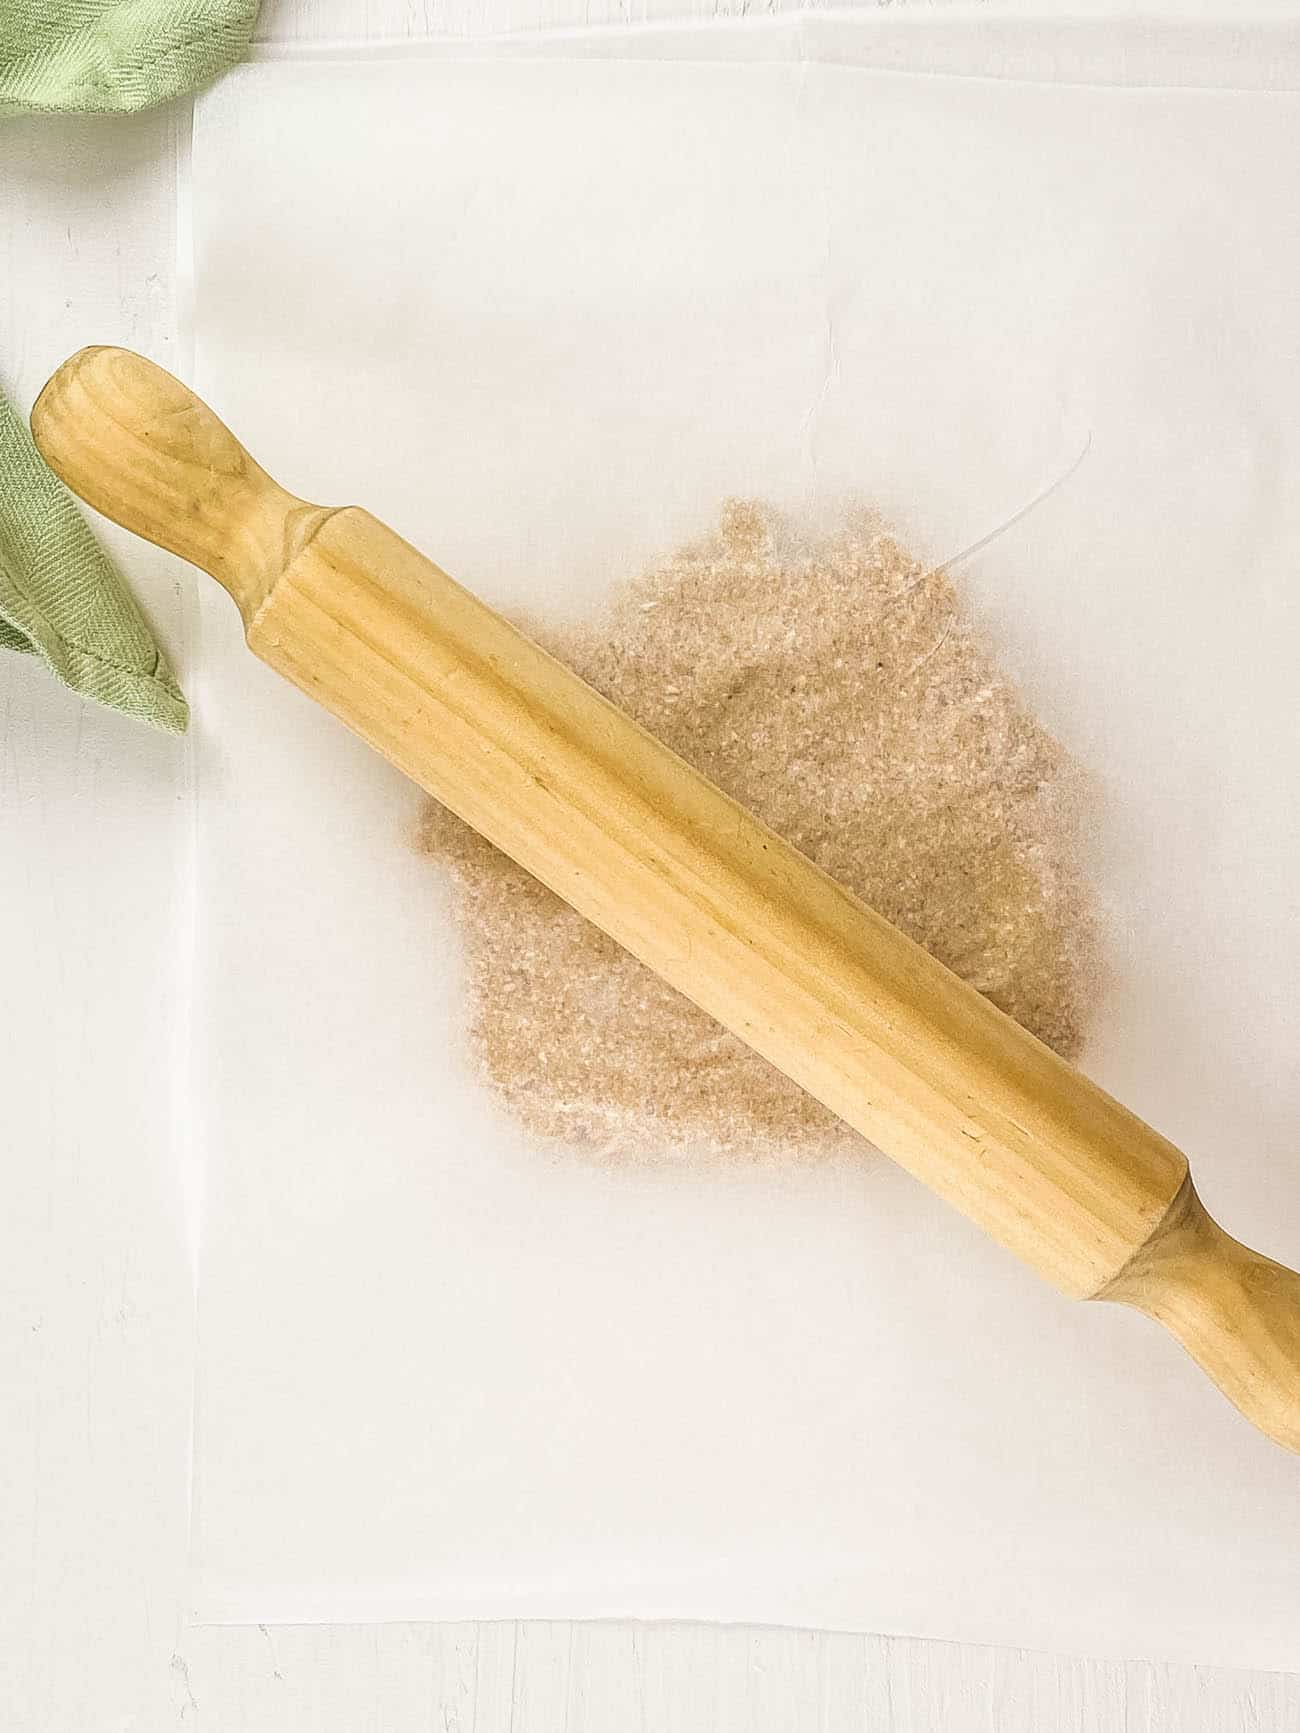
Roll Out The Dough: I place the dough between two sheets of parchment paper and roll it to ¼ inch thick.
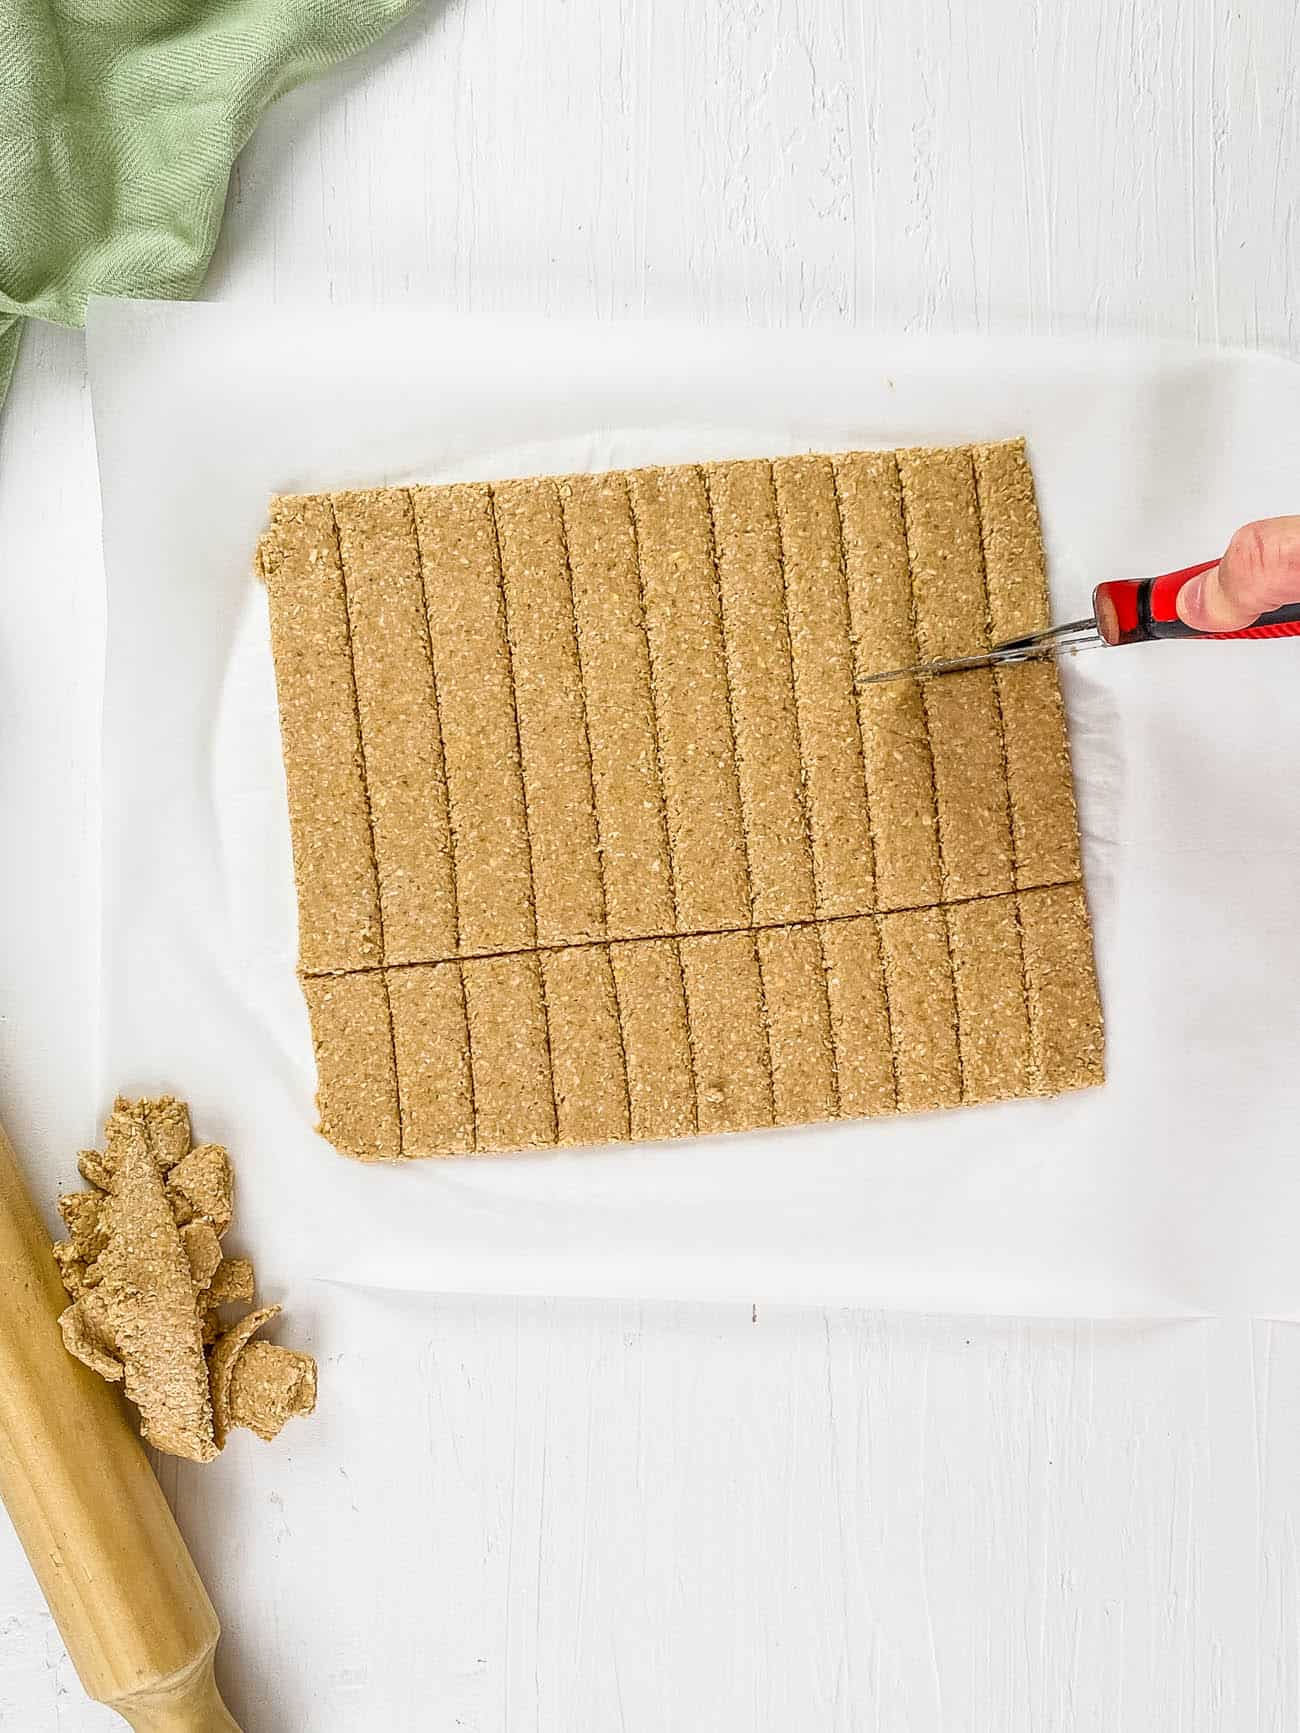
Cut Into Sticks: I peel off the top sheet of parchment and cut the dough into 36 even sticks. Sometimes I use cookie cutters for fun shapes instead.
Bake Twice: I slide the parchment onto a baking sheet and bake for 12 minutes. Then I run a knife along the cut lines, separate each stick, and bake for another 10 to 15 minutes until they’re firm and lightly golden.
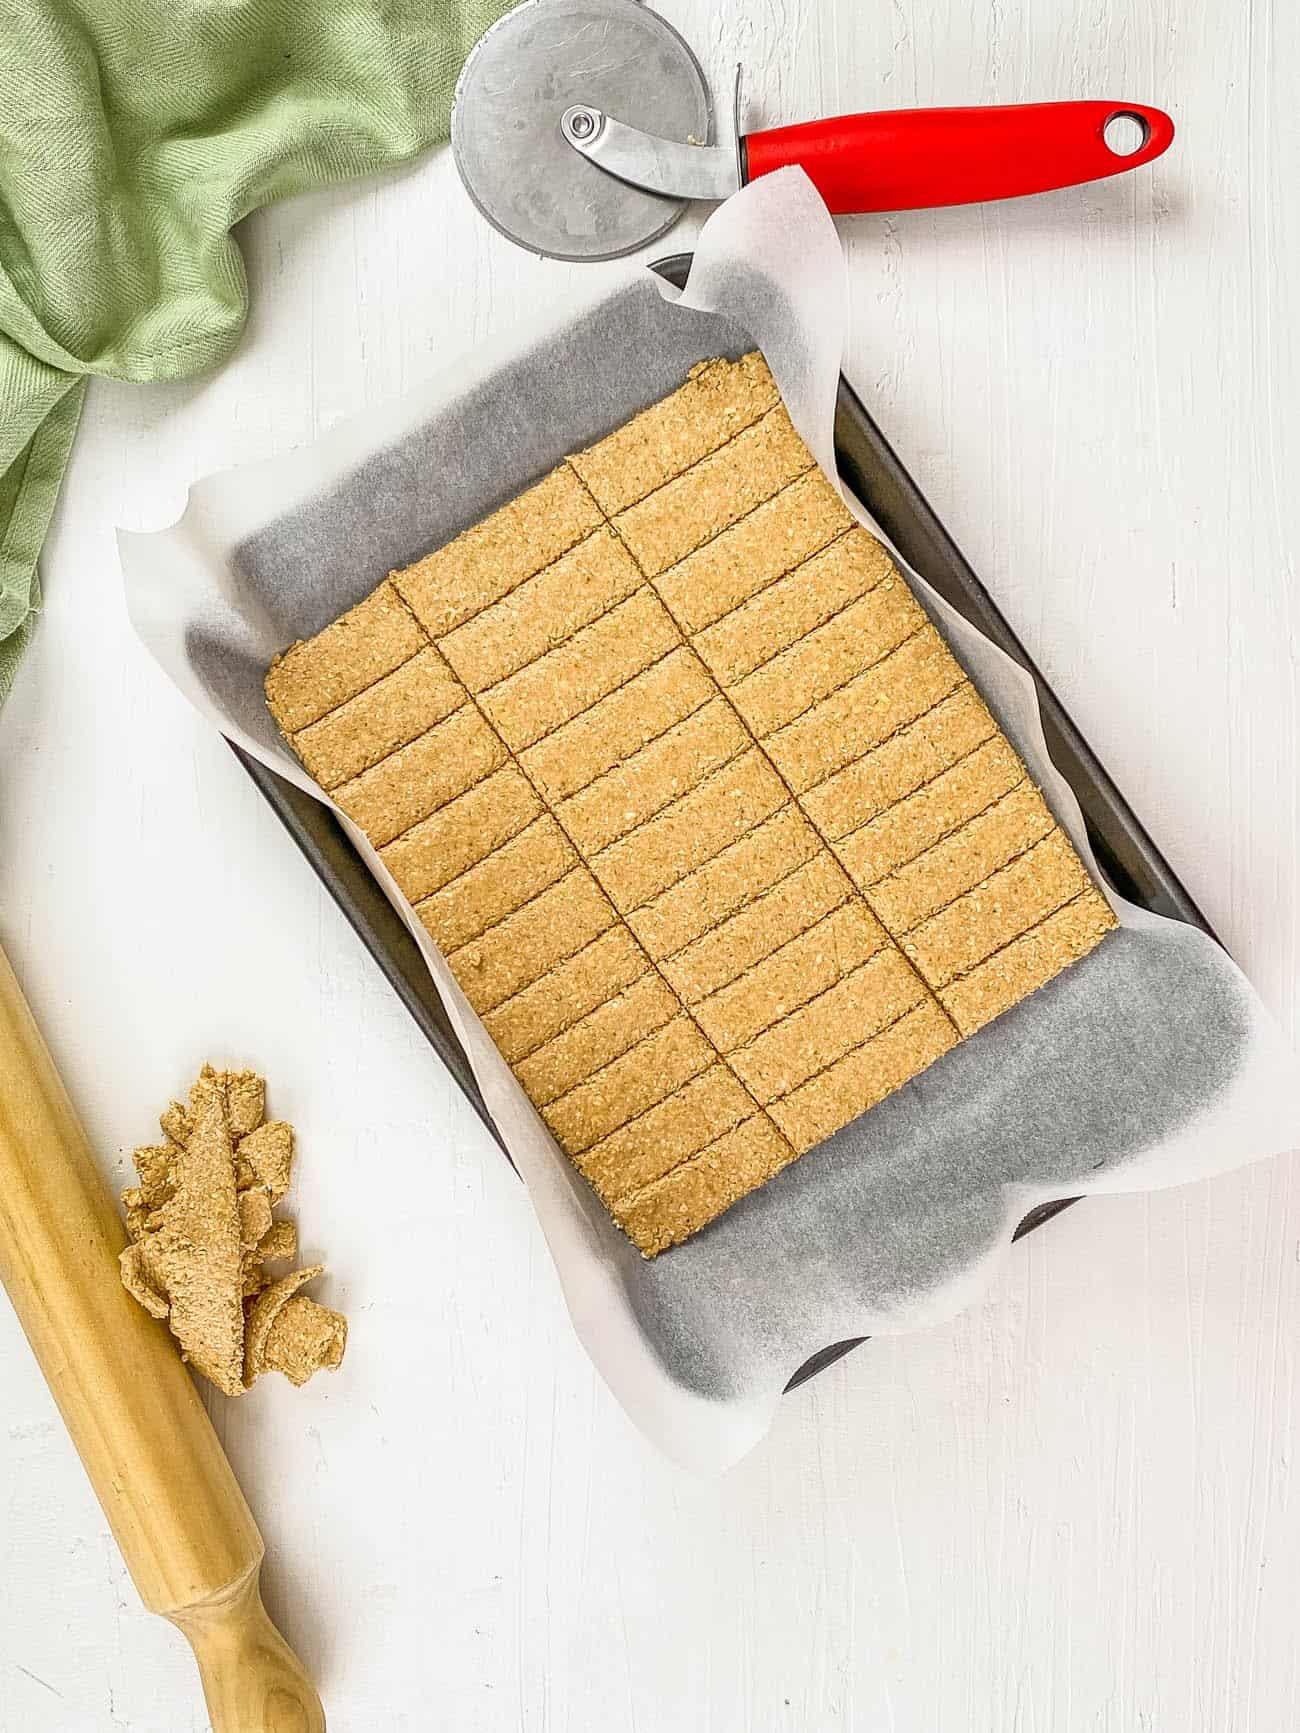
Cool: I let them cool on the baking sheet, then transfer to a wire rack. They must be completely cool before storing.

💭 Expert Tips
My #1 Secret Tip is to weigh the bananas on a kitchen scale so you have exactly 6 ounces. I learned this after several batches came out too wet or too dry. Bananas vary a lot in size, and the right weight is what makes the dough hold together and bake evenly.
Other Tips To Keep In Mind:
- Grind the oats into a powder: Coarse oat pieces don’t soak up the banana and oil, which makes a crumbly dough. I use rolled oats (never steel cut) and a high-powered blender or food processor.
- Check the thickness: Dough thicker than ¼ inch won’t dry out all the way in the second bake. Too thick and they won’t get crunchy enough, too thin and they break apart in little hands. I sometimes hold a ruler next to the dough to check.
- Watch the edges: The sticks along the outside of the pan brown first, so I check every few minutes during the second bake and pull out any that are getting dark.
- Leave them alone while they cool: The biscuits keep firming up as they cool on the pan, so I don’t store them or hand them out while they’re still warm.
- Note On Allergies: This recipe avoids the most common baby allergens, but some babies react to oats, coconut, or bananas. Introduce each ingredient on its own first if your baby hasn’t had it before.
📖 Variations
After making batch after batch, I started changing up the flavors to keep things interesting. These are the three versions my kids liked best:
- Pumpkin Spice: I add ¼ cup pumpkin puree and ½ teaspoon pumpkin pie spice to the dough for a fall version. ¼ cup sweet potato puree works in place of the pumpkin.
- Warm Spice: I pick one spice, like cinnamon, ground ginger, or ground nutmeg, and add ¼ teaspoon to the dough.
- Peanut Butter: I add 1 tablespoon of powdered peanut butter to the dough. This version isn’t safe for any baby or child with a peanut allergy.
🍽️ Serving Suggestions
Most days when my kids were little, I would hand my baby a biscuit on its own between meals, but it also works as the crunchy part of a small snack plate. When my kids were learning to feed themselves, I’d serve one next to a spoonful of avocado puree or pear puree. For a heartier mini meal, I pair it with my easy lentils for baby or sweet potato baby food.
🧊 Storage Directions
Room Temperature: I store fully cooled biscuits in an airtight container in a cool, dry spot for up to 2 weeks. Important: If I store them while they’re still warm, the steam softens them and they lose their crunch.
Freezing: I freeze them in freezer-safe containers for up to 3 months.
Re-crisping: I let frozen biscuits thaw at room temperature for about 15 minutes, then warm them in a 200 degree Fahrenheit oven for about 5 minutes until they’re crisp again. I let them cool before serving.
❓Recipe FAQs
Are homemade teething biscuits safe?
They’re safe for most babies when an adult is watching and the baby is sitting upright. As a baby gums the biscuit, it softens and bits can break off, so I take it away if a large piece comes loose.
When can babies eat teething biscuits?
I offered them once my kids were around 6 months old, sitting up well, and already eating other solids. If your baby hasn’t started solids yet, check with your pediatrician first.
Why are my biscuits chewy instead of crunchy?
They either needed more time in the second bake or weren’t fully cool. If they’re still soft once cool, I bake them for another 5 minutes (and continue checking in 5 minute increments until they’re the texture I want).
Are teething biscuits better than teething rings?
They do different jobs. A teething ring gives relief without any food, while a biscuit counts as a snack too. I used a chilled (not frozen) ring between meals and a biscuit at snack time.
Can I double this recipe?
Yes. I double all the ingredients, split the dough between two baking sheets, and bake one pan at a time so they cook evenly.
🥣 More Baby Food Recipes!

Love this Baby food recipe? Please leave a 5-star rating 🌟 in the recipe below and/or a review in the comment section further down the page!
You can also FOLLOW ME on FACEBOOK, INSTAGRAM, and PINTEREST to see more delicious, healthy, family-friendly food, and if you have any questions, I’m here to help!
📋 Recipe Card
🎥 Watch How to Make It
Homemade Baby Teething Biscuits Recipe
My super easy homemade teething biscuits are made with only 4 wholesome ingredients. They are healthier than store-bought, allergen-friendly, and so easy to make!
Servings: 36 biscuits
Calories: 33kcal
Ingredients
- 2 ½ cups rolled oats
- 2 tbsp melted coconut oil
- 1 tsp vanilla extract
- 2 small ripe bananas or 1 large ripe banana (should be 6oz total in weight)
Instructions
- Preheat the oven to 350 degrees F or 170 degrees C.
- Place the oats into a food processor and blend to form a fine powder.
- Add all other ingredients and blend until a dough has formed.
- Remove mixture from the food processor and roll in between 2 sheets of parchment paper to approx. ¼ inch thick. (Note: it's really important to get it to ¼ inch thick – if the dough has been rolled thicker than 1/4 inch in thickness it will take longer to cook).
- Remove the top layer of paper and cut into 36 evenly sized sticks.
- Place the sheet of cut teething sticks onto a baking sheet and bake for 12 minutes until just cooked through.
- Take the teething sticks out of the oven. Run a knife along the slice marks and separate each teething stick. Bake them again for another 10-15 minutes to make them firm. Make sure to keep an eye on the sticks as they bake, and remove any that are cooking quickly to stop them from burning.
- Remove and cool completely on the baking sheet before transferring them to a cooling rack. This is important to make sure they don't end up being chewy vs. crunchy!
Notes
- Store in a cool dry place in an airtight container. It will keep for a couple of weeks.
- Making your own oat flour is simple. Measure out the whole oats and transfer to a food processor or blender. Use rolled oats, do not use steel cut oats. I recommend using a high powered blender for a super fine consistency. If the oats aren’t processed to a fine powder, you may have an issue with the dough — if the oats are still somewhat formed they’re less likely to absorb the liquids, resulting in a dry dough.
- Use an oat baby cereal or oat flour if you don’t have rolled oats.
- If you’d like, you can use a cookie cutter to achieve different shapes.
- Make sure that your biscuits are baked and hard so that they are not a choking hazard.
- Weigh the bananas to exactly 6 ounces. If the measurement is off your dough will end up being too wet or too dry. The exact measurement ensures the dough holds together properly and bakes to the right texture every time.
- Roll the dough thin: If your dough has been rolled thicker than ¼ inch in thickness these biscuits won’t bake properly.
- Cool Completely: The biscuits have to cool completely to make sure they don’t end up being chewy (you want them to be crunchy). Make sure that your biscuits are fully baked and hard so that they are not a choking hazard.
Nutrition
Serving: 1biscuit | Calories: 33kcal | Carbohydrates: 5g | Protein: 1g | Fat: 1g | Saturated Fat: 1g | Polyunsaturated Fat: 1g | Monounsaturated Fat: 1g | Sodium: 1mg | Potassium: 41mg | Fiber: 1g | Sugar: 1g













Just tried your recipe for the first time. It hasn’t come out of the oven yet but it might be helpful for the same results every time, to have the oats measured in grams. Other than that, thank you so much for your recipe!
Hi Katie! Thank you – that suggestion makes sense! Adding gram measurements is something I’ll work on adding to my recipes in the future! I hope it turned out delicious. Let me know how you liked it! 😊
My Great-grandson has just turned 5 months old, so l know he’s going to be very busy soon getting his little choppers to poke through!
Very happy to see this recipe.
Thank you Jan! I hope this recipe works out for him when he’s teething! 🙂
My baby loves this! I’ve made it with sweet potato and also pumpkin. I add ground flaxseed as well for some extra nutrition. I’ve been making this once a month and store the extras in the freezer. Thank you for a wonderful recipe!
Yay!! I’m so happy to hear that – thanks for letting me know! 🙂
Hello, are these safe for a teething 9m old? If a bit breaks off they won’t choke on it? Or will it sort of go mushy in baby’s mouth ?
Thanks
Hi! These can be used for a 9 month old (they’re safe for babies who have started solids) and should become mushy in your baby’s mouth if your baby “gums” the cookies. If they just bite it off and try to swallow without gumming it, then it will not be mushy and will be a choking hazard. I recommend using these cookies once your baby is experienced at gumming / “chewing” various foods and when your pediatrician says they can start on foods like crackers, biscuits, etc. Hope that helps!
Need to try this immediately for my 6 month old! Would it be the same if I use banana or pear baby food?
Hi Allyssa! In my experience, banana and pear baby food (like from a pouch or a jar) is more “liquid-y” than mashed bananas, and may make the batter too wet. I would recommend just using a mashed banana if you can! Hope that helps!
If I already have ground up oats, how much would I use vs. the 2 1/2 cups of whole rolled oats?
Hi Tanama! 2.5 cups of rolled oats will yield about 1 and 7/8 cups – 2 cups of oat flour. Hope that helps!
Thank you for the great healthy recipe, I’m just wondering about baking time. You only bake once in the video but in the written recipe you bake it twice. Which one is the correct one? Thank you in advance.
Hi Saki! Sorry for the confusion! You should bake these twice 🙂 Let me know if you have any other questions!
Can I add formula milk powder in it??
Hi! No, I wouldn’t recommend it. This is a pretty delicate recipe and changing any of the proportions or ingredients will likely result in biscuits that have a different texture and bake time than listed in the recipe itself. Hope that helps!
Such a good idea! Definitely keeping some of these on hand for the next time my nephews visit!
Yay! Great to hear that Kerri!
We are going to visit our grandson in a few weeks. I have saved this recipe to make when we get there! Thank you!
Oh perfect! Hope he likes these!
Yes! My friends just had their first baby and they spend a fortune on teething crackers! Now I can make it for them!
Awesome! I hope their baby loves these! 🙂
Such a thoughtful recipe. Homemade is always better. Thanks!
Thank you so much Ann! 🙂