Coconut Oil For Seasoning Cast Iron (Plus 9 Alternatives)
This post may contain affiliate links. As an Amazon Associate, I earn from qualifying purchases. Please read my disclosure.Using coconut oil for seasoning cast iron is my favorite way to create a natural non-stick surface while protecting my cookware for long-term use. With its mild flavor and versatile properties, it’s a fantastic choice, especially for those looking for a more natural or plant-based option. In this guide, I’ll show you how to season cast iron with coconut oil and also cover some of the other best oils to season cast iron cookware.
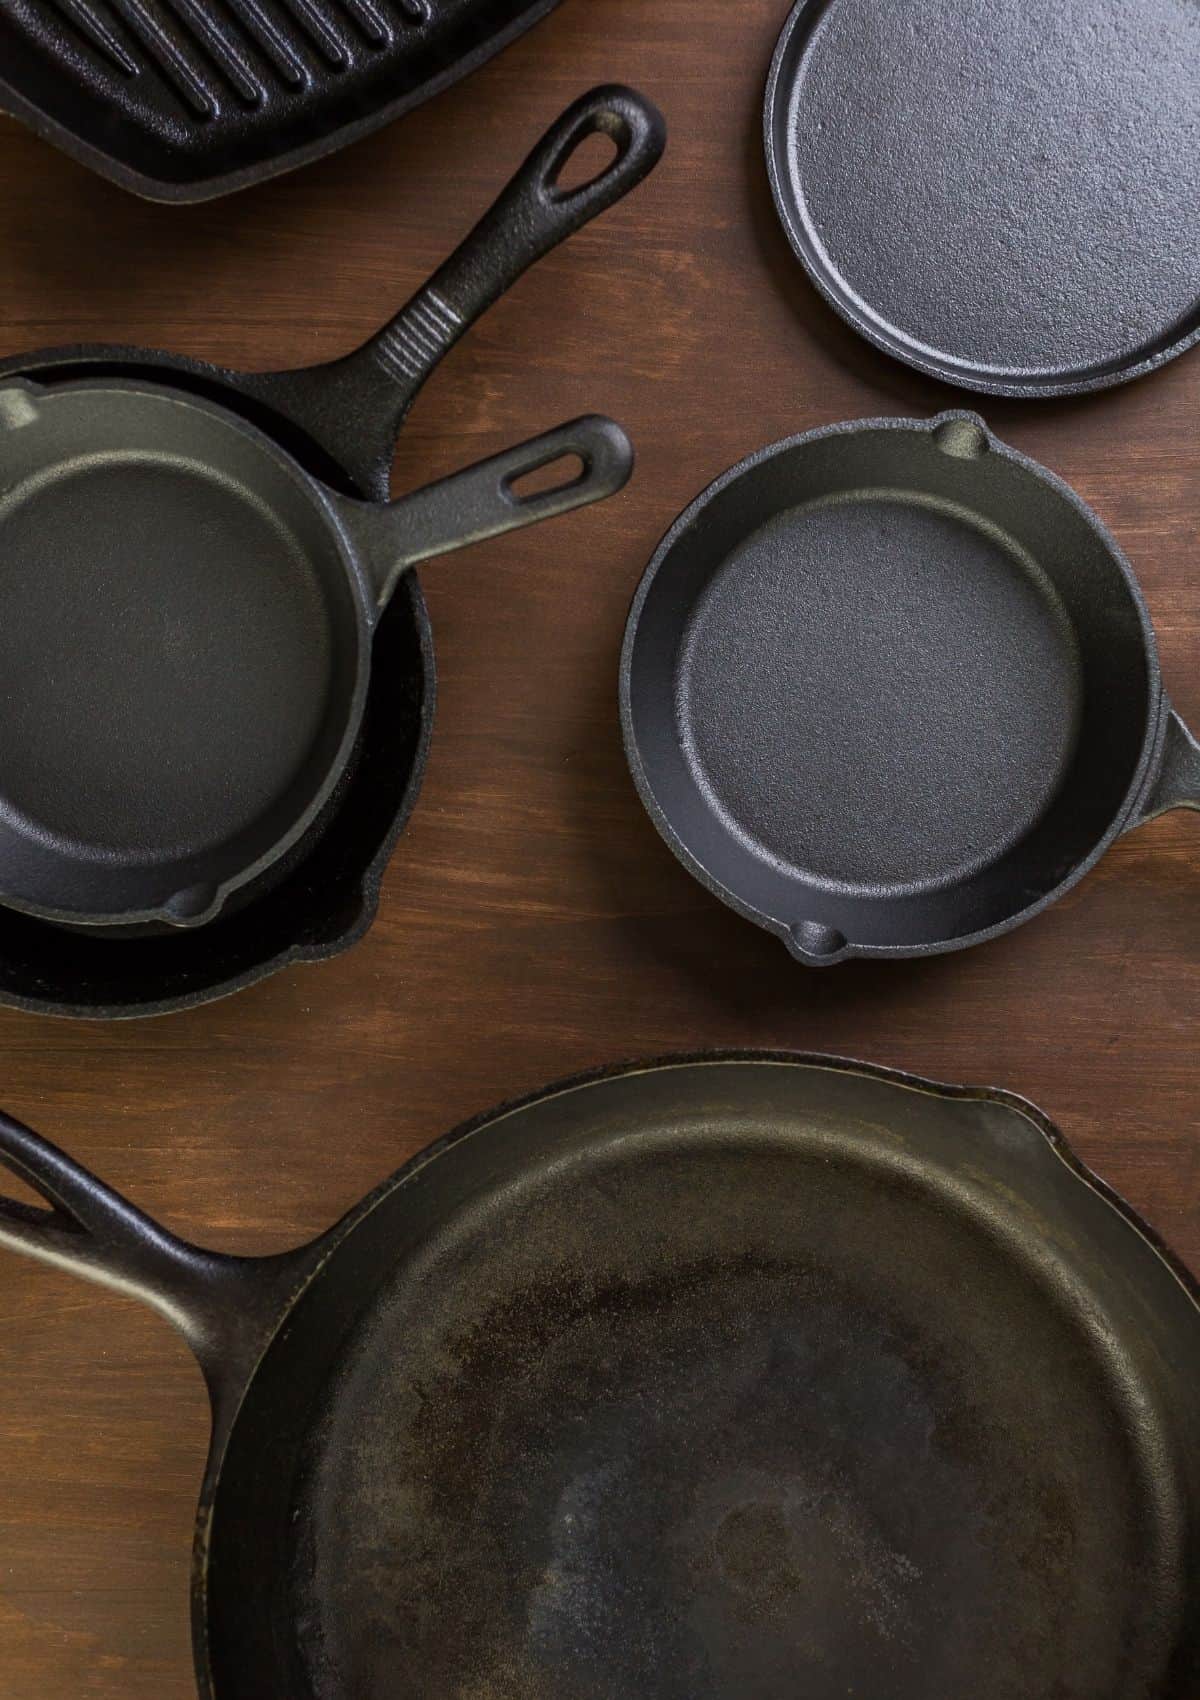
One of the things I love most about cast iron is its ability to endure. With the right care and attention, some of the cast iron tools in my family have lasted for decades, being passed down from generation to generation.
Given how important these skillets can be, it’s essential to make sure you’re using the best oil to season cast iron. My personal favorite is coconut oil cast iron seasoning, but there are multiple options.
In this helpful guide, I’m going to answer all your questions, like “Why do you need to season cast iron?” and “What is the best oil to season a cast iron skillet?”. By the time you’re done reading, you’ll understand why I love coconut oil on cast iron, know how to properly season your new cast iron, and learn about the oils that work best.
What Does Season Cast Iron Mean?
When you hear the term “seasoning,” you probably think of herbs and spices. I know that’s what comes to my mind. But seasoning a cast iron skillet has nothing to do with spices or flavoring your food.
In the case of cast iron cookware, seasoning means creating a protective layer on the pan by repeatedly heating fat (typically oil) until it forms a hard, non-stick coating. This “skin” shields the metal, making the pan more durable and resistant to rust over time.
What Is The Best Oil To Season Cast Iron Cookware?
My go-to is coconut oil to season cast iron. If you’re thinking, “Can you use coconut oil to season cast iron?”—the answer is a resounding yes! I’ll break down the process in more detail later in this guide.
That said, is coconut oil good for cast iron on all pans? It really depends. When choosing the best oil to season cast iron, you need to consider your cooking needs and the flavors you want to impart on your pan.
Just about any fat could be considered the best cast iron seasoning oil. You just have to make sure that you heat your pan below the smoke point of your chosen oil and complete the seasoning process properly. In general though, I’ve found that vegetable oils with a higher smoke point like coconut oil, grapeseed oil, or avocado oil are my top choices.
I also recommend choosing oils rich in polyunsaturated fats with a high poly-to-mono fat ratio. Polyunsaturated fats are the most efficient at forming a solid seasoning layer through a chemical reaction called polymerization.
Coconut Oil
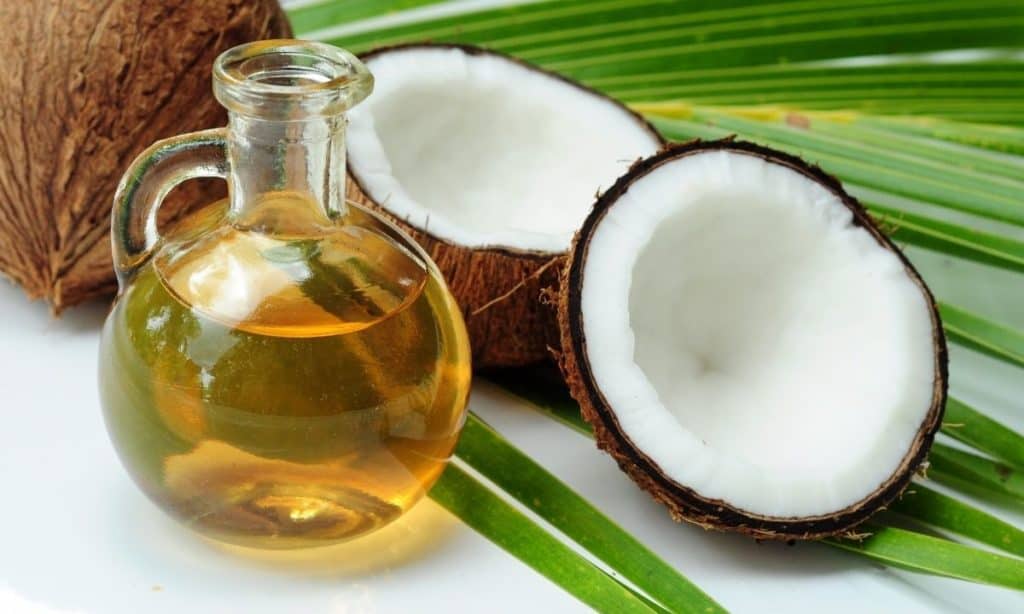
If you’re like me, you’ve probably started using coconut oil a lot more in your cooking due to it being a healthier alternative to traditional oils (source). But maybe you’ve never considered, “Is coconut oil good for seasoning cast iron?” I’m here to tell you that it absolutely is, and it’s a fantastic choice!
If you decide to use coconut oil in cast iron, just keep in mind that it’s important to warm your pan to about 350 degrees Fahrenheit (175 degrees Celsius) before adding the oil. The key is to avoid cooking at a temperature higher than the oil’s smoke point, or you risk breaking down the seasoning layer. Coconut oil for cast iron is perfect for those who don’t cook at super high temperatures.
One of my favorite brands is Nutiva Virgin Coconut Oil for seasoning cast iron, which is great for vegetarian, paleo, vegan, and gluten-free diets. You can buy it refined or unrefined, with refined coconut oil having a much milder flavor.
Grapeseed Oil
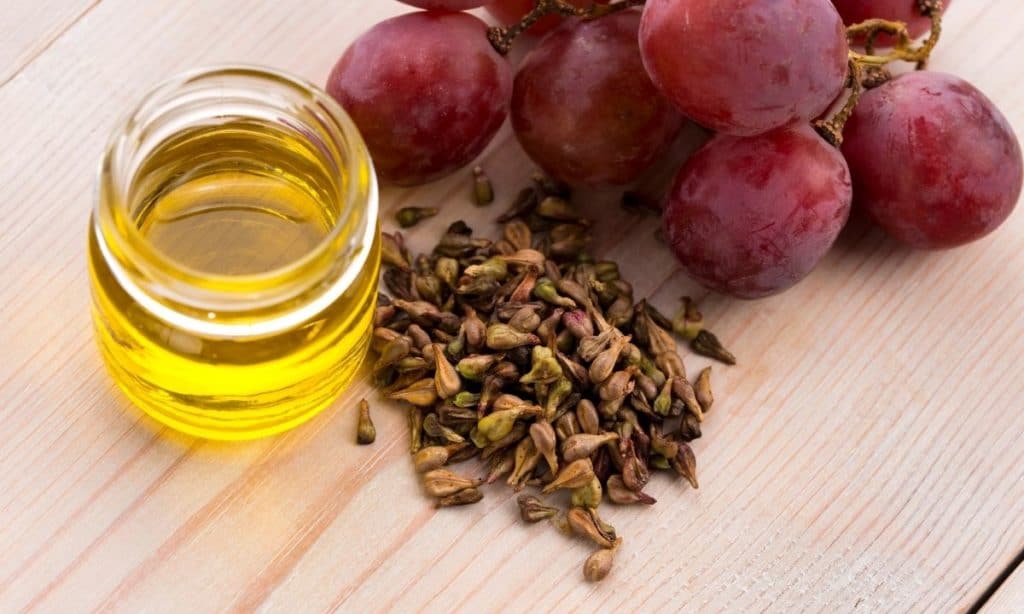
If I want to cook at a higher heat, grapeseed oil is a great choice for seasoning cast iron. With its neutral flavor and high smoke point of 420 degrees Fahrenheit (215 degrees Celsius), many culinary professionals use grapeseed oil for both seasoning and cooking.
Grapeseed oil isn’t overpowering in its flavor and blends perfectly with other flavors. My favorite is La Tourangelle’s Expeller Pressed 100% Grapeseed Oil. It’s made from imported grapes from France, is high quality, affordable, and packed with fatty acids and Vitamin E (source).
Peanut Oil
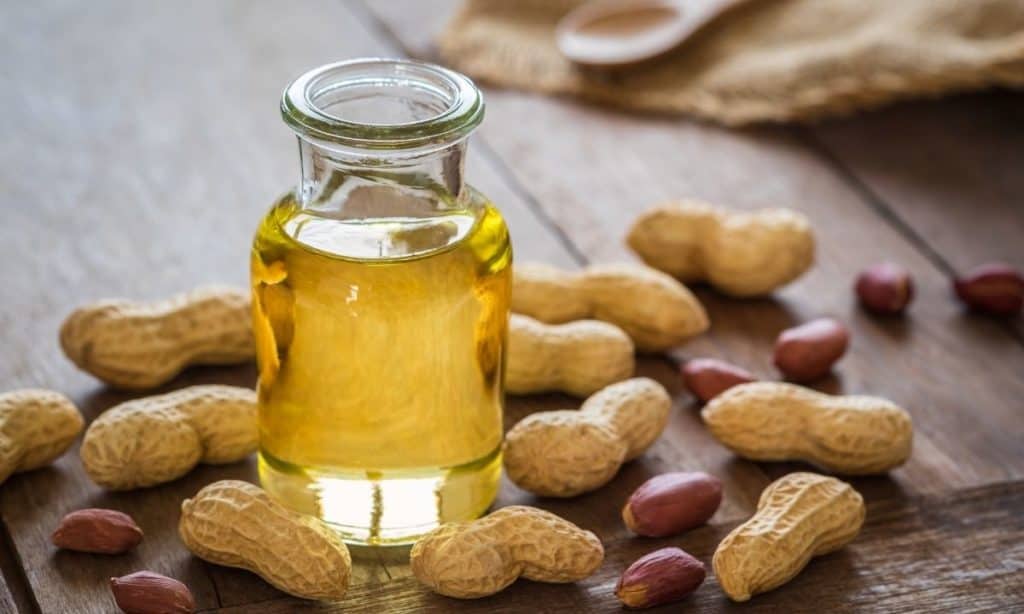
Peanut oil is ideal for those who prefer a versatile, mid-range cast iron seasoning oil. With its flavor, reasonable price, and mid/high smoke point of 450 degrees Fahrenheit (232 degrees Celsius), I think it’s the best oil for cast iron for preparing Asian cuisine or deep frying.
However, due to its distinct flavor, peanut oil may not be the best choice if you don’t want a peanut taste in your dish. Additionally, if you’re cooking for someone with a peanut allergy, it’s definitely not the oil to use for seasoning your cast iron.
For a high-quality and long-lasting option, I recommend La Tourangelle’s Peanut Oil, which is perfect for all your culinary needs!
Avocado Oil
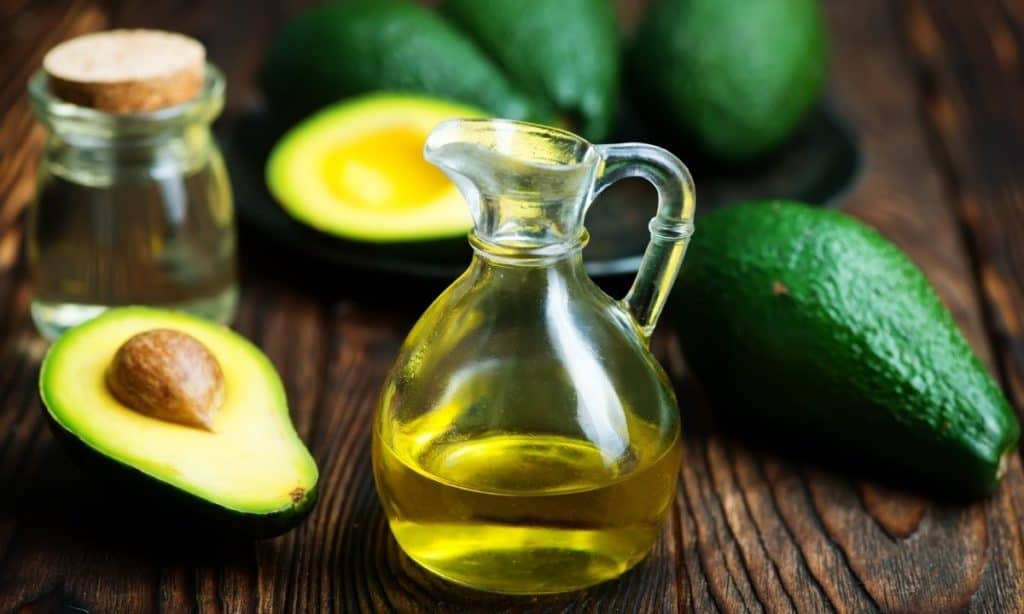
Avocado oil has an extremely high smoke point of 520 degrees Fahrenheit (271 degrees Celsius), which is great because it will never burn during the seasoning process. However, keep in mind that it can be hazardous, as you’ll need to handle a very hot pan while seasoning and heating.
That said, I love avocado oil for its many benefits. The high smoke point means longer-lasting seasoning, and it also has a neutral flavor along with a good dose of vitamin E (source).
While it may be a bit more expensive than other oils, it is an excellent oil for cast iron skillets. I highly recommend Nutiva Organic Avocado Oil!
Flaxseed Oil
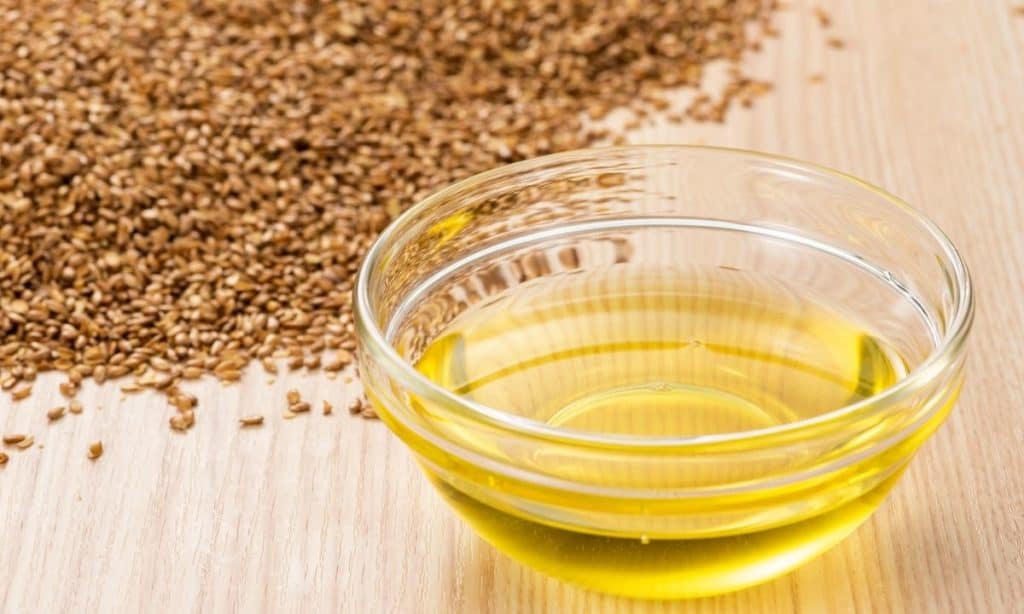
While flaxseed oil may be a bit of a luxury due to its price, it’s an incredibly effective option for seasoning cast iron. I like that it offers plenty of benefits like healthy fats and antioxidants (source).
However, its higher cost means you’ll want to make sure it’s the right choice for you. With a low smoke point compared to other oils, seed oil requires seasoning your pan at least 6 times at a low heat (200–225 degrees Fahrenheit / 93–107 degrees Celsius) before first use. The upside is that it’s low in saturated fats which helps create a strong bond with your cast iron.
I think it’s also important to note that flaxseed oil tends to go rancid quickly, so it’s only ideal if you plan to use your cast iron frequently and cook with a variety of fats.
My top picks for are Puritan’s Pride Organic Flaxseed Oil or Barlean’s Fresh Flaxseed Oil. Both of these are award-winning organic oils that will provide all the flaxseed oil benefits you’re looking for.
Extra Virgin Olive Oil
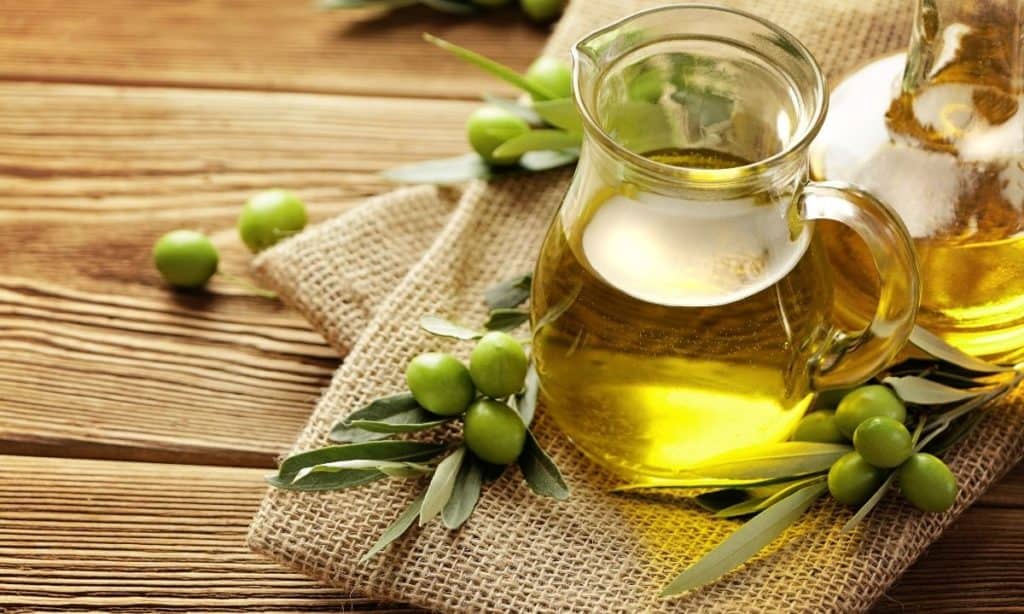
As one of the most popular oils for seasoning cast iron, olive oil is versatile, inexpensive, and can be found at any supermarket. However, while it’s easy to find, using olive oil requires a bit more attention to ensure it bonds properly with your cast iron pan.
Seasoning with olive oil must be done at a low temperature (around 350 degrees Fahrenheit / 175 degrees Celsius). I’m careful not to let the pan overheat, which can make the process a little more time-consuming. If you rush, the oil won’t bond to the pan properly.
If you’re looking for an easy-to-find, cost-effective option, olive oil is the best oil for cast iron seasoning. I highly recommend using Pompeian Organic Extra Virgin Olive Oil.
Canola Oil And Vegetable Oil

Due to their availability and ability to handle very high heat, oils such as soybean oil, sunflower oil, corn oil, canola, and vegetable oils are some of the most popular cooking oils on the market.
But just because they’re popular, doesn’t necessarily mean that they’re the best oil for cast iron.
Canola and vegetable oils are heavily refined, making them the least healthy on my list. However, they are some of the most common oils to season cast iron. Even the Lodge Cast Iron Company, which is one of the top makers of durable cast iron pans, recommends canola oil for seasoning.
If you do choose to go with one of these options, I suggest using La Tourangelle Organic Canola Oil. It’s probably one of the highest-quality canola oils you can find.
Animal Fats To Season Cast Iron
If you’re not vegan or vegetarian, you don’t have to use a plant based option like coconut oil for seasoning cast iron, you can also use animal fat. I’ve found that these options are the most popular:
Lard: Lard is one of the most traditional methods for seasoning, but it comes with a few downsides. If the pan isn’t used regularly, the lard can turn rancid and develop an unpleasant smell, especially if not stored properly. Its high saturated fat content also means that lard doesn’t polymerize as effectively, making the seasoning less durable.
Bacon Grease: Similar to melted shortening, bacon grease works much like lard for seasoning cast iron. However, it will add flavor to your recipes.
Ghee: Thanks to its high smoke point (around 450-475°F), ghee is a solid option for seasoning a cast iron pan. While its high saturated fat content means the seasoning might not be as durable as other oils, it can still get the job done over time if it’s what you have on hand. On the plus side, ghee adds a delicious rich flavor.
Can You Season Cast Iron With Butter?
I don’t recommend seasoning cast iron with butter. Since butter has a low smoke point, it tends to burn during the seasoning process, which can stop it from forming a good protective layer. That said, I still love cooking with butter in my cast iron, as long as I keep the heat low to avoid burning it!
How To Season A Cast Iron Skillet
Now that I’ve gone over what I think is the best oil to season cast iron and introduced you to a few other options, I’m going to teach you how to use coconut oil for seasoning cast iron.
While there are different techniques, I have found this simple method to be the best way to achieve a layer of seasoning that will protect your pan!
- Wash Pan: I hand-wash my cast iron pan with a small amount of dish soap and hot water to remove any residue or dirt.
- Dry Thoroughly: Once clean, I use a lint-free cloth to dry the pan quickly and completely, as any moisture can affect the seasoning process.
- Apply Oil: This next step is key. I rub a thin, even layer of coconut oil all over the inside and outside of the pan. You want to coat your pan evenly without making it super greasy.
- Preheat Oven: After the oil is applied, I preheat my oven to 350 degrees Fahrenheit (175 degrees Celsius). This temperature is for seasoning cast iron with coconut oil. If you’re using another oil, set the oven temperature just below its smoke point.
- Bake Pan: I place the pan upside down on the middle rack, with a foil-lined baking sheet or parchment paper underneath to catch any excess oil. Then I let it bake for 1 hour to allow the oil to polymerize and form a strong, protective layer.
- Cool In Oven: Once the time is up, I turn off the oven and let the pan cool completely inside. This will help the oil seasoning set properly.
Smoke Points Of Common Oils
You can use my handy chart to help you adjust your oven temperature according to the oil you’re using for seasoning your cast iron skillets. Make sure to stay just below the oil’s smoke point to avoid burning and ensure a good seasoning layer.
| Oil | Smoke Point (°F) | Smoke Point (°C) |
|---|---|---|
| Coconut Oil | 350°F | 175°C |
| Grapeseed Oil | 420°F | 215°C |
| Avocado Oil | 520°F | 271°C |
| Flaxseed Oil | 225°F | 107°C |
| Canola Oil | 400°F | 205°C |
| Vegetable Oil | 400-450°F | 205-232°C |
| Peanut Oil | 450°F | 232°C |
| Olive Oil (Extra Virgin) | 350°F | 175°C |
| Sunflower Oil | 440°F | 227°C |
| Lard | 370°F | 188°C |
| Bacon Grease | 375°F | 190°C |
| Ghee | 450°F | 232°C |
How Many Times Do You Season A New Pan?
In my research, I’ve found that experts recommend doing the initial seasoning of a new pan 3 to 4 times. So essentially I repeat all the steps up to 4 times until I have achieved a nice hard layer and created a natural nonstick surface.
However, if you don’t have time to do that, seasoning it once will still work! Your pan will get “re-seasoned” with regular use!
Do I Need To Re-Season Cast Iron?
Once you have completed the initial seasoning process, you actually don’t need to do anything else for a long while! I’ve found that if you cook fattier foods in your skillet, and you don’t use soap when cleaning, the seasoning can last for a year or more. Otherwise, you might want to re-season every 6 months.
How To Clean Cast Iron
Cleaning cast iron is simple, but there are a few important rules to follow. The most important rule is to never soak your pan, as this can lead to rust. Instead, I always wash mine with hot soapy water or just warm water, making sure to rinse thoroughly to remove any residue.
When it comes to soap, I use it sparingly and only when absolutely necessary, like after cooking dairy or meat. It’s also essential to avoid using steel wool or abrasive scrubbers, as they can strip away the seasoning you’ve worked hard to build. A soft sponge or brush works best to gently clean the surface while keeping the protective layer intact.
How To Clean Rust Off Cast Iron
If you’ve got a cast iron skillet, pan, or Dutch oven that’s starting to rust, don’t worry—it happens! To fix it, I just grab some steel wool and scrub away the rust until both the rust and the old seasoning are gone.
Once it’s clean, I wash the pan with warm, soapy water and make sure to dry it thoroughly so no moisture lingers. After that, I re-season my cast iron by following the same steps above.
Top Tips For Cast Iron Cookware
- Skip Paper Towels: I avoid using paper towels to wipe down my cast iron, as they can leave lint behind that sticks to the surface. Over time, this can build up and become an issue when cooking. Instead, I use a lint-free cloth or an old rag to clean and dry the pan completely.
- Heat Dry For Best Care: After washing, to make sure my cast iron is truly dry, I place it on the stove over low heat for a few minutes. This ensures all the moisture evaporates, preventing rust.
- Cook Fattier Foods First: For the first few uses after seasoning, I cook foods with a higher fat content to help further season my pan. This reinforces the protective layer and enhances the non-stick surface.
- Be Careful With Acidic Foods: I try to be cautious with acidic foods like tomatoes, vinegar, or lemon and wait until I’ve used my cast iron at least 10 times before cooking them to avoid breaking down the seasoning. Even after that, I limit how much I use acidic foods in the pan.
- Cool, Dry Storage: I store my cast iron in a cool, dry place with the lid off to prevent moisture from building up, which can lead to rust. A well-ventilated cabinet or hanging storage rack works great.
- Check The Flavor: If you don’t like the flavor of your food after cooking it in your seasoned cast iron, it may be time to re-season your pan or try a different oil for seasoning.
FAQs
If food is sticking to your cast iron pan, it could be a sign that the seasoning isn’t fully developed yet, or that you’re cooking at too low of a temperature. I recommend double-checking to make sure the pan is fully preheated before adding food, and try cooking with a bit more oil. If the sticking persists, it may be time for a fresh round of seasoning.
If your pan gets too hot while seasoning, the oil can burn and leave a sticky or uneven layer. This is why I always make sure to stay below the oil’s smoke point. If you accidentally overheat the pan, you may need to scrub off the burnt oil and start the seasoning process again.
I’ve found that it’s hard to ruin cast iron, but improper care, like soaking it in water, allowing it to rust, or using harsh abrasives, can damage it. The good news is that most damage can be fixed with proper cleaning and re-seasoning.
This can happen if oil or food residue has built up or gone rancid. To fix it, I scrub the pan well, wash it with soap, and re-season it.
Final Thoughts
As you’ve seen in my guide, you don’t need to use the most expensive oils to season cast iron. I always recommend oils with high smoke points, such as grapeseed, avocado, or my favorite coconut oil, as they tend to create more durable seasoning layers.
However, the best oil for seasoning cast iron is the one that fits your specific needs. Don’t hesitate to experiment with different oils until you find what works best for you and your cooking style.


