



Strawberry Santa Hats
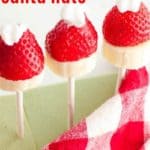
This post may contain affiliate links. As an Amazon Associate, I earn from qualifying purchases. Please read my disclosure.Every December, my kitchen counter turns into a North Pole wonderland with treats like these strawberry Santa hats. I use juicy strawberries, ripe bananas, and whipped cream to make a festive snack that looks too adorable to eat. These creative treats take just 20 minutes to make and double as a fun holiday activity for the kids.
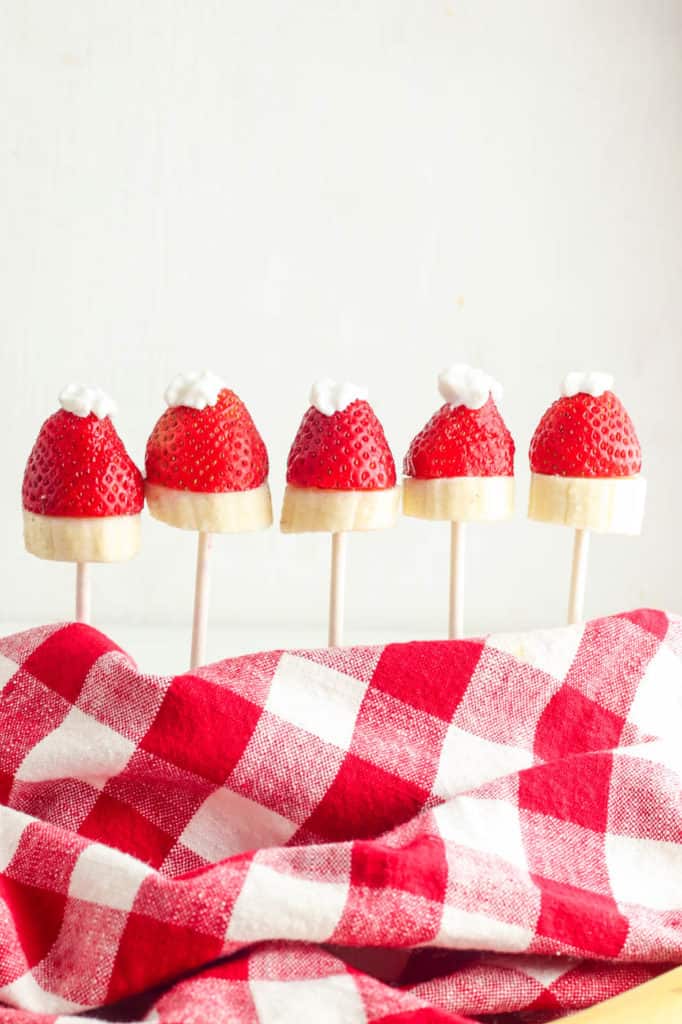
Fresh fruit snacks like these strawberry Santa hats are a welcome break from the heavier and richer holiday desserts like my snowman cupcakes. If you like sticking to a healthier lifestyle even during a season where overindulgence is inevitable, these strawberry Santa hats keep the fomo at bay.
I first started making these strawberry Santa hats when my kids were asking for Santa pancakes nearly every morning in the lead-up to Christmas. But then, suddenly, they wanted something different for breakfast. I had a surplus of fresh strawberries and bananas and decided to get creative instead of just using them for smoothies. My kids and husband loved them so much that they even made a public debut at my Christmas party that same year, and have been a staple ever since.
👩🏽🍳 Why I Love This Recipe
Bright strawberries and bananas make these strawberry Santa hats naturally sweet without needing any refined sugars or artificial flavors. As a nutritionist, I appreciate having a holiday snack that includes fiber, potassium, and vitamin C that is still festive and delicious. The banana slices stay soft and creamy underneath the juicy strawberries, and I add whipped cream for just a touch of decadence, which elevates this snack to dessert status.
Holiday recipes do not always need to be complicated with fancy decorating techniques. And the fact that this recipe is so simple means my kids can join in when I make it. I slice the strawberries flat across the tops so they sit flush on the banana slices instead of tipping sideways. I secure the strawberries and bananas with a skewer and wait until serving time to add the whipped cream tip.
I have seen how excited kids get whenever I bring out these strawberry Santa hats, and I wondered whether it would elicit the same reaction from adults. A few years ago, I made these hats for my book club end-of-year party, office parties, school meetings, and even for my Christmas cocktail party, instead of my more demure grown-up snacks. This made me realize how much of that excitement is lost during Christmas as we get older. These Santa hats were just a small way of reintroducing that magic, and I strongly urge you to make them for your next holiday party.
🥘 Ingredients
When I make strawberry Santa hats, I keep the ingredient list intentionally simple, letting the fresh fruit take center stage. This is what I use:
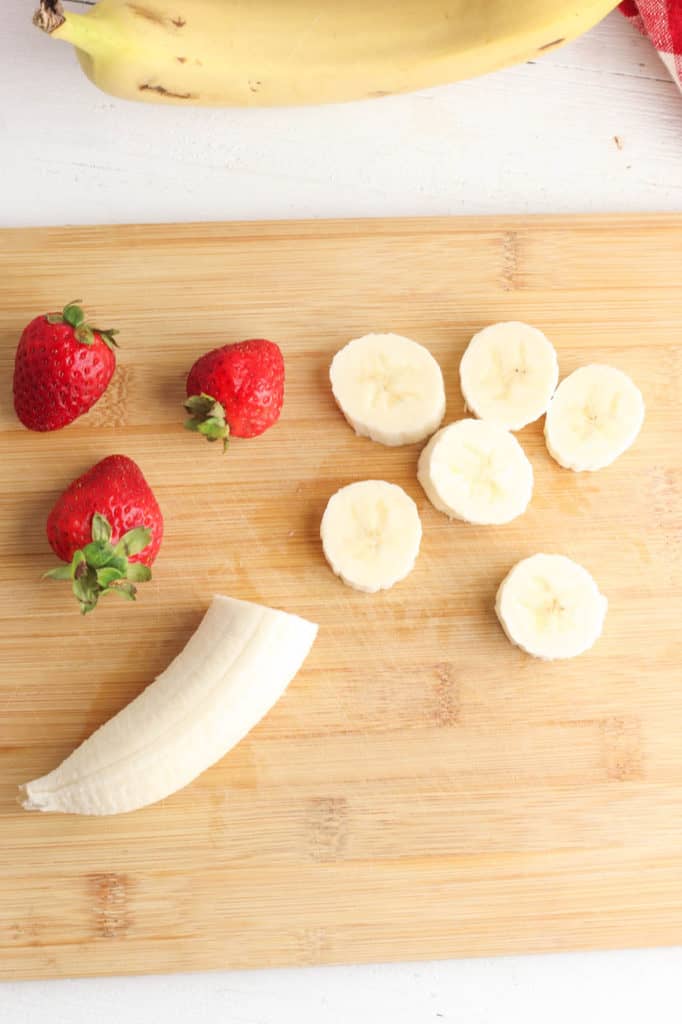
Strawberries: I use large fresh strawberries with bright red color and firm flesh so they stay sturdy once assembled.
Bananas: Slightly ripe bananas create the best texture for the base.
Whipped cream: I pipe tiny dollops of whipped cream onto the tops for the Santa hat detail.
Sucker sticks or skewers: These help keep the strawberries and bananas stacked neatly together while making the snack easier to grab.
🔪 How To Make
I usually set everything out assembly line style on the kitchen counter so my kids can help build their own strawberry Santa hats. This is how we make them:
Prep strawberries: I rinse and dry the strawberries thoroughly before slicing the leafy tops off in a straight line.
Slice bananas: Then, I slice the bananas into thick, round slices, making sure they are sturdy enough to support the strawberries.
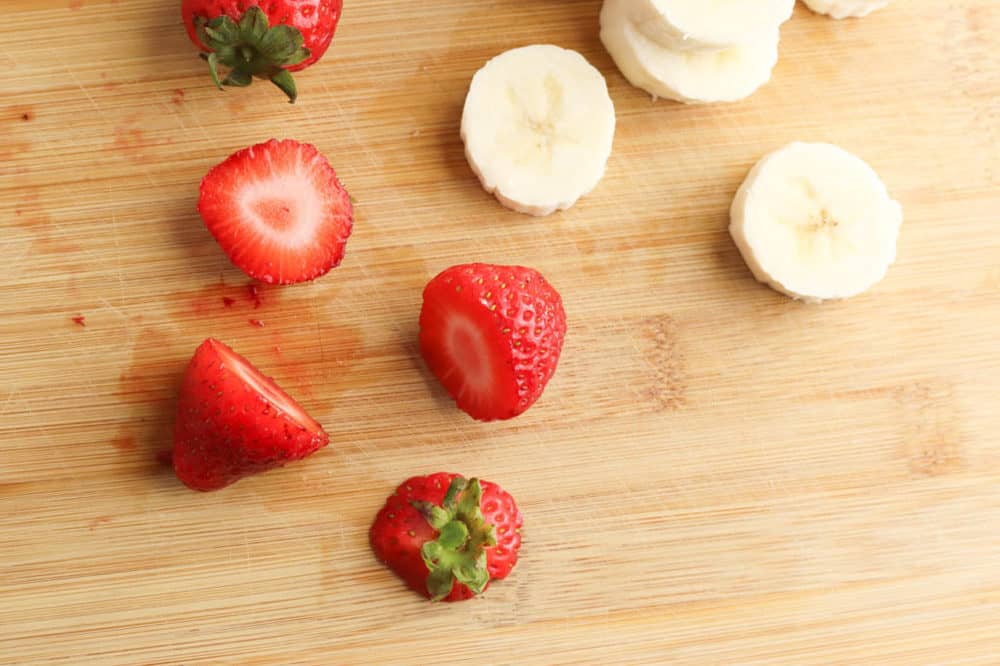
Assemble Santa hats: I place one strawberry upside down on top of each banana slice, then carefully slide a sucker stick or skewer through the center to keep everything in place.
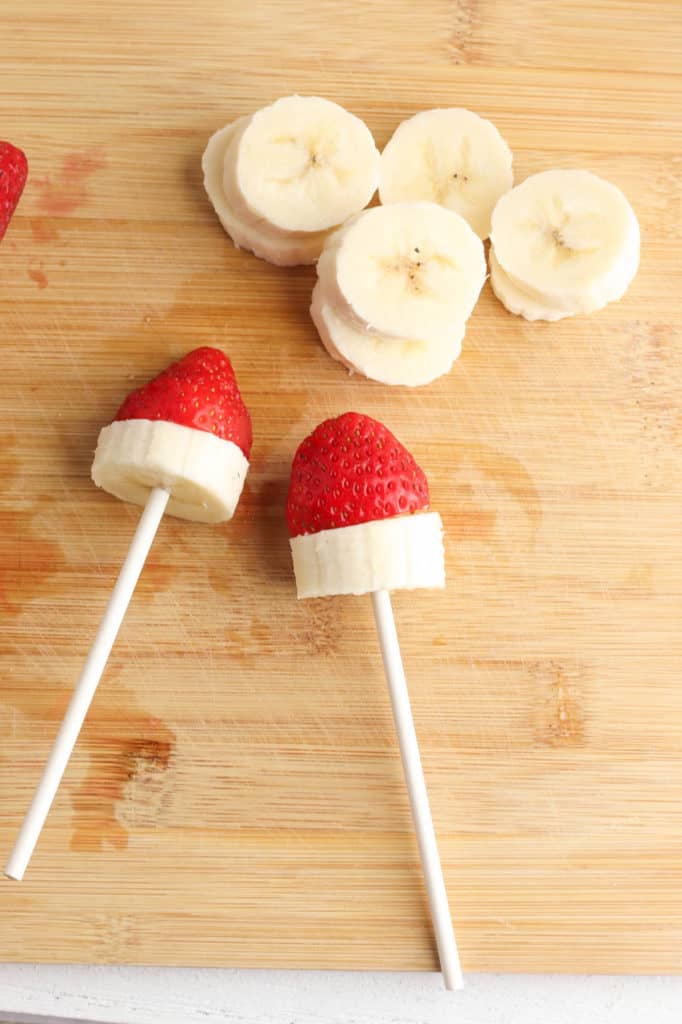
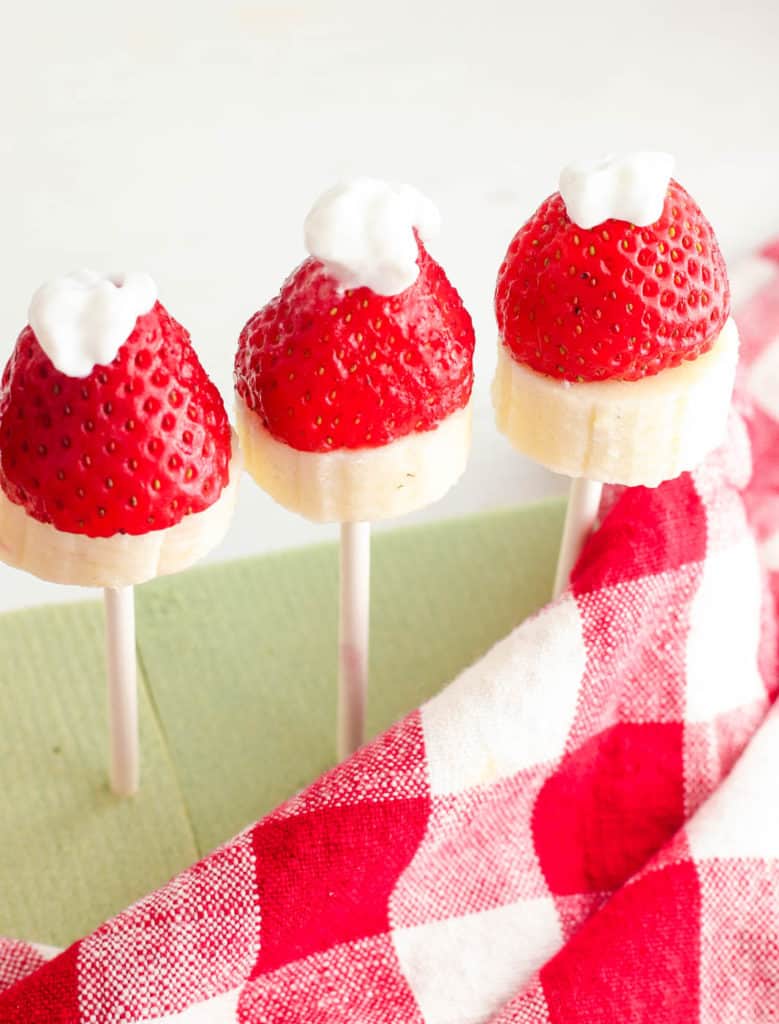
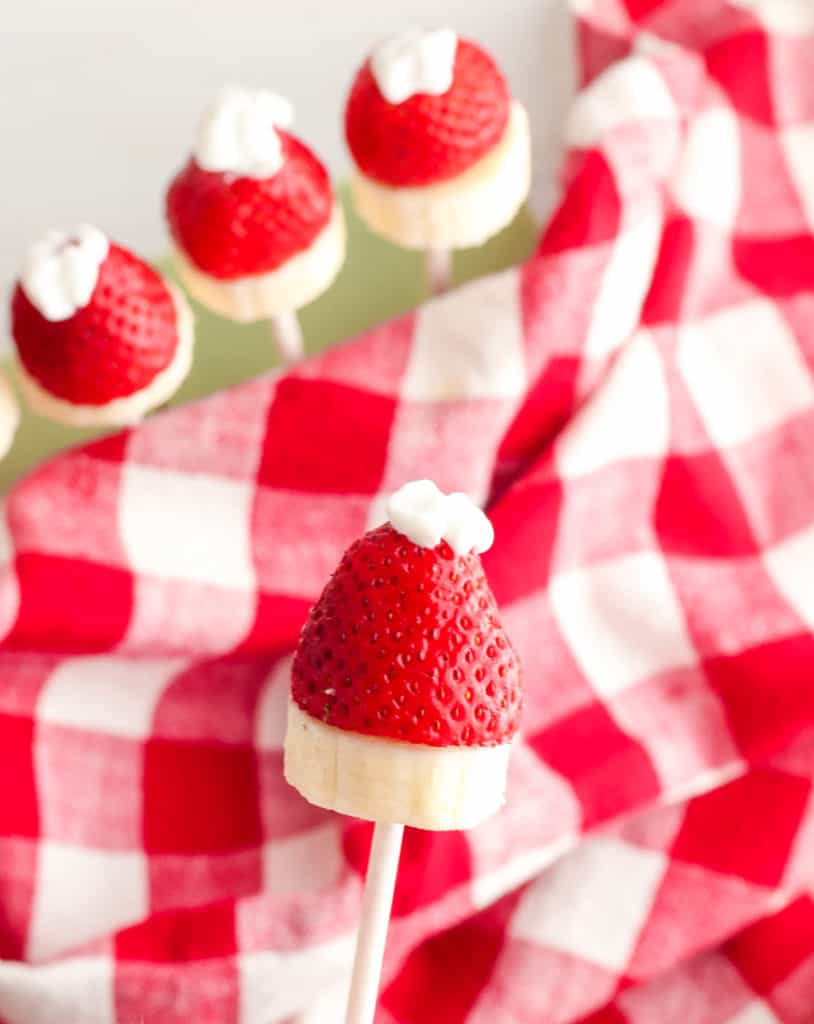
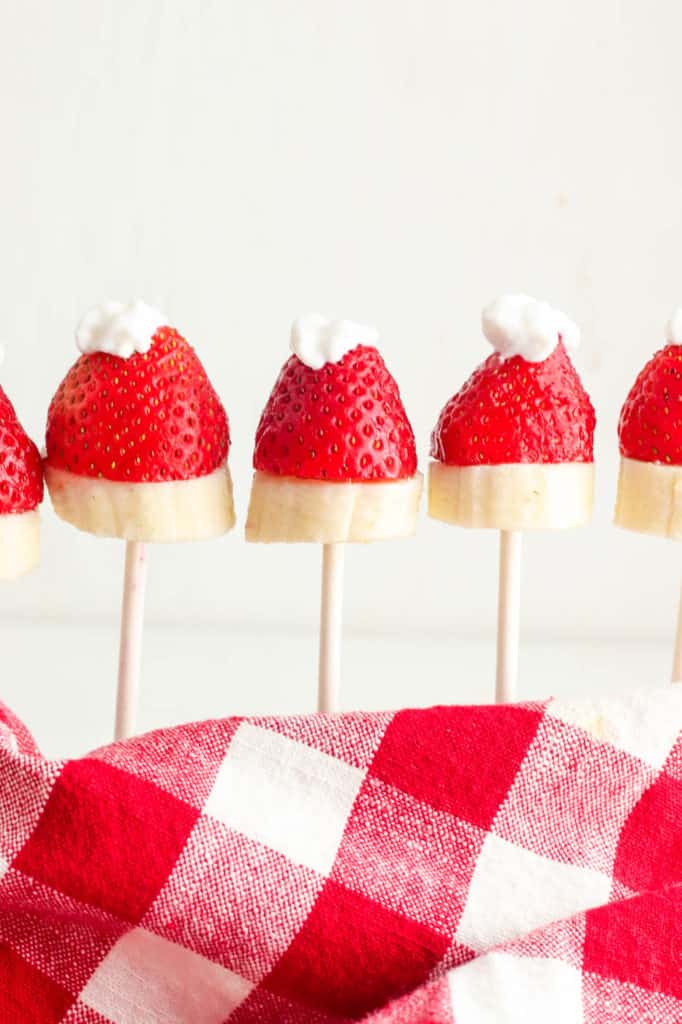
Add whipped cream and serve: Finally, I use a piping bag or spoon to add a small dot of whipped cream on top of the strawberry to resemble the bobble on a Santa hat. I serve these Santa hats as soon as the cream is added.
💭 Expert Tips
My #1 Secret Tip for this strawberry Santa hats recipe is to dry the strawberries completely after washing them. If I leave even the smallest amount of moisture, it can cause the whipped cream to slide off the tops within minutes, especially if it sits out during a party.
Other Tips To Keep In Mind:
- Use a small nozzle: For the pom pom on top of the hat, I use the smallest nozzle I have to pipe the cream neatly.
- Keep similar sizes: I try my best to pair strawberries with similar-sized banana slices so the finished hats look balanced.
- Cold cream: I keep the whipped cream chilled until the last minute to keep the hat topping neat and fluffy.
- Firm bananas: Slightly underripe bananas work better than softer bananas. I avoid using bananas with lots of brown spots on the peel.
- Slice straight: I slice the tops of the strawberries as straight as possible so they sit securely in the bananas, and look neat.
📖 Variations
Around the holidays, I like changing up these strawberry Santa hats slightly, tailoring them for different parties and guests. These are 3 of my favorite variations:
Coconut trim: I roll the sides and bottom layer of the banana slices in some white desiccated coconut. This gives the hats a fluffy finish and hides any browning that may occur as the hats sit. I make this version if I know they will be sitting out among a larger spread.
Snowy hats: Just before serving, I dust the assembled and displayed hats with powdered sugar to make them look as though they have just been worn out in the snow. My kids love the added sweetness of this version.
Marshmallow bobbles: Instead of whipped cream, I use tiny slices of white mini marshmallows for the tops of the Santa hats. This is what I do if I am transporting them to parties.
🍽 Serving Suggestions
These strawberry Santa hats make a wonderful addition to festive spreads. I recommend serving them with other holiday-focused dishes, with equally bright colors and fun features. They look stunning alongside my bright green Christmas Rice Krispie treats. Then, for something more hearty, you could add a tray of my Christmas muffins, or even a puff pastry Christmas tree if you want a more sophisticated dessert.
Last year, during the holiday season, these strawberry Santa hats made countless appearances at breakfast, lunch, and dessert time. The leftover strawberries were also great for my reindeer holiday sandwiches. I let my kids decide how to serve them, and they came up with some fabulous dishes. My eldest placed the assembled skewers into a few scoops of bright green vegan matcha ice cream, which really made the red in the strawberries pop. My youngest kept it simple and served it with a side of my healthy vegan chocolate sauce.
🧊 Storing And ♨️ Reheating
Refrigeration: I store leftover strawberry Santa hats loosely covered in the refrigerator for no more than 1 day. The bananas soften over time and taste best shortly after assembling.
Freezing: I usually do not freeze assembled Santa hats, as the texture of the fruit changes too much once thawed. Instead, I separate the fruit layers and freeze them separately, and use them in smoothies.
Reheating: These are best served cold and do not require reheating.
❓Recipe FAQs
How can I stop bananas from browning too quickly?
A light brush of lemon juice slows the oxidation process and keeps the bananas brighter for longer. I make sure to keep the added liquid to a minimum to avoid over-saturating the slices and making them soggy.
What can I use instead of whipped cream?
Greek yogurt flavored with a tiny drop of vanilla extract works really well if you want something tangier with extra body and protein. I have also used coconut whipped cream for dairy-free holiday trays, which pairs exceptionally well with the strawberries.
Why are my strawberries leaking juice onto the platter?
Very ripe strawberries are great for flavor, but they also have a tendency to release extra liquid after slicing, especially when they sit at room temperature for too long. I select strawberries with a bright color and firm flesh, instead of overly soft ones. After rinsing them, I dry them thoroughly with a paper towel and keep the assembled strawberry Santa hats chilled until serving time.

Love this plant based holiday snack recipe? Please leave a 5-star rating 🌟 in the recipe below and/or a review in the comment section further down the page!
You can also FOLLOW ME on FACEBOOK, INSTAGRAM, and PINTEREST to see more delicious, healthy, family-friendly food, and if you have any questions, I’m here to help!
🎥 Watch How to Make It
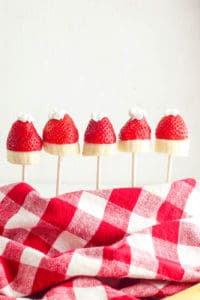
Strawberry Santa Hats
Every December, my kitchen counter turns into a North Pole wonderland with treats like these strawberry Santa hats. I use juicy strawberries, ripe bananas, and whipped cream to make a festive snack that looks too adorable to eat. These creative treats take just 20 minutes to make and double as a fun holiday activity for the kids.
Servings: 20 santa hats
Calories: 19.3kcal
Ingredients
- 20 strawberries
- 2 bananas cut into 20 pieces
- 1/4 cup whipped cream
Instructions
- Cut the leaves off the top of the strawberries in an even line.
- Stack one strawberry on top of a banana slice, then stick a sucker stick through the bottom to hold them in place.
- Top each strawberry with a small dollop of whipped cream.
Notes
- My #1 Secret Tip for this strawberry Santa hats recipe is to dry the strawberries completely after washing them. If I leave even the smallest amount of moisture, it can cause the whipped cream to slide off the tops within minutes, especially if it sits out during a party.
- Use a small nozzle: For the pom pom on top of the hat, I use the smallest nozzle I have to pipe the cream neatly.
- Keep similar sizes: I try my best to pair strawberries with similar-sized banana slices so the finished hats look balanced.
- Cold cream: I keep the whipped cream chilled until the last minute to keep the hat topping neat and fluffy.
- Firm bananas: Slightly underripe bananas work better than softer bananas. I avoid using bananas with lots of brown spots on the peel.
- Slice straight: I slice the tops of the strawberries as straight as possible so they sit securely in the bananas, and look neat.
Nutrition
Serving: 1santa hat | Calories: 19.3kcal | Carbohydrates: 3.6g | Protein: 0.2g | Fat: 0.6g | Saturated Fat: 0.4g | Cholesterol: 2mg | Sodium: 0.8mg | Potassium: 63.3mg | Fiber: 0.6g | Sugar: 2.1g









I absolutely love these! So simple, but tasty and the kids will have so much fun helping to make these!
Thanks so much Jessica! My kids have a blast making these every year during the holidays too! 🙂
What a cute idea! My kids would love it!
Yay!! Can’t wait for all of you to try this recipe!
These are the cutest and delicious snack! The kids love it!
Aw yay! So happy to hear that Suzy!
Perfect healthy snack for this time of year. Delish!
Totally!! And they’re so easy to make too!
Yum! These are so fun and delicious! I can’t wait to make these for my kids!
Thanks so much Beth!! Enjoy!