

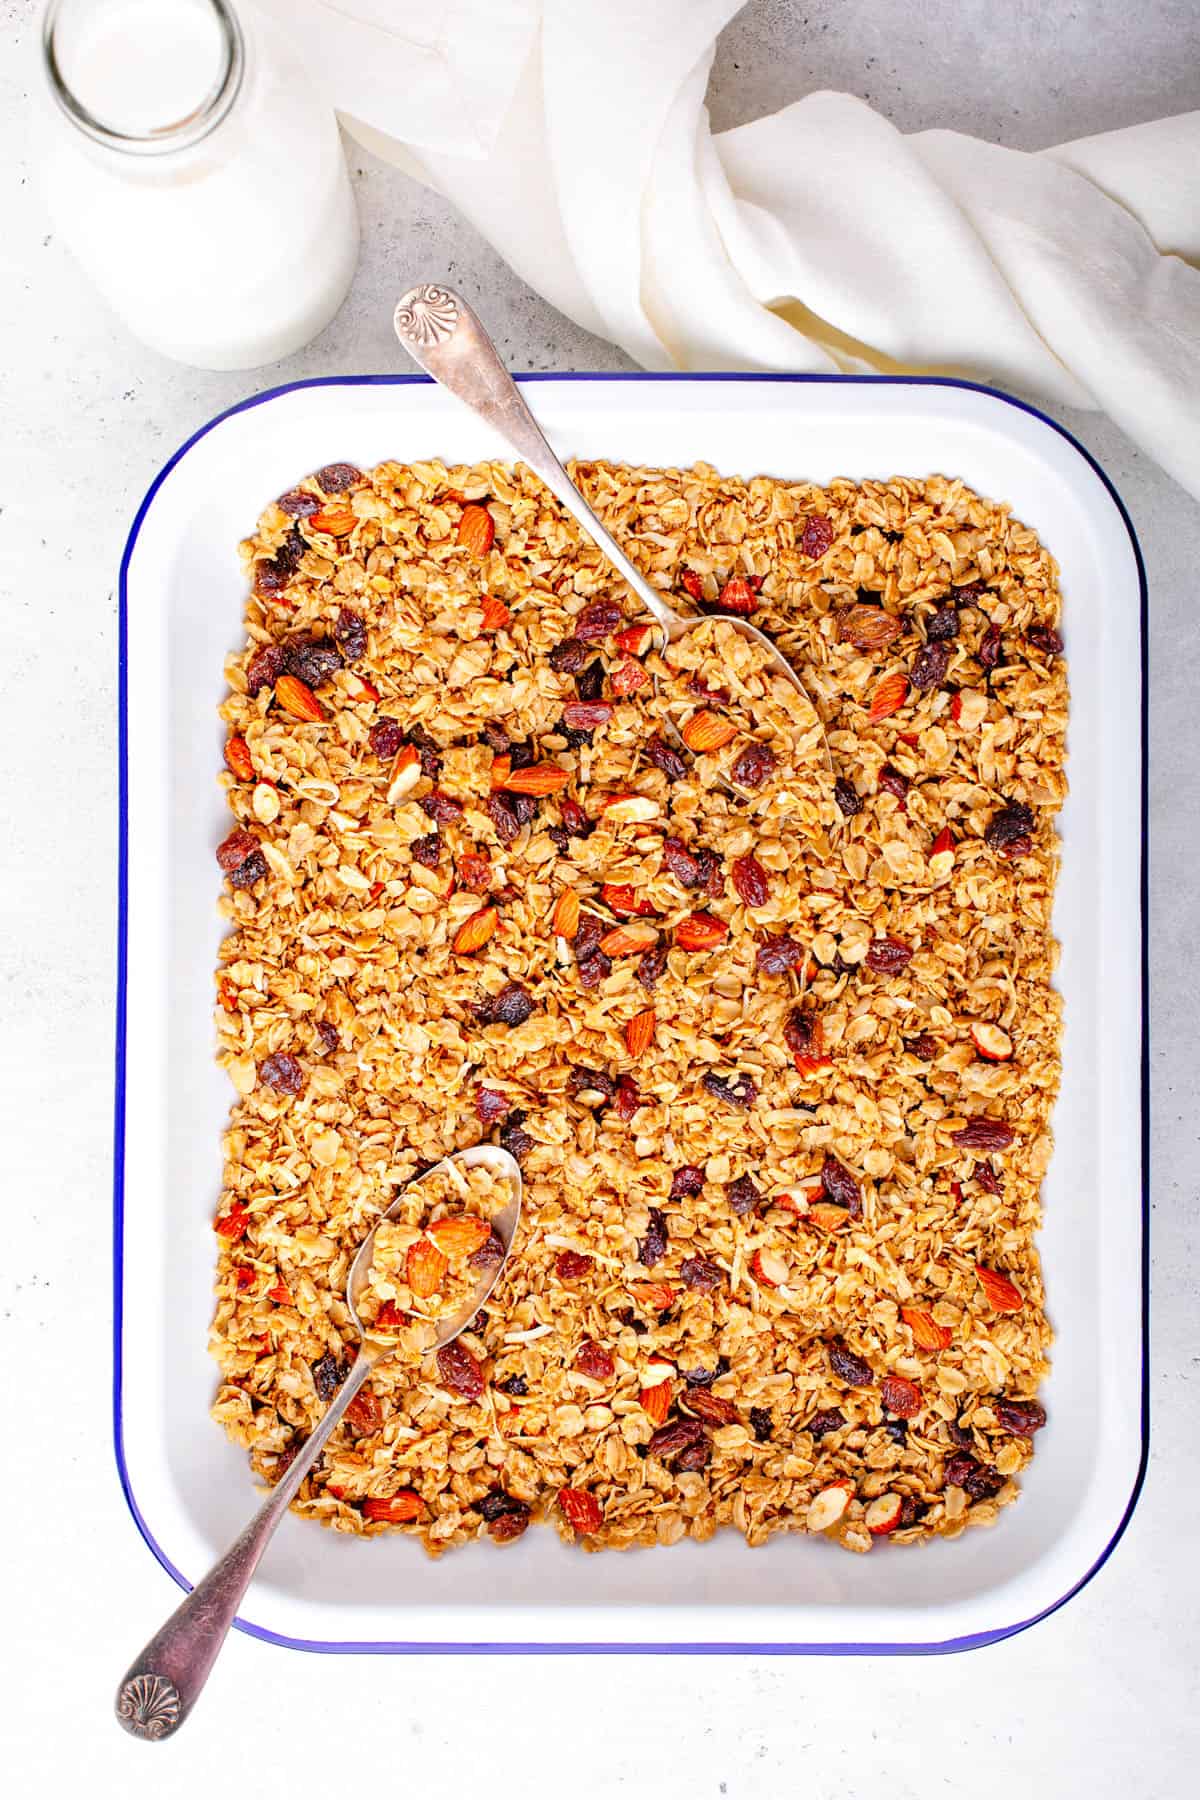
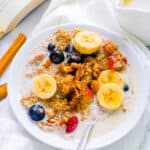
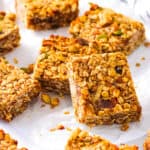
Low Calorie Granola (Low-Sugar, Low-Fat!)
This post may contain affiliate links. As an Amazon Associate, I earn from qualifying purchases. Please read my disclosure.This healthy low calorie granola is the perfect breakfast recipe with only 104 calories per serving and way less sugar than store-bought versions. I make big batches because it keeps for two weeks and my whole family loves it. I’ll show you exactly how I make it, plus tips for big clusters, lower sugar swaps, and fun mix-ins!
I started making my own granola after getting tired of reading labels at the grocery store and finding nothing but high sugar, high calorie options that left me feeling guilty about breakfast. Even the “healthy” brands were loaded with sweeteners and oils that made a small serving pack as many calories as a candy bar!
That’s why I decided to create this recipe, a healthier version that tastes just as good as the traditional recipe! I use rolled oats and toasted quinoa as the base, and I add just enough maple syrup and coconut oil to bind everything together without going overboard on sugar and calories. The whole batch takes only 30 minutes and creates perfect crunchy clusters that are so delicious.
I love to sprinkle it over Greek yogurt for breakfast, use it as a topping for my healthy apple nachos, or just eat it by the handful when I need a quick snack. My kids are always excited to help me make it, especially when they get to pick the mix-ins!
👩🏽🍳 Why I Love This Recipe
This granola delivers exactly what I want from a breakfast topping! Each quarter-cup serving has only 104 calories, 4 grams of sugar, and 6 grams of fat, compared to store-bought versions that can hit 200 calories and 10+ grams of added sugar for the same amount. The toasted quinoa adds extra protein and creates an amazing crunchy texture that goes perfectly with the oats.
My recipe bakes at a lower temperature than most granola recipes, which creates perfect golden pieces without burning. I discovered this after testing several batches and overcooking them! Now I always bake at 300°F after the initial toasting of the oats, and it always works well.
My favorite part is how it transforms as it cools. The granola comes out of the oven slightly soft but develops its crunch once it reaches room temperature.
Plus, it’s so versatile! I appreciate that I can serve it in a variety of ways, and it also happens to be naturally vegan and gluten-free, so I can accommodate everyone’s dietary needs!
🥘 Ingredients
This granola requires simple ingredients that you likely already have in your pantry! Here’s what I used:
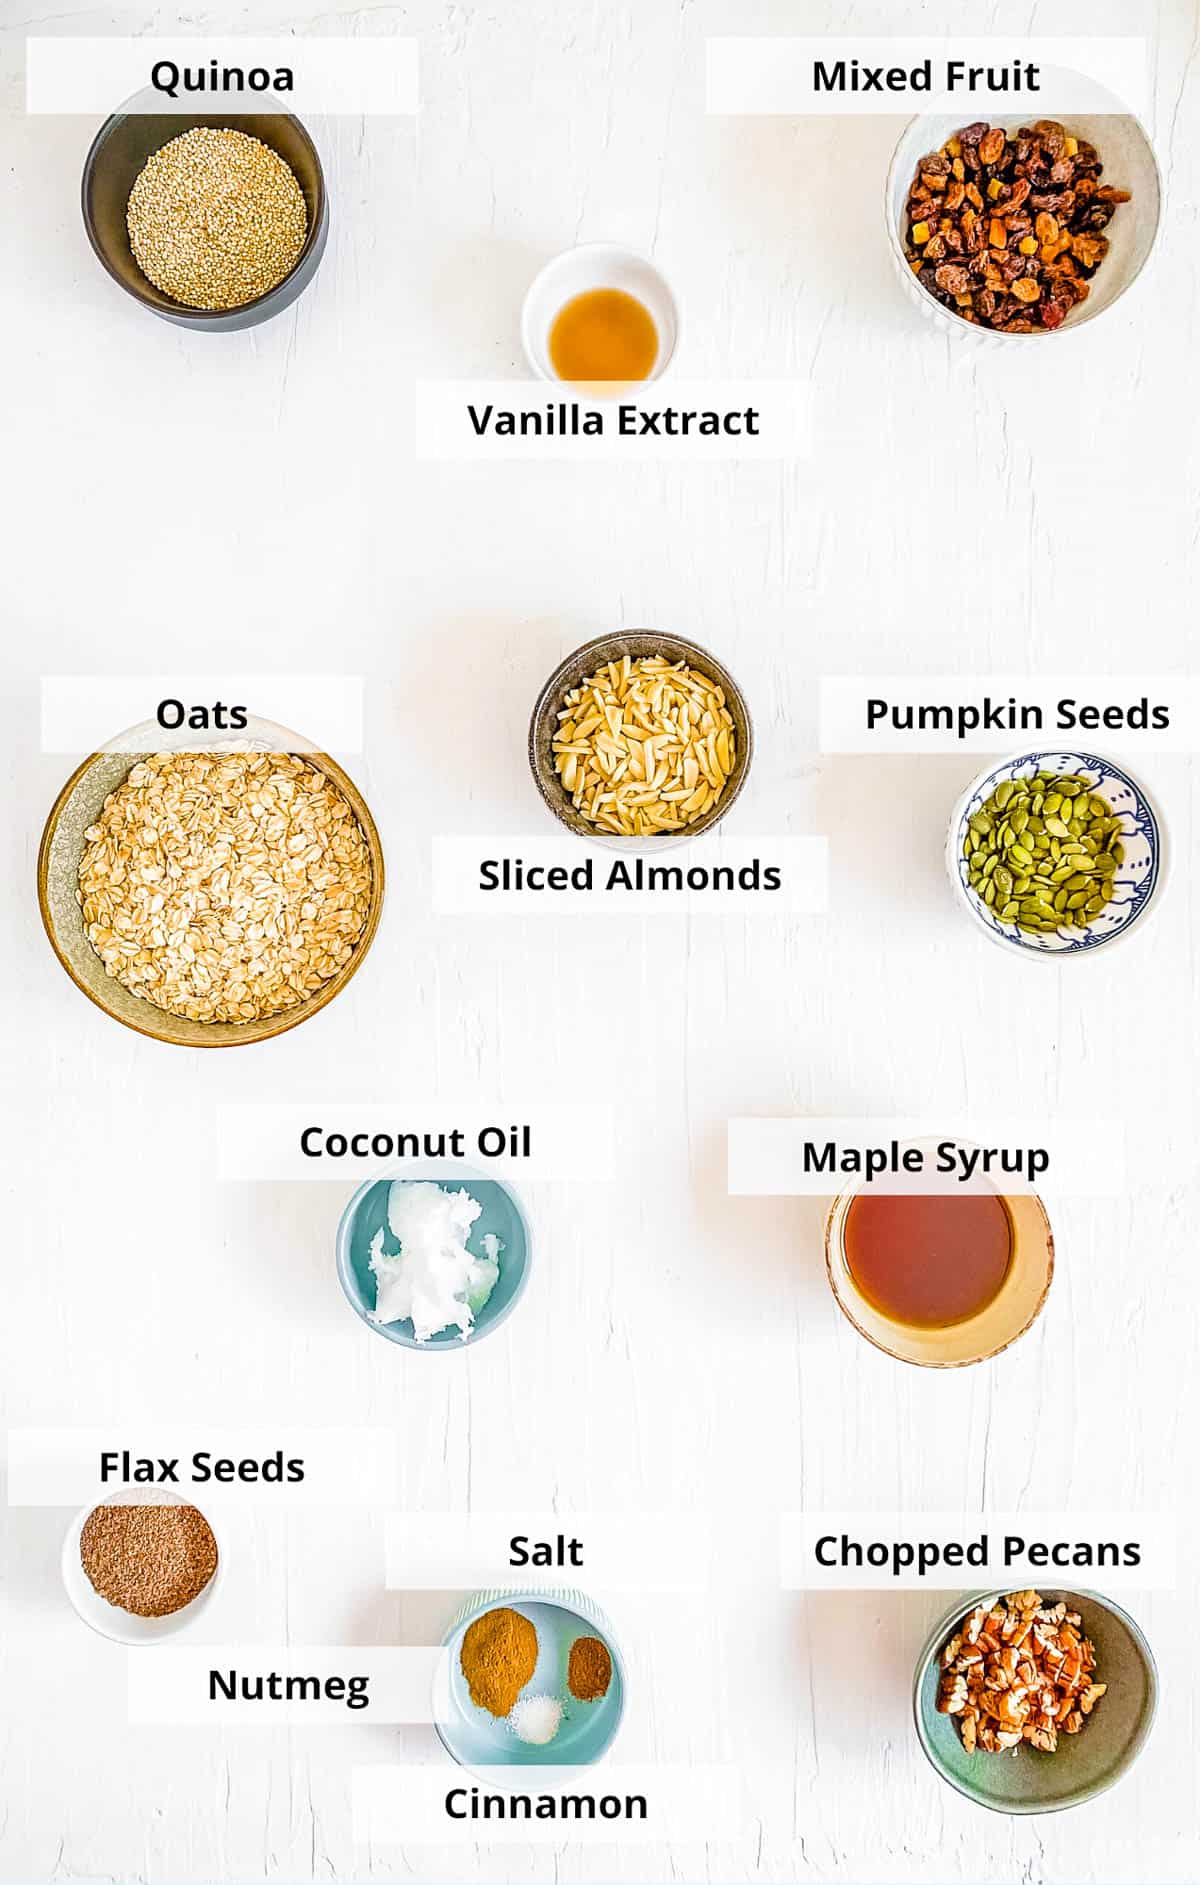
Old-Fashioned Rolled Oats: I use old-fashioned rolled oats (not quick oats) and ¼ cup uncooked quinoa. For gluten-free granola, I use certified gluten-free oats. You can substitute the quinoa with an extra ¼ cup rolled oats if preferred.
Nuts & Seeds: I add ¼ cup sliced almonds, ¼ cup chopped pecans, ¼ cup pumpkin seeds, and 2 tablespoons ground flaxseed. Substitutes: I use any nuts or seeds I prefer – cashews, pistachios, walnuts work as 1:1 substitutions for the nuts, sunflower seeds, or sesame seeds work as substituions for the pumpkin seeds, and chia seeds will work as a 1:1 substitution for the flaxseeds.
Maple Syrup: I use ¼ cup maple syrup for just enough sweetness. For a substitute, agave nectar or honey (as a 1:1 replacement) will work but if you use honey this recipe won’t be vegan anymore.
Coconut Oil: I add 2 tablespoons coconut oil to help bind the granola. You can also use extra virgin olive oil as a 1:1 replacement.
Dried Fruit: I love the natural sweetness this adds! Be sure to find dried fruit that has no sugar added – I like using a mix of raisins, figs, apples, and apricots. If you want to make this with freeze-dried fruit, just toss it in at the end, after the granola has baked in the oven.
Seasonings: I used sea salt, vanilla extract, ground cinnamon and nutmeg for added flavor. They all help bring out the sweetness of this recipe without adding sugar or calories.
🔪 How To Make
Making this recipe is simple and takes just 30 minutes from start to finish:
Preheat Oven, Toast Oats: I preheat my oven to 325 degrees Fahrenheit, then spread the oats and quinoa on a parchment-lined baking sheet. I toast them for 10 minutes, stirring once halfway through.

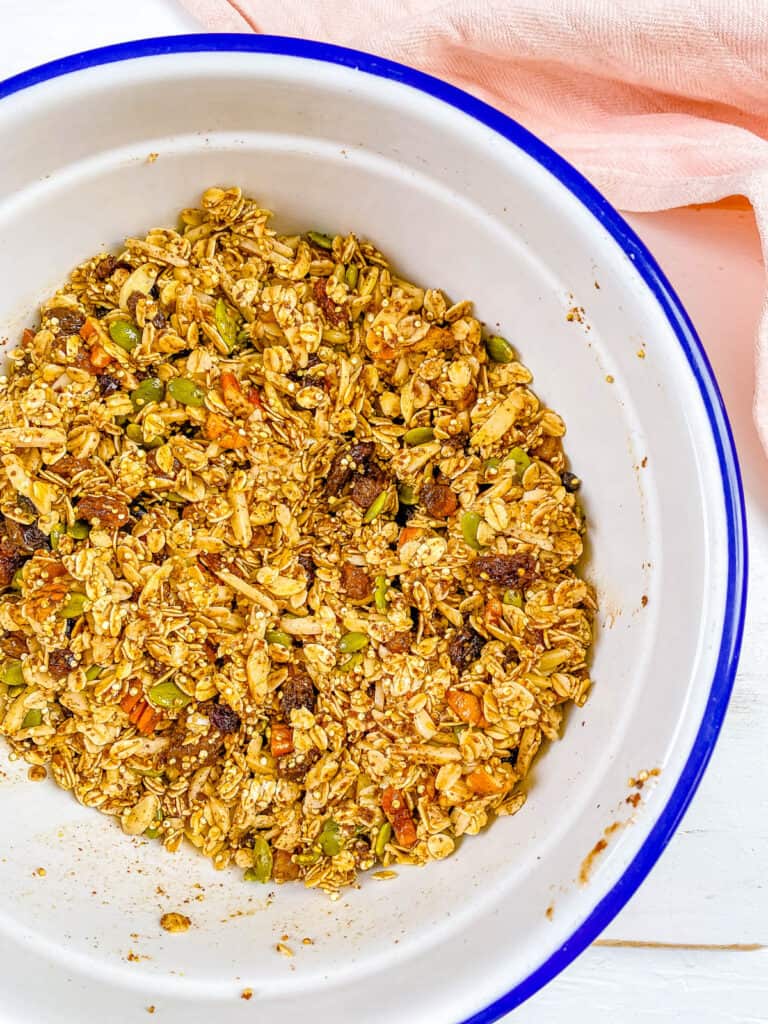
Add Mix-Ins: I pour the toasted oats and quinoa into a large bowl, then add all the remaining ingredients – nuts, seeds, flaxseed, maple syrup, coconut oil, dried fruit, and seasonings. I mix everything until well coated.
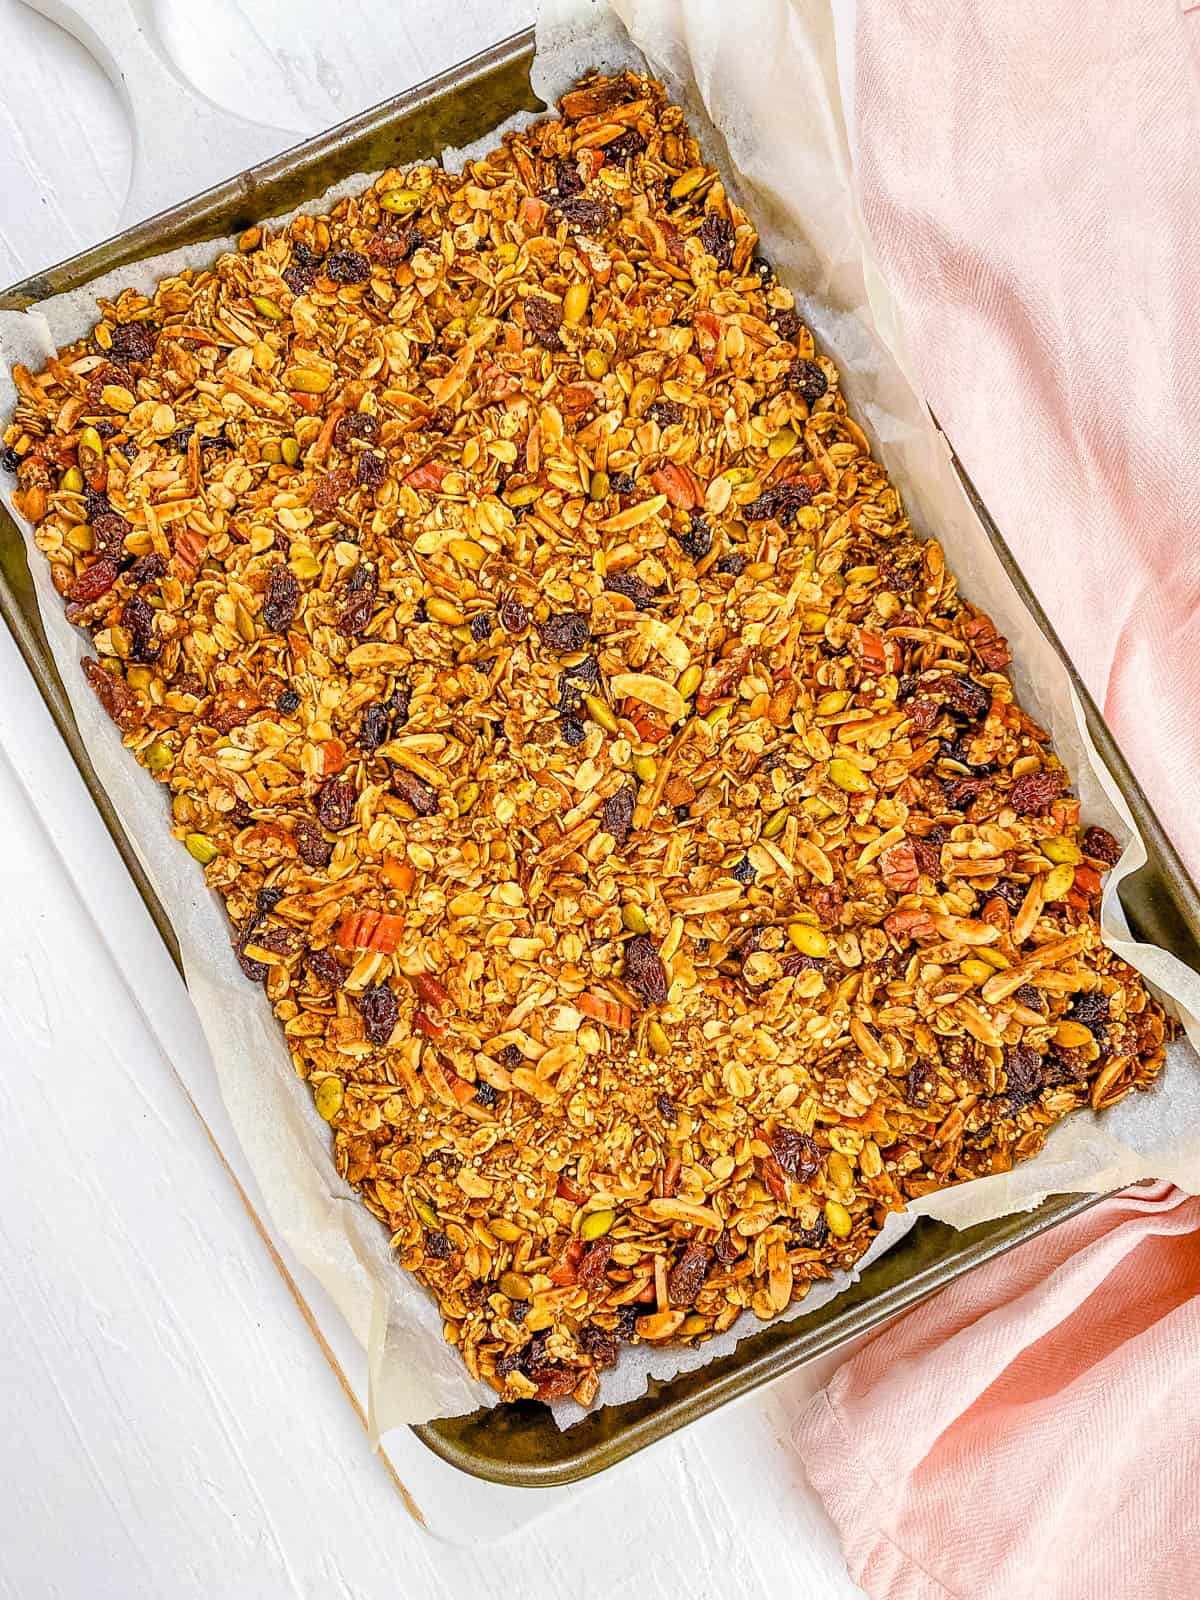
Bake The Granola: I spread the mixture back onto the baking sheet, pressing it down firmly with a spatula into an even layer. Then I reduce the oven temperature to 300 degrees Fahrenheit and bake for 15-20 minutes until lightly golden.

Cool And Serve: Finally, I remove the granola from the oven, letting it cool for at least 10-15 minutes before serving. The longer it cools, the crunchier it gets. It is best to serve at room temperature.
💭 Expert Tips
My #1 Secret Tip for this recipe is to make sure you press the mixture firmly into the baking sheet before baking. I use a spatula to really pack it down, which helps keep this granola from burning and also helps to create those little granola clumps that are so fun to eat!
Additionally, having that single even layer allows the granola to cook evenly and more quickly.
Other Tips To Keep In Mind:
- Cool completely: I always let it cool for at least 30 minutes before storing. This ensures maximum crunchiness.
- Stir gently: Around the 15-minute mark, I recommend carefully flipping sections with a spatula without breaking up the clusters completely. Otherwise you’ll end up with granola “crumbs”!
- Don’t overbake: The granola continues cooking after you remove it from the oven, so pull it out when it’s just lightly golden. It will crisp up as it cools.
📖 Variations
While I honestly love this recipe as-is, sometimes it’s fun to change things up! Here are some of the ways I typically modify this recipe:
Other Mix-Ins: Some of my favorites include coconut shavings, banana chips, dried apple chips, dates, orange zest, macadamia nuts, and dried pineapple!
Chocolate: I like to stir in 2 tablespoons mini dark chocolate chips after the granola cools completely. Waiting until it’s cool is key, or the chocolate will melt!
Spiced: I like to add ½ teaspoon pumpkin pie spice along with the cinnamon for a warm fall flavor.
🍽 Serving Suggestions
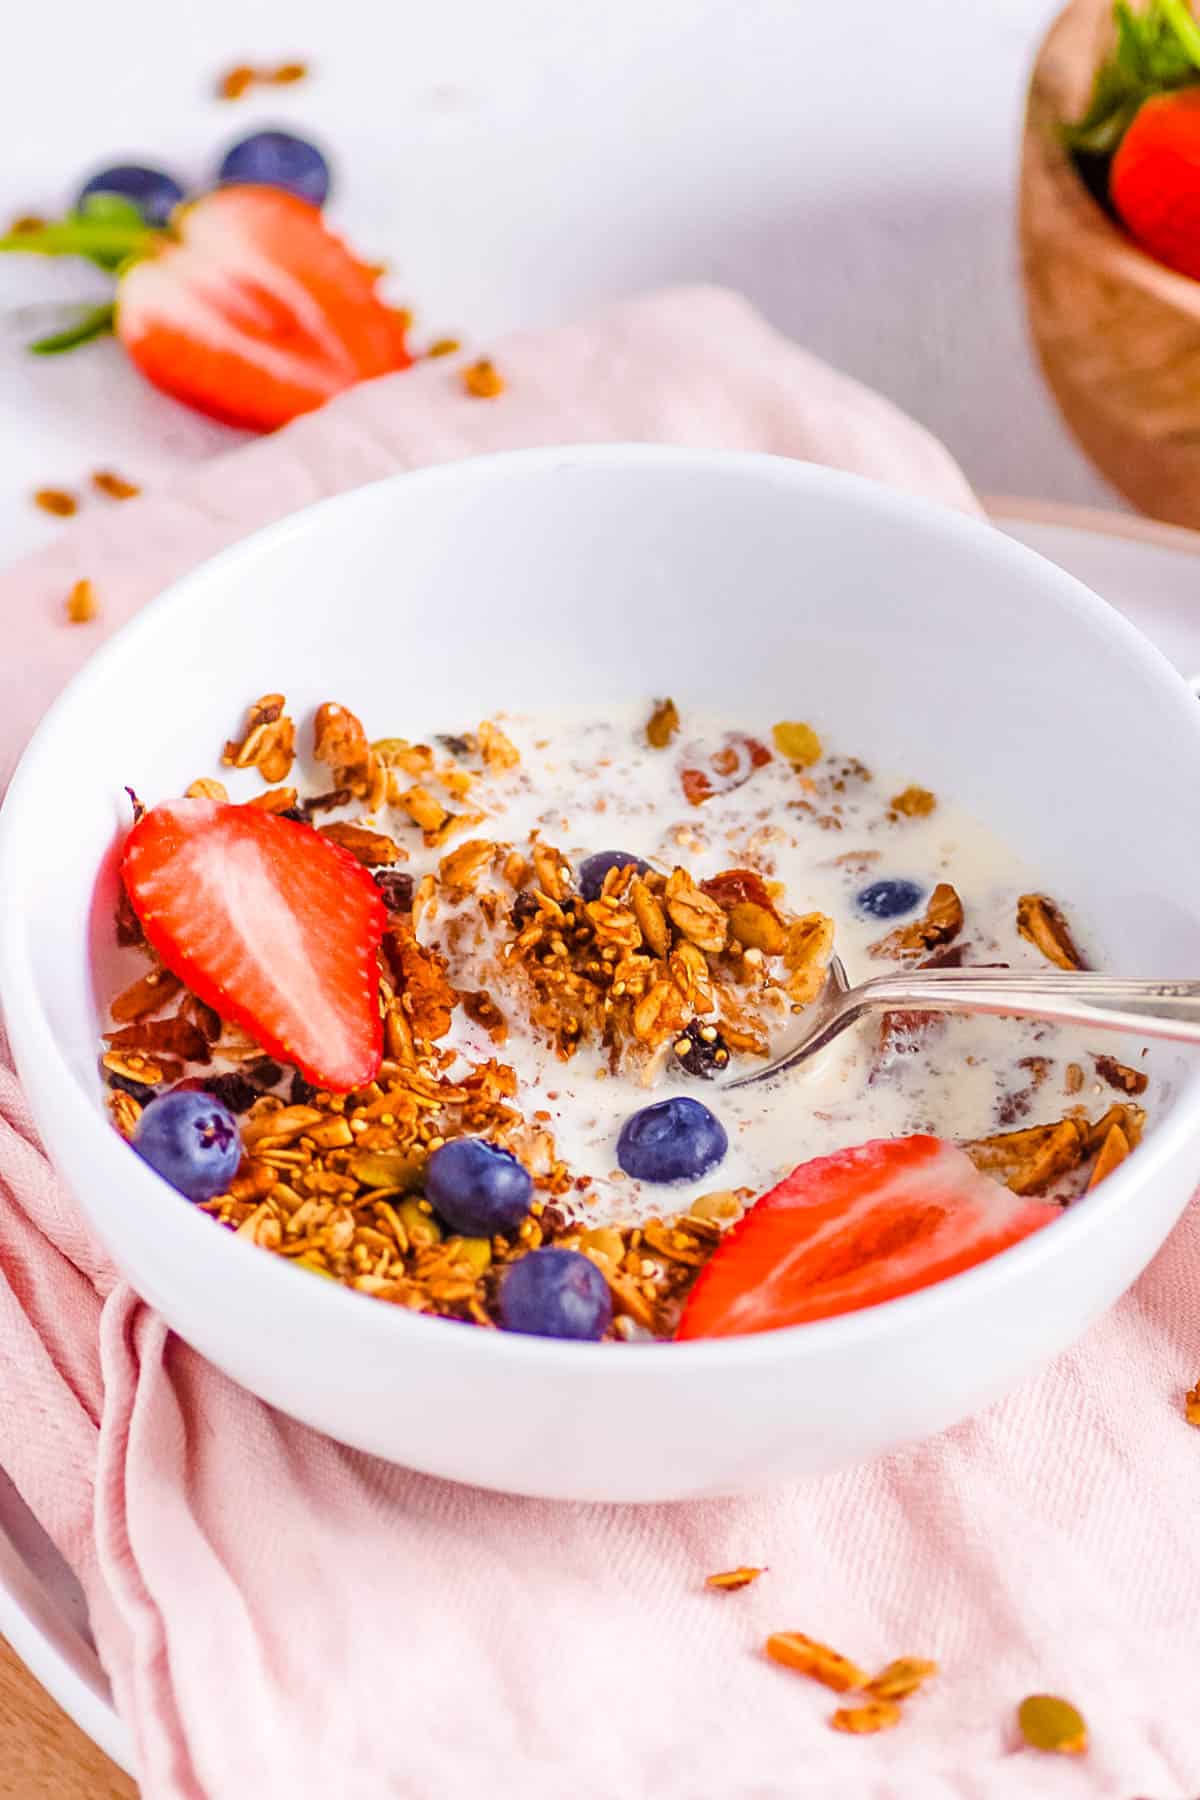
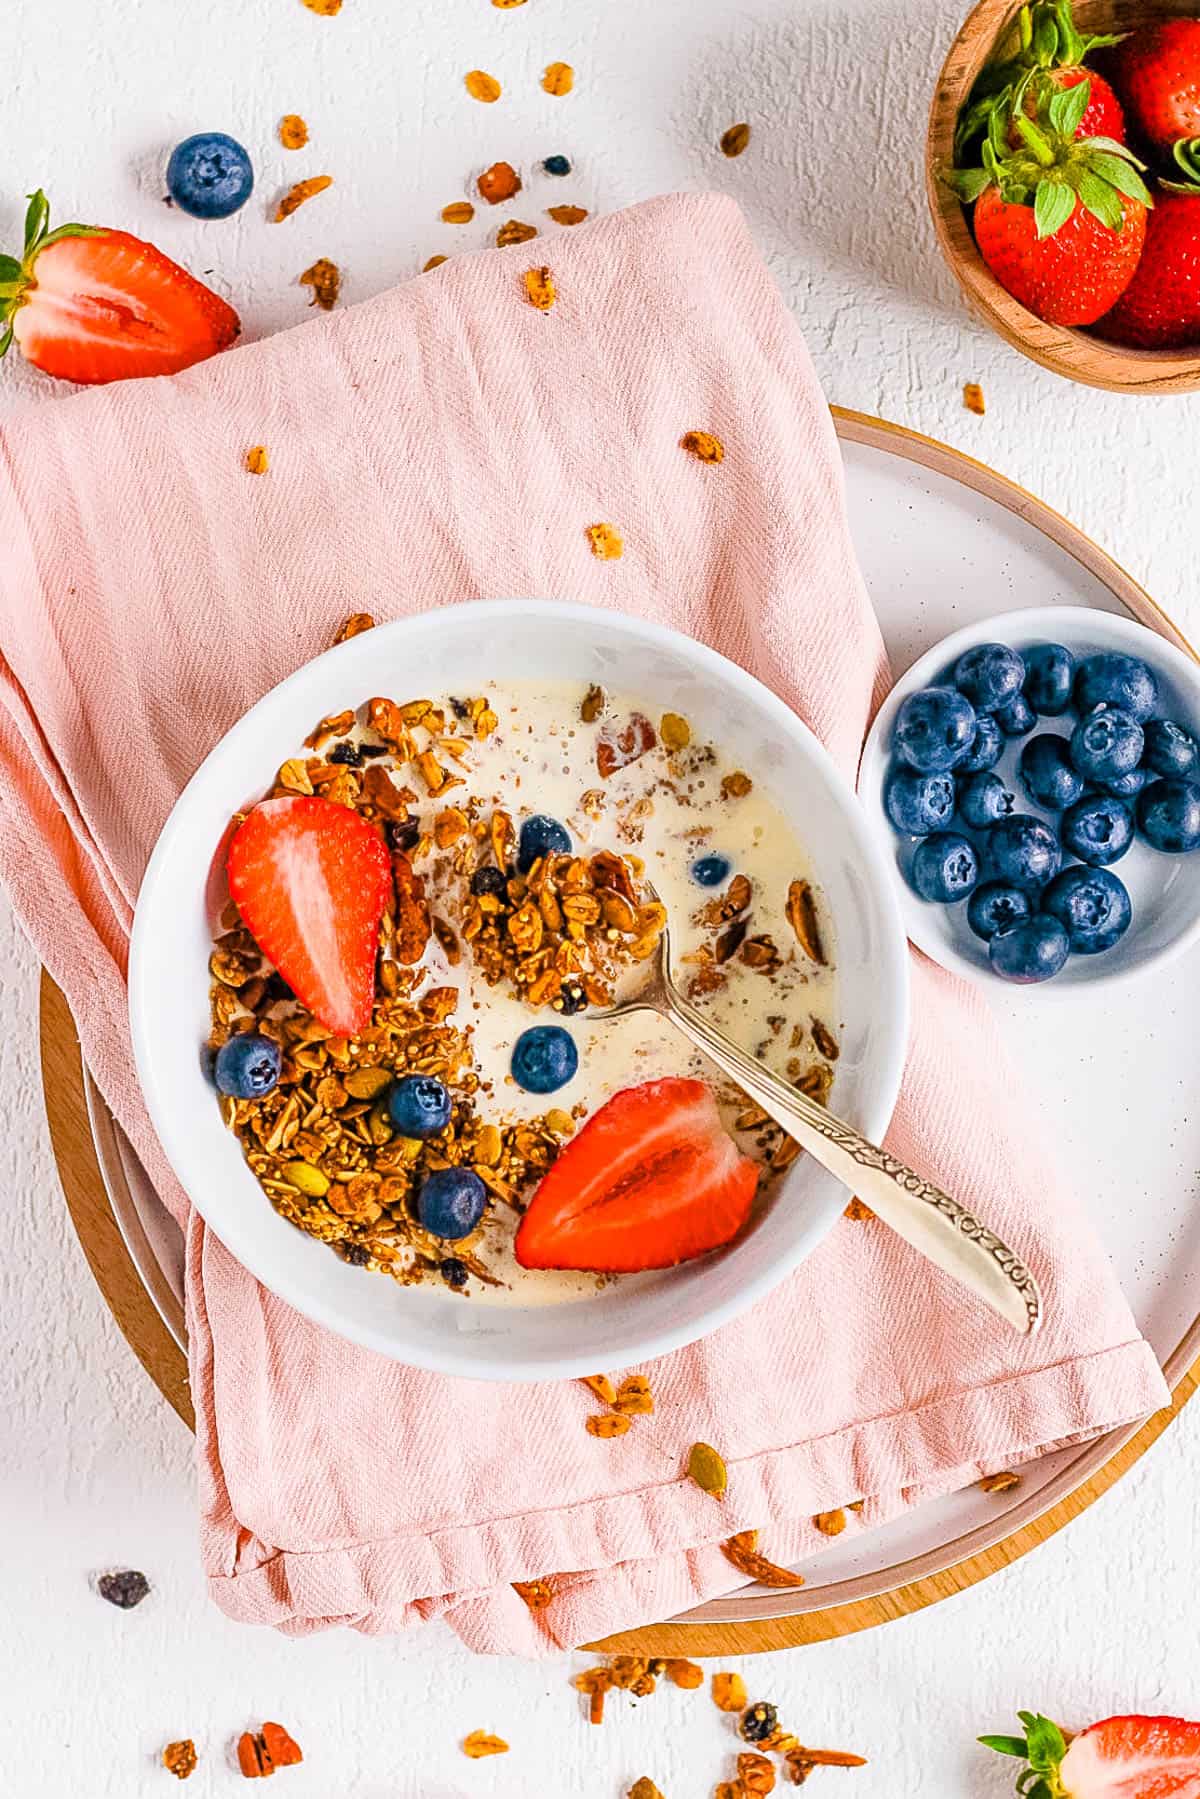
Granola can be a great snack on its own, but my favorite way to enjoy it is as a topping for Greek yogurt with fresh berries. For a complete breakfast, I use ¼ cup granola with 8 ounces plain Greek yogurt and 1 cup fresh fruit.
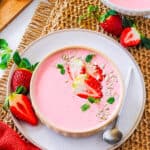
It also makes an amazing topping for my strawberry smoothie bowl or chocolate banana ice cream when I want something more indulgent. I also love mixing it into homemade trail mix, adding it as a topping for salad, or eating it straight from the container when I need a quick energy boost.
🫙 Storage Directions
Room Temperature: I store this granola in an airtight container for up to 2 weeks. I recommend making sure the granola is completely cool before storing to maintain crunchiness.
Don’t Freeze: Freezing changes the texture, so I stick to room temperature storage only.
❓Recipe FAQs
Why isn’t my granola crunchy the next day?
There are two main reasons why this can happen: either it wasn’t completely cool when you stored it, or moisture got in. I recommend always cooling for as long as possible (30 minutes minimum) and store in an airtight, sealed container.
Why didn’t my granola clump together?
Either you didn’t use enough oil, or you didn’t press the mixture firmly into the baking sheet before baking (or stirred too much during baking).
How do I prevent my granola from burning?
The granola will continue to cook after you pull it out of the oven! I find that it crisps up more as it cools, so make sure to pull it out of the oven when it’s just lightly golden brown to prevent burning. It is also important to ensure the correct oven temperature.

Love this healthy plant-based breakfast recipe? Please leave a 5-star rating 🌟 in the recipe below and/or a review in the comment section further down the page!
You can also FOLLOW ME on FACEBOOK, INSTAGRAM, and PINTEREST to see more delicious, healthy, family-friendly food, and if you have any questions, I’m here to help!
📋 Recipe Card
🎥 Watch How to Make It

Low Calorie Granola
My homemade low calorie granola recipe is a great alternative to store bought granola. It's easy to make and it keeps for several weeks, which means that you have a healthy breakfast ready to go on those busy mornings!
Servings: 16 servings
Calories: 104kcal
Ingredients
- ¼ cup uncooked quinoa optional, replace with ¼ cup rolled oats if you don't want the added crunch of toasted quinoa in your granola
- 1½ cups rolled oats
- 2 Tbsp ground flax seed
- ¼ cup pumpkin seeds or any other seed you like
- ¼ cup sliced almonds / cashews / pistachios or any nuts you like
- ¼ cup chopped pecans
- ¼ cup maple syrup replace with monk fruit or stevia for a sugar free option
- 2 tbsp coconut oil
- ¼ cup dried fruit raisins, cherries, cranberries – just make sure there is no sugar added
- 1 pinch salt
- ½ tsp vanilla extract
- ½ tsp ground cinnamon
- 1 pinch ground nutmeg
Instructions
- Preheat oven to 325 degrees. Spread oats and quinoa on a parchment lined baking sheet, toast in the oven for 10 minutes, stirring once.
- Remove oats/quinoa from the oven, pour into a bowl and add all of the remaining ingredients.
- Spread back onto a baking sheet, pressing it down into a uniform layer, and bake at 300 degrees for 15-20 minutes or until it's just starting to get golden brown.
- Carefully flip parts of it with a spatula around the 15 minute mark, making sure not to break up the clusters. Bake for another 5-10 minutes until lightly golden brown.
- Remove from the oven and let it cool on the baking sheet (on a cooling rack). Make sure it cools for at least 15 minutes before serving, but longer is better as the granola will crisp up the longer it cools (I let mine cool for 30 minutes prior to serving and it tasted great).
Notes
- Store in an airtight container for up to two weeks.
- Use your favorite dried fruits in this recipe.
- To save time, get a bag of mixed nuts and chop them up (that way you don’t have to add each type of nut individually!)
- Serve with unsweetened Greek yogurt for more of a protein hit
- If you don’t have coconut oil you can use olive oil
- When you add the pre-cooked granola to the baking sheet, press it down with a spatula to create a uniform layer. This helps keep the granola from burning and also helps to create those little granola clumps that are so fun to eat!
- Don’t overbake: The granola continues cooking after you remove it from the oven, so pull it out when it’s just lightly golden. It will crisp up as it cools.
- Stir gently: Around the 15-minute mark, I recommend carefully flipping sections with a spatula without breaking up the clusters completely. Otherwise you’ll end up with granola “crumbs”!
- Cool completely: I always let it cool for at least 30 minutes before storing. This ensures maximum crunchiness.
Nutrition
Serving: 0.25cup | Calories: 104kcal | Carbohydrates: 12g | Protein: 2g | Fat: 6g | Saturated Fat: 2g | Polyunsaturated Fat: 1g | Monounsaturated Fat: 2g | Trans Fat: 0.001g | Sodium: 1mg | Potassium: 97mg | Fiber: 2g | Sugar: 4g


This is such a tasty granola and I’ll be making batches of it for gifts this year too.
Awesome!! So happy to hear that Amanda!
You can’t beat homemade granola. This looks delicious and even better when it’s low calories.
I agree! And yes, making it home means you can control the ingredients and make it totally guilt free!
Homemade granola is so much nicer than store bought! Love all the nuts and seeds in this one.
I know right? Thanks Beth! So glad you liked this recipe!
Hi can I use honey instead of maple syrup?
Hi! Yes you can use honey – that should work just fine! (Just keep in mind that if you do use honey, the recipe won’t be vegan friendly!)
This granola is amazing! I love that it’s healthier than store-bought granola and the crunch from the quinoa is fantastic!
Yes!! So glad you liked it Chenée!
This is one of our favourite granola recipes! We love the added crunch of quinoa and the subtle taste of coconut! Really very nice!
Thanks so much Ieva!
My husband and I eat a serving of this low calorie granola everyday. We absolutely love it! We had to make a couple changes because we are both diabetic. We used sugar free maple syrup and left out the dried fruit. It is fabulous! Thanks for the recipe.
Aw yay!! I’m so happy to hear that Donna – love your substitutions too! 🙂
I know the recipe makes 16 servings but do you happen to know the serving size of one portion? Thanks 😊
Hi Anja! One serving is about 1/4 of a cup!
If I want to leave out the oil, can I use applesauce instead? How much?
Thank you.
Hi Stuti! Unfortunately the applesauce won’t crisp up the oats the way the oil will – it will likely make them a little soggy. You could try using olive oil cooking spray which will cut the oil way down in this recipe and should still achieve that nice crispiness of the granola!
This looks so good, your pictures always make me want to try out your recipes
Yay! I’m so happy to hear that Natalia!
I can’t wait to serve my granola like this… Love it!
You will love it Courtney!
This tastes great! Thank you for sharing it!
So happy you liked it!
Hi,
Thanks for the healthy, low-calorie granola recipe. I’ve made it several times and it sure is good! On the second line of your instructions, you instruct us to add all the remaining ingredients to the oats and quinoa. I wonder if you intended for us to add the dried fruit at this time. Perhaps it should be added after everything else has baked. What do you think? Thanks again.
Hi James! I’m so glad you liked this recipe!! To your question – you can actually add the dried fruit at the second line of the instructions or at the end of the recipe! It’s really just personal preference (the dried fruit added to the granola before baking will have a chewier texture vs. adding it at the end). Hope that helps!
Thanks! I have made your granola in the two ways you described. Either way, the taste is terrific!!
That’s awesome!! I’m so happy to hear that!
I always make my own granola because i find the shop-bought ones too sugary. Your recipe looks lovely, especially with the quinoa addition…will definitely try it.
Thank you so much! I know you will love this recipe! 🙂
This looks great. The perfect morning breakfast with some yogurt.
Totally! It’s one of my favorites!
This looks so delicious! I love granola too, but I have the same concerns as you… the store-bought stuff is always super sugary and super fatty! Can’t wait to try your version out!
Yay! Thanks so much Valentina – I’m sure you will love this recipe!
I can’t wait to make this! I wonder how it would be with Kefir?
Hi Amy! I think this would taste great with Kefir! Hope you love this recipe!