Traditional Indian Samosas
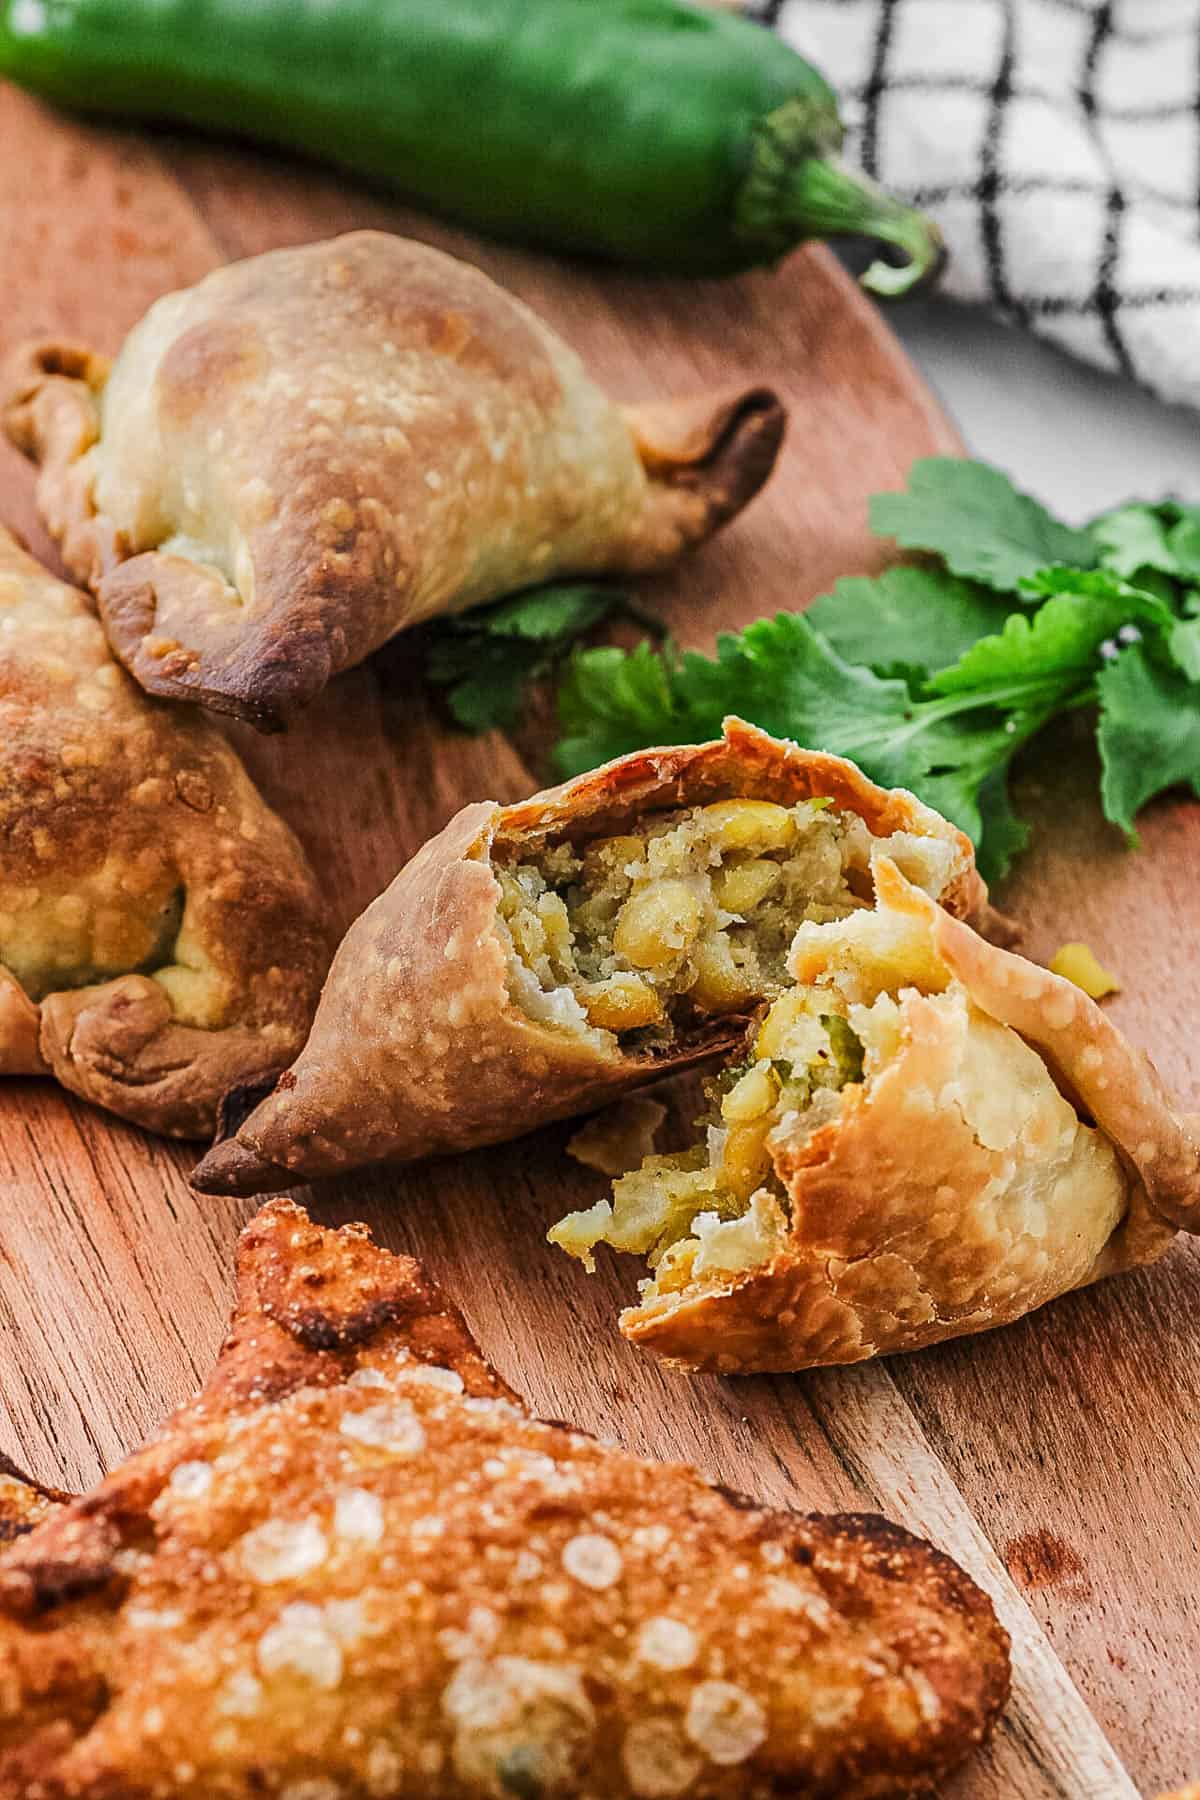
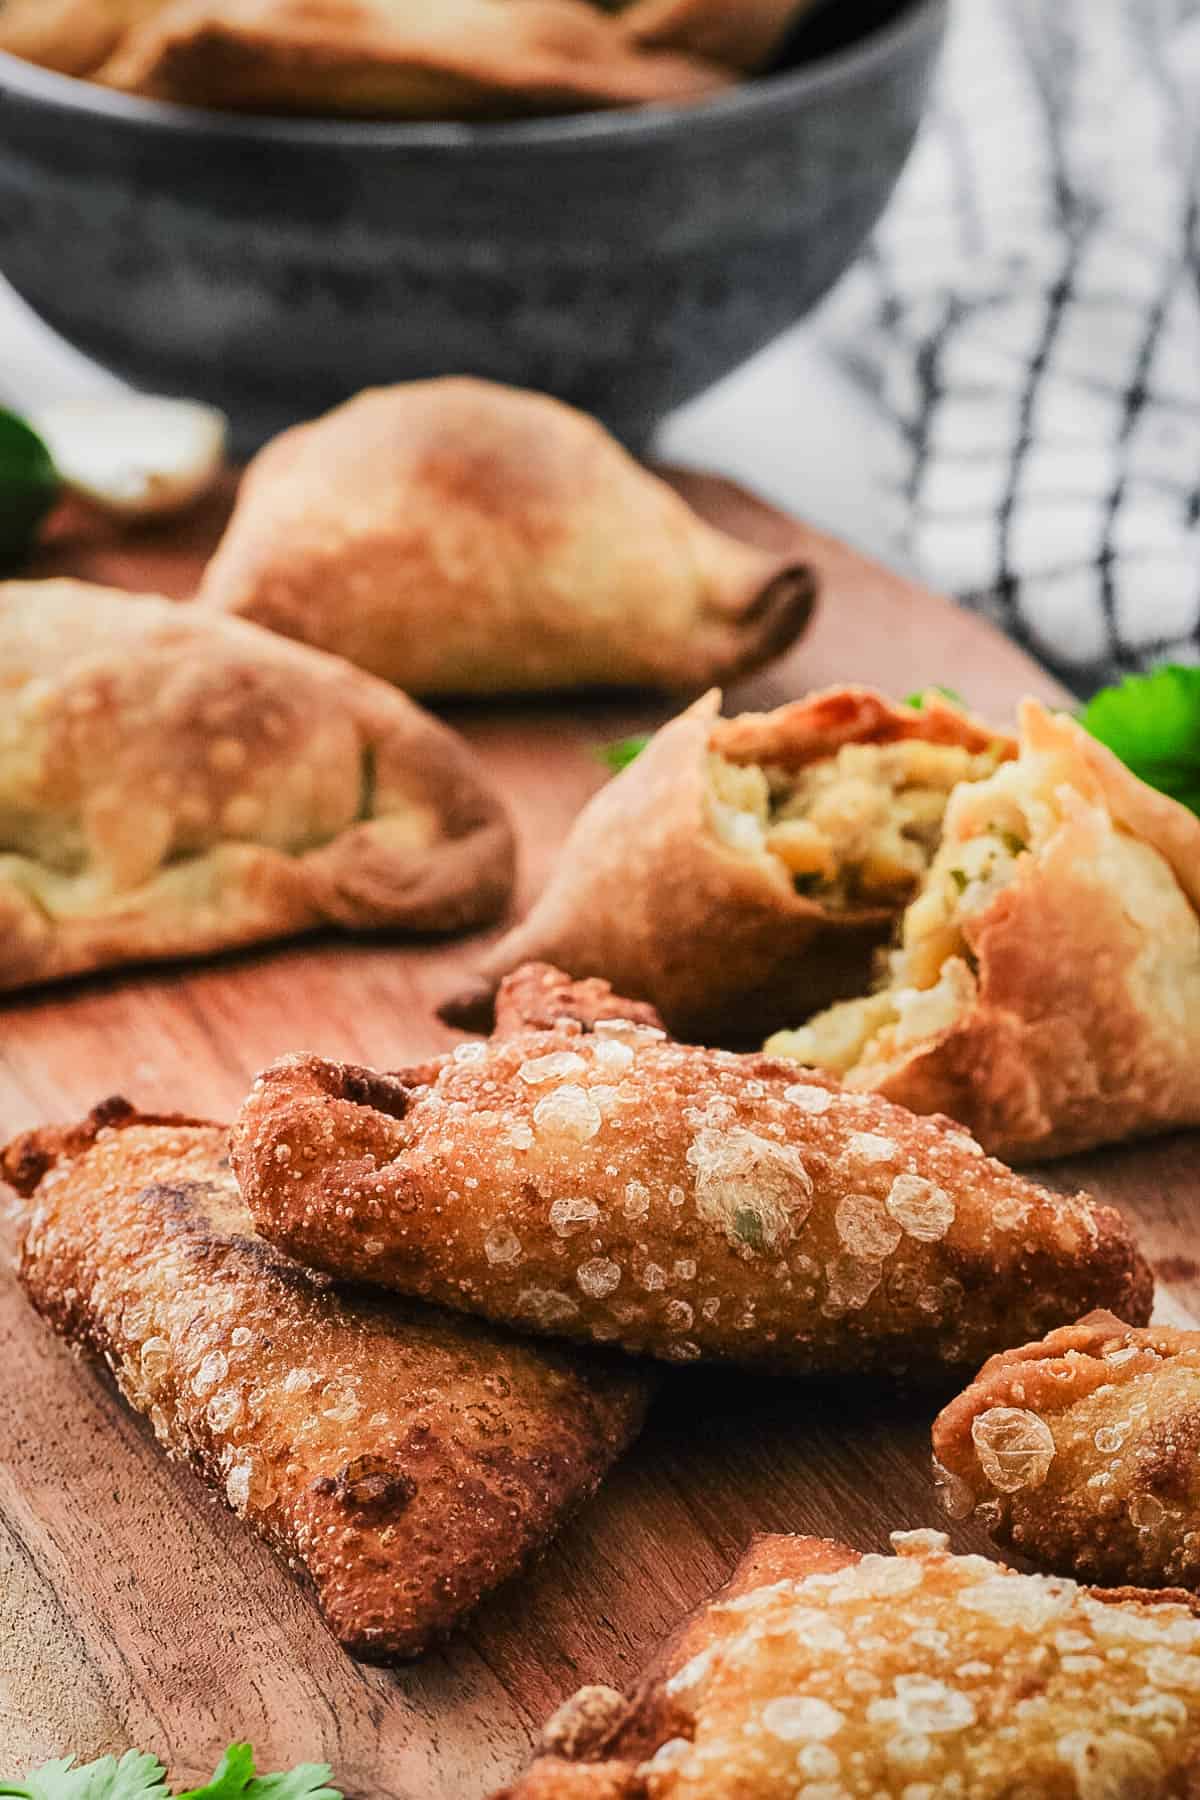
This post may contain affiliate links. As an Amazon Associate, I earn from qualifying purchases. Please read my disclosure.Nothing beats my traditional Indian Samosas, especially with the healthier twist I’ve given them. They’re the ultimate blend of classic flavors and wholesome goodness. These flaky samosas are stuffed with a spicy-sweet mix of potatoes, onions, and split peas, all tucked inside my perfectly crisp homemade pastry.
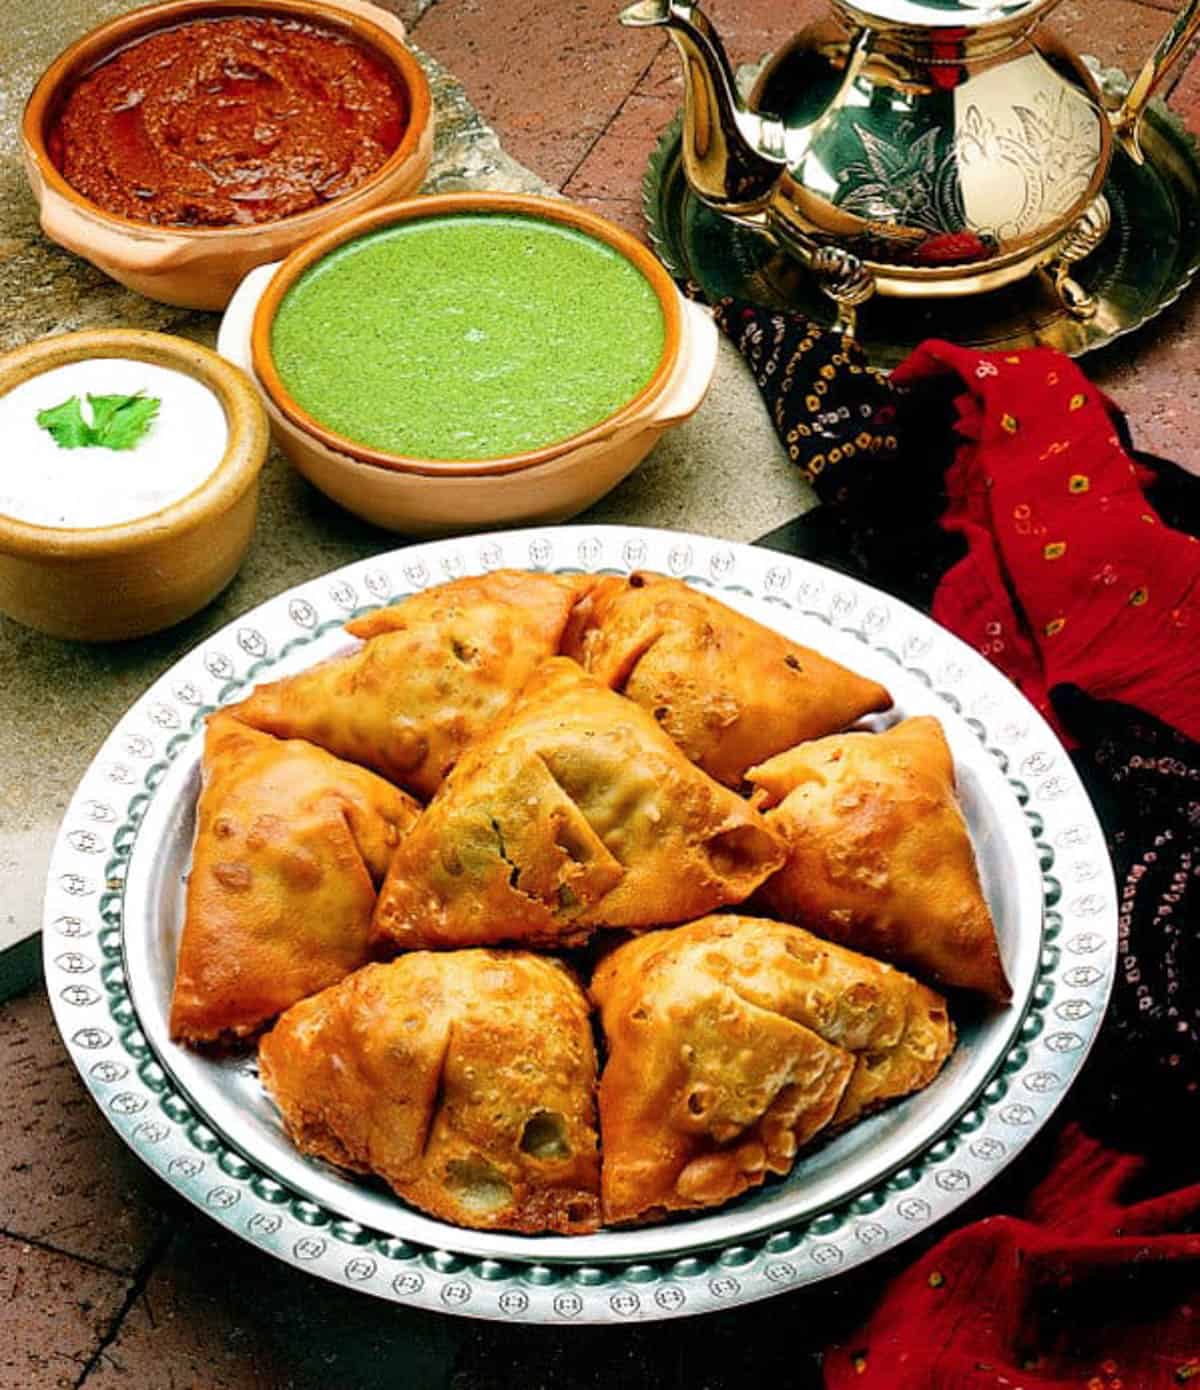
Samosas are one of my few Indian fried treats that I just can’t get enough of. They might “look like” my vegan empanadas, but honestly, the flavors of my samosas? Totally unbeatable. Sorry, empanadas, still love you though. Ha!
My husband is somewhat of a samosa connoisseur, he loves them even more than I do! Anytime we’re at an Indian restaurant, he never skips the samosas. It’s perfect for me because I get to nibble on the crispy pastry crust, honestly, it’s SO good! One day, I decided to recreate this favorite at home with a healthy twist, and it turned out even better than the restaurant version.
👩🏽🍳 Why I Love This Recipe
What I love most about this recipe is that it tastes just like restaurant-quality samosas or honestly, even BETTER! Plus, it’s lighter and still loaded with incredible, authentic Indian flavor.
Now you might be wondering, how did I make this recipe a healthier version? It’s simple! Instead of frying the samosas, I bake them in the oven. Baking is a much healthier option, and you still get that perfectly crispy crust without all the extra oil. Of course, frying is the traditional method, so I’ve included instructions for that too, just in case you want to try it the classic way!
I decided to add split peas to my samosas to give them a little boost of protein and fiber, and honestly, it was such a great idea. They blend perfectly with the potatoes and the bold Indian spices in the filling, making the samosas even more satisfying. The split peas are mild enough that even my kids absolutely love them, and there’s nothing better than biting into that crispy, golden crust and finding a warm, comforting filling inside. I love serving them with chutney or even a classic tomato ketchup for dipping.
I hope you love my Indian samosas recipe as much as I’ve loved creating it. I put so much effort into perfecting every detail – the filling, the dough, the cooking process- tweaking and remaking it over and over. Of course, that also meant plenty of taste-testing, which is definitely my favorite part of creating recipes! 😂
Latest Recipe Video!
🥘 Ingredients
My Indian samosas are made with simple, everyday ingredients you can easily find at any grocery store. Here’s what you’ll need:
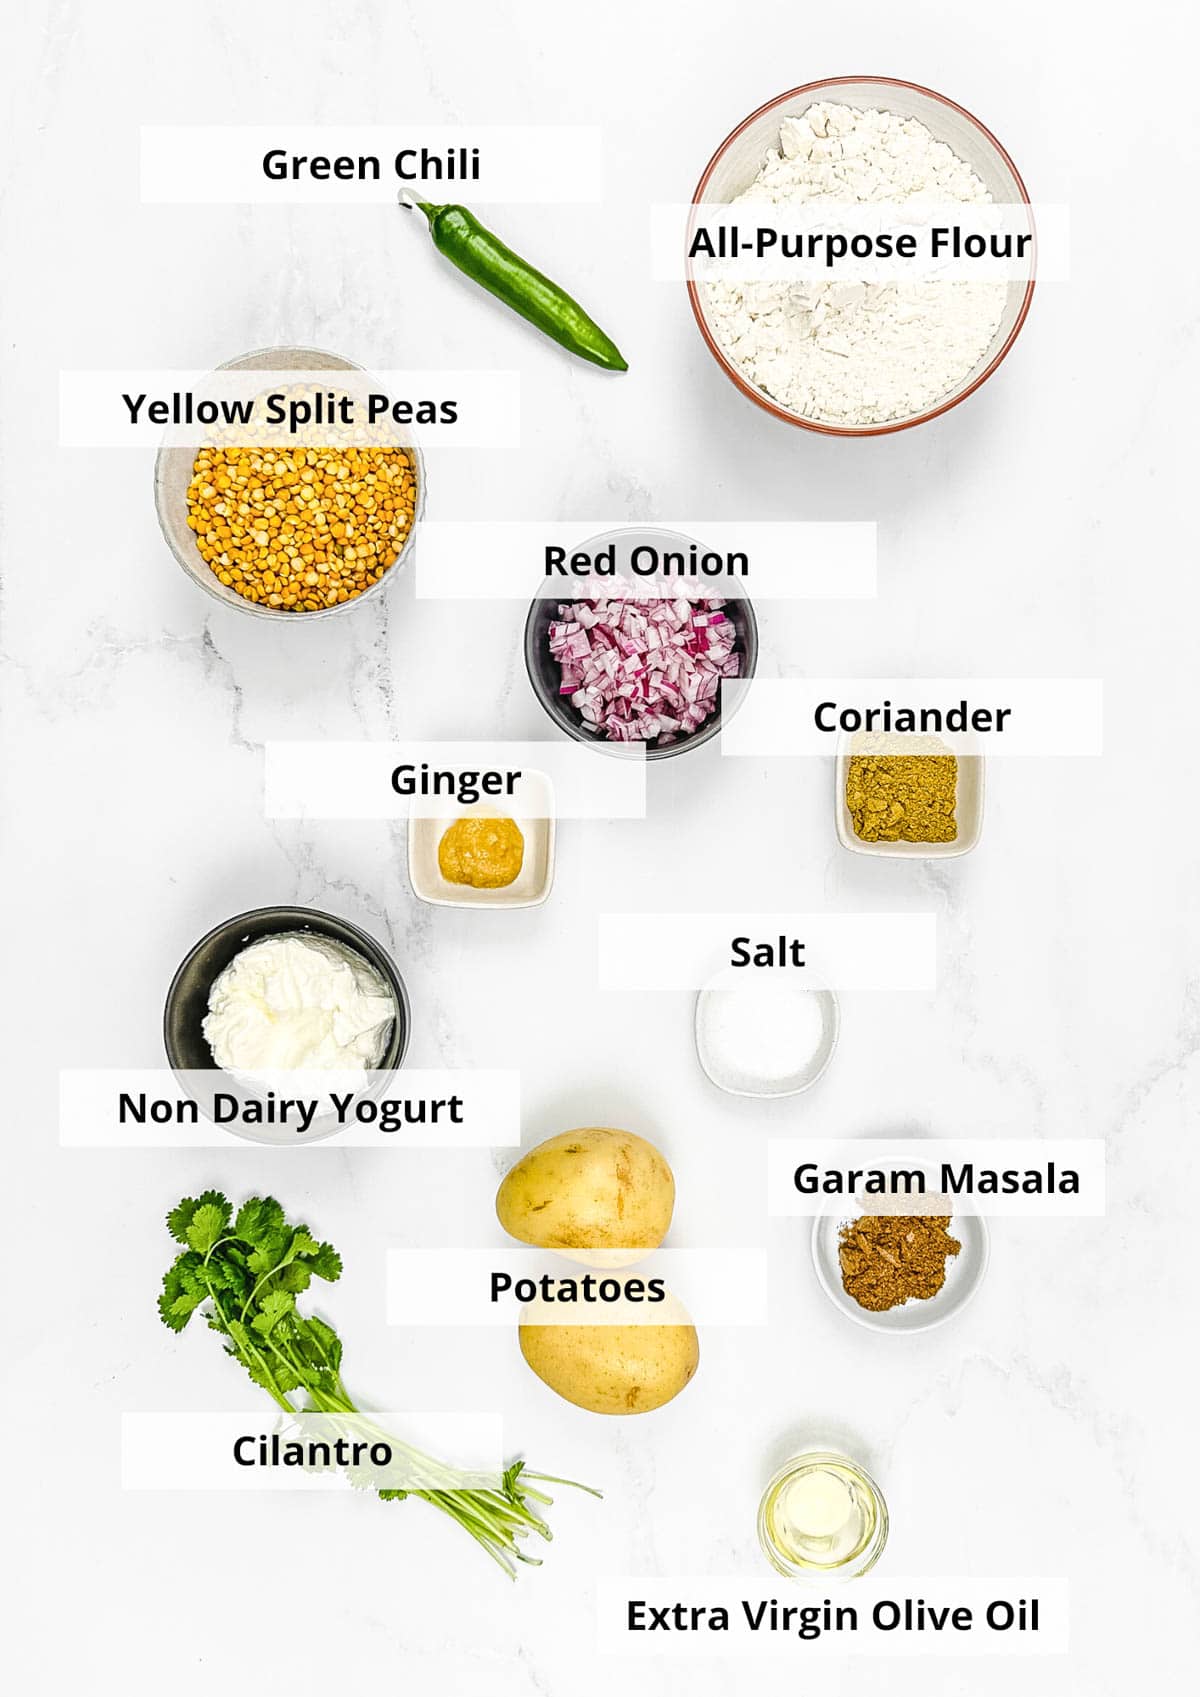
The Filling
Green or Yellow Split Peas: I usually grab these from the bulk section or with the dried beans at the grocery store. Just make sure to rinse them thoroughly before using, they’re a key ingredient.
Yukon Gold Potatoes: I love using Yukon Golds because they’re so creamy and perfect for samosas. Just finely dice them for the filling.
Spices and Aromatics: This recipe is all about bold Indian flavors, so I use green chiles, fresh ginger, coriander, garam masala, a touch of salt, and plenty of fresh cilantro. These spices really bring the samosas to life!
Samosa Dough
Flour: I typically use all-purpose flour for the best texture, but if you want a healthier option, I recommend white whole wheat flour. It’s higher in fiber and still works great!
Yogurt: I use Greek yogurt to tenderize the dough. Its acidity helps relax the gluten in the flour, making the dough easier to work with.
Oil: Olive oil adds a beautiful flakiness to the dough, especially when frying. You’ll need a little extra if you’re frying, but it’s worth it for that perfect texture!
🔪 How To Make
It might seem like a lot of work, but making my baked Indian samosas is actually easier than you think, I’ll guide you through it step by step.
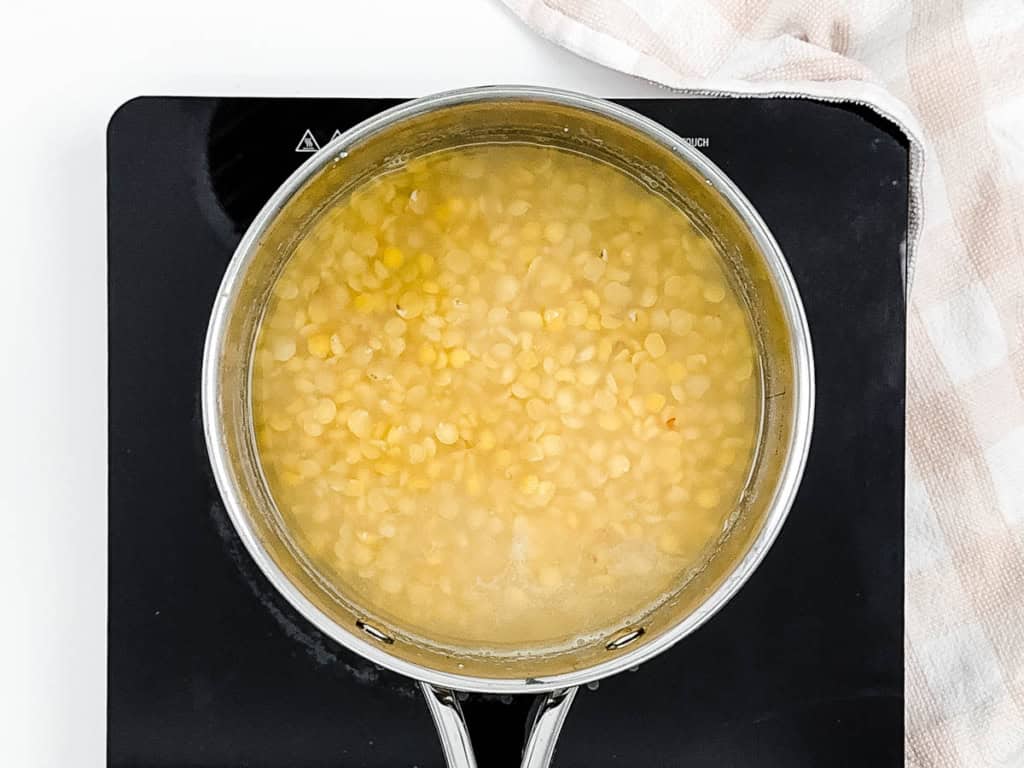
Cook Split Peas: I start by combining the split peas and water in a medium saucepan. Then, I bring it to a boil, reduce the heat, cover, and let it simmer until the peas are tender, usually about 35 to 45 minutes. Once they’re done, I drain them and set them aside.
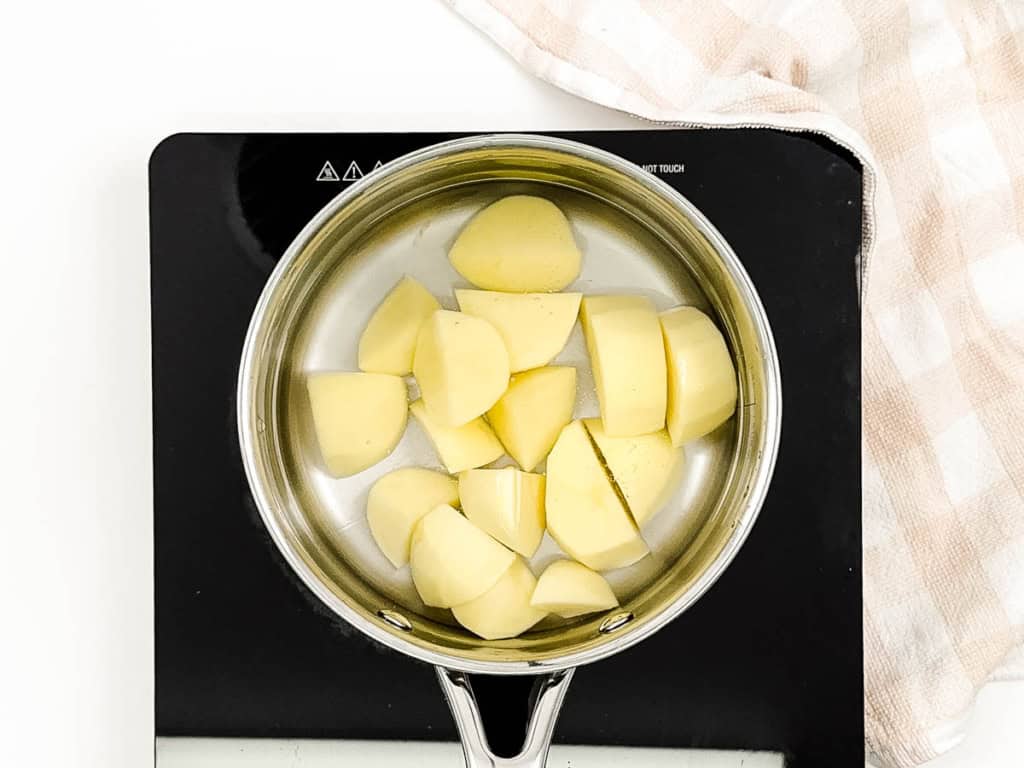
Cook Potatoes: boil the potatoes with a teaspoon of salt until they’re perfectly tender. Then, I drain them and set them aside, ready for the filling.
Prepare The Dough: I combine the flour and salt in a medium-sized bowl, then make a little well in the center. Into that, I add the yogurt and oil, mixing everything until it comes together into a ball. If the dough feels a bit dry, I add water, ½ tablespoon at a time, until it’s just right.
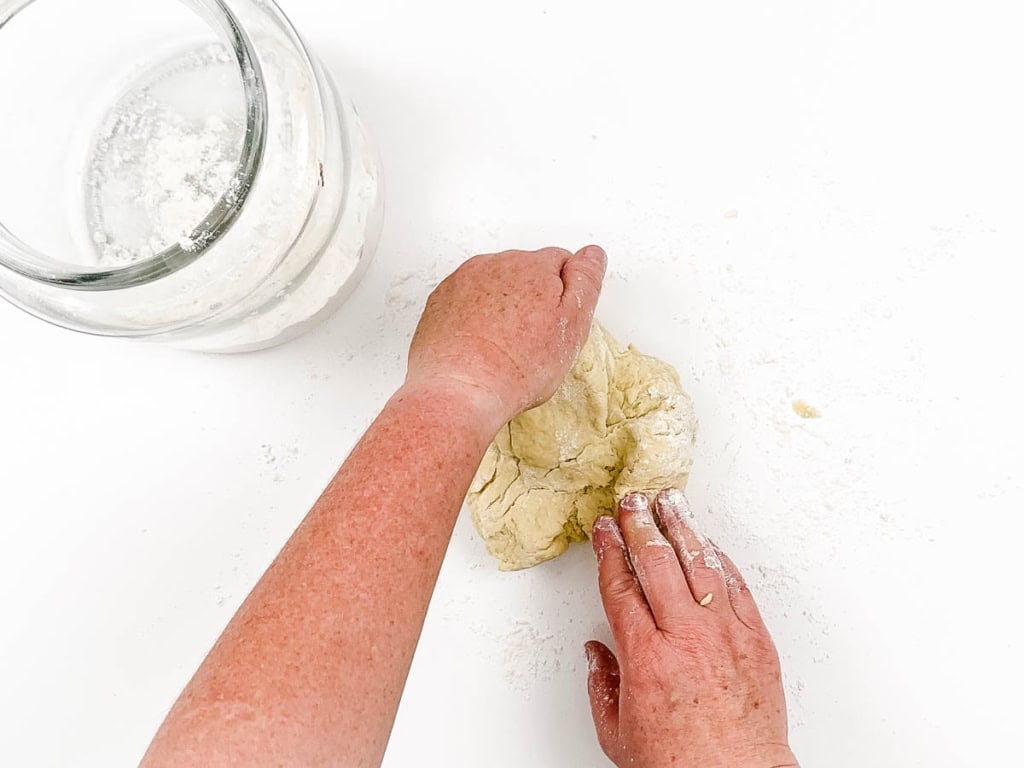
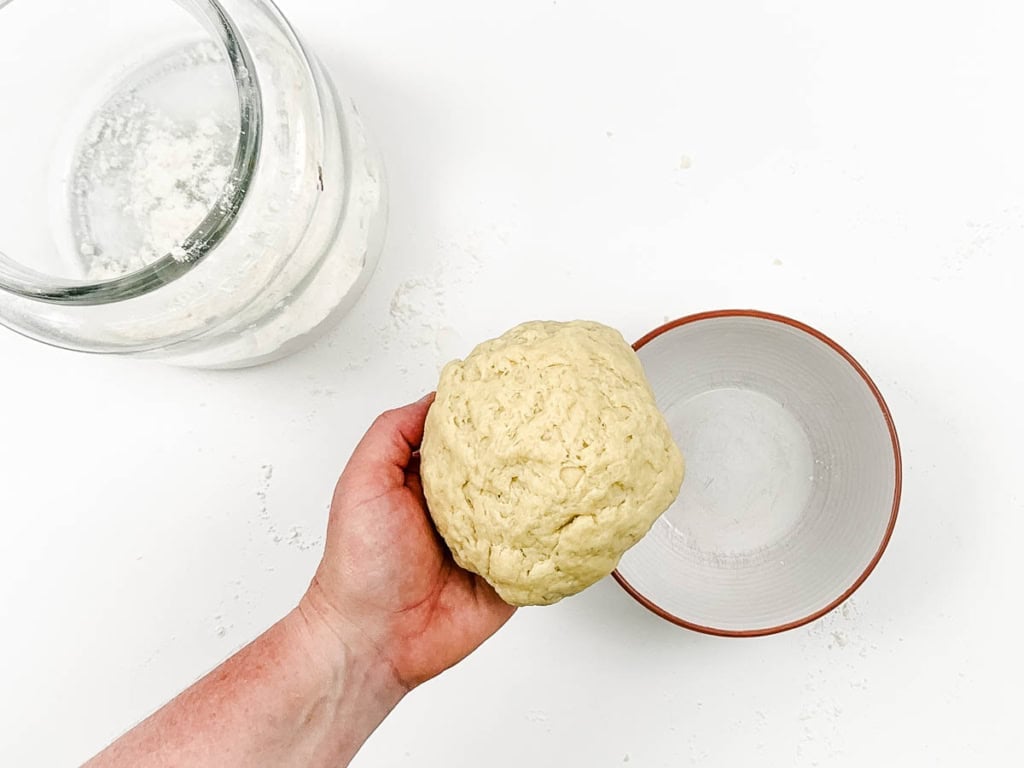
Knead Dough: I turn the dough out onto a lightly floured surface and knead it until it’s smooth and elastic, this usually takes about 2 to 3 minutes. Then, I cover the dough and let it rest for 30 minutes while I prepare the filling.
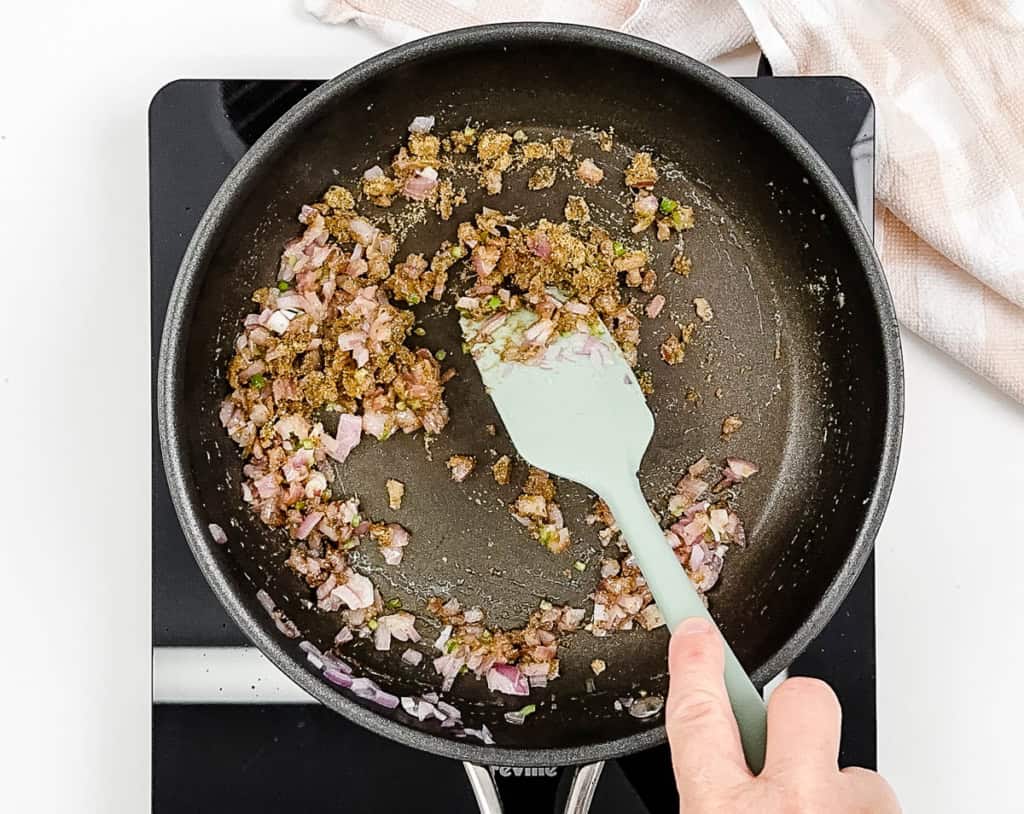
Make The Filling: I start by heating 1 tablespoon of extra virgin olive oil in a heavy skillet. Then, I add the onions and cook them, stirring frequently, until they turn translucent. Next, I toss in the ginger and chili, stirring for another minute to bring out their flavors. Finally, I add the coriander, garam masala, and salt, cooking and stirring for about 30 seconds to let the spices bloom. The aroma at this point is incredible!
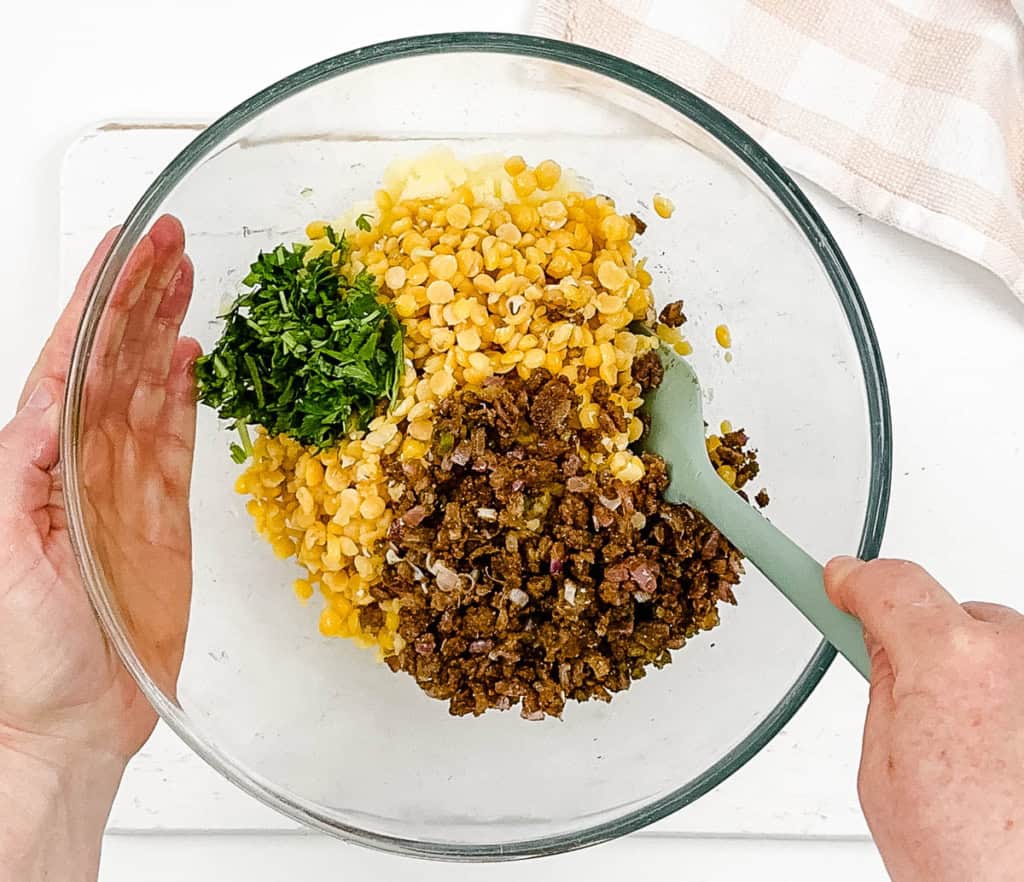
Combine Other Filling Ingredients: I transfer the cooled potatoes to a mixing bowl and mash them with a potato masher until smooth. Then, I add the cooked split peas, the flavorful onion mixture, and freshly chopped cilantro. I mix everything together thoroughly and adjust the seasoning to taste. Once it’s perfect, I set the filling aside, ready to stuff the samosas.
Preheat Oven: If I’m baking the samosas, I start by preheating the oven to 350°F (180°C). Then, I line a baking sheet with parchment paper to prevent sticking and make cleanup easier.
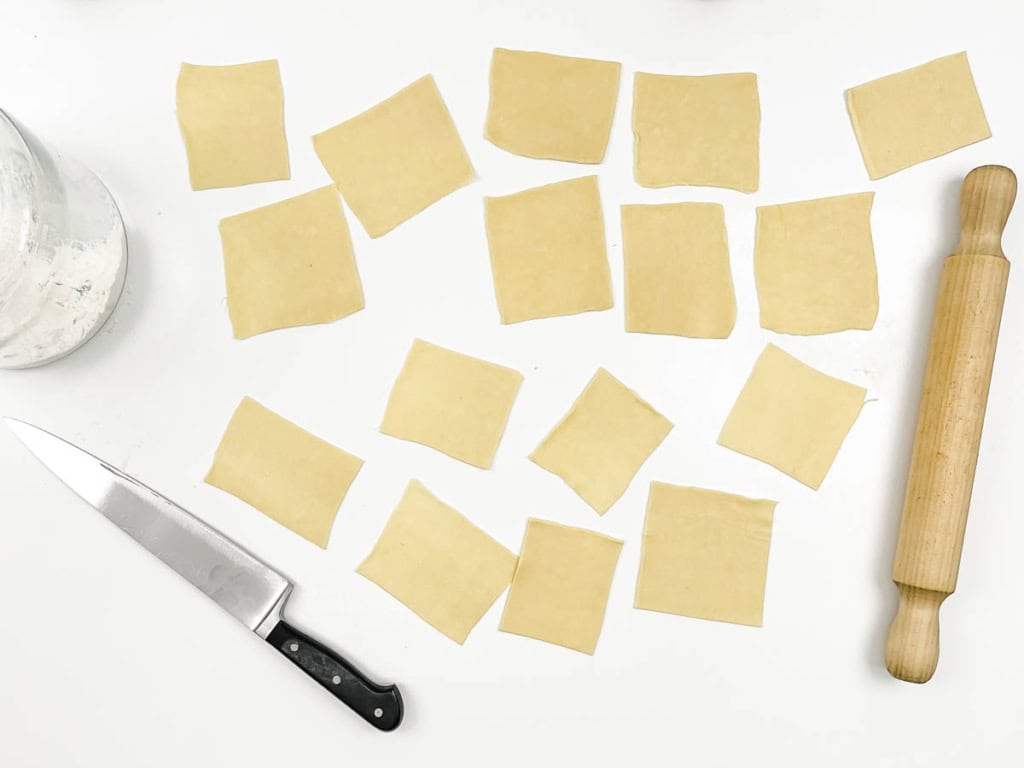
Prep Dough: On a lightly floured surface, I roll out the dough into a rectangle about 12 x 18 inches. Then, I cut it into 3-inch squares, perfect for folding into samosas.
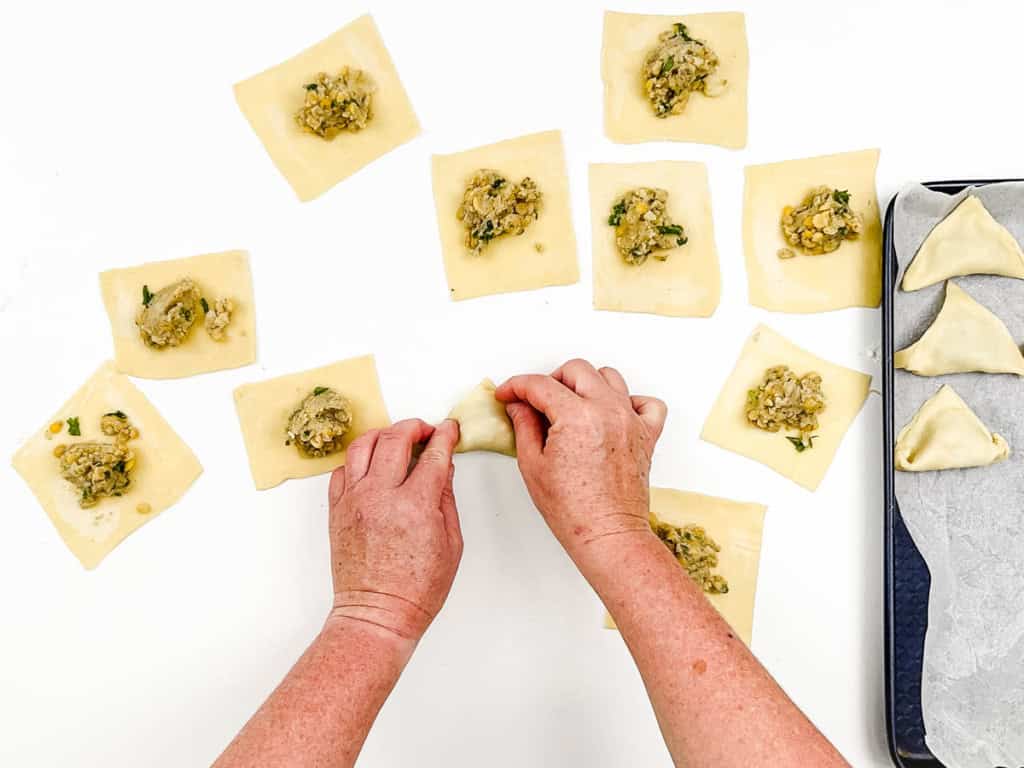
Add Filling And Fold Samosas: I place about 1 tablespoon of filling in the center of each square. Using my fingers, I moisten the edges of the dough with a bit of water, then fold it diagonally to create a triangle. Finally, I press the edges firmly together to seal in all that delicious filling.
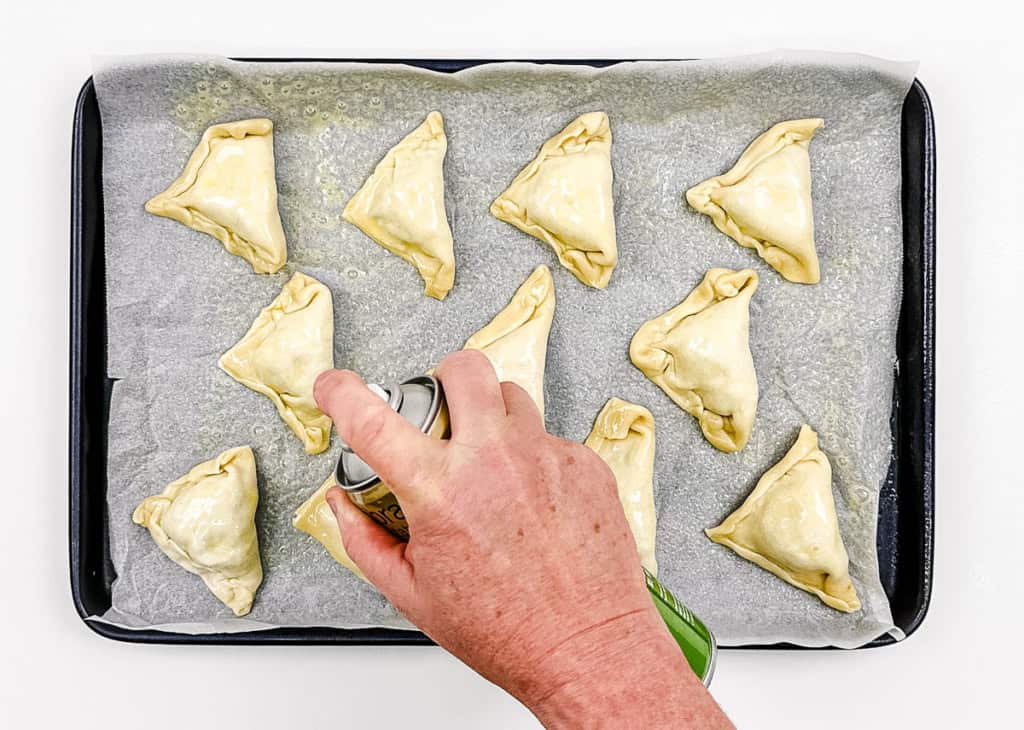
Finish Samosas: I arrange the samosas on the prepared baking tray, making sure they have a bit of space between them. Then, I lightly spray all sides with cooking spray to help them crisp up beautifully in the oven.
Bake: I pop the samosas into the oven and bake them for 20-25 minutes, until they’re lightly golden and perfectly cooked through.
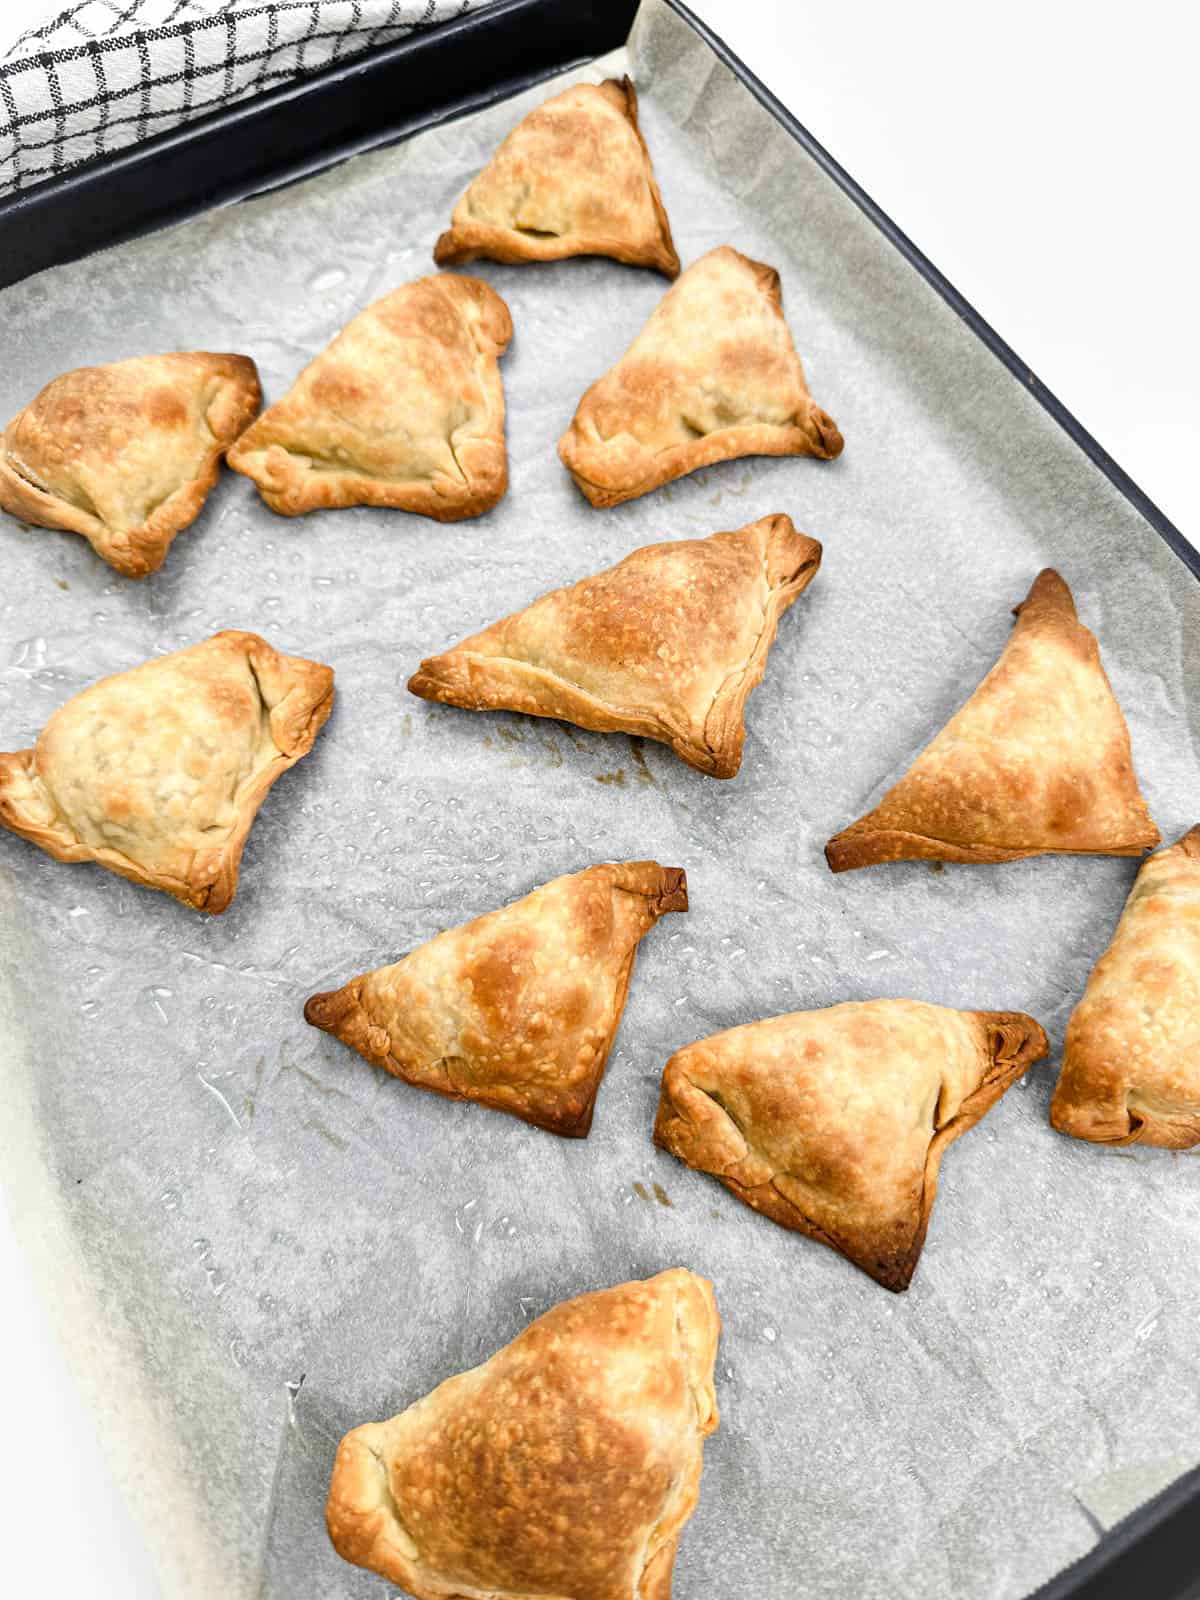
Let Cool And Serve: I transfer the freshly baked samosas to a warm serving dish and let them cool slightly before serving.
Note: If you’d like to fry these samosas, heat 1 inch of oil in a heavy skillet until it is hot but not smoking, about 350° to 380° Fahrenheit. Fry samosas until golden, turning once. Drain samosas on paper towels, and keep them hot.
💭 Expert Tips
My #1 Secret Tip for this recipe is to make sure the dough and filling are properly prepared: The dough must be smooth, pliable, and rested for 30 minutes to make it easy to roll and seal without breaking. The filling should be flavorful, well-cooked, and completely cooled before assembly to avoid tearing the dough or making it soggy.
Perfectly balanced dough and filling are the foundation of great samosas!
Other Tips To Keep In Mind:
- Don’t over knead the dough. Only knead for 3-4 minutes at the most. Note: If it’s too dry, you can add water in small increments as you knead it (no more than ½ tbsp at a time).
- Don’t overmash potatoes – I personally like to leave the filling a little chunky vs. making the potatoes super smooth. I find it gives the samosas a better texture and bite.
- Roll the dough evenly to about 1/8-inch thickness. Too thick and the samosas won’t cook properly; too thin and they might tear.
- If you choose to fry these, do not fry the samosas in extremely hot oil. They come out best in medium hot oil. Check the oil by dropping a small piece of dough. It should not sizzle immediately. If it does, the oil is too hot.
📖 Variations
I love how easily customizable my Indian samosas are, and these are my favorite variations of the recipe.
Try Chickpeas: I sometimes swap out the split peas for an equal amount of chickpeas, it’s a 1:1 replacement. If I use canned chickpeas, there’s no need to cook them, which saves me a ton of prep time!
Add Different Vegetables: While traditional samosas use potatoes and peas, I love experimenting with other veggies. Cauliflower, broccoli, or green beans work wonderfully! I just replace the potatoes with about 1 to 1.5 cups of my favorite veggies.
Try Paneer: Paneer and spinach are such a classic combo! Sometimes, I replace the split peas and potatoes with 2 cups of diced paneer and 1.5 cups of cooked spinach, it’s a delicious twist.
🍽 Serving Suggestions
For me, keeping it simple and traditional when serving these samosas is a must, and these are my absolute favorite ways to enjoy them.
Chutney: I’m obsessed with pairing my samosas with red and green chutneys. The red chutney is sweet with a hint of spice, while the green chutney is usually bold and very spicy. I usually pick mine up from the Indian store, I haven’t tried making them from scratch yet, but it’s definitely on my to-do list! 😉
Mains: Serving my Indian samosas alongside my chana masala or my vegan Tikka masala is always a winning combo in my house. These dishes are true classics that never fail to impress, it’s like bringing the restaurant experience straight to the dinner table.
Soups: I love pairing samosas with my creamy and comforting spicy Indian lentil soup.
🧊 Storage Directions
Refrigeration: When I need to store samosas in the fridge, I loosely wrap them in foil or plastic wrap and keep them for up to 2 days.
Freezing: For longer storage, I wrap the samosas in foil and seal them in a freezer-safe bag, making sure to squeeze out all the air before sealing. I label the bag with the contents and date, they’ll stay good in the freezer for up to 6 months.
Reheating: When I’m ready to reheat, I transfer the frozen samosas to the fridge to thaw overnight. Then, I pop them on a parchment-lined baking sheet and bake at 350°F for about 10 minutes. They come out perfectly warm and crispy!
❓Recipe FAQs
You can try using all purpose gluten free flour as a 1:1 substitution for all purpose flour. While I haven’t tested this variation myself, but I do think it should work (noting that the texture of the samosa pastry may change with this substitution).
This recipe is not too spicy, in terms of “heat”, but does have a good spiced flavor from the coriander and garam masala. My kids enjoyed these samosas and didn’t find them too spicy at all. If you’d like a spicier version, just add a pinch of cayenne pepper into the filling and adjust to taste.
There are a few things you could try if your dough keeps tearing. First, try letting it rest longer. Cover it with a damp cloth and let it rest for another 15–20 minutes to relax the gluten. Then, check the dough’s moisture level – if it’s too dry it’ll crack and tear. And finally, make sure you don’t roll the dough out too thin and if a tear happens, pinch the dough together with your fingers, or use a small amount of water to seal the tear. Then roll lightly to smooth it out.
🍲 More Traditional Indian Recipes!
Love this vegetarian indian recipe? Please leave a 5-star rating 🌟 in the recipe below and/or a review in the comment section further down the page!
You can also FOLLOW ME on FACEBOOK, INSTAGRAM, and PINTEREST to see more delicious, healthy, family-friendly food, and if you have any questions, I’m here to help!
🎥 Watch How to Make It
Traditional Indian Samosas
Ingredients
For The Filling
- 1 cup dried yellow split peas rinsed and drained
- 2½ cups water
- 2 medium potatoes peeled
- 1 tsp salt
- 1 tbsp extra virgin olive oil
- 1 medium red onion finely diced
- 1½ tsp minced fresh ginger
- 3 tsp ground coriander with a few whole coriander seeds sprinkled in
- 2 tsp garam masala
- 1 tbsp chopped fresh cilantro
For The Dough
- 2 cups all-purpose flour or whole wheat pastry flour
- ½ teaspoon salt
- ½ cup Greek yogurt
- ¼ cup extra virgin olive oil
- ½ tbsp cold water if needed
For Frying Method Only
- 2 cups avocado or coconut oil
Equipment
Instructions
For The Samosas
- In a medium saucepan, combine split peas and water. Bring them to a boil, reduce heat, cover, and simmer until peas are tender, about 35 to 45 minutes. Drain peas, and set aside.
- Boil potatoes with 1 teaspoon salt until they are tender. Drain and set aside.
- Meanwhile, prepare the dough. Combine flour and salt in a medium-sized bowl. Make a well in the center and add yogurt and oil. Mix ingredients until they form a ball. Add water ½ tablespoon water if needed to bring the dough together.
- Turn the dough onto a lightly floured surface and knead it until it is smooth, about 2 to 3 minutes. Cover dough, and set it aside for 30 minutes while preparing the filling.
- Prepare the filling by heating 1 tablespoon of extra virgin olive oil in a heavy skillet.
- Add onions and cook, stirring frequently, until translucent. Add the ginger and chili, continue stirring for another minute.
- Next, add coriander, garam masala, and salt, and cook, stirring, for about a half minute more.
- Transfer the cooled potatoes to a mixing bowl and mash with a potato masher. Add the cooked peas, cooked onion mixture and chopped cilantro, mix well and adjust seasoning to taste. Set filling aside.
- If baking the samosa preheat the oven to 350 F / 180 C. Line a baking tray with baking paper.
- On lightly floured surface, roll out the dough into a rectangle measuring about 12 x 18 inches. Cut dough into 3-inch squares.
- Place 1 tablespoon of filling on each square. Use your fingers to moisten edges of dough with water, and fold dough diagonally in half to make a triangle. Press edges firmly together to seal in the filling.
Instructions For Frying
- Heat 1 inch oil in a heavy skillet until it is hot but not smoking, about 350° to 380° F. Fry samosas until golden, turning once. Drain samosas on paper towels, and keep them hot.
Instructions To Oven Bake:
- Arrange the samosa on the prepared baking tray. Lightly spray all sides with spray oil and bake in the oven for 20-25 minutes until lightly golden and cooked through.
- Transfer samosas to a heated serving dish, and serve them with chutney or tomato ketchup.
Notes
- My #1 Secret Tip for this recipe is to make sure the dough and filling are properly prepared: The dough must be smooth, pliable, and rested for 30 minutes to make it easy to roll and seal without breaking. The filling should be flavorful, well-cooked, and completely cooled before assembly to avoid tearing the dough or making it soggy.
- Don’t over knead the dough. Only knead for 3-4 minutes at the most. Note: If it’s too dry, you can add water in small increments as you knead it (no more than ½ tbsp at a time).
- Don’t overmash potatoes – I personally like to leave the filling a little chunky vs. making the potatoes super smooth. I find it gives the samosas a better texture and bite.
- Roll the dough evenly to about 1/8-inch thickness. Too thick and the samosas won’t cook properly; too thin and they might tear.
- If you choose to fry these, do not fry the samosas in extremely hot oil. They come out best in medium hot oil. Check the oil by dropping a small piece of dough. It should not sizzle immediately. If it does, the oil is too hot.
- Note: Nutritional information based on baking method, not frying method.


















Can you please tell me if I prepare these then freeze them what temperature and how long would I heat them up from frozen? Thank you
Hi Joan! To reheat from frozen, I’d bake these in the oven at 350 degrees for about 15 minutes or until they are fully warmed through. Hope that helps!
Great recipe! Tasted so good and was very easy to follow.
A couple changes I made while making was I added a teaspoon of curry powder and a little cayenne to the filling. So good! I definitely will making again!
Yay! I’m so happy to hear that Megan, and I love the additions you made too!
Hi Anjali! I would love to make these! But I can’t tolerate spicy hot food 🙁 what would be the spice that I can eliminate for me to be able to enjoy this delish plate!!
Thanks!
Hi Jennifer! It depends on how you define “spicy” food — none of the spices in this recipe are actually “hot” spicy the way you’d think of hot sauce or chili peppers, but both ginger and garam masala can have a bit of a warm spice kick. So if you’re really concerned you can eliminate both of those spices, but that would dramatically change how these samosas taste so I can’t guarantee they’d taste as good without those spices added! Hope that helps!
Seems easy enough
It really is! Enjoy!
Hi! I am making these for my roommates but hoping there might be an alternative for yogurt since one of them is vegan. Any suggestions for dairy free in the dough? Could coconut milk be an option?
Hi Kelsey! I haven’t tried an alternative to yogurt in the dough, but I think a coconut milk yogurt could theoretically work! If you try it, let me know how that substitution turns out!
How can you increase the spice to make it a bit hotter?
I would add cayenne pepper into the filling mixture when you’re cooking it – you can start with 1/8-1/4 teaspoon and work your way up from there depending on how hot you want it!
Can you make them ahead of time , then cook them just before company arrives
Absolutely! 🙂
Thank you for this great recipe. I will def. deep fry them, as this is traditional and I find, if the oil is at the right temp. they soak up very little oil. I find baking just does not give the right texture. Also, use a healthy oil.
Frying these samosas would also work! I’m glad you’re choosing a healthier oil to fry them in!
Have not made them yet, but def. plan to. Could I use frozen peas instead of split peas? And also, could I just cube (small) the potatoes instead of mashing them?
Hi Yes! You can use frozen peas (you’d just have to defrost them first) and you can cube the potatoes if you’re ok with a chunkier consistency for the filling!
The dough did not turn out right but I fixed it with some water and a mixture of white/wheat flour. (I did anything to save the dough.) But the stuffing was delicious, not spicy at all, which I prefer but still very easy recipe and I’m definitely making this again but a bit more chilies! Everybody loved it thought. Thank you so much! !
Hooray! I’m so happy to hear that Sabina!
Do you have some guide lines for baking, prepared pan? temp to bake at for what length of time? Thank you
Hi Joanie! You should be able to bake these at 425F for 15-20 minutes, and then turn the heat down to 375F and bake for another 10 minutes until the crust is cooked through.
Could I use red or yellow lentils instead of split peas?
Absolutely! Either type of lentil would work!
hi anjali, i know this recipe is a few years old so i hope you see this! do you think i could make a batch of these and freeze some to be reheated later? if so, should they be frozen before or after we fry them?
thank you!
Hi Bethany! Yes you can absolutely freeze these! I’d recommend freezing them after you make them, and then reheating them in the oven. Hope that helps, let me know how they turn out! 🙂
Is there a substitute for potatoes that you know works well, like cauliflower or yams?
Hi Becky! Yams or sweet potatoes would work great, or you could do half sweet potatoes/yams and half cauliflower! Hope that helps!
Indian samosa is probably the most known starter after the tikka masala. Your recipe is very clear – seems easy to make! Wishes from the Indian Garden Brussels in Belgium!
Thanks Andrew! Enjoy!