




How To Cook Dried Chickpeas
This post may contain affiliate links. As an Amazon Associate, I earn from qualifying purchases. Please read my disclosure.Cooking dried chickpeas from scratch is an essential kitchen skill in my opinion. It is a wholesome ingredient that works in countless meals. And while canned chickpeas are great for convenience, you really cannot beat the texture and flavor of freshly cooked chickpeas. I love how dried chickpeas, water, and a few simple aromatics yield tender, buttery beans that can be used in anything from soups to dips.
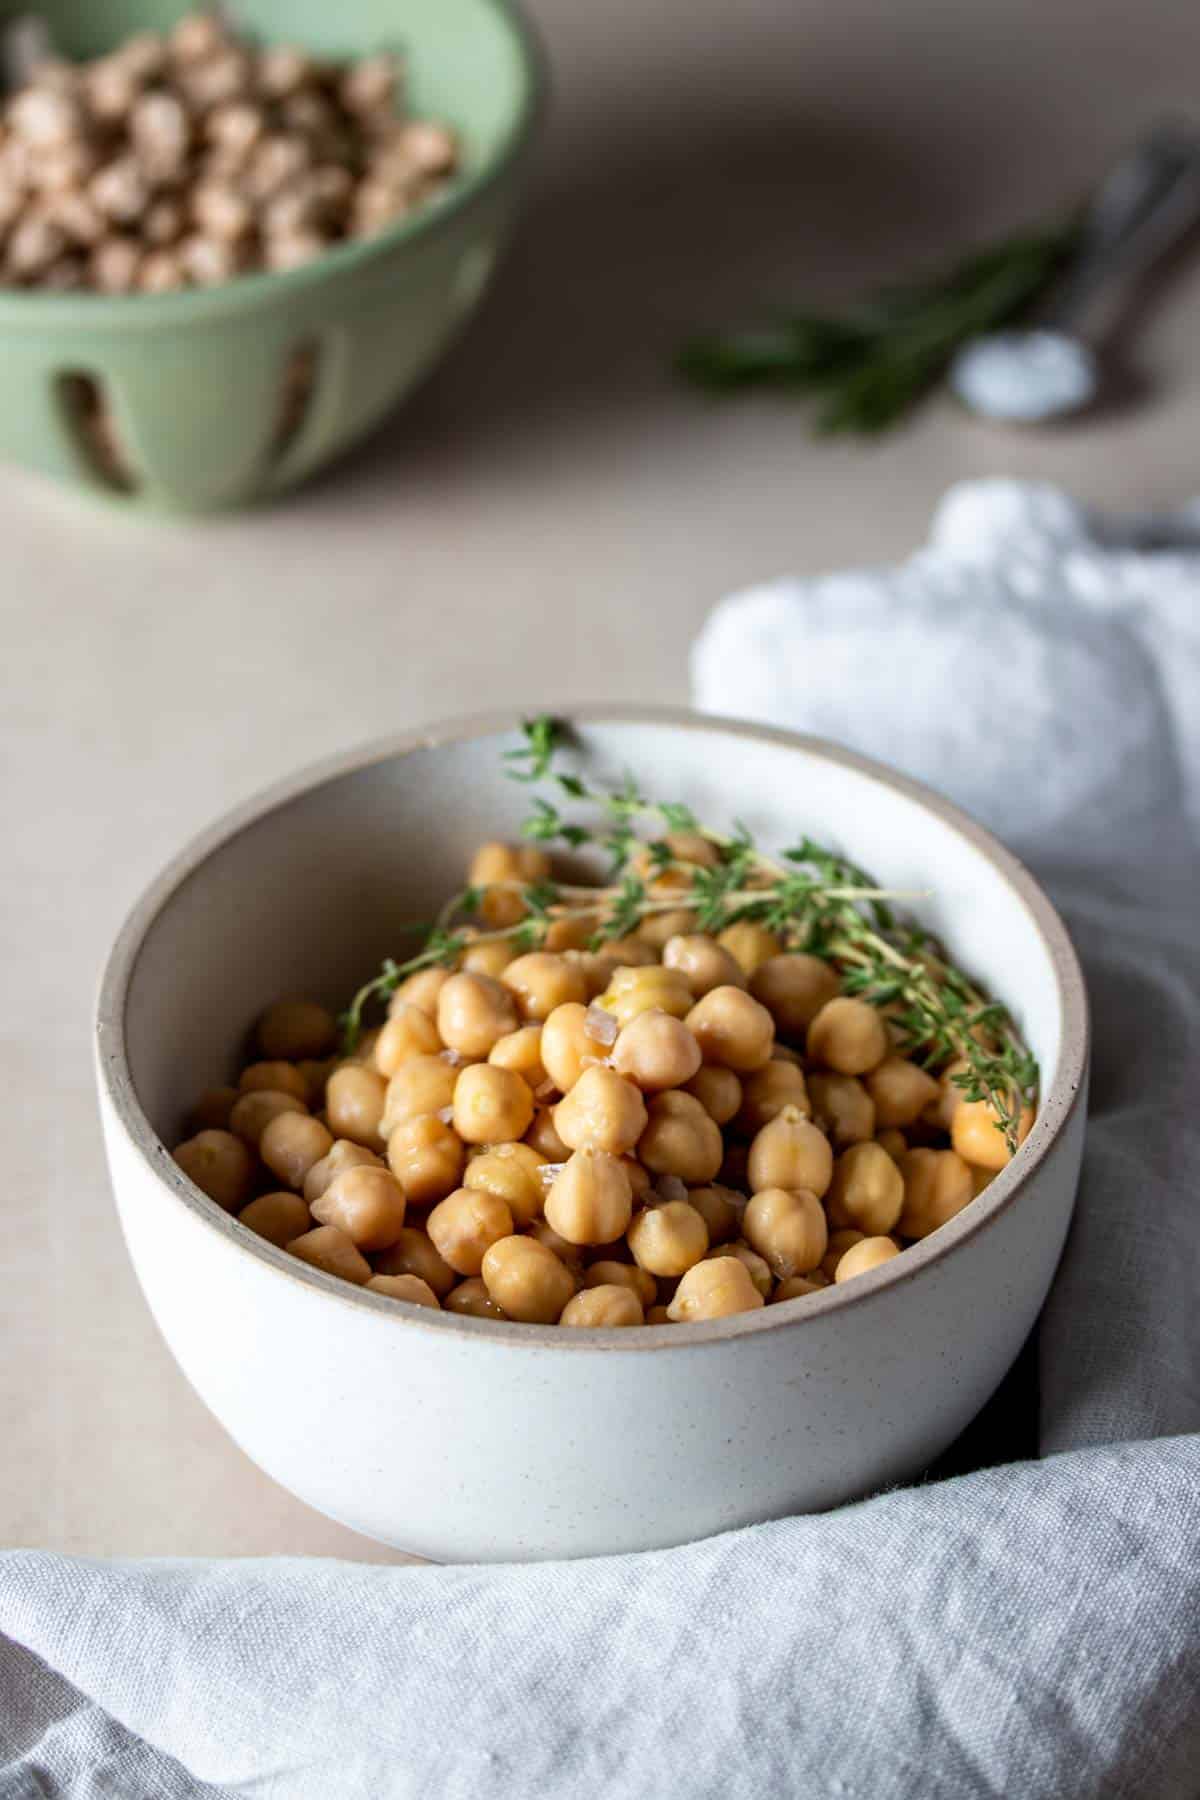
Chickpeas are one of the most versatile pantry staples that I always keep on hand, and once you know how to cook dried chickpeas, I promise you will not be relying on canned versions very much. Next time you want to whip up Greek hummus, make it with dried cooked chickpeas instead, and notice the incredible difference.
I originally started paying closer attention to how to cook dried chickpeas when my hummus just was not hitting the right notes. My husband and kids really enjoyed every batch I made, but I still was not satisfied. For once, I was the picky eater in the house. Then I decided to dedicate a bit more time and switched to dried chickpeas. After they tried that particular batch of hummus without garlic, they agreed that there was a significant difference.
👩🏽🍳 Why I Love This Recipe
One reason I love cooking dried chickpeas from scratch is the superior flavor and texture they develop. As a health coach, I also appreciate that chickpeas have many potential health benefits and are naturally rich in plant-based protein, fiber, iron, and folate. They are great to throw into any meal when I want to keep everything balanced.
The process is much simpler than many people expect. I start by sorting and soaking the dried chickpeas, then rinse and drain them before simmering in fresh water with optional aromatics until they reach the perfect tenderness. Once they are cooked, I use them immediately in recipes, roast them for a crispy snack, or cool and freeze them so I always have home-cooked chickpeas on hand.
A good friend of mine called me in a panic one day. She was throwing a party and had planned on making a huge bowl of her famous hummus. But her husband came home with dried chickpeas instead of canned. This was a huge problem for her, as she avoided cooking any kind of legume if she could buy it in a can. She did not have time to run out to the store the next day, and asked if I had a few cans for her. I said I had a recipe which would be even better. It took some convincing, but she cooked her chickpeas perfectly, and the hummus got more compliments than usual. I hope this gives you some encouragement to give dried chickpeas a place in your kitchen.
🥘 Ingredients
These are the handful of simple ingredients I use when I am cooking dried chickpeas:
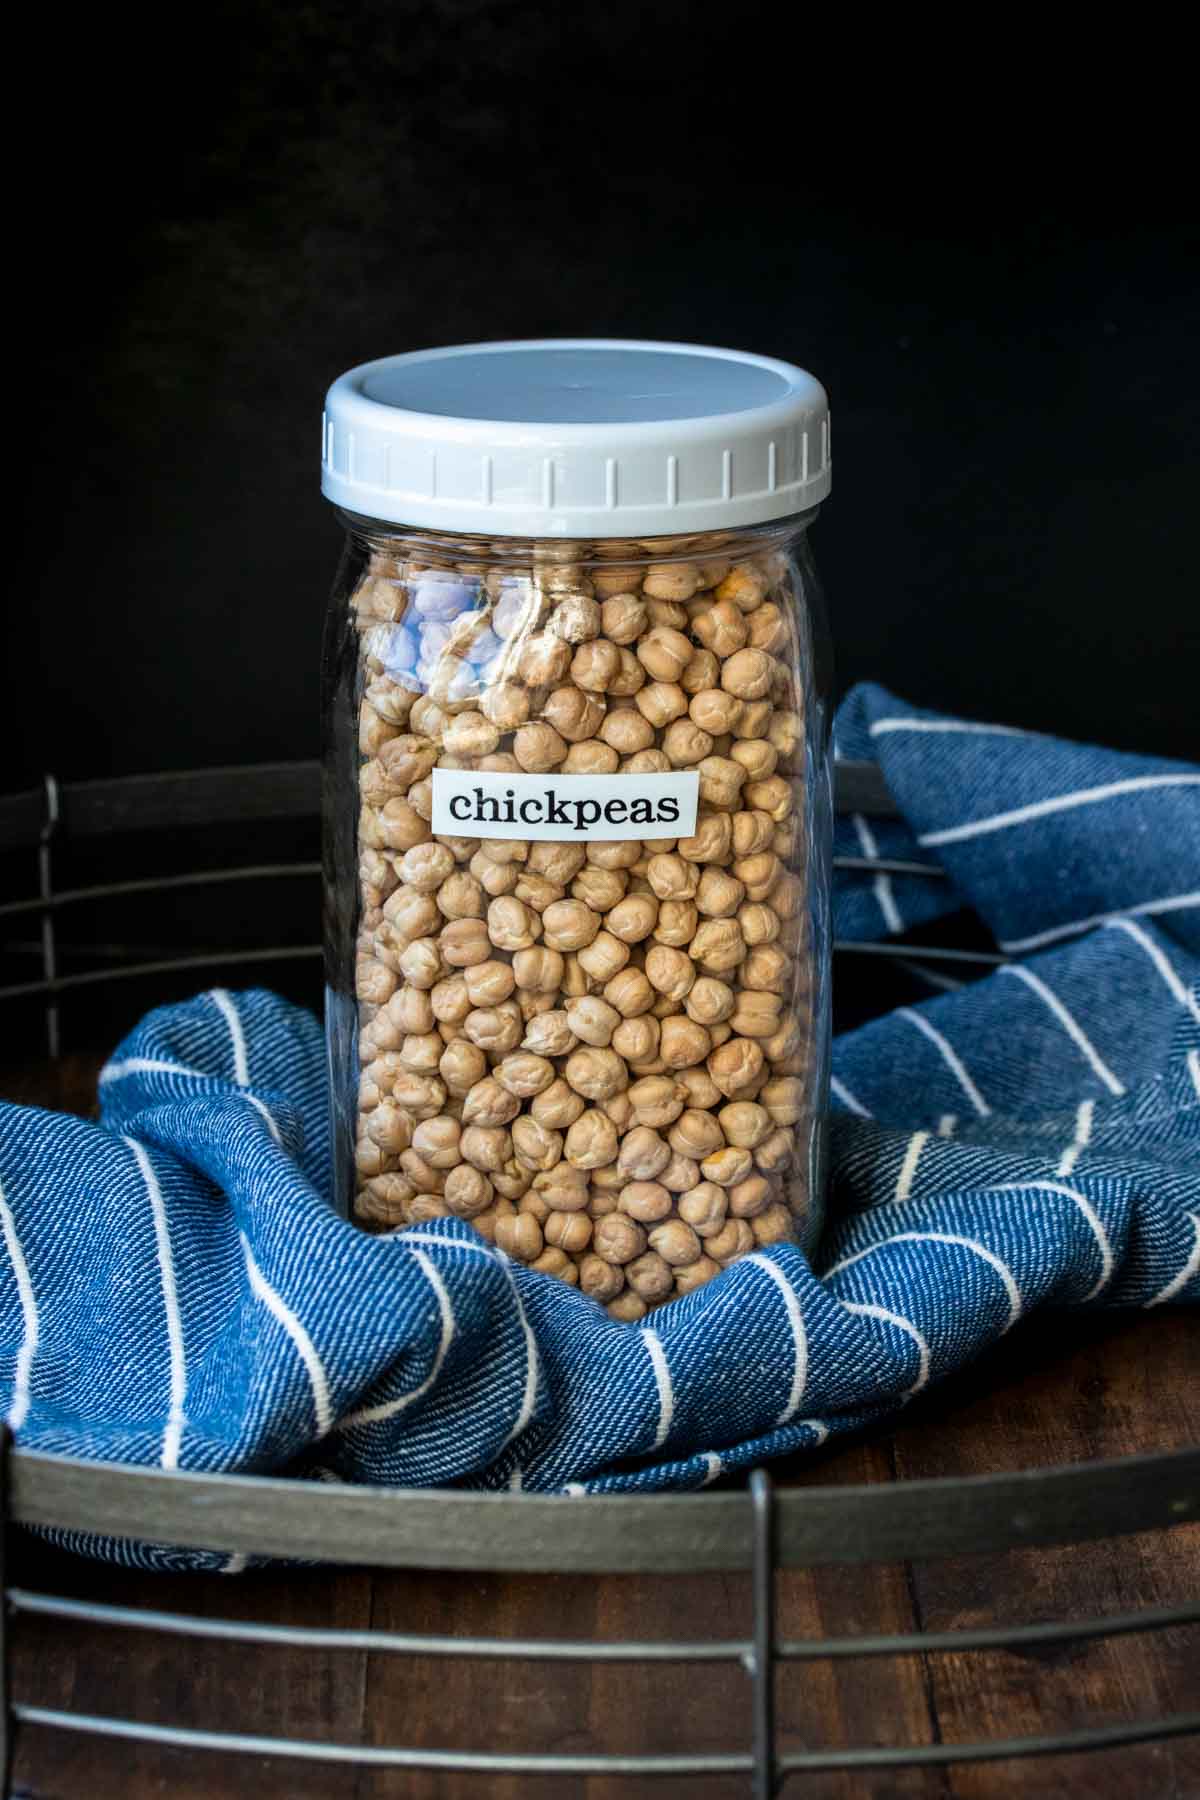
Dried chickpeas: These cook into tender, creamy beans with a rich flavor.
Water: I use water for soaking and cooking the chickpeas.
Optional aromatics: Depending on what I am planning on using the chickpeas for, I sometimes infuse flavor with garlic cloves, a bay leaf, half an onion, sea salt, jalapeno or chipotle peppers.
🔪 How To Make
This is the basic process I follow to get perfectly cooked dried chickpeas every time:
Sort: I spread the dried chickpeas onto a plate and remove any damaged ones or small bits of debris before rinsing them well under cool water.
Soak: Then I place the chickpeas in a large bowl, cover them with plenty of cold water, and let them soak for 6-8 hours or overnight. If I need them sooner, I cover them with water in a saucepan, boil them for 5 minutes, remove the pan from the heat, cover it, and let them soak for 1 hour instead.
Drain and rinse: Once they are done soaking, I drain and rinse the chickpeas well.
Cook: I transfer the chickpeas to a large pot, cover them with fresh water, and bring everything to a boil. Then I reduce the heat to a gentle simmer, and cook for 30-60 minutes, checking the texture every 15 minutes until they reach the tenderness I need for my recipe. If I want extra flavor, I add the optional aromatics into the cooking water.
Cool and use: When the chickpeas are tender, I drain them and use them right away, roast them until crispy, or cool them completely before storing them.
💭 Expert Tips
My #1 Secret Tip for this guide on how to cook dried chickpeas is to cook the chickpeas only until they match the recipe you plan to make. I simmer them for about 30 minutes when I want firmer chickpeas for salads or grain bowls, and let them cook closer to 60 minutes for silky hummus or creamy soups. That simple adjustment makes a huge difference in the final texture.
Other Tips To Keep In Mind:
- Use fresh beans: I always check the age of my dried chickpeas before cooking. Older beans can take much longer to soften and may never become as creamy as fresher ones.
- Cover well: I make sure the chickpeas stay covered with about 3 inches of water while they cook. If the water level drops too much, I add more hot water so they continue cooking gently.
- Season smart: Adding simple ingredients like garlic, onion, bay leaf, or pepper infuses the beans without overpowering their natural taste.
- Check early: Every batch cooks a little differently, so I start testing and checking the chickpeas every 15 minutes to avoid overcooking them.
- Save cooking liquid: Before I drain the chickpeas, I reserve some of the cooking liquid. It works well for thinning hummus or adding extra flavor to soups and stews.
📖 Variations
When it comes to how to cook dried chickpeas, you are not just limited to the stove. These are a few ways I have made them:
Pressure cooker: I cook soaked chickpeas with about 3 cups of water on high pressure for 12 minutes, then let the pressure release naturally for about 10 minutes. If I have forgotten to soak them, I increase the cooking time to about 50 minutes. I love using this method when I do not have the time to keep checking in on the chickpeas.
Slow cooker: I combine the dried chickpeas with 3 1/2 cups of water and my favorite aromatics, then cook them on high for 3-4 hours, or on low for 7-8 hours. This is my favorite option when I know I will be home all day, but busy with other things.
Extra flavor: For really flavorful chickpeas, I add 4 garlic cloves, 1 bay leaf, and 1/2 an onion to the cooking water. Sometimes I replace the water with equal parts vegetable broth, and skip the salt. I do this when the chickpeas are the star of the meal.
🍽 Serving Suggestions
So now that you know how to cook dried chickpeas, you may be feeling unsure of what to do with them. I love adding them to vegan farro salad or a roasted pumpkin salad for extra protein. And if you are looking for a warmer meal, they are fantastic in a healthy chickpea tomato stew.
While I do love using aromatically infused cooked chickpeas in things like a smashed chickpea sandwich, sometimes I like throwing them with some other bits and pieces that I have leftover for a hearty bowl meal. Recently I was home alone, and crisped up my cooked chickpeas in the oven, and added them to my Chick-fil-A kale salad, along with miso mushrooms and crispy air fryer tempeh. It was a pretty random meal, but it was satisfying on every level.
🧊 Storing And ♨️ Reheating
Refrigeration: I let the chickpeas cool completely before transferring them to an airtight container. They keep well in the fridge for up to 5 days.
Freezing: I divide cooled chickpeas into meal-sized portions before freezing them in an airtight container or freezer bag. They keep well for up to 6 months.
Reheating: If frozen, I thaw the chickpeas in the refrigerator overnight, or add them directly to hot soups and stews. If I want to serve them warm on their own, I gently heat them in a saucepan with a splash of water or vegetable broth until warmed through.
❓Recipe FAQs
What happens if I soak chickpeas for too long?
An overnight soak works well, but leaving chickpeas in water for much longer can cause them to ferment or begin sprouting, especially in a warm kitchen. If I know they will soak longer than 8 hours, I place the bowl in the refrigerator to keep them fresh.
Why are my chickpeas still hard after cooking?
This usually happens when the chickpeas are older, or your cooking water contains a lot of minerals. I use fresh dried chickpeas whenever possible, and if I have hard water, I switch to filtered water or vegetable broth. If they are still not tender, I keep simmering and check them every 10-15 minutes until they reach the texture I want.
How should I remove the skins?
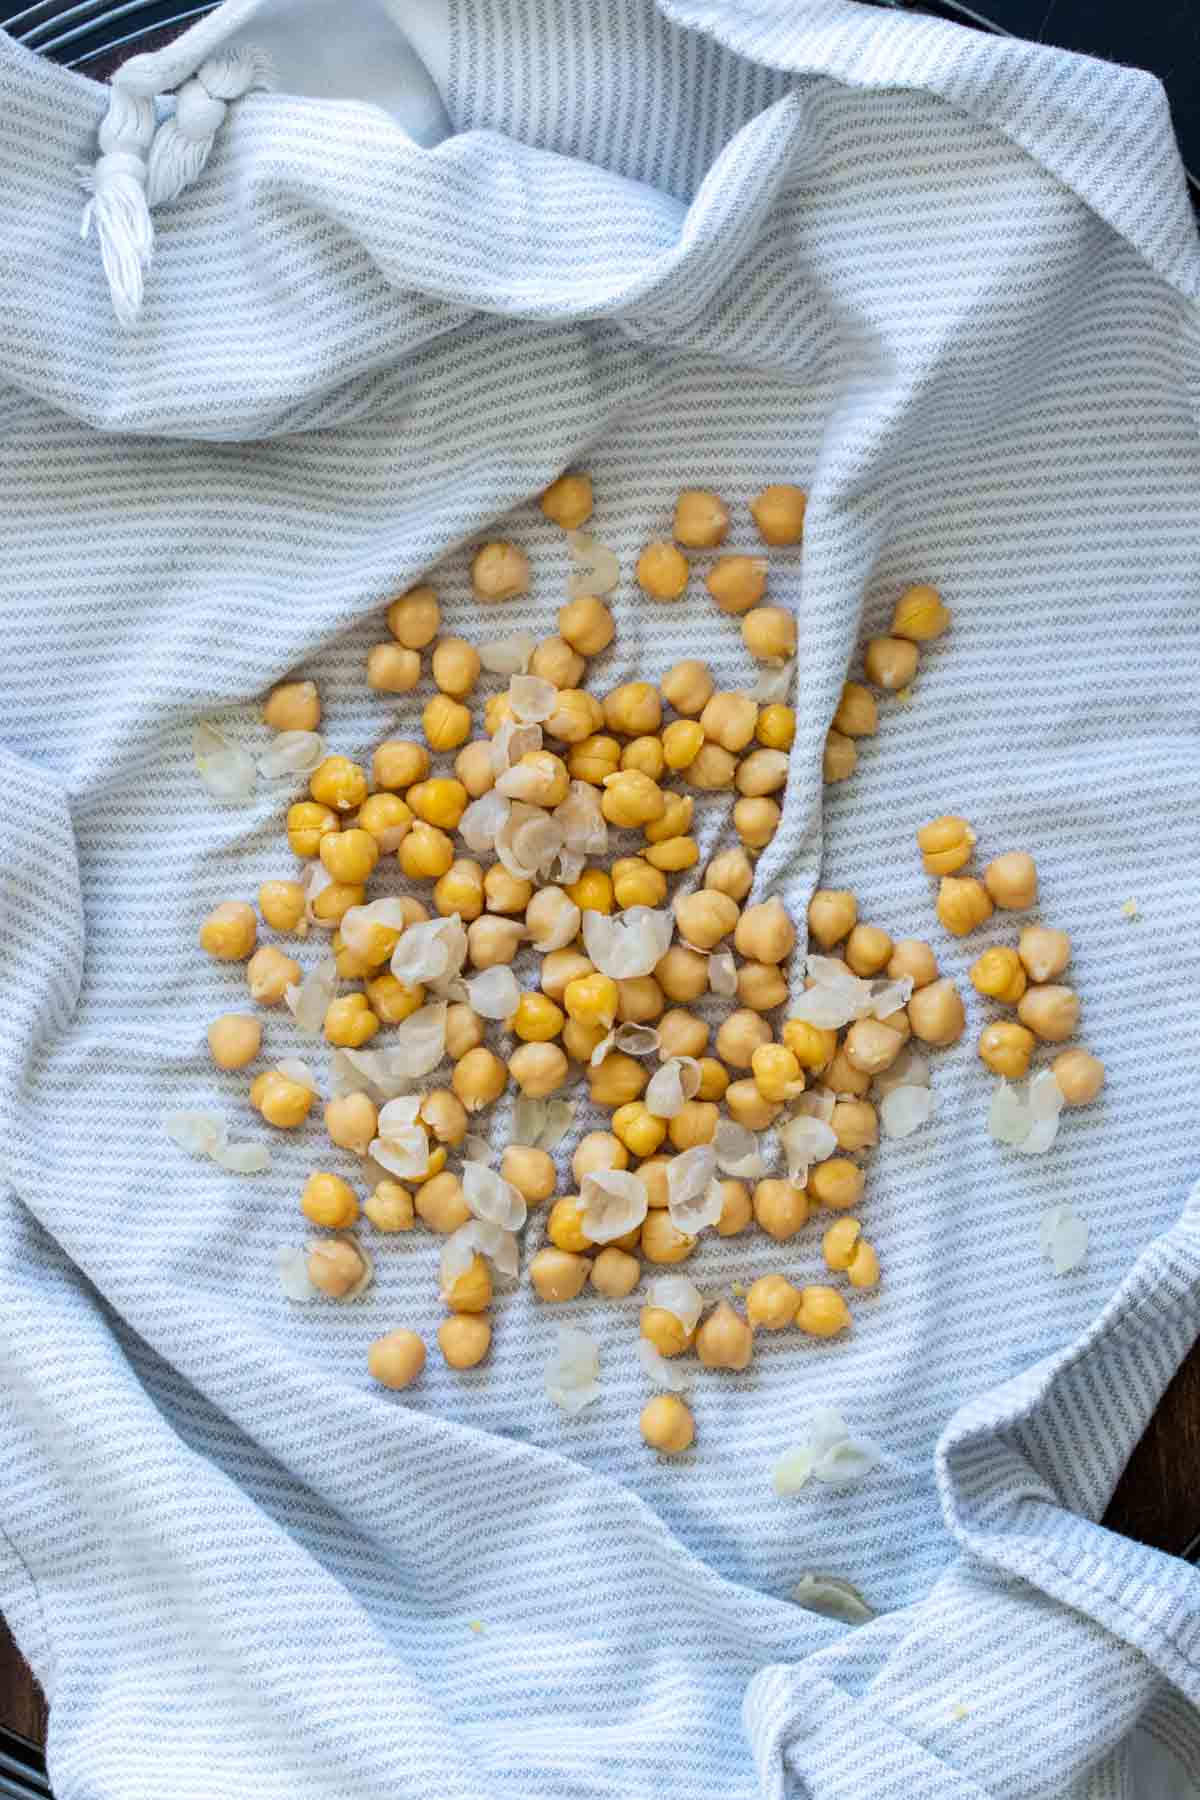
After the chickpeas have cooled slightly, I spread them inside a clean kitchen towel and gently rub them between the folds. Most of the skins loosen and separate, making them easy to discard before using the chickpeas in recipes like hummus.

Love this plant based side dish recipe? Please leave a 5-star rating 🌟 in the recipe below and/or a review in the comment section further down the page!
You can also FOLLOW ME on FACEBOOK, INSTAGRAM, and PINTEREST to see more delicious, healthy, family-friendly food, and if you have any questions, I’m here to help!
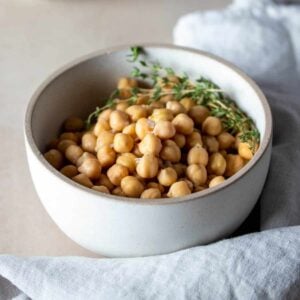
How to Cook Dried Chickpeas
Cooking dried chickpeas from scratch is an essential kitchen skill in my opinion. It is a wholesome ingredient that works in countless meals. And while canned chickpeas are great for convenience, you really cannot beat the texture and flavor of freshly cooked chickpeas. I love how dried chickpeas, water, and a few simple aromatics yield tender, buttery beans that can be used in anything from soups to dips.
Servings: 6
Calories: 121kcal
Ingredients
- 1 cup dried chickpeas (about ½ pound)
- water , or broth if preferred (see method for amount)
You can also add some of the following to add flavor:
- garlic cloves
- bay leaf
- 1/2 onion
- peppers like jalapeños or chipotle
- sea salt
Equipment
- pressure cooker (optional)
- slow cooker (optional)
Instructions
Stove top:
- Soak chickpeas overnight, or for 6-8 hours.
- If using the quick soak method, put chickpeas into a saucepan and cover with 2 inches of water. Bring to a boil and allow to cook for about 5 minutes, then remove from heat and cover. Let stand for one hour!
- Once soaked, put chickpeas in a pot and cover with water, about 3 inches above the beans.
- Bring to a boil, then lower to a simmer and cook for about 30-60 minutes, checking every 15 minutes for desired tenderness.
Pressure cooker:
- For each pound of dried chickpeas use 6 cups of water. If using 1 cup like in this guide, use about 3 cups water.
- Put everything in the pot, making sure the valve is on sealing, then cook on high pressure, manual setting, for 12 minutes if you soaked the beans. Cook for 50 minutes if you have not soaked them.
- Allow the pressure to release naturally for about 10 minutes when done. Then you can move the valve to venting and wait for the pressure to fully release.
Slow cooker:
- For each pound of dried chickpeas use 7 cups of water. If using 1 cup like in this guide, use about 3 ½ cups water.
- Put the beans and water (and any added flavorings) into the slow cooker and cook on high for about 3-4 hours or on low for 7-8 hours.
Notes
- My #1 Secret Tip for this guide on how to cook dried chickpeas is to cook the chickpeas only until they match the recipe you plan to make. I simmer them for about 30 minutes when I want firmer chickpeas for salads or grain bowls, and let them cook closer to 60 minutes for silky hummus or creamy soups. That simple adjustment makes a huge difference in the final texture.
- Use fresh beans: I always check the age of my dried chickpeas before cooking. Older beans can take much longer to soften and may never become as creamy as fresher ones.
- Cover well: I make sure the chickpeas stay covered with about 3 inches of water while they cook. If the water level drops too much, I add more hot water so they continue cooking gently.
- Season smart: Adding simple ingredients like garlic, onion, bay leaf, or pepper infuses the beans without overpowering their natural taste.
- Check early: Every batch cooks a little differently, so I start testing and checking the chickpeas every 15 minutes to avoid overcooking them.
- Save cooking liquid: Before I drain the chickpeas, I reserve some of the cooking liquid. It works well for thinning hummus or adding extra flavor to soups and stews.
Nutrition
Calories: 121kcal | Carbohydrates: 20g | Protein: 6g | Fat: 2g | Saturated Fat: 1g | Sodium: 8mg | Potassium: 292mg | Fiber: 6g | Sugar: 4g | Vitamin A: 22IU | Vitamin C: 1mg | Calcium: 35mg | Iron: 2mg



















My husband & I go crazy when it comes to chickpeas! He found your recipe for dry chickpeas & thought it would actually benefit us by buying dry beans then cook it once a week. We tried the recipe & I put in the onions. Well this morning he woke up to freshly cooked scrambled chickpeas. We both are very pleased with the simple recipe. I’ll put the rest of them in the fridge after I make some chickpea salad. Now he wants me to get some dry black beans & cook them. Thanks!!
So happy you liked this!! And your husband is pleased as well. I have a great black bean recipe from dry beans here: https://www.veggiesdontbite.com/how-to-make-black-beans/
I was wondering if you can roast dried soaked chickpeas? I really only see recipes using canned but I have a large amount of dried.
Hi Terren! Yes, you definitely can! Soak them for about 24 hours until expanded about double the size. Then follow the directions in the recipe portion of this post. It has crispy chickpeas as the last idea! https://www.veggiesdontbite.com/easy-plant-based-vegan-school-lunch-ideas/#recipe
Can’t help noticing in the first picture that you spilled a bunch of chick peas.
I did Bob! I’m a mess! But that just means I had a little something I could snack on while I photographed 😉
Hello,
I’m soaking a bunch of dried chickpeas overnight. I see you mention the pressure cooker, which is what I’m going to use. My question is, are you talking about an insta pot or the old fashioned pressure cooker? I have the old fashioned pressure cooker, also how much liquid do you add to the pressure cooker when cooking the beans? Would about a cup of water be enough?
Hi Sharon! I use an Instant Pot and haven’t used another type of pressure cooker but I assumer they are the same! In the directions, I say to use 6 cups water for every pound of chickpeas. So I would stick to that!
This is very helpful and I can’t wait to try a few of your recipes.
Thanks!
Awe thanks Kerry!!
Awesome!
Thanks so much AG!
Hi Sophia, many thanks for all your great recipes, My family has loved every recipe I have tried from veggiesdontbite. I have a question about the water left over from cooking chickpeas. I have heard it is also known als aquafab and is kind of used in vegan kitchen as egg white. Have you ever used the cooking water from chickpeas? Do you have any recipe’s which use aquafab? Thanks again for all your hard work, best regards, nick.k
Hi Nick!! Thank you so much for the awesome comment! I am thrilled you love my recipes! Yes, the chickpea brine is called Aquafaba. However, when you cook dried chickpeas at home, the leftover water needs to be greatly reduced before it can exhibit any of the properties you hear about. I have used it many times, but always from a can of chickpeas. I do have some recipes with it, however I find I don’t really need it in baking and such. But I do have a mashed chickpea sandwich that uses it to make a mayo like sauce to mix with the mashed chickpeas: https://www.veggiesdontbite.com/low-fat-creamy-mashed-chickpea-and-veggie-sandwich/
I also have this recipe that uses it but I will be adjusting the recipe in the coming months to make it simpler and easier and won’t be using the Aquafaba in it since as I said, I don’t feel it is needed in the way I do my baking anymore! https://www.veggiesdontbite.com/peanut-butter-vegan-gluten-free-carrot-cake/
Lastly, if you are oil free, Aquafaba can be used to get a crisp like coating on things. I give it as an option in my spanakopita and my baklava recipes for an oil sub when brushing the filo although it isn’t as crispy or tasty. Ha!
You can use the liquid leftover from cooking the dried beans in your next soup broth!
Great way to use it up!
I’ve always just used canned! I’m so glad you posted this.
Cooking them now!!
Oooh! Let me know how they turn out!