Homemade Tagliatelle with a Fresh Tomato Olive Sauce
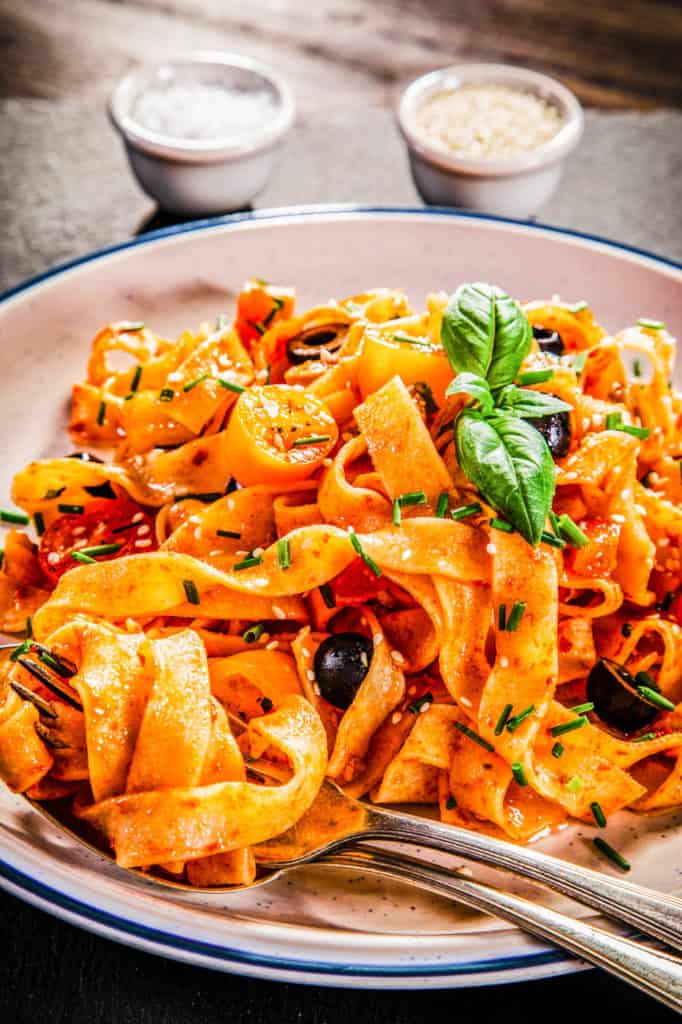
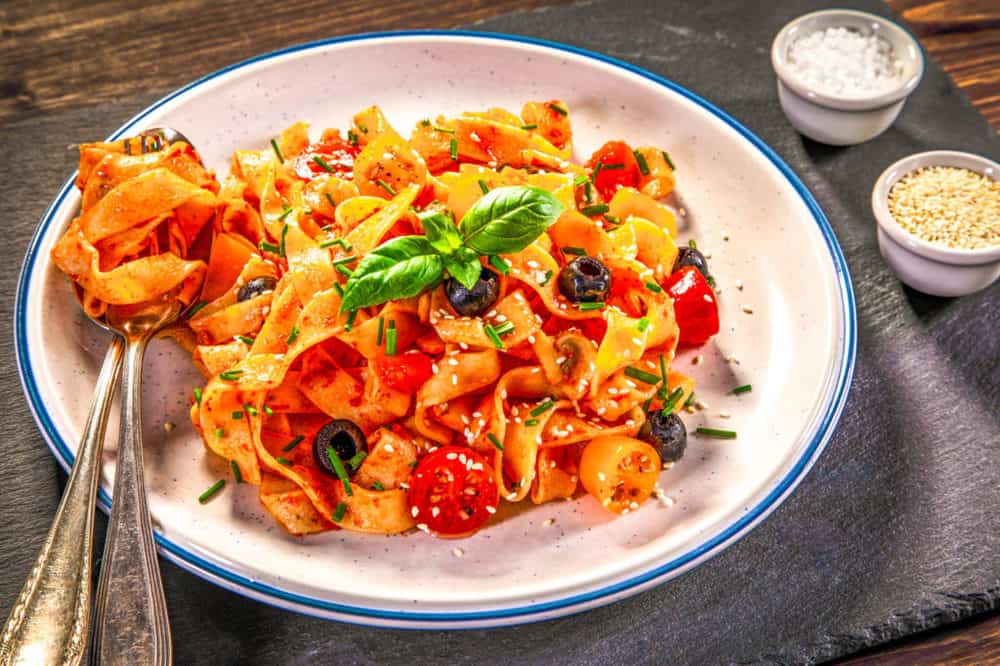
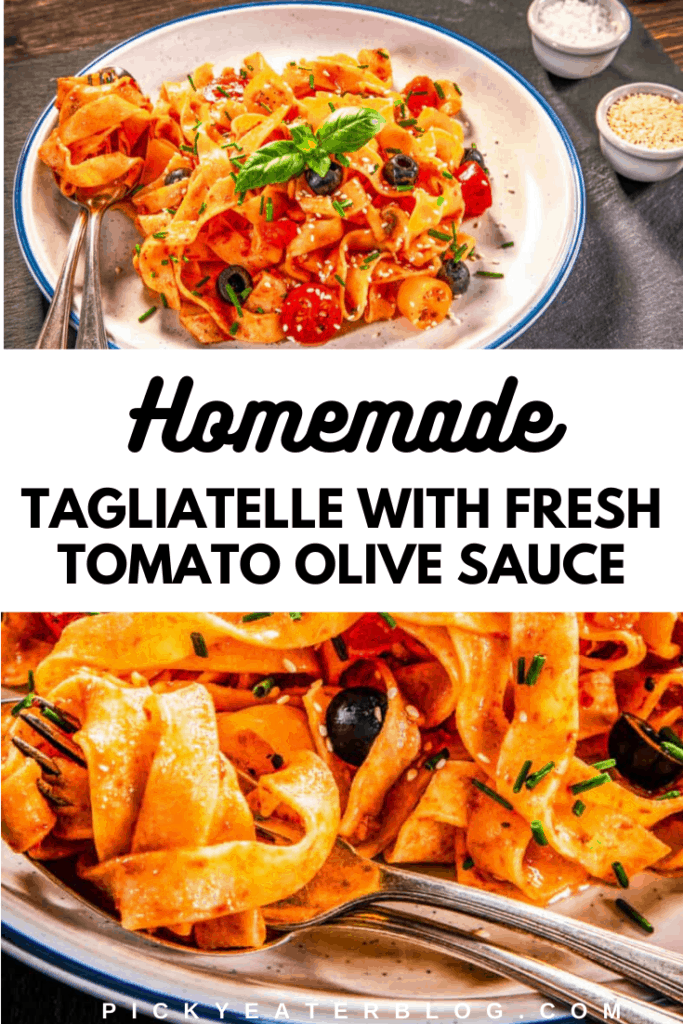
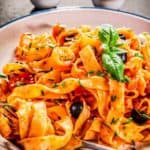
This post may contain affiliate links. As an Amazon Associate, I earn from qualifying purchases. Please read my disclosure.There’s nothing quite like fresh pasta, and this homemade tagliatelle recipe walks you through step by step on how to make pasta at home without a machine. Finished with a fresh tomato olive sauce, its an authentic Italian dish!
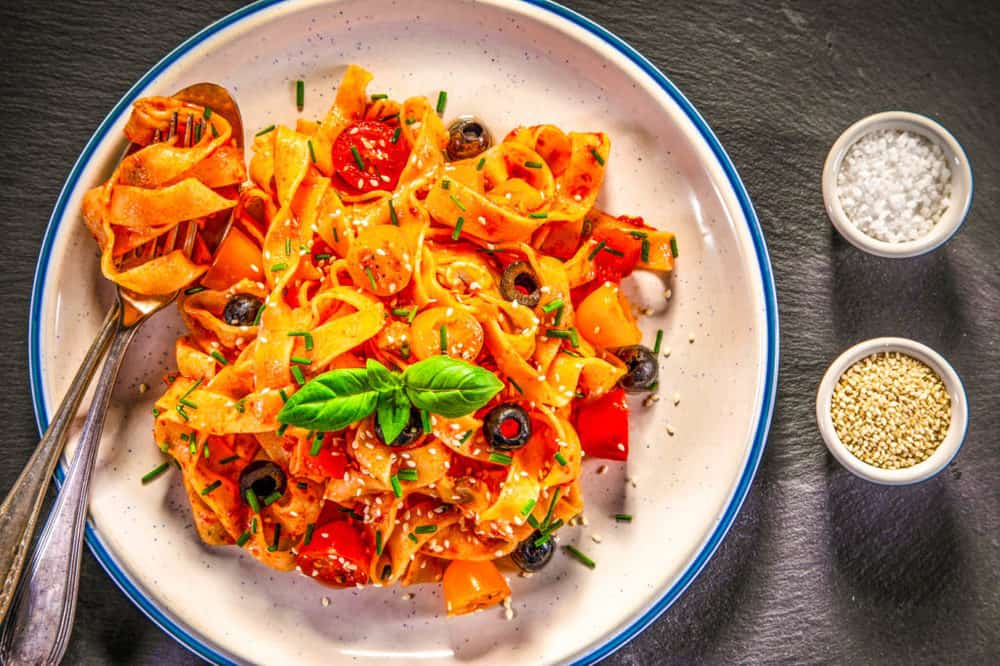
Before my daughter was born, my husband and I had an amazing babymoon in Italy. One of the highlights of our trip was a day-long cooking class we took through Convivio Rome – run by a husband and wife team, Sally and Guido, in a tiny medieval town named Toffia.
We literally spent the entire day with them – from 10am-5:30pm and enjoyed every minute of it! And as a result, I came away with three delicious, authentic, healthy Italian recipes to share with all of you 🙂
Before I start with the recipe, I have to tell you a little bit about our cooking class experience. We took about a 45 minute train ride from Rome to a small town near Toffia, where Sally was there to greet us with a warm smile and enthusiastic welcome. On the drive to her and Guido’s house, we learned a bit about the history of these medieval towns and what our day would be like. Toffia is a quaint, rustic, cozy little town that makes you feel like you are far away from the bustling city of Rome. It has gorgeous views with groves of fresh olive trees everywhere – and we couldn’t resist taking a few pictures.

We arrived in Toffia and took a little walking tour through the town, picked fresh herbs from a nearby garden to use in our cooking (I nearly died when I smelled the fresh lemon verbena), and headed to meet Guido – our chef instructor for the day.
Tools and Equipment You’ll Need
Our class started with making the homemade tagliatelle from scratch – using nothing but our hands and an enormous wooden cutting board.
How to make Homemade Tagliatelle – Step by Step
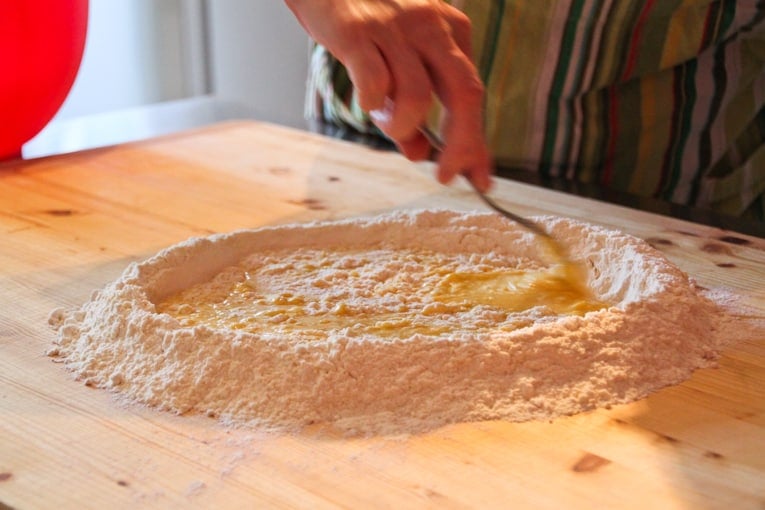
Step 1: On a clean, wooden cutting board, create a well in the middle of the flour and break the eggs into the center. Carefully mix the eggs with a fork as if you were making an omelette, bringing a little bit of flour each time you mix into the eggs. The key here is not to break the outside of the “well” before the eggs are completely mixed into the flour, otherwise you’ll have eggs running all over your cutting board (not fun!).
Step 2: Once the eggs and flour begin to mix (so there are no runny eggs left), start working the dough with your hands until the mixture is smooth but firm. Kneading the dough takes a bit of time! At first the dough isn’t completely mixed together and is a bit rougher to the touch.
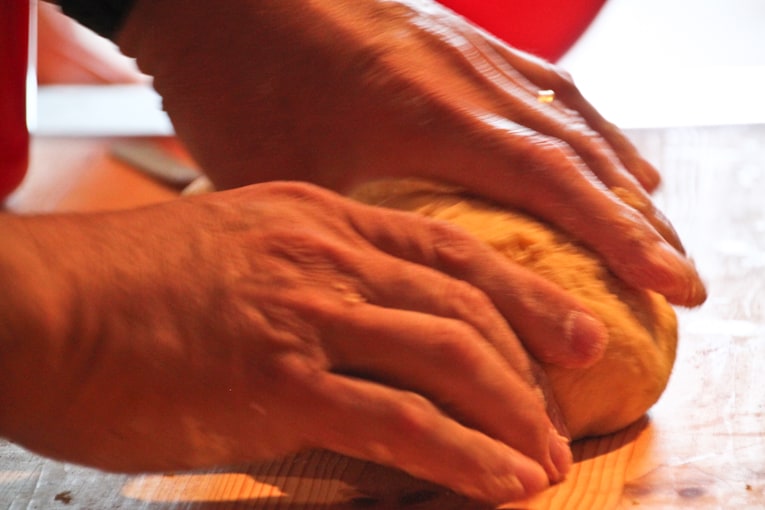
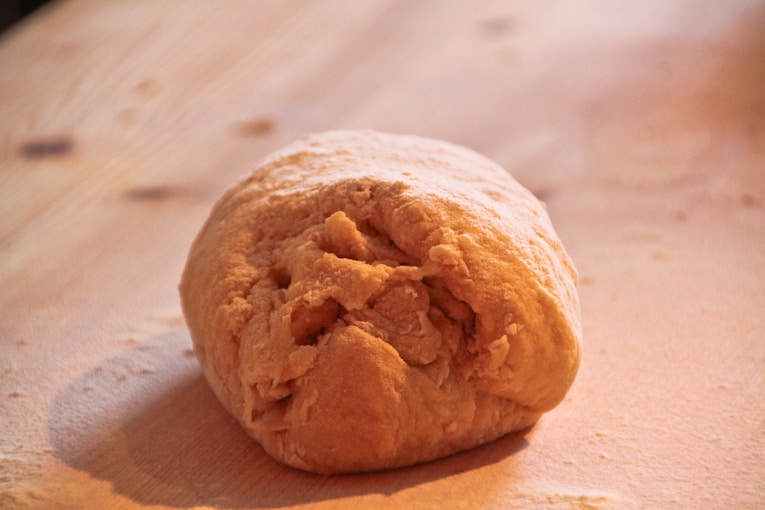
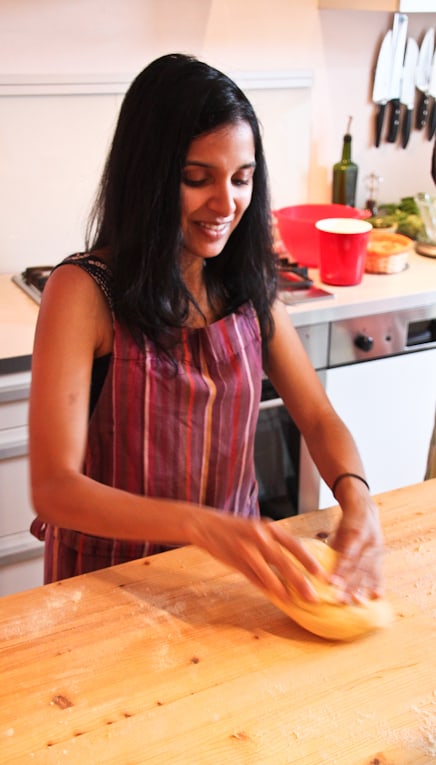
We all took turns kneading the dough because it was tiring 🙂 My turn next!
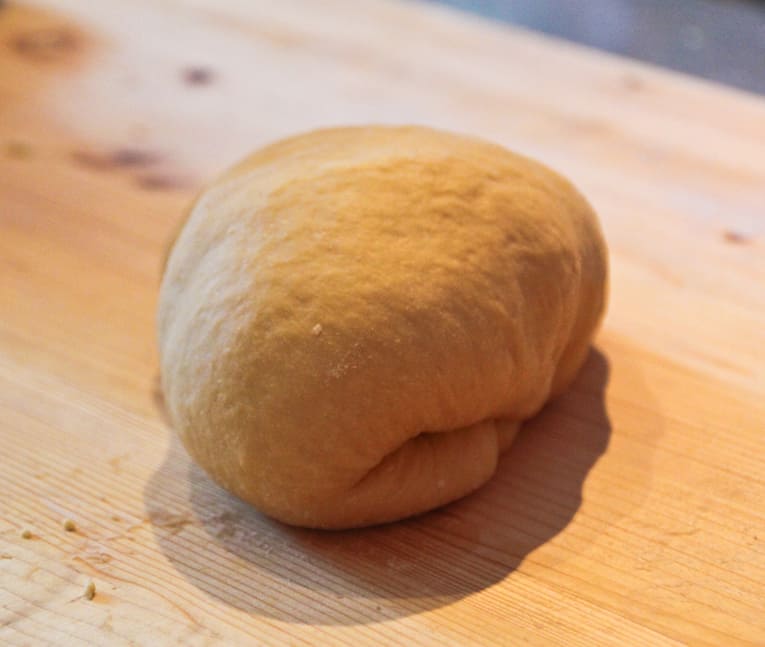
Finally when the dough is ready, it becomes super soft and a little shiny too.
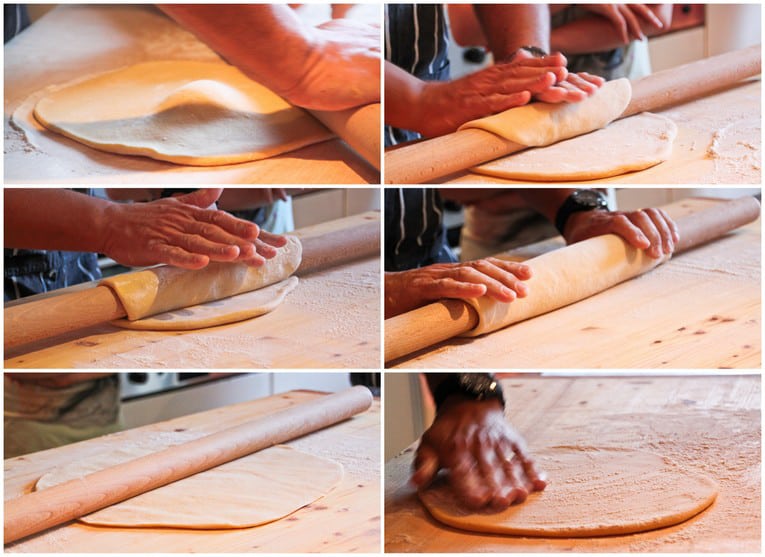
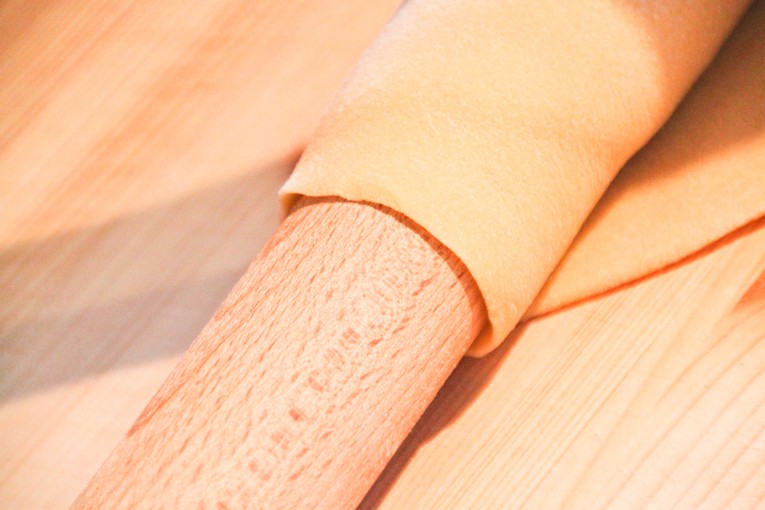
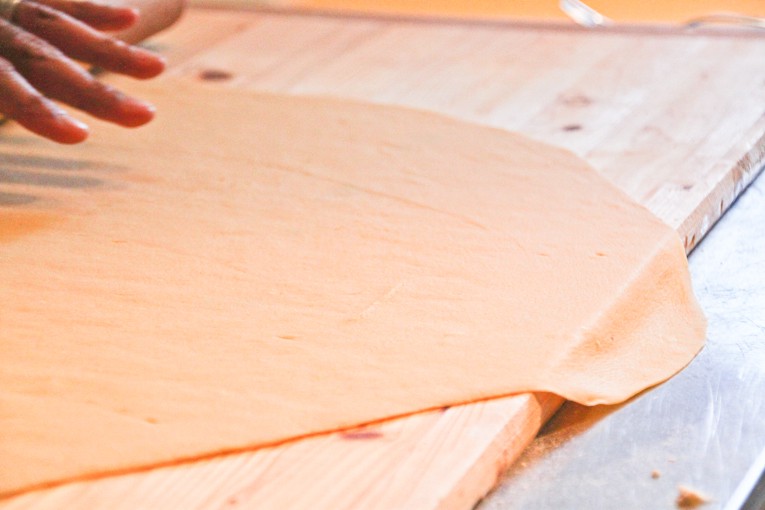
Step 3: Let dough rest for 20-30 minutes. After 30 minutes, roll out the dough with a rolling pin until extremely thin (you should be able to see the dark part of the cutting board faintly through the dough) and as circular as possible. Keep dusting with flour as you roll it out. This rolling out process also takes quite a bit of time. First, we rolled out the edges of the ball of dough – making it look a little like a flying saucer (see the first picture in the sequence below). . Guido taught us a trick of rolling the dough around the rolling pin and spreading it out with our hands — helped to make the dough stay rolled out instead of springing back.
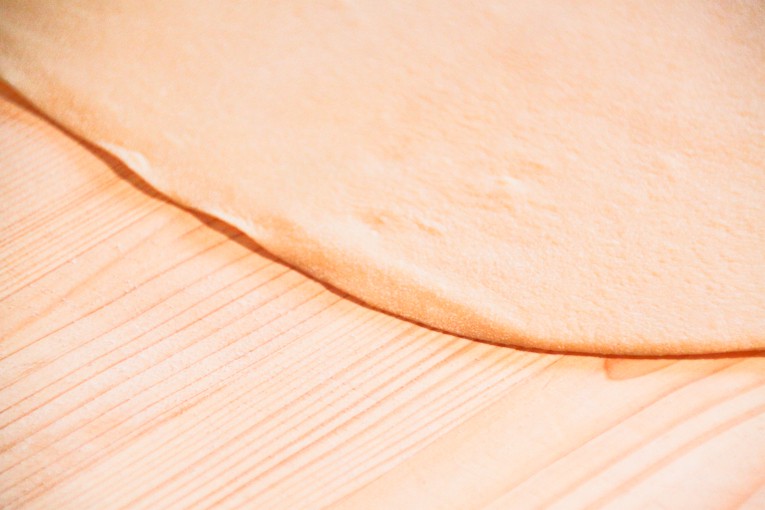
The dough kept growing and growing in size, getting thinner and thinner, as we rolled it out. Eventually it was almost paper thin! We really could see the cutting board through the dough.
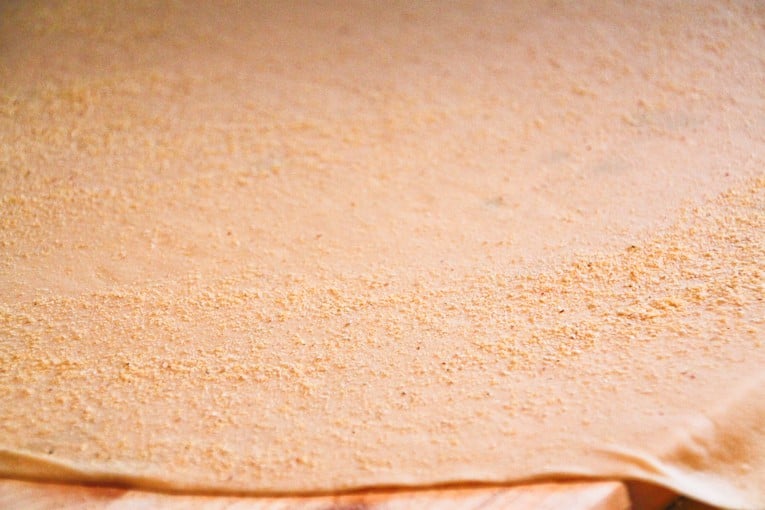
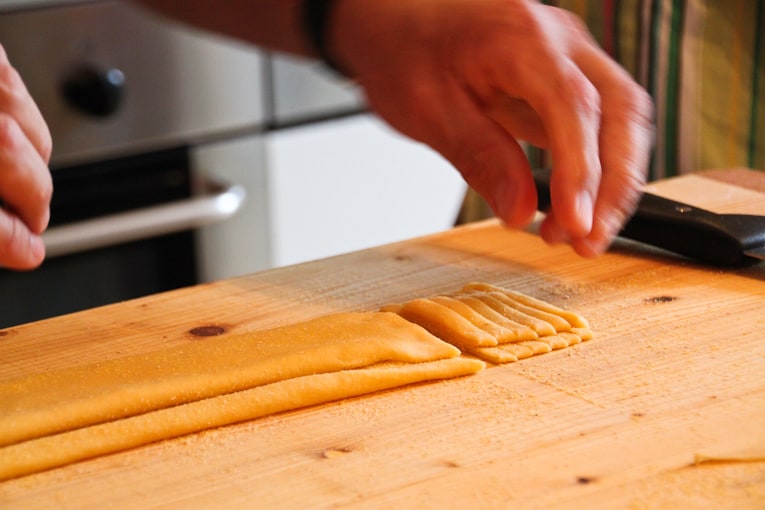
Step 4: When it’s thin enough, sprinkle cornmeal on the cutting board and the dough (to help prevent it from sticking). Fold up the dough into a flat “burrito” before you begin slicing it with a sharp knife.
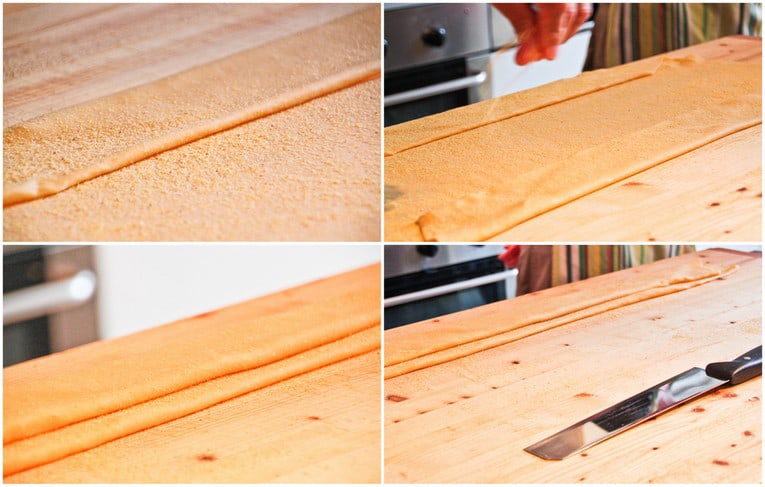
Step 5: Now the dough is ready to cut! Slice the dough with a sharp knife into 1/4 inch thick (or slightly less thick) slices.
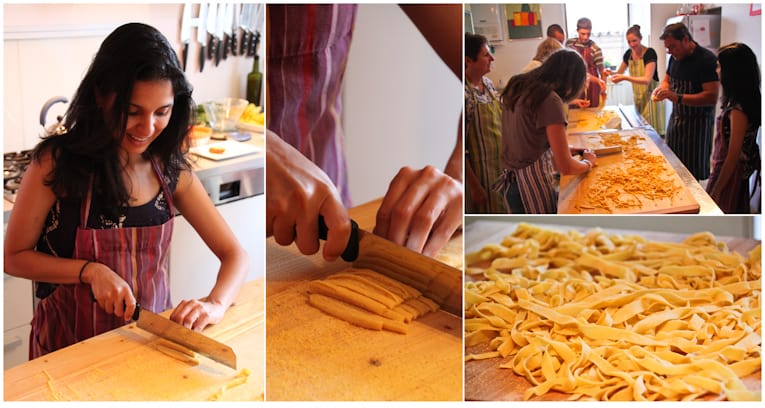
Step 6: As you cut the fettuccine, be sure to ruffle it up with your hands a bit and add cornmeal as needed to keep it light and to prevent sticking (as it sits).
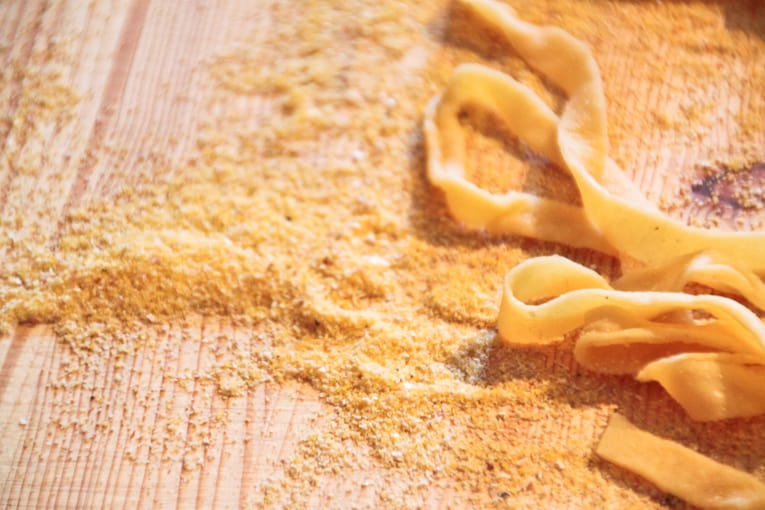
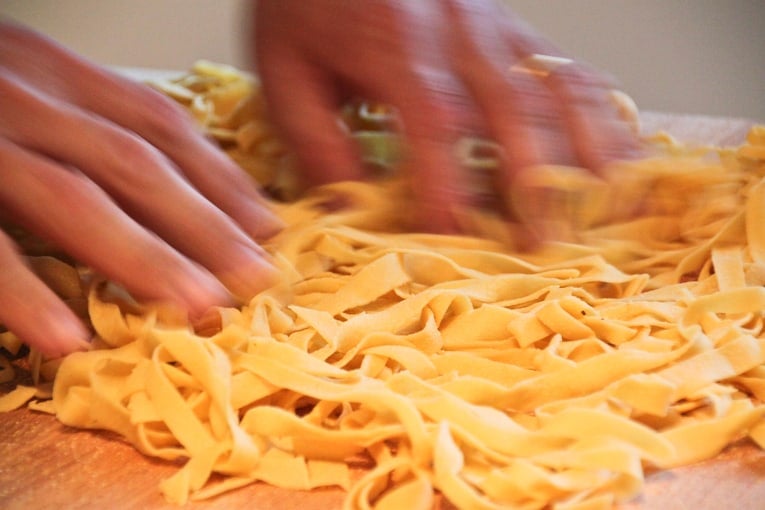

Step 7: Cook in salty, boiling water for just 3-4 minutes until al dente.
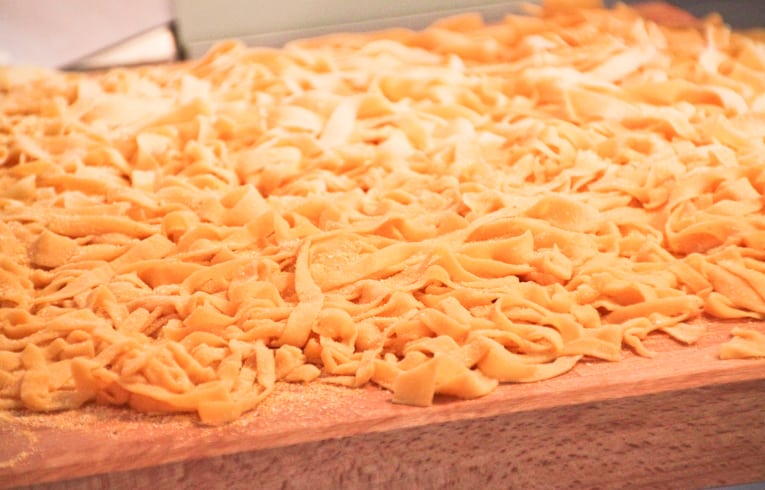
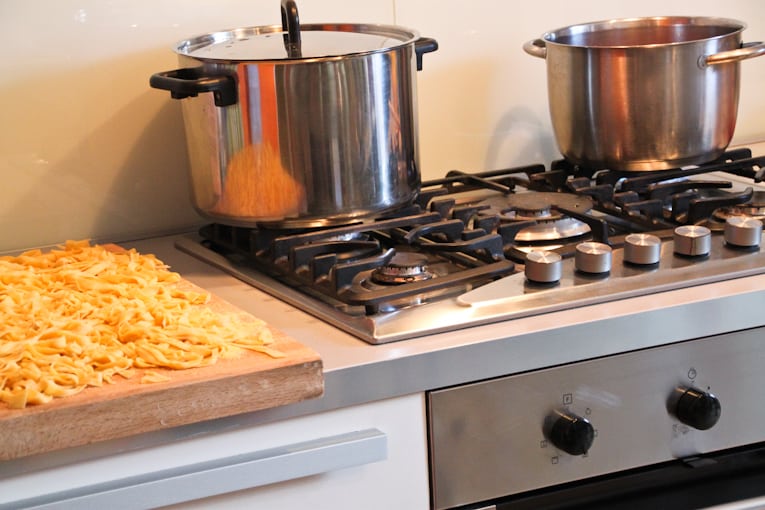
Before we actually cooked the pasta, we started on the sauce.
How to make Fresh Tomato Olive Sauce – Step by Step
Step 1: Finely mince all the vegetables and the garlic. This is called “sofrito” in Italy.
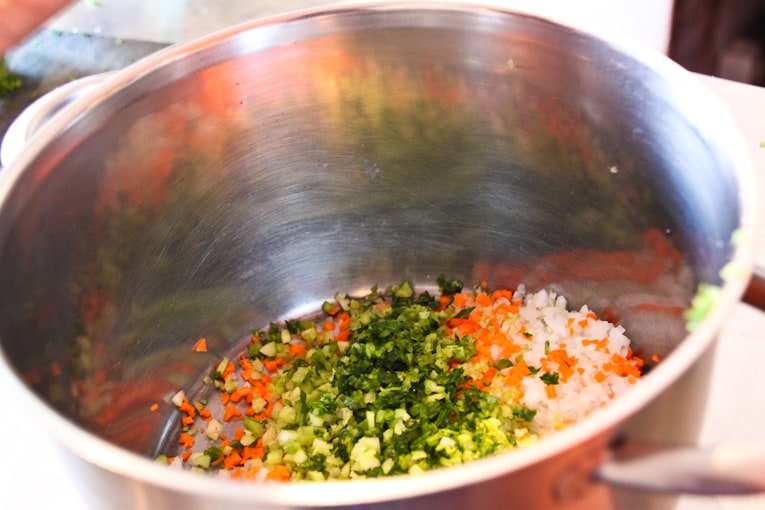
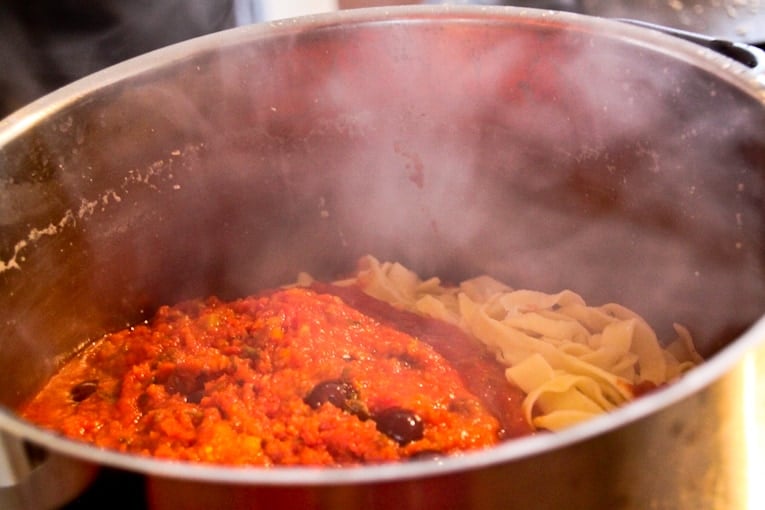
Step 2: Fry the veggies in 1 Tbsp olive oil over medium heat. Add a little white wine to reduce, then add the tomato sauce (passata), whole olives, marjoram/oregano and salt.
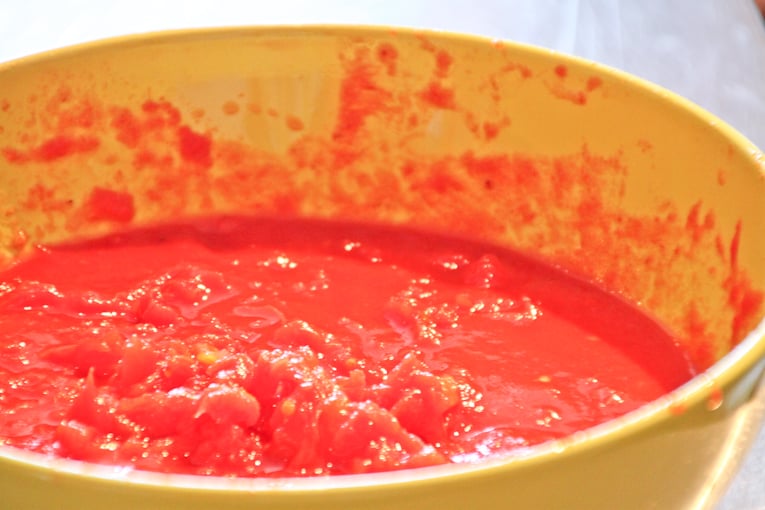

Step 3: Simmer the sauce for 40 minutes. When the sauce is about 5 minutes from being done, cook your pasta. Drain your pasta (don’t rinse it!) and mix the sauce with the pasta.

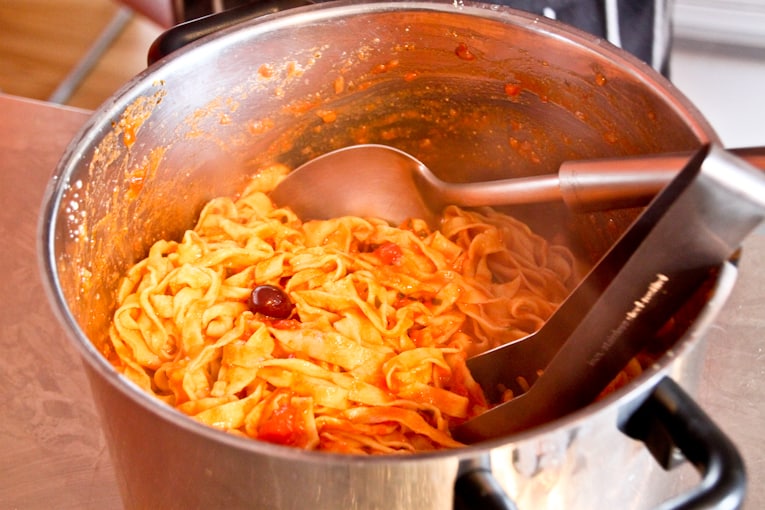
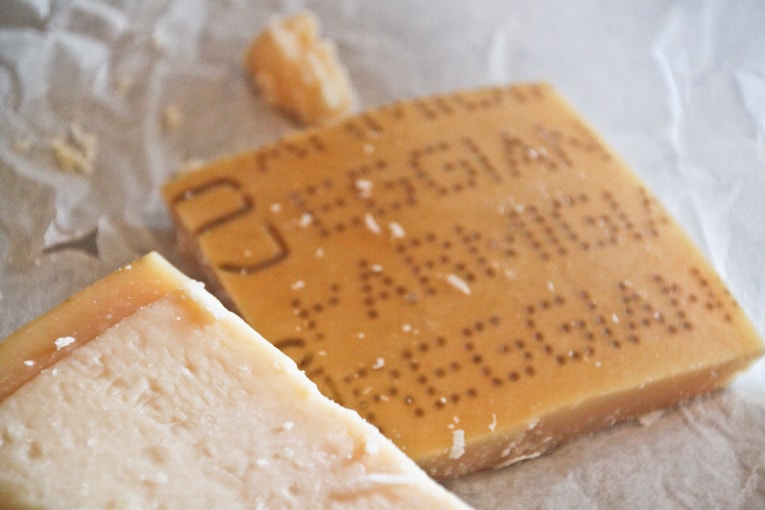
Step 4: Top with freshly grated parmesan cheese.
Needless to say, we had worked up quite an appetite when we got around to eating!
What makes Homemade tagliatelle healthy?
- Natural and Fresh Ingredients: When food is cooked from scratch using natural and fresh ingredients that are unprocessed, your end result is a healthier option than a store or restaurant bought meal.
- Low in Calorie: Using fresh unprocessed ingredients equates to lower calories that restaurant style pasta dishes. This homemade tagliatelle dish comes in at around 200 calories a serving.
- No Sugar Added: Many store bought pastas and sauces have added sugar, but this dish uses just a pinch of salt and Italian spices.
- Prepared “al dente”: Al dente pasta is lower glycemic – which means that it doesn’t give you that blood sugar spike and crash that typical carbs do.
Will kids enjoy Homemade Tagliatelle?
My kids love pasta, and I’m sure yours do too! They will be blown away by the freshness and flavor of this homemade pasta. If your kids aren’t big fans of olives, you can simply leave them out of their serving. Extra olives for you!
What is tagliatelle pasta?
Tagliatelle is from the Emilia Romagna region of Italy. It is long and flat in shape and looks similar to fettuccine. It’s made by mixing flour with egg to create a dough. It’s often stored in little mounds or nests. You can serve it with a variety of sauces from rich and creamy, to a bolognese, or this fresh tomato and olive sauce!
How thick should tagliatelle be?
Tagliatelle should be rolled out to a thickness of about 1/8 of an inch or 3mm. See pictures above. It should be rather thin and you should be able to see through it.
What do you serve with homemade tagliatelle?
When we took our cooking class we prepared a few other authentic Italian dishes that we enjoyed with this pasta.
Top Tips for Making Homemade Tagliatelle
- You can use this pasta recipe as a base for just about any additional ingredients – veggies, cheeses, etc. But sometimes it’s just fun to eat the simple original version.
- Cook the pasta al dente – it’s better for you and no one likes mushy pasta!
- Be sure to let the dough rest before rolling it out.
- If you have kids, get them involved in making the pasta! It can be a really fun activity for the whole family to do together!
Check out these other delicious Italian recipes!
- Pasta with Sun-Dried Tomato Pesto and Feta
- High Protein Pasta Salad with Olives and Herbs
- Spaghetti Squash Casserole
- Red Lentil Pasta Recipe
- Gluten-Free Pasta Primavera
If you have tried this Homemade Tagliatelle with a Fresh Tomato Olive Sauce, or any other recipe on my blog, then please rate it and let me know how it turned out in the comments below! You can also FOLLOW ME on FACEBOOK, TWITTER, INSTAGRAM and PINTEREST to see more delicious, healthy, family friendly food!
Homemade Tagliatelle with a Fresh Tomato Olive Sauce
Ingredients
Pasta:
Sauce:
- 100 g 0.4 cups – a little more than 1/3 cup of whole, unpitted black olives (get a smaller variety as they will remain whole in the sauce)
- 1 carrot minced
- 1 small onion minced
- 2 sticks celery minced
- fresh marjoram or oregano a couple sprigs
- 1 Tbsp extra virgin olive oil
- 1 bottle of tomato passata you can also use 28oz crushed tomatoes and run them through a seive
- salt to taste
- garlic – at least 1 clove up to 3-4 cloves if you really love garlicky sauces
- 1 cup freshly grated parmesan cheese to top the pasta
Instructions
Pasta:
- On a clean, wooden cutting board, create a well in the middle of the flour and break the eggs into the center. Carefully mix the eggs with a fork as if you were making an omelette, bringing a little bit of flour each time you mix into the eggs. The key here is not to break the outside of the “well” before the eggs are completely mixed into the flour, otherwise you’ll have eggs running all over your cutting board (not fun!).
- Once the eggs and flour begin to mix (so there are no runny eggs left), start working the dough with your hands until the mixture is smooth but firm. Kneading the dough takes a bit of time! Finally when the dough is ready, it becomes super soft and a little shiny too.
- Let dough rest for 20-30 minutes. After 30 minutes, roll out the dough with a rolling pin until extremely thin (you should be able to see the dark part of the cutting board faintly through the dough) and as circular as possible. Keep dusting with flour as you roll it out.
- When it’s thin enough, sprinkle cornmeal on the cutting board and the dough (to help prevent it from sticking). Fold up the dough into a flat “burrito” before you begin slicing it with a sharp knife.
- Slice the dough with a sharp knife into 1/4 inch thick (or slightly less thick) slices.
- As you cut the fettuccine, be sure to ruffle it up with your hands a bit and add cornmeal as needed to keep it light and to prevent sticking (as it sits)
- Cook in salty, boiling water for just 3-4 minutes until al dente. Note: Wait to cook the pasta until the sauce is done.
Sauce:
- Finely mince all the vegetables and the garlic.
- Fry the veggies in 1 Tbsp olive oil over medium heat. Add a little white wine to reduce, then add the tomato sauce (passata), whole olives, marjoram/oregano and salt.
- Simmer the sauce for 40 minutes. When the sauce is about 5 minutes from being done, cook your pasta. Drain your pasta (don’t rinse it!) and mix the sauce with the pasta.
- Top with freshly grated parmesan cheese
Notes
- You can use this pasta recipe as a base for just about any additional ingredients – veggies, cheeses, etc. But sometimes it’s just fun to eat the simple original version.
- Cook the pasta al dente – it’s better for you and no one likes mushy pasta!
- Be sure to let the dough rest before rolling it out.
- If you have kids, get them involved in making the pasta! It can be a really fun activity for the whole family to do together!
















It looks like my Nonna used to make!
Yay! So happy to hear that!
I would love to try that! It looks really good!
Thanks Toni! You will love this recipe!
I haven’t had homemade pasta in a LOOOONGGG time! This has me craving it like crazy! The tomatoes and olives look amazing. So yummy!
Yay! I can’t wait for you to try this recipe Dolly!
Homemade and freshly handmade pasta is just so much better in so many levels and that tasty sauce makes this the best comfort food!
Thank you so much Abigail! I agree – freshly handmade pasta is the best!
This pasta dish looks like it has everything I love. Fresh homemade noodles and a delightful sauce. I haven’t made this pasta before but you make it look so “doable”. I’m going to give it a try.
Yes!! It really is quite doable – it takes a bit of time but is so worth it! I hope you have fun making pasta from scratch at home!
This pasta was so much easier to make than I thought! The instructions were thorough and definitely one I will be using again
Yay! I’m so happy to hear that Emily!
Hi Anjali,
I hope you are doing well. I just wanted to let you know that as your account and photos of your 1 Day cooking class with us are so spectacular, we would like to place an excerpt from your blog onto our ‘Press’ page on our Convivio Rome Italian Cooking Holidays site. Of course we will acknowledge you and your site and our thanks for your wonderful account. I hope this is all OK with you.
All the best to you and your husband,
from Sally and Guido
Convivio Rome Italian Cooking Holidays
Hi Sally!
That sounds great! It’s totally ok with me 🙂 I’m so glad you liked my post and photos! We are doing well — our daughter was born on January 12th so we are now adjusting to newborn parent life! Hope you and Guido are doing great too!
Hi Anjali,
Congratulations on the birth of your baby girl, I hope all is going well for all three of you 🙂 Yes it is certainly a big adjustment and the best thing is when she begins to sleep through the whole night!
Guido has uploaded your post and a couple of photos onto our Press page and you can see it (just scroll down) on .
Thanks again for such a great account of your day with us. Good luck with everything and hope to see all three of you back some day, soon. All the best, Sally, Guido and Gemma
Thanks Sally!! And yes — we are definitely looking forward to a night of uninterrupted sleep hopefully sometime soon! I took a look at your press page and it looks great! Thanks again 🙂
I’ve always thought about making my own pasta, but I’ve never done it. Your trip sounds like it was fabulous and this dish looks yummy!
You should definitely try it! It’s time intensive for sure, but is really fun to do once in a while 🙂 If you end up trying it out let me know!
Love this post and the detailed steps for making the pasta! You truly made most of your holiday in Rome and I can’t wait for you to share the rest of the recipes you learnt from your trip.
Aw thank you so much Swathi! 🙂 This recipe is certainly time intensive but was super fun to make with a group (it also goes by faster that way!) More recipes coming soon!