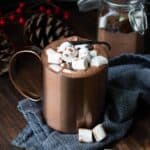
Vegan Homemade Chocolate Milk
This post may contain affiliate links. As an Amazon Associate, I earn from qualifying purchases. Please read my disclosure.My kids absolutely love this rich Vegan Homemade Chocolate Milk made with creamy dairy free milk and my simple homemade chocolate syrup. It comes together in minutes and is the perfect healthy drink for my little chocolate lovers.
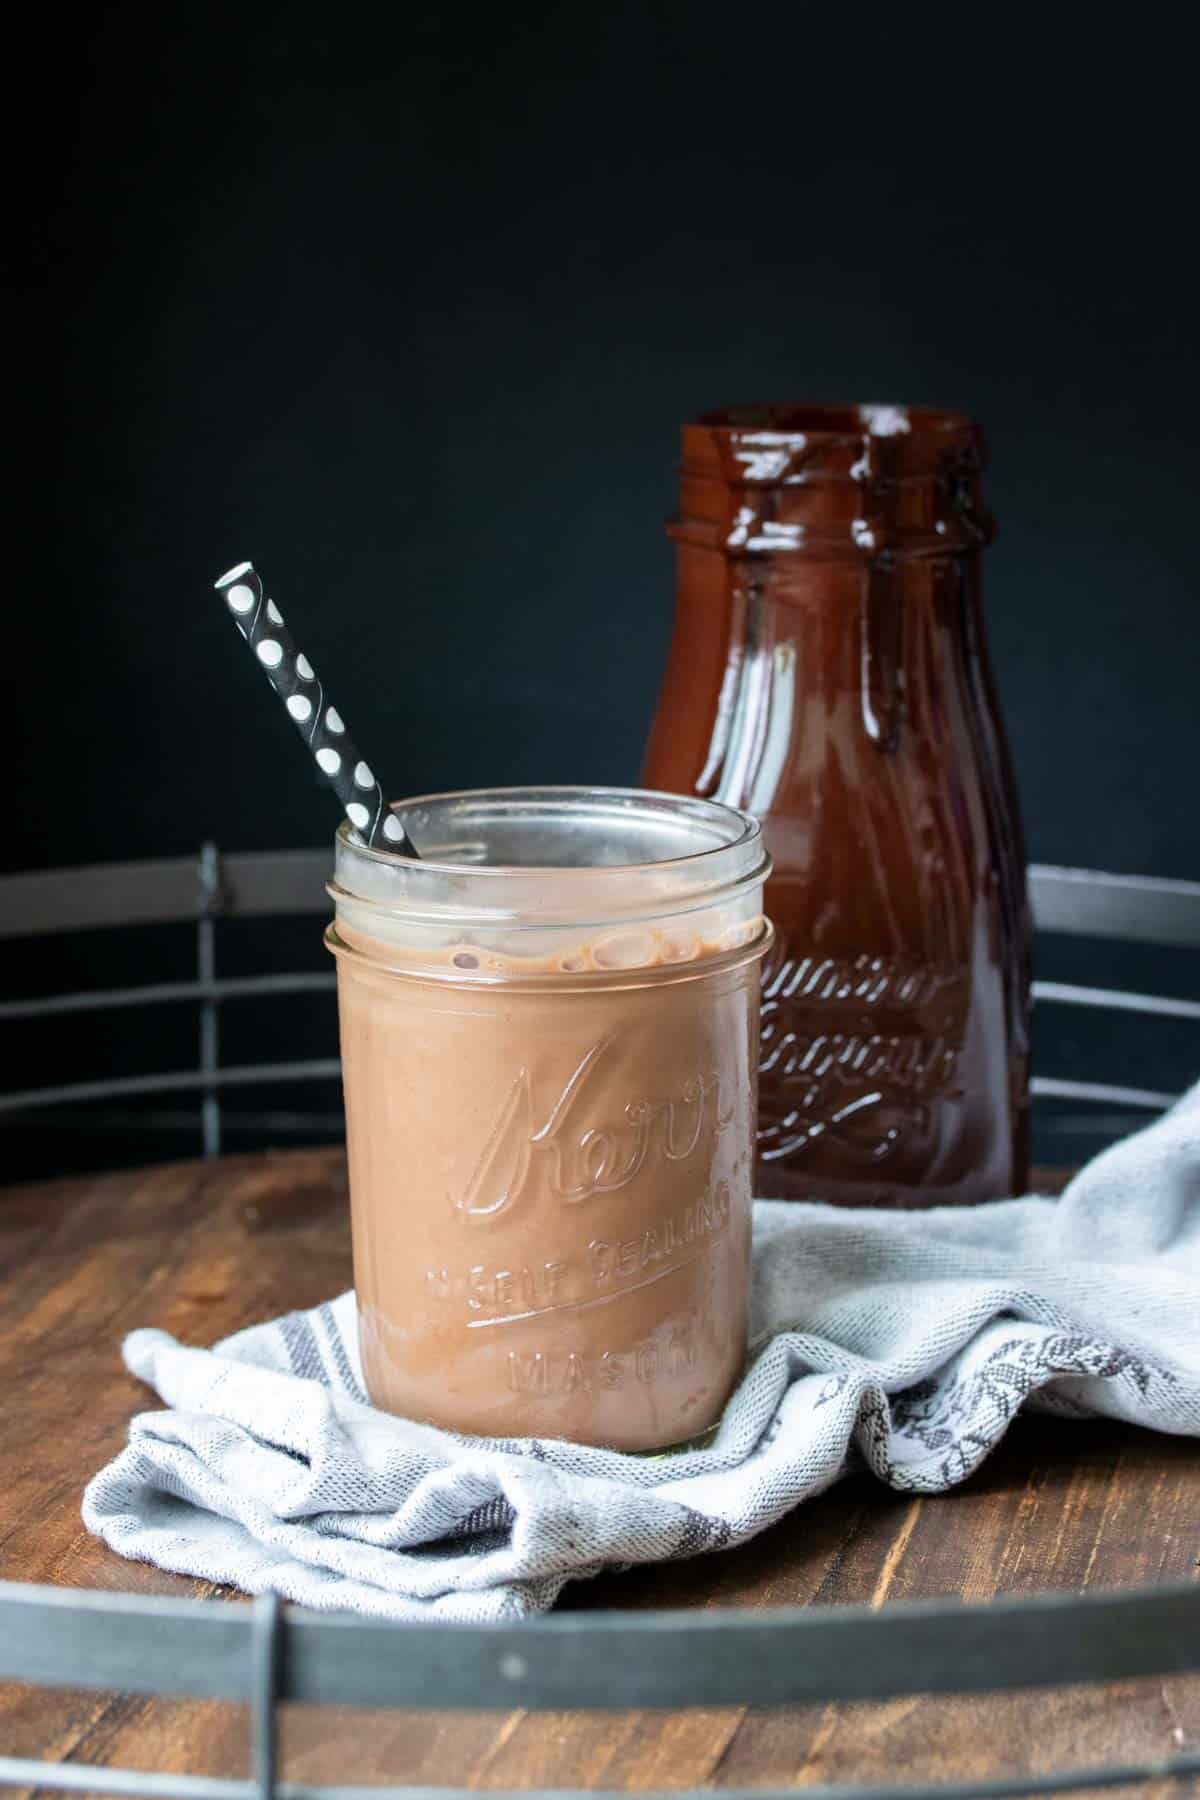
This 2-ingredient dairy-free chocolate milk has become an instant favorite with my boys ever since I stopped buying those chocolate milk cartons for their packed lunches. It’s so quick to make and full of chocolate flavor, just like this healthy hot chocolate, perfect for those chilly nights.
I always have homemade chocolate syrup on hand, ready to pour into cake batter, plant-based milk, or a creamy chocolate strawberry smoothie for a quick and easy treat. Even my kids’ friends ask for chocolate milk when they come over for playdates, knowing it’s dairy-friendly.
👩🏽🍳 Why I Love This Recipe
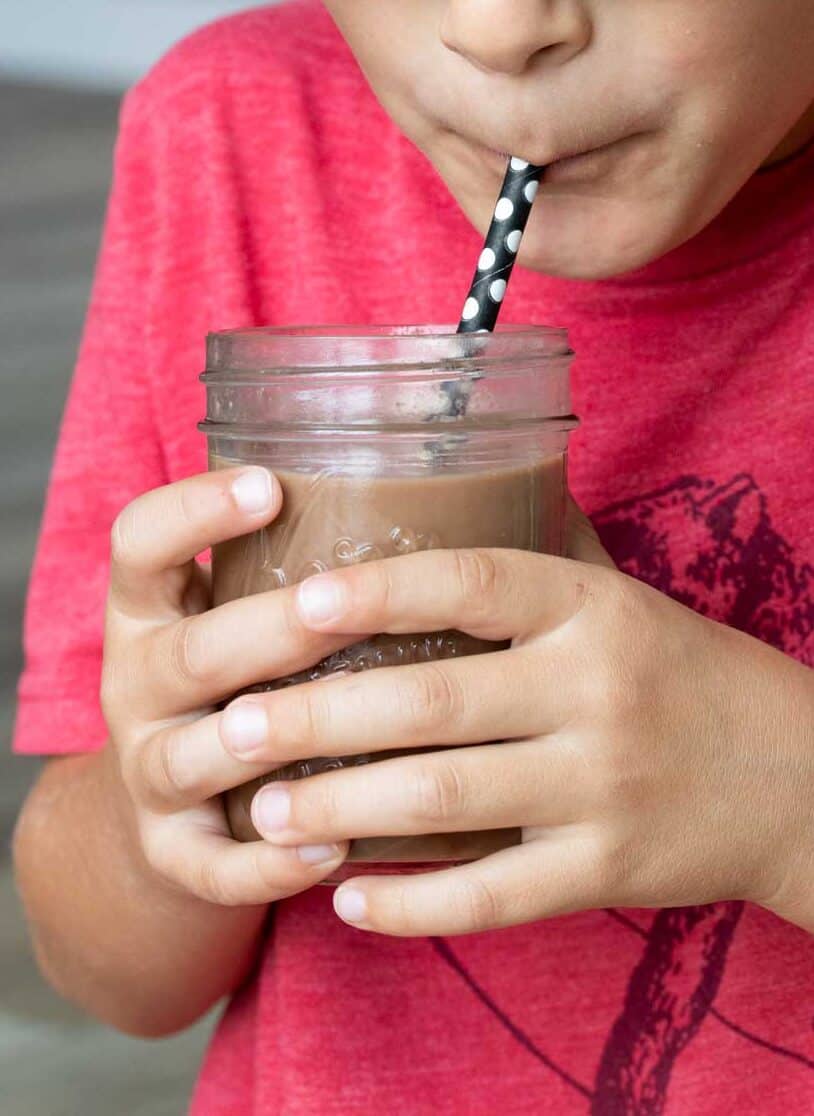
I love it when I find an easy recipe that’s healthy and delicious. It’s just 2 wholesome ingredients without artificial flavors or tons of sugar, and it’s ready in a flash. I whip it up for my kids for breakfast, after school, and even pack it into their lunch boxes in flasks. The best part? It’s super simple to make, even my kids can make it themselves. Total mom win!
The trick for the creamiest milkshake is using a creamy plant-based milk like oat, cashew, or coconut. I usually use cashew milk because I love the flavor and the creaminess, but others work just as well. The rich, homemade chocolatey syrup swirls perfectly into any cold milk without a fight, no blender required. I just pour the syrup into a glass with milk and give it a good stir. That’s it! Seeing my little ones stir up their own chocolate milk is the cutest, and I’m more than happy to let them do it. One less job for this busy momma!
Even my husband asks for it. Ha! He likes his extra thick and chocolatey, while I make it a bit lighter for the kids. It’s the perfect solution for a quick chocolate craving without the added sugar that my whole family can enjoy guilt-free. But the real proof is my mom, who usually turns her nose up at milkshakes because she says they’re too heavy for her stomach, downed a full glass in seconds, and then snatched a bottle of my chocolate syrup to make her own milkshakes at home… That’s when you know you’ve found a good recipe! 😀
🥘 Ingredients
You only need two ingredients to make this dairy free chocolate milk. They are:
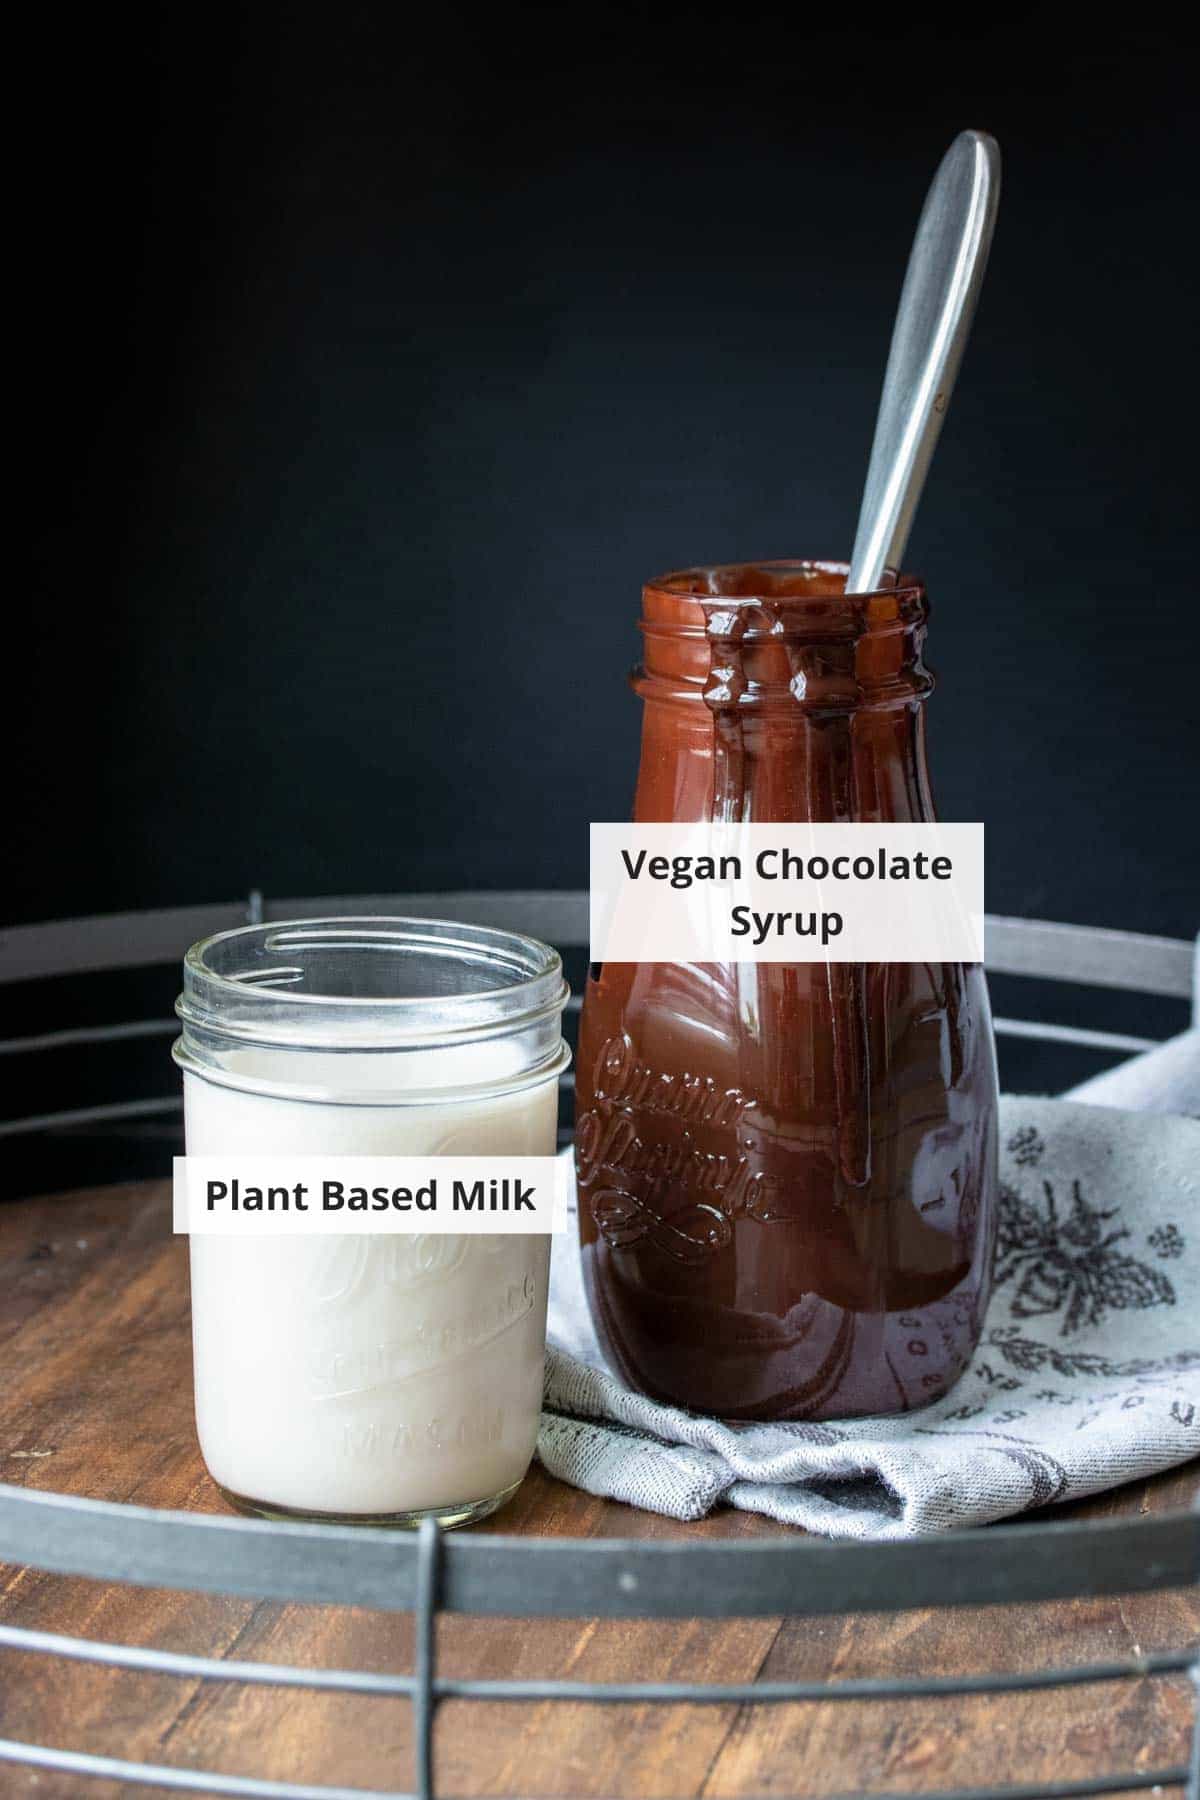
Dairy free milk: I use whatever dairy free milk I have on hand, like almond, oat, or cashew. Each one gives the chocolate milk a slightly different flavor, but they all taste great.
Chocolate syrup: I love using my homemade vegan chocolate syrup because it is quick to make and I can control the sweetness.
🔪 How To Make
The steps for making homemade chocolate milk are just as simple as the ingredients. Here is how I do it:
Pour the ingredients: I pour the dairy free milk into a cup and add the chocolate syrup on top.
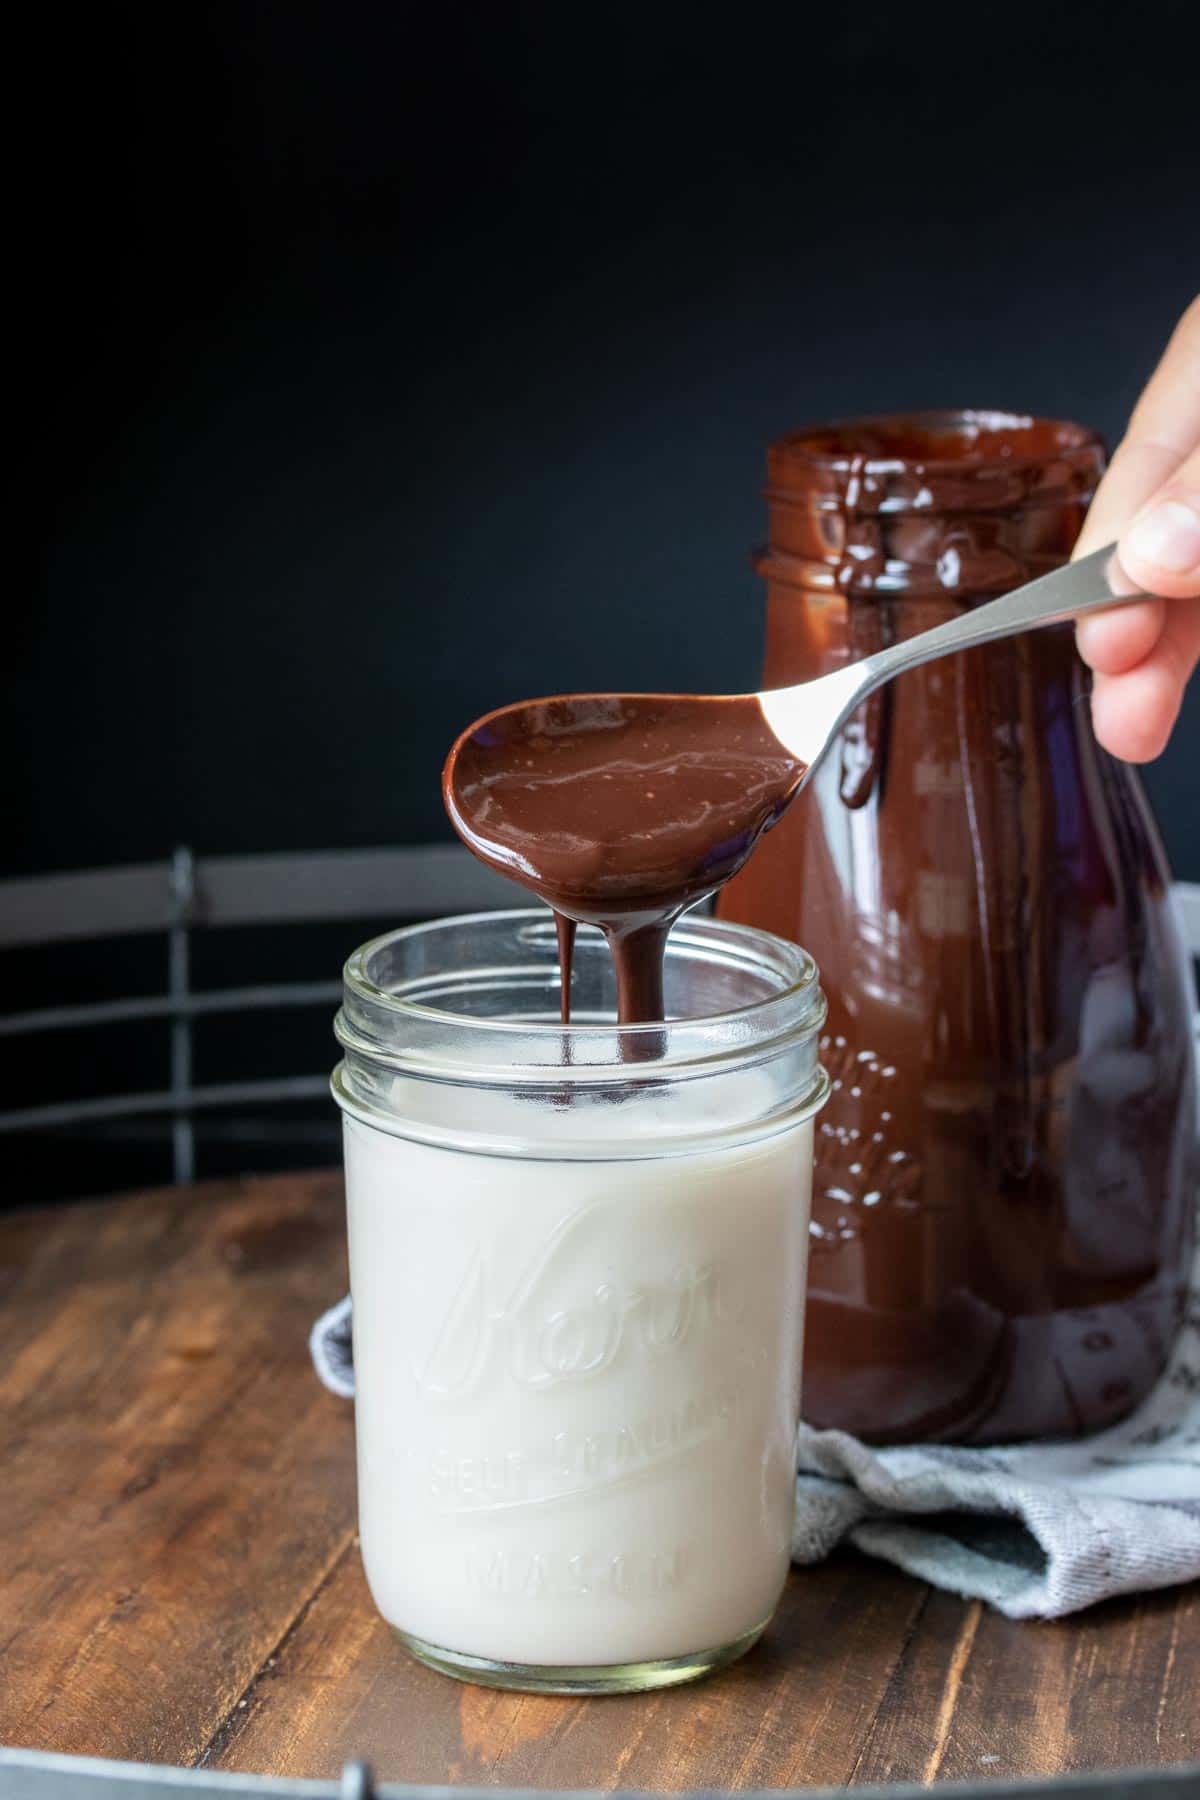
Stir the drink: I stir the milk and syrup together until the chocolate is fully mixed in. The milk turns smooth and rich with chocolate flavor.

Enjoy the chocolate milk: I serve it right away while it is fresh and creamy.
💭 Expert Tips
My #1 Secret Tip for making my vegan homemade chocolate milk is to warm the milk slightly before mixing in the syrup. I found out that when the milk is cold, the syrup tends to sink to the bottom no matter how much you stir. By warming it just a little, the syrup blends smoothly and the chocolate flavor spreads through every sip. My kids love it this way, and I do too because there are no clumps left behind.
Other Tips To Keep In Mind:
- Blend the milk and syrup: I like to blend them together when I want a frothy texture. It tastes almost like a milkshake!
- Taste as you go: I always check the sweetness while I make it. Sometimes the kids like it extra sweet and other times I make mine a little lighter.
- Chill before serving: I pop the chocolate milk in the fridge for about 10 minutes. It turns out extra cold and refreshing that way.
- Make extra syrup: I usually double the batch of syrup so I always have some on hand. It keeps well in the fridge for a week and makes things easier.
- Use quality cocoa powder: I pick the best cocoa powder I can find for this recipe. It makes the flavor rich and so much better.
📖 Variations
I love making different flavors for my family, and these are my favorites that I am excited to share with you.
Mocha: I stir in a splash of cooled coffee or espresso. This version is more for me and my husband, and it is such a fun afternoon pick me up.
Cinnamon Spice: I whisk in a pinch of cinnamon and a tiny bit of nutmeg. It gives the drink a cozy, warming flavor that we especially enjoy in the winter.
Peanut Butter: I blend in a spoonful of creamy peanut butter. It makes the drink thicker, richer, and a total hit with the boys.
🍽 Serving Suggestions
While we love this vegan chocolate milk on its own, it’s even better when paired with tasty baked treats. Here are some of our favorites:
My kids love having a tall, cold glass alongside these chewy vegan oatmeal chocolate chip cookies. It’s the perfect snack for energetic boys. I also make batches of healthy breakfast bars for those busy mornings before school.
On weekends, they enjoy either this milkshake or their favorite peanut butter cup milkshake for brunch alongside some healthy Nutella waffles for the most indulgent chocolatey weekend treat. No matter whether you drink it on its own or pair it with some tasty treats, this vegan chocolate milkshake is guaranteed to become a house favorite.
🧊 Storage Directions
Refrigeration: I keep the chocolate milk in a sealed jar or bottle in the fridge for up to four days.
Freezing: I pour leftovers into ice cube trays and freeze them. The cubes are fun to drop into smoothies or blend into a frosty chocolate drink.
Reheating: When I want it warm, I gently heat the chocolate milk on the stove or in the microwave. I stir it well so it stays smooth and creamy.
❓Recipe FAQs
Can I use any kind of dairy free milk?
Yes, I switch it up all the time depending on what is in the fridge. Almond milk is light and nutty, oat milk is creamy and a little sweet, cashew milk makes it extra smooth, and soy milk adds more protein which is nice for the kids. No matter which one I use, the chocolate flavor still shines through and everyone drinks it up.
How sweet should it be?
That really depends on who I am making it for. My kids usually like it a little sweeter, so I add more syrup to their glasses, but for myself I use less so it tastes more balanced. The best part is I can adjust it right in the moment, which keeps everyone happy.
Is this good served warm?
Definitely. I often warm the chocolate milk on the stove or in the microwave when the weather is chilly or the kids want something cozy. It turns into a simple homemade hot cocoa, and they love sipping it after playing outside.
🥛 More Tasty Milk Recipes!

Love this plant based drink recipe? Please leave a 5-star rating 🌟 in the recipe below and/or a review in the comment section further down the page!
You can also FOLLOW ME on FACEBOOK, INSTAGRAM, and PINTEREST to see more delicious, healthy, family-friendly food, and if you have any questions, I’m here to help!
📋 Recipe Card

Vegan Homemade Chocolate Milk
My kids absolutely love this rich Vegan Homemade Chocolate Milk made with creamy dairy free milk and my simple homemade chocolate syrup. It comes together in minutes and is the perfect healthy drink for my little chocolate lovers.
Servings: 4
Calories: 185kcal
Ingredients
- 4 cups cold dairy free milk of choice
- ½ – ¾ cup homemade chocolate syrup
Instructions
- Pour 1 cup milk into 4 glasses.
- Add 2-3 tablespoons chocolate syrup to each glass and stir to combine.
- Serve!
Notes
- My #1 Secret Tip for making my vegan homemade chocolate milk is to warm the milk slightly before mixing in the syrup. I found out that when the milk is cold, the syrup tends to sink to the bottom no matter how much you stir. By warming it just a little, the syrup blends smoothly and the chocolate flavor spreads through every sip. My kids love it this way, and I do too because there are no clumps left behind.
- Blend the milk and syrup: I like to blend them together when I want a frothy texture. It tastes almost like a milkshake!
- Taste as you go: I always check the sweetness while I make it. Sometimes the kids like it extra sweet and other times I make mine a little lighter.
- Chill before serving: I pop the chocolate milk in the fridge for about 10 minutes. It turns out extra cold and refreshing that way.
- Make extra syrup: I usually double the batch of syrup so I always have some on hand. It keeps well in the fridge for a week and makes things easier.
- Use quality cocoa powder: I pick the best cocoa powder I can find for this recipe. It makes the flavor rich and so much better.
Nutrition
Calories: 185kcal | Carbohydrates: 19g | Protein: 2g | Fat: 12g | Saturated Fat: 6g | Monounsaturated Fat: 1g | Sodium: 160mg | Fiber: 2g | Sugar: 14g