Healthier Red Velvet Cupcakes with Natural Food Coloring
This post may contain affiliate links. As an Amazon Associate, I earn from qualifying purchases. Please read my disclosure.This recipe for healthier red velvet cupcakes means that you can enjoy a delicious treat with less guilt! Lower in calories and sugar than the traditional version, with no artificial colors, this is the perfect cupcake recipe for any time of the year!
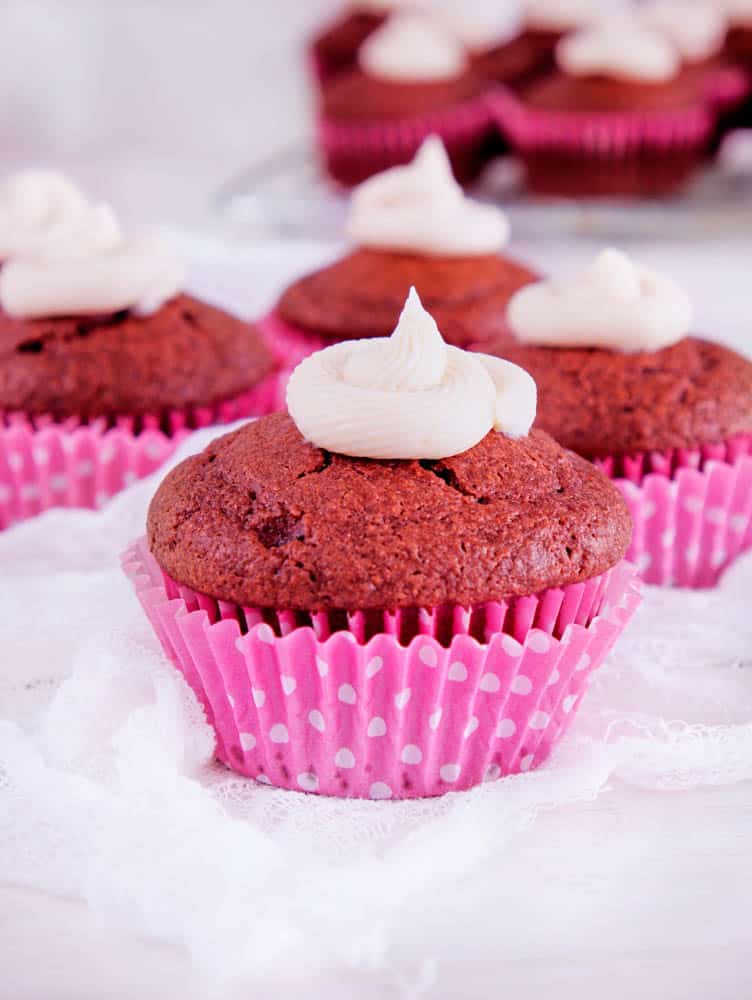
Red Velvet Cupcakes (and cupcakes in general) have always been one of my favorite desserts. They are just so pretty to look at, and they feel festive and indulgent at the same time. The first red velvet cupcake I had was actually on Valentine’s Day – one of the first I celebrated with my husband. But we love these personalized cakes anytime of the year!
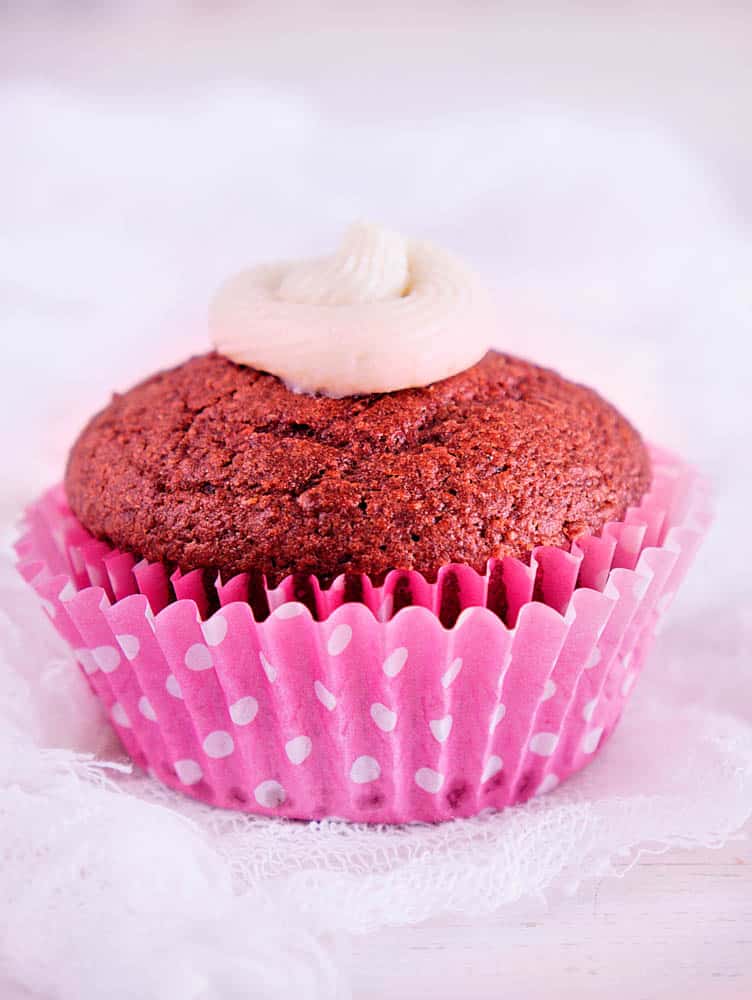
My only issue with red velvet cupcakes is the artificial coloring. The traditional version uses red food coloring, which has an ingredients list that looks like this: WATER, PROPYLENE GLYCOL, FD&C REDS 40 AND 3, AND 0.1% PROPYLPARABEN (PRESERVATIVE).
Red 40 is one of the artificial colors linked to hyperactivity in kids, and Europe has warning labels on products that contain it.
So I was determined to create a red velvet cupcake recipe that had all the indulgence of the bakery version, but with no artificial colors and less sugar/calories per serving.
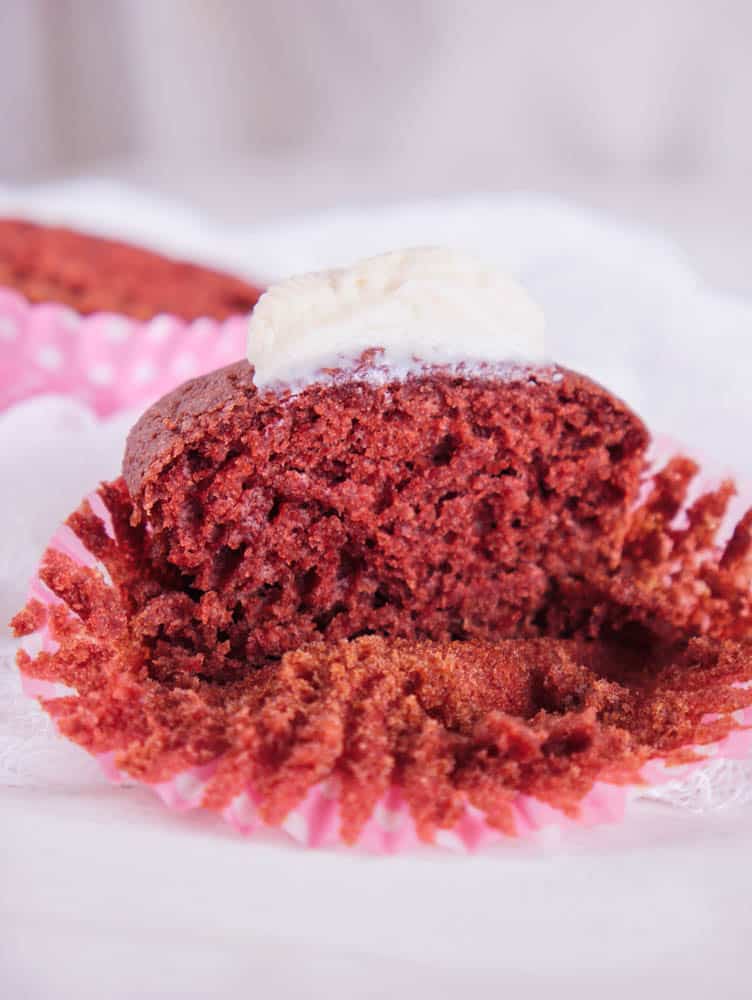
My husband was super skeptical, but was sold as soon as he took a bite of these cupcakes. They’re moist and rich – little bites of perfection!
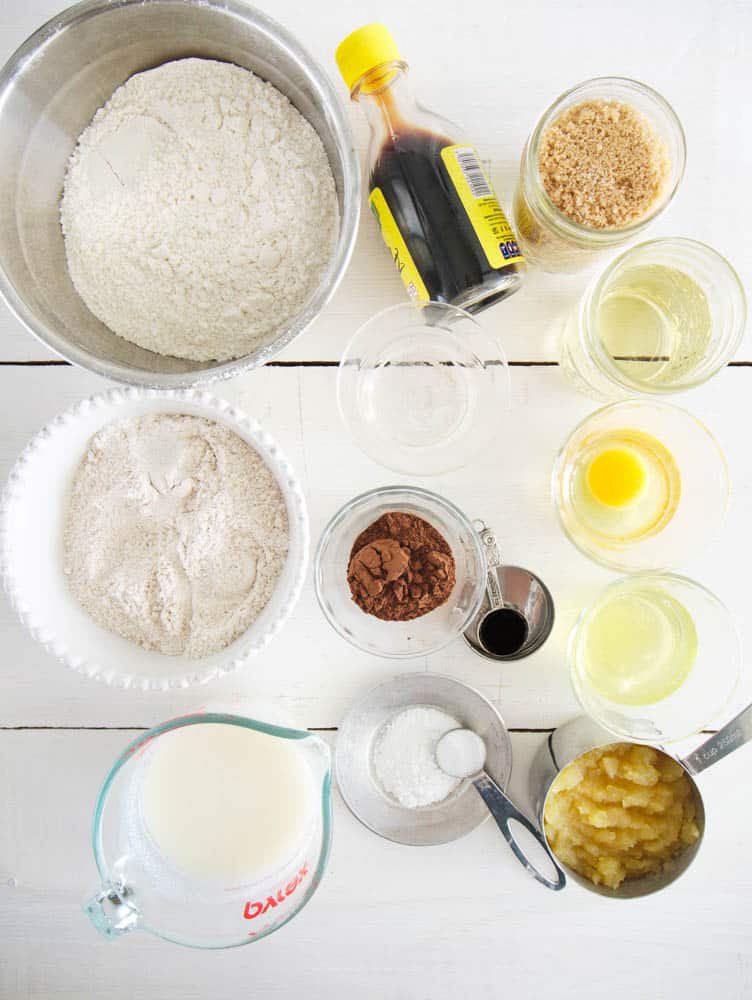
The Ingredients
This is what you need to make these lightened-up red velvet cupcakes: Cake flour, Whole Wheat Pastry flour, Unsweetened cocoa powder, Salt, Coconut Sugar, Oil, Unsweetened Applesauce, Eggs, Natural Red Food Coloring, Vanilla Extract, Low Fat Buttermilk, Baking Soda, Distilled White Vinegar
How to make Healthier Red Velvet Cupcakes – step by step
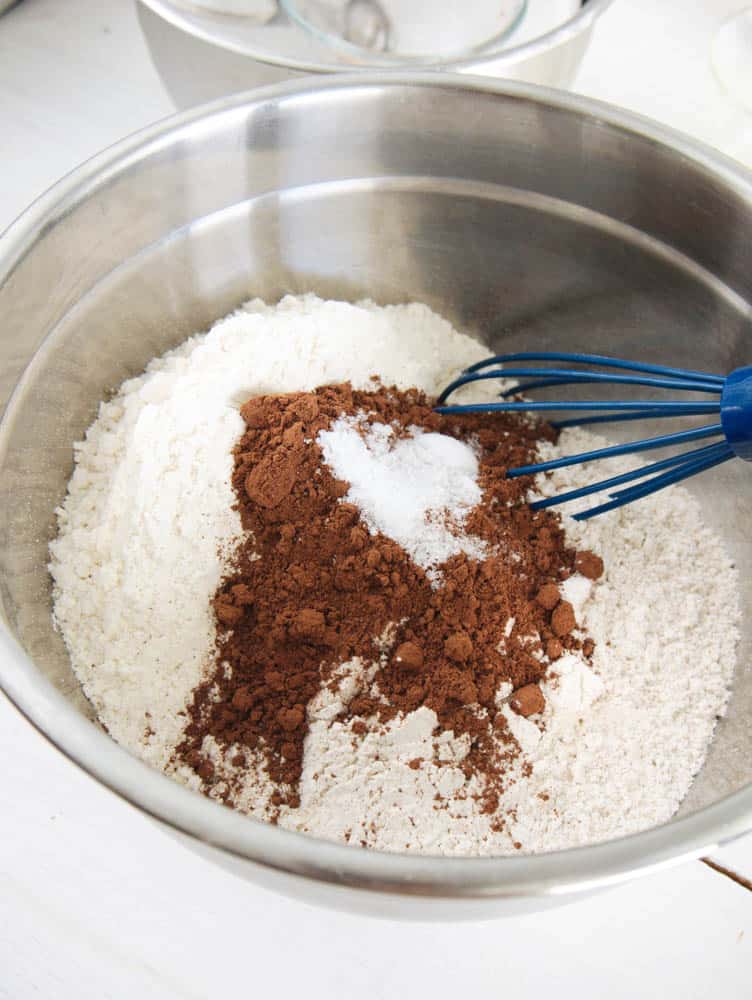
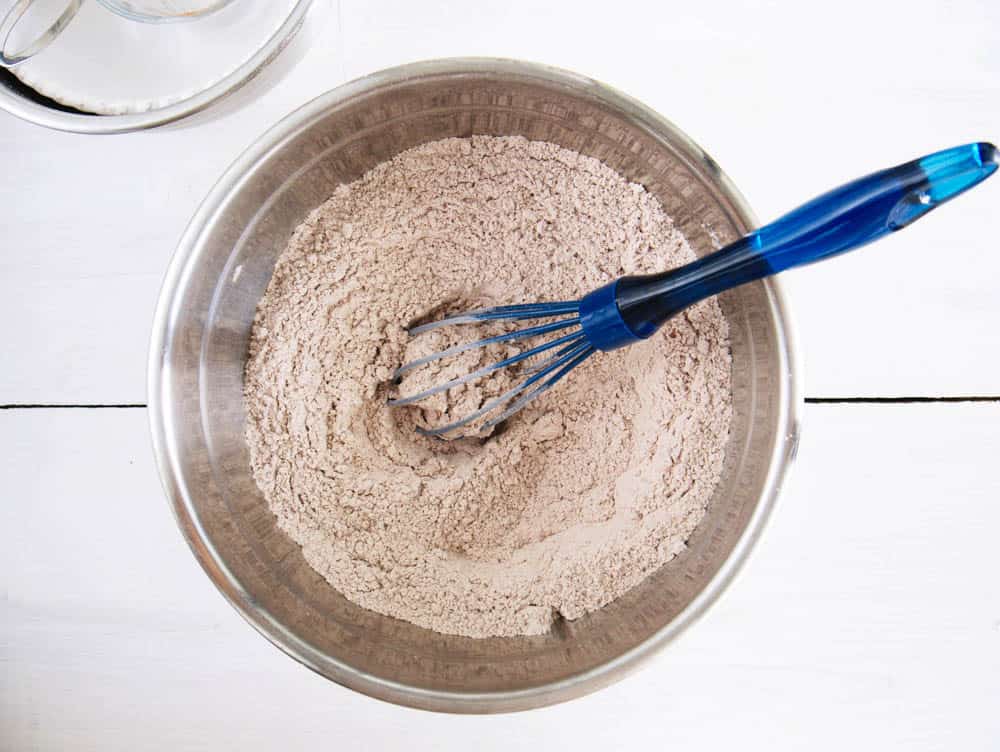
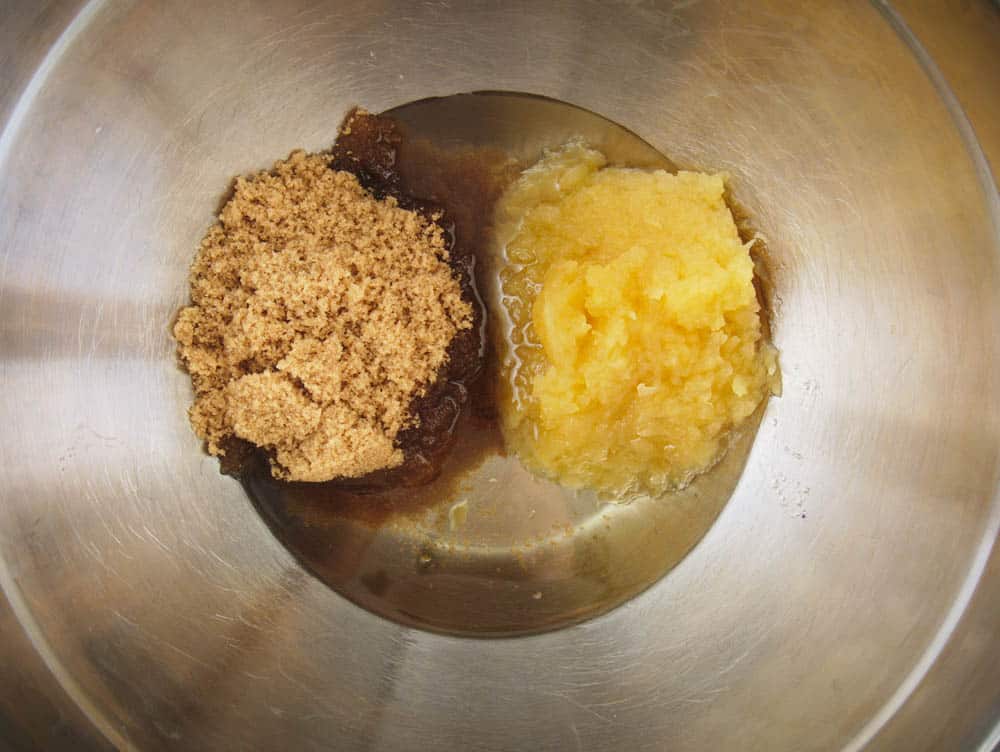
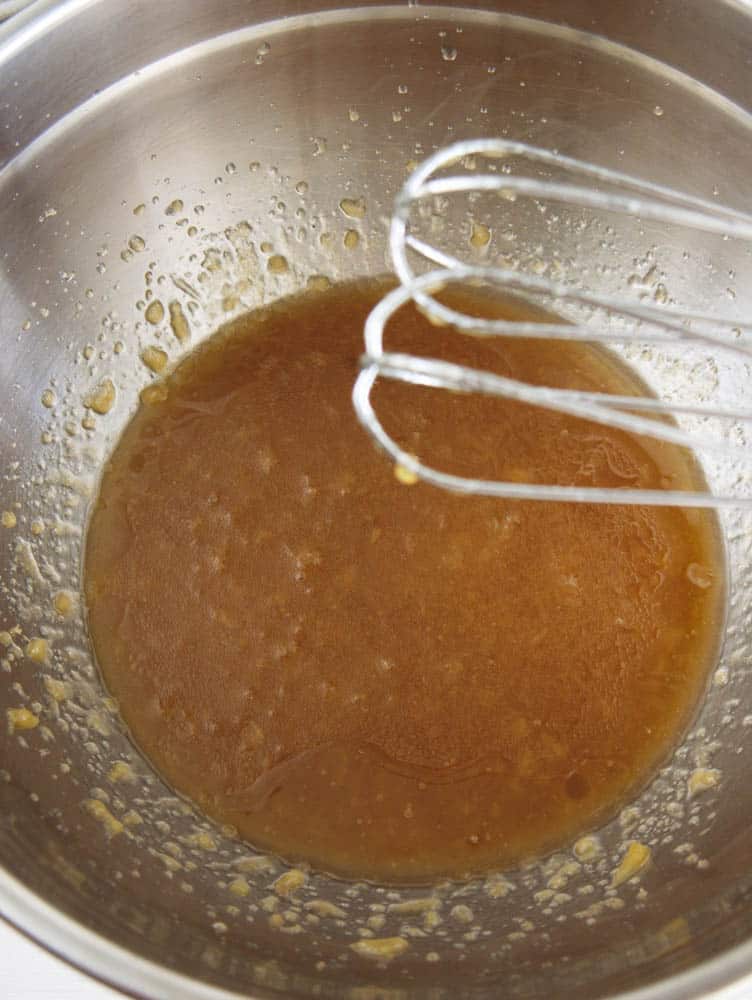
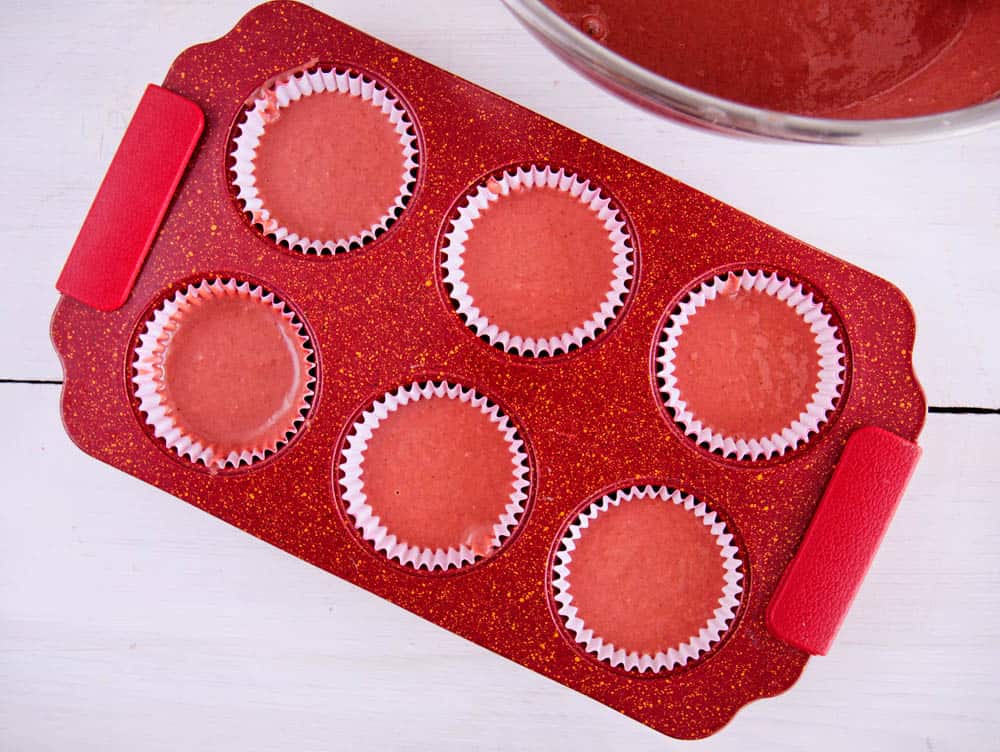
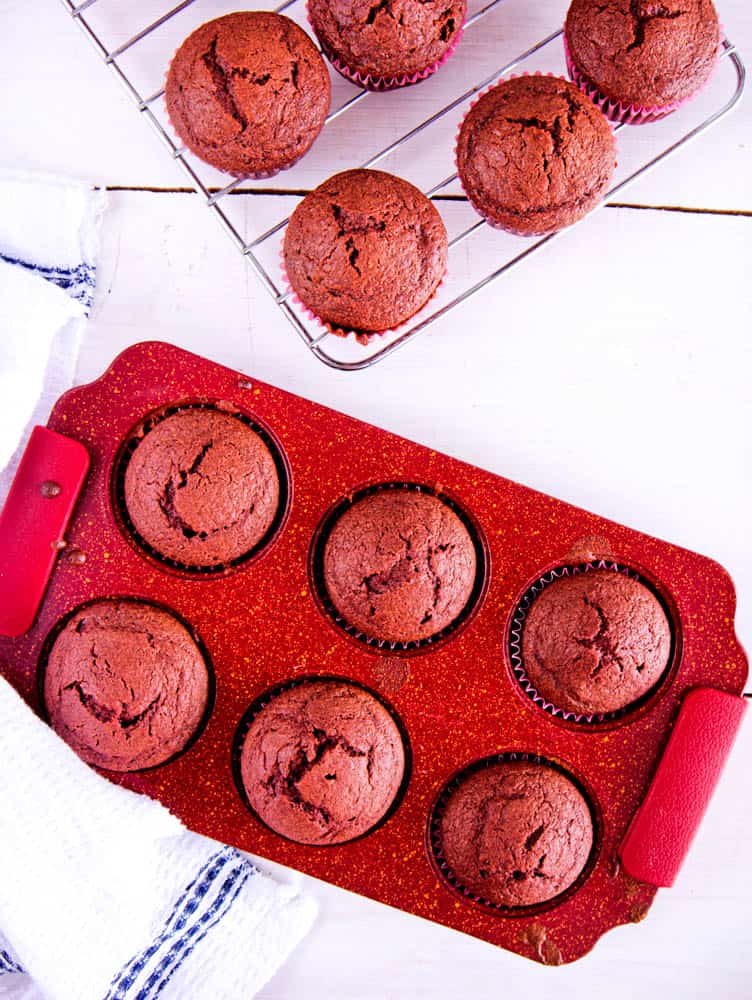
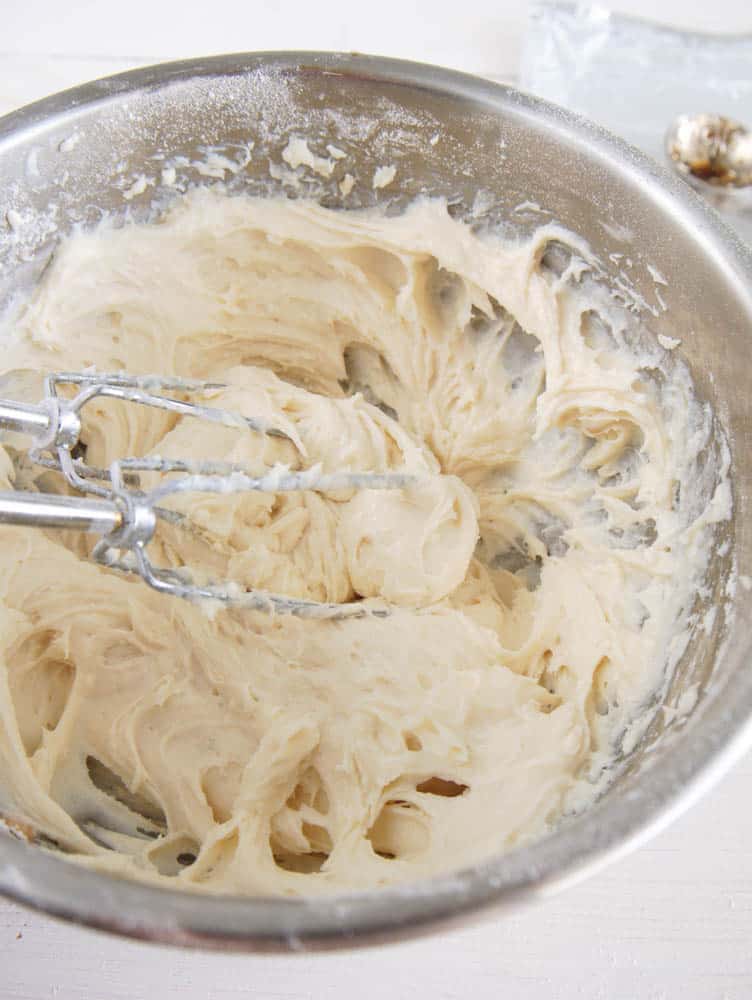
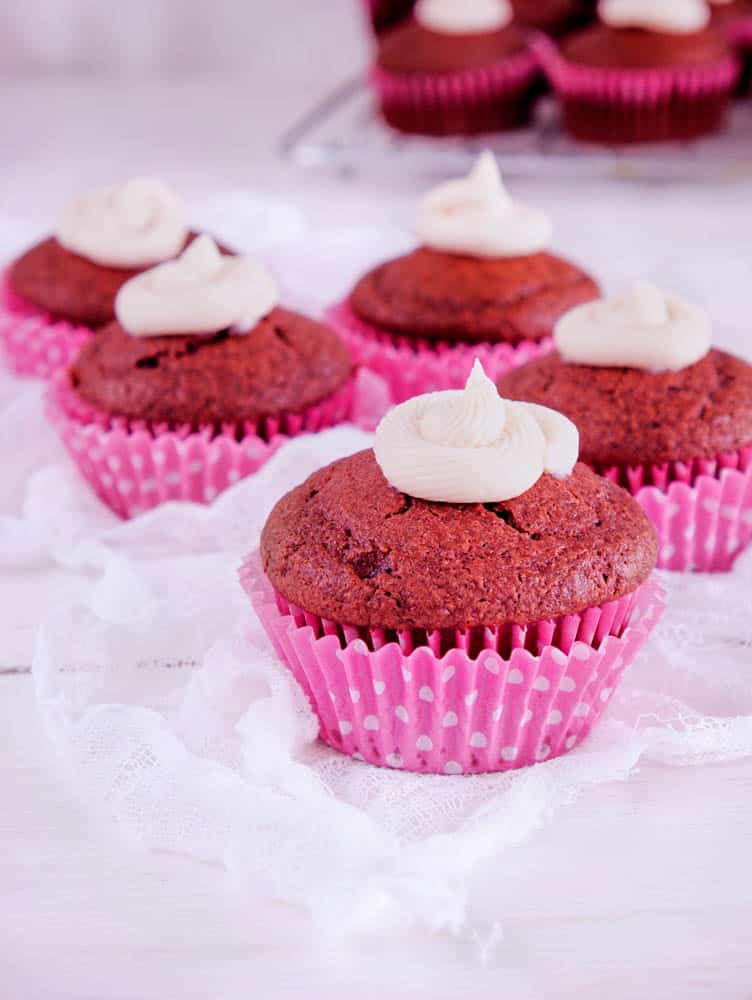
Low calorie red velvet cupcakes
This version is under 200 calories for an entire cupcake, thanks to my secret healthy swaps: egg whites for half the eggs needed, applesauce for half the oil, low fat buttermilk and low fat cream cheese instead of full fat for the frosting. It’s waistline-friendly, but also rich and tasty! It’s a cupcake you can feel good about eating 🙂
What makes these cupcakes healthy?
Being healthy doesn’t mean that you have to forgo flavor and texture! Here is what makes these cupcakes healthier than the traditional version but still delicious, moist, and full of flavor!
- The addition of whole wheat pastry flour for added fiber
- Coconut sugar instead of granulated sugar, which is lower-glycemic and less processed. Note: For an even healthier cupcake, use only 1/2 cup of coconut sugar!
- Unsweetened applesauce to replace 1/2 the oil
- Lower fat ingredients for the frosting. Note: for an even healthier cupcake, use only a 1/2 cup of powdered sugar for the frosting!
What do red velvet cupcakes taste like?
I like to describe the flavor of red velvet cupcakes as having a slight chocolate flavor, but is much milder and smoother than chocolate cake thanks to the buttermilk and vinegar that make the flour rich, slightly acidic, and soft.
Top tips for making Healthier Red Velvet Cupcakes
- Mix the wet and dry ingredients separately – don’t skip this process!
- Make sure you don’t overfill the cupcake liners, otherwise the cupcakes will overflow.
- When measuring your cake flour, sift the flour first, and then spoon it into your measuring cup. Then level it off with the back of a knife.
- Once you have whisked together the dry ingredients, sift them to ensure there are no lumps.
- Make sure the oven is fully pre-heated before you put the cupcakes in
- When the cakes are baked, an inserted toothpick should come out clean
Check out these other healthy cakes and desserts!
- Healthy, Low-Calorie, Delicious Cheesecake Bites
- Easy, Healthy, Mini Banana Bundt Cakes
- Easy Peach Cupcakes
- Healthy Chocolate Cupcakes
- Decadent Chocolate Fudge Brownies with Walnuts
- Easy Low Sugar Desserts
If you have tried this healthier red velvet cupcake recipe, or any other recipe on my blog, then please rate it and let me know how it turned out in the comments below! You can also FOLLOW ME on FACEBOOK, TWITTER, INSTAGRAM and PINTEREST to see more delicious, healthy, family friendly food!
Lightened Up Red Velvet Cupcakes
Ingredients
For the cupcakes:
- 1 1/2 cups cake flour sifted
- 1 cup whole-wheat pastry flour sifted
- 2 Tbsp unsweetened Dutch-process cocoa powder
- 1 tsp salt
- 1 cup coconut sugar
- 3/4 cup organic canola oil
- 3/4 cup unsweetened applesauce
- 1 large egg
- 2 large egg whites
- 1/2 tsp natural red food coloring
- 1 tsp vanilla extract
- 1 cup low-fat buttermilk
- 1 1/2 tsp baking soda
- 2 tsp distilled white vinegar
For the frosting:
- 8 oz low-fat cream cheese
- 1 cup powdered sugar
- 1 tsp vanilla extract
Instructions
- Preheat oven to 350 degrees. Line cupcake tins with liners.
- In a large bowl, whisk together flours, cocoa and salt.
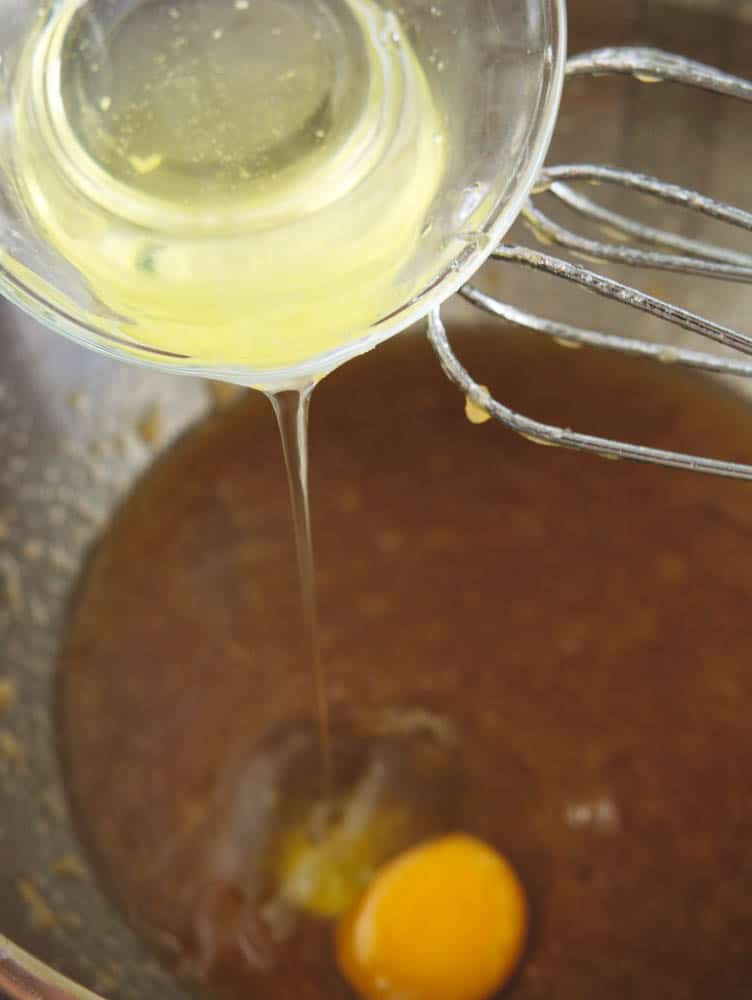
- In another large mixing bowl, beat sugar, applesauce and oil until combined. Add eggs and egg whites, one at a time, beating until each is incorporated, scraping down sides of bowl as needed. Mix in food coloring and vanilla.
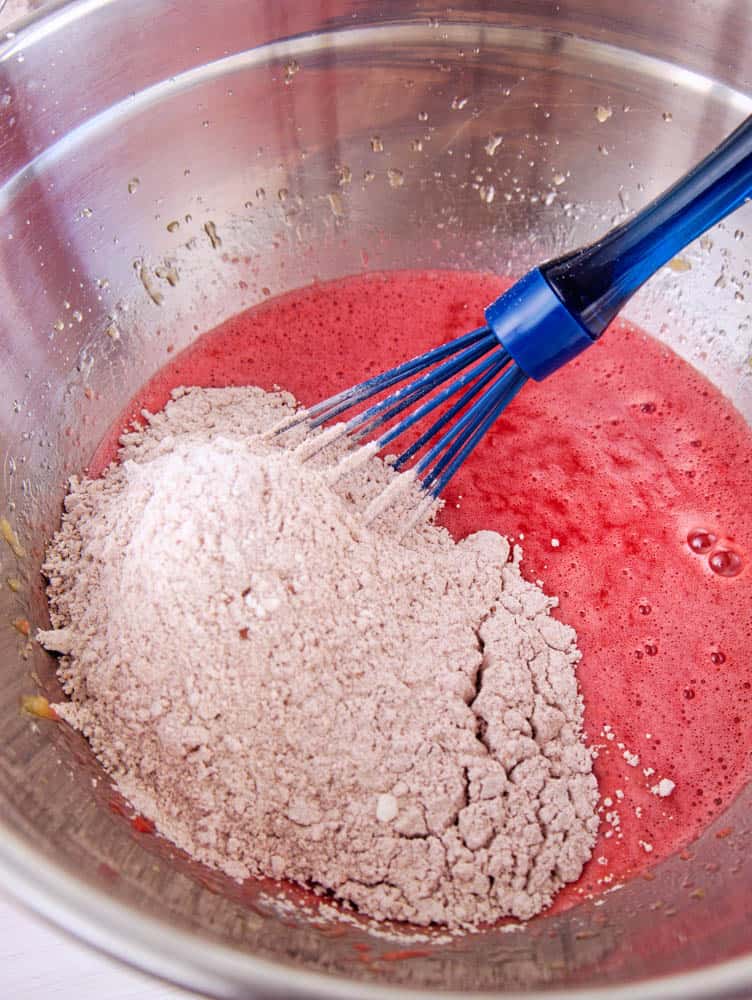
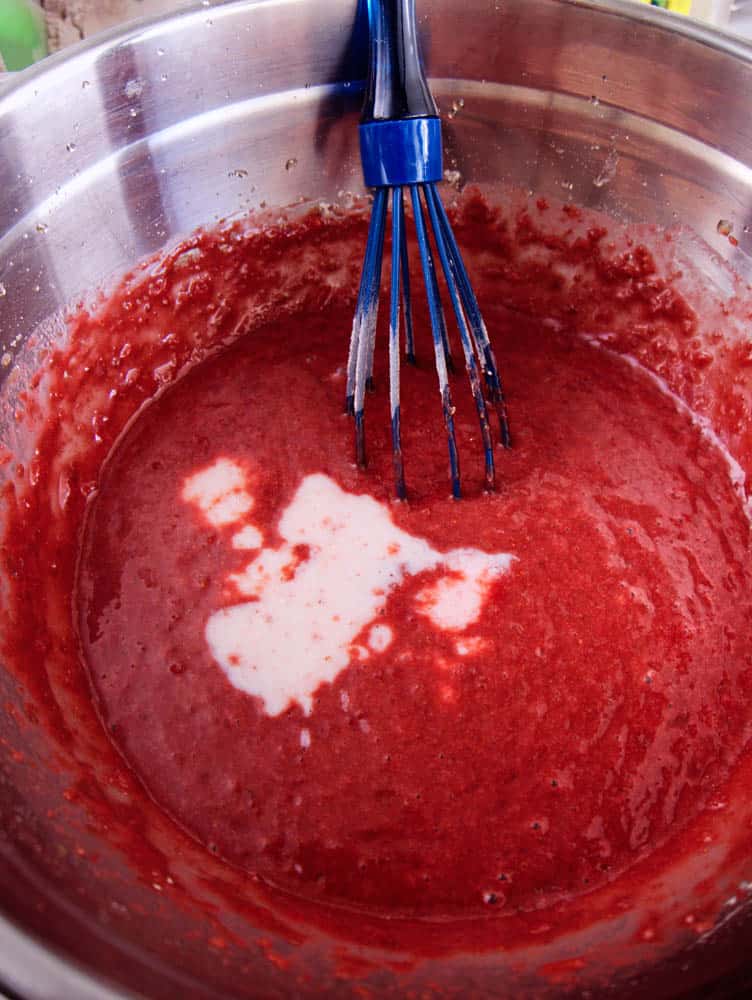
- Add flour mixture in three batches, alternating with two additions of buttermilk (a half a cup each time), and whisking well after each.
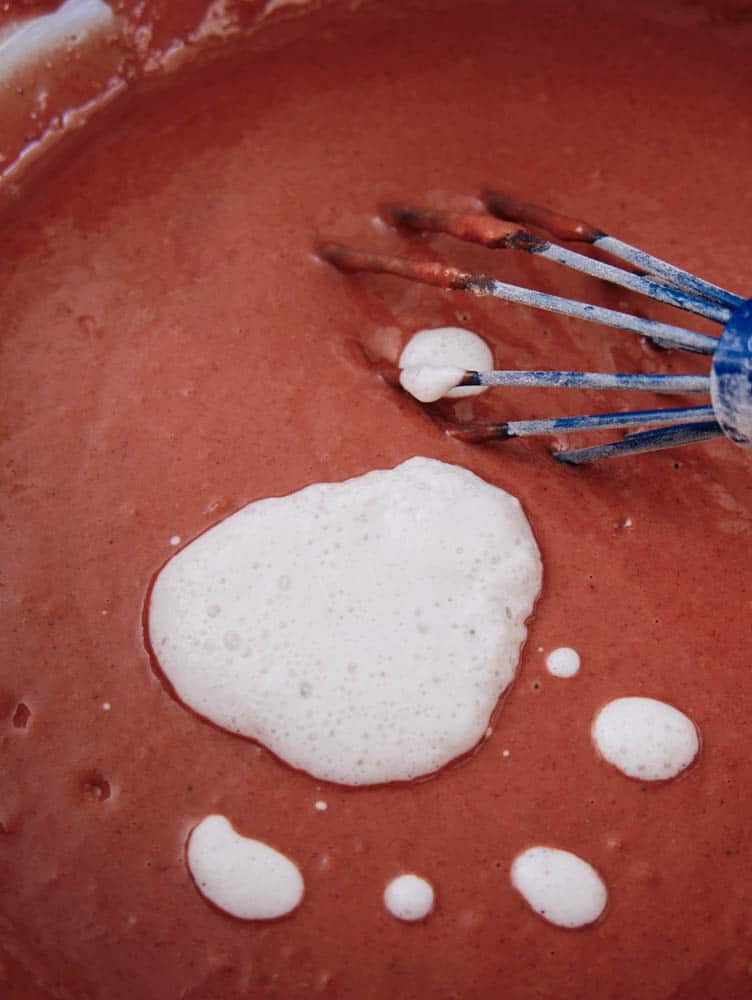
- Stir together the baking soda and vinegar in a small bowl (it will foam); add mixture to the batter, and mix until combined, about 10 seconds.
- Divide batter evenly among lined cups, filling each three-quarters full. Bake, rotating tins halfway through, until a toothpick inserted in centers comes out clean, about 20 minutes. Mix frosting ingredients together in a bowl (you can use a beater to speed it up).
- Let cupcakes cool completely, then frost with low-fat cream cheese frosting.
Notes
- Mix the wet and dry ingredients separately – don’t skip this process!
- Make sure you don’t overfill the cupcake liners, otherwise the cupcakes will overflow.
- When measuring your cake flour, sift the flour first, and then spoon it into your measuring cup. Then level it off with the back of a knife.
- Once you have whisked together the dry ingredients, sift them to ensure there are no lumps.
- Make sure the oven is fully pre-heated before you put the cupcakes in
- When the cakes are baked, an inserted toothpick should come out clean













This looks delicious! I want to try this recipe this weekend.
Awesome!! Can’t wait to hear how it turns out Jasmine!
These are so cute and are like perfect for any holiday!!!! I’m saving this for my youth groups bake sale!!!
Omg these would be absolutely perfect for a bake sale!!
Oh my! I could eat a few these all by myself. lol. Red velvet has a special place in my heart. 🙂
Haha I know right?? They are so addicting!! 🙂 Enjoy!!
These look soooo yummy! I love the sweet little tie on the wrapper.
Aw thank you so much Melanie!! 🙂
Yum! Red velvet is a family fav! Thanks for sharing this option!
Same here!! 🙂 I hope you guys love this recipe!
I love that these are lightened up, but still include all of the regular ingredients just in a lighter form. No weird flours or shortcuts! And YES to cream cheese frosting! Can’t sacrifice that! Delish!
Totally!! I’m all about healthier swaps without sacrificing flavor or using weird ingredients!!
Red velvet is my absolute favorite cake flavor. I can’t wait to try this recipe. These cupcakes look yummy and moist!
They are!! I taste tested them on a die-hard red velvet cupcake fan and they confirmed that these are as good as the original! 🙂
This sounds yummy and a great way to cut out some of the unnecessary fat without sacrificing flavor!
Thank you so much Shani!! Hope you love these when you try them!
One of my husband’s favorites – how nice to make it a less “guilty!” They look so good and moist – just lovely. I’m pinning this to save 🙂
Yay perfect!! I hope you and your husband love them!
What a fun red velvet treat!
Thanks so much Rebecca!
Red velvet cupcakes are my fave! Love this lightened up version 🙂 I need to try coconut sugar
Thanks so much Jenna! I love coconut sugar because it’s lower glycemic and less processed than table sugar but still gives a nice sweetness to this recipe!
As a Registered Dietitian and a total foodie (and cupcake enthusiast) I am thrilled to see this lightened up version of my favourite sweet. I am particularly grateful that it didn’t include any Cool Whip, which I find a lot of light dessert recipes do.
Looking forward to exploring your site further!
Abbey Sharp
http://www.abbeyskitchen.com
@AbbeysKitchen
Thanks so much Abbey! I’m not a fan of Cool Whip either because it is so processed. I hope you like this recipe if you try it 🙂
Red velvet is my ALL TIME favorite cake. Ugh so good. I could eat it everyday! I like the ingredients you used…vinegar makes a red velvet. Applesauces sounds interesting. Looks fabulous! Thanks for the recipe 🙂 Enjoy your week!
No problem at all Kelly!! I’m so glad you liked this recipe — you’ll have to let me know how it compares to the traditional red velvet cake recipe too!
I just learned about your blog, and the first thing I saw was this post! Red velvet cupcakes are my kryptonite! I have not had anything red velvet since December 2013 as part of my new diet!
Oh wow! Well kudos to you for starting a new diet in 2014! 🙂 If you do end up trying these cupcakes, they are at least a little more diet friendly thanks to the healthier substitutions!
These look great!! And I love how you laid it out so nicely. I will be adding these ingredients to my shopping list. Can’t wait to make them.
Yay!! Thanks so much Debbie! Can’t wait to hear how they turn out for you!
sounds like a great recipe!
Thanks!! 🙂 Enjoy!
I love lightened versions of my favorites. This sounds great!
Thanks!! Let me know if you end up trying it!