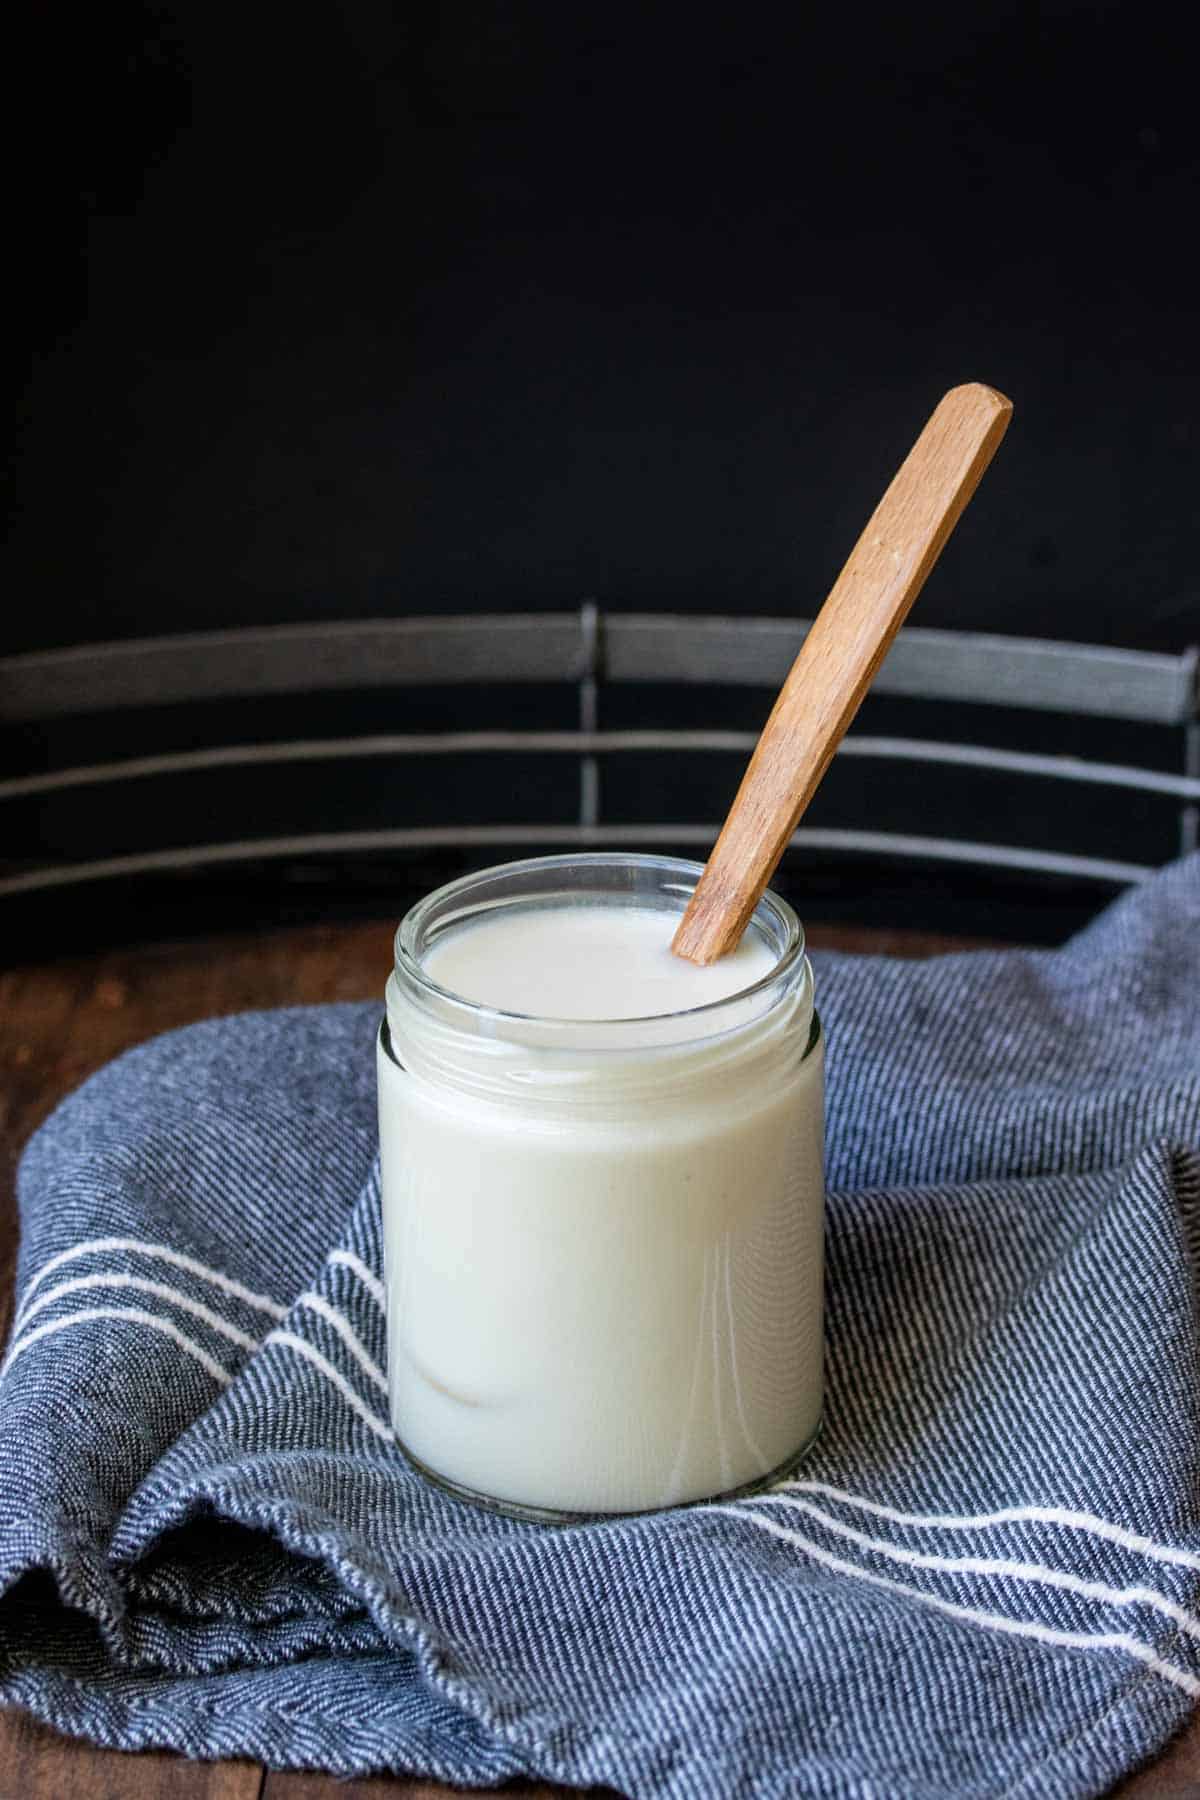
How To Make Coconut Butter
This post may contain affiliate links. As an Amazon Associate, I earn from qualifying purchases. Please read my disclosure.Once I realized how easy it is to make coconut butter at home, I couldn’t believe I had been buying it for so long! With just one ingredient and five minutes, you can make a creamy, rich, totally versatile coconut butter that’s perfect for spreading, baking, drizzling, or just eating with a spoon (yes, I’ve done that too!).
Coconut butter (also called coconut manna) is made by blending dried coconut meat until it becomes smooth and spreadable. Unlike coconut oil, it contains both the oil and the fiber from the coconut, making it richer and more nutrient-dense.
Store-bought coconut butter is pricey, and honestly, not always easy to find. But this homemade version is just as good (if not better) and costs a fraction of the price. I love having a jar on hand for everything from pancakes to smoothies, and since it’s shelf-stable, it’s an easy staple to keep in my pantry too!
It’s packed with healthy fats, naturally vegan and gluten-free, and incredibly satisfying. I’ll spread it on toast, use it in place of butter in baking, or drizzle it over my vegan coconut flour pancakes with some maple syrup and berries for a weekend breakfast that feels like a treat but takes almost no effort.
👩🏽🍳 Why I Love This Recipe
This recipe is the definition of simple: just one ingredient, a blender, and a little patience. As a nutritionist and mom, I’m all about recipes that are practical, affordable, and multi-purpose, and coconut butter checks all those boxes.
My kids love it too! It’s naturally sweet and spreadable, and they’ll happily dip fruit into it or ask for it swirled into oatmeal.
I love that it’s made from real, whole food and still feels like a treat. It’s one of those rare recipes that’s both nutritious and fun, which is always a win in our house.
What I really appreciate, though, is that it helps reduce waste and simplify my pantry! I don’t need five different toppings or expensive specialty spreads when one homemade jar can do it all.
🥘 Ingredients
This recipe is as simple as it gets. You only need one ingredient to make creamy, smooth coconut butter at home:
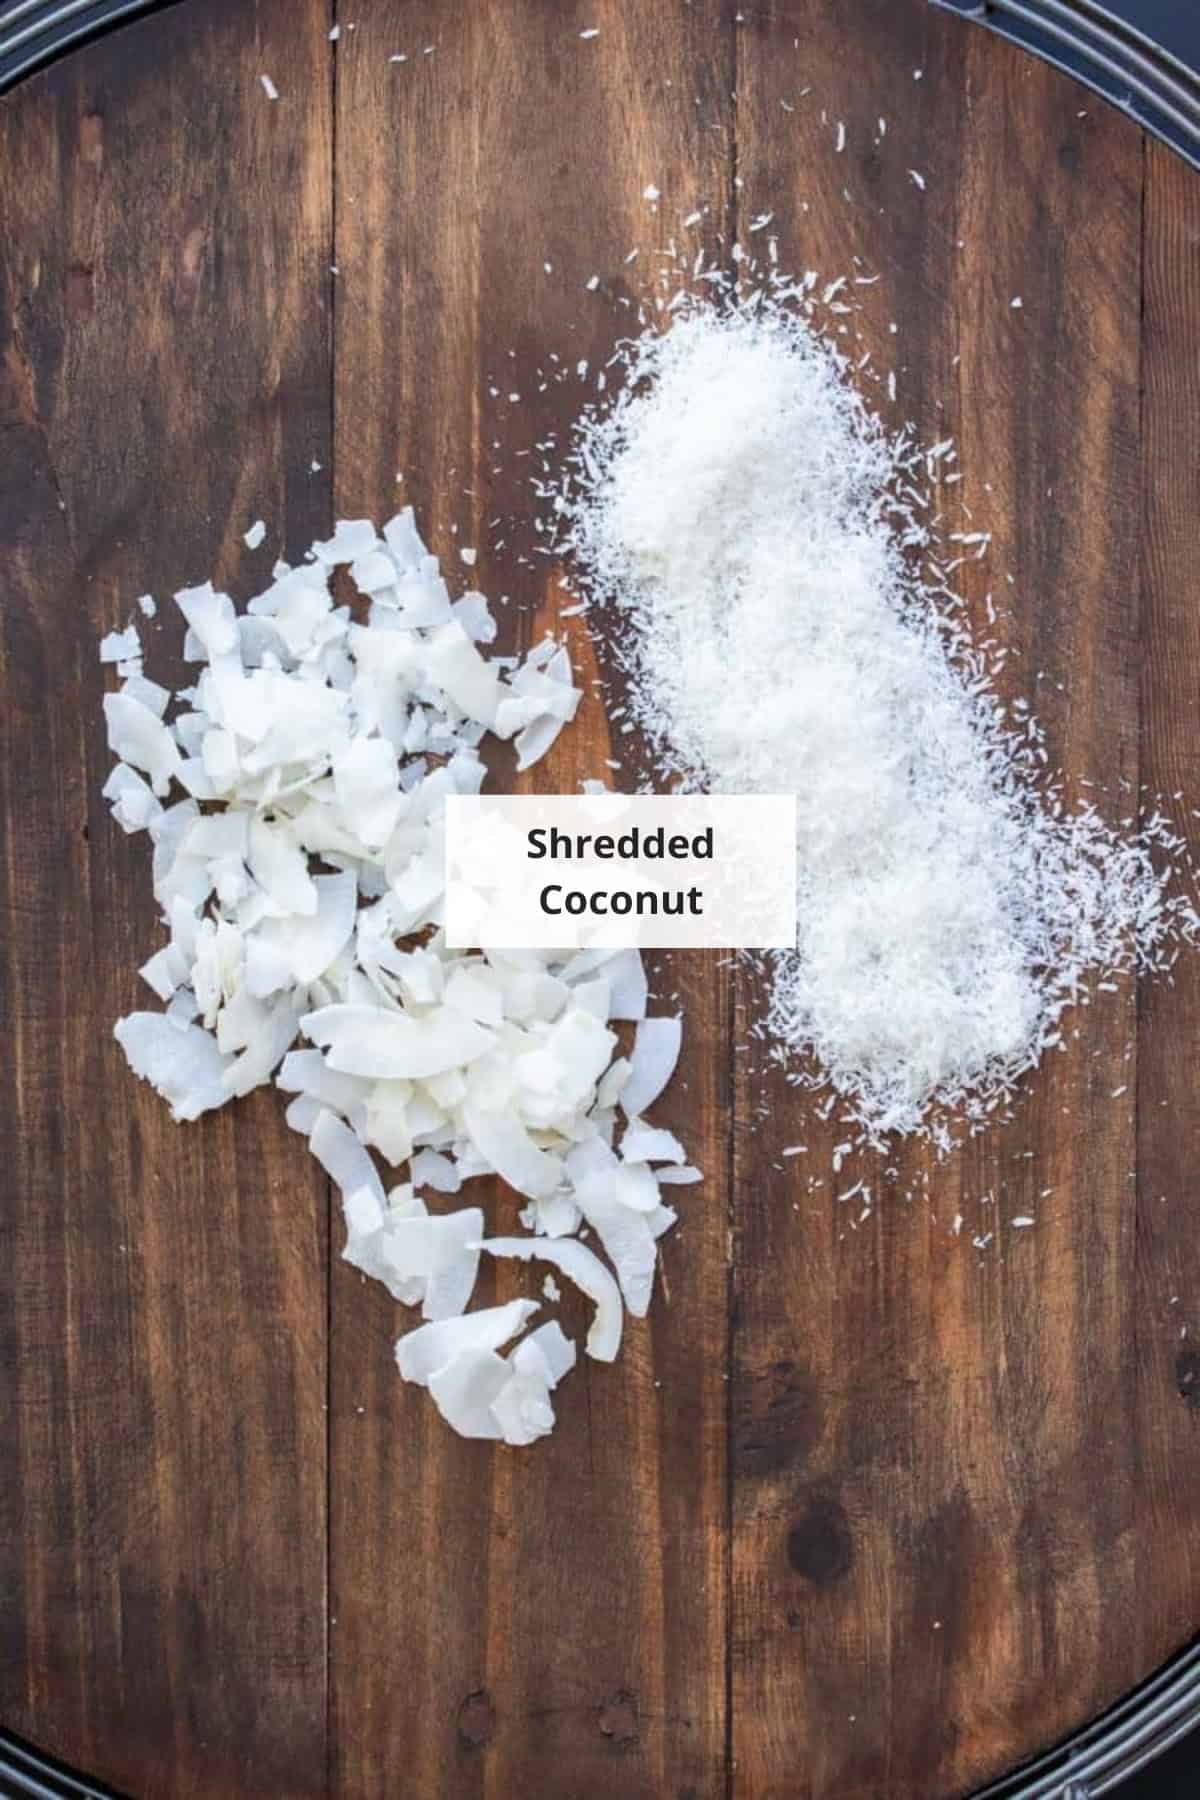
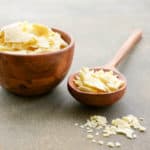
Unsweetened Shredded Coconut: Yes really, that’s it! I always make sure it’s unsweetened and finely shredded for the best texture. You can also use coconut flakes if that’s what you have. They’ll work too, but they take a bit longer to blend.
Sometimes I like to customize my coconut butter with a little extra flavor. Here are a few optional add-ins I’ve tried and loved:
- A pinch of sea salt: Enhances the natural coconut flavor
- ½ teaspoon vanilla extract: For a warm, dessert-like vibe
- A drizzle of maple syrup or a dash of monk fruit: If I’m using it as a sweet spread
I usually start with the plain version and stir in extras by hand once the butter is blended and still slightly warm.
🔪 How To Make
I cannot stress enough how easy this recipe is, seriously. Here’s what you need to do:
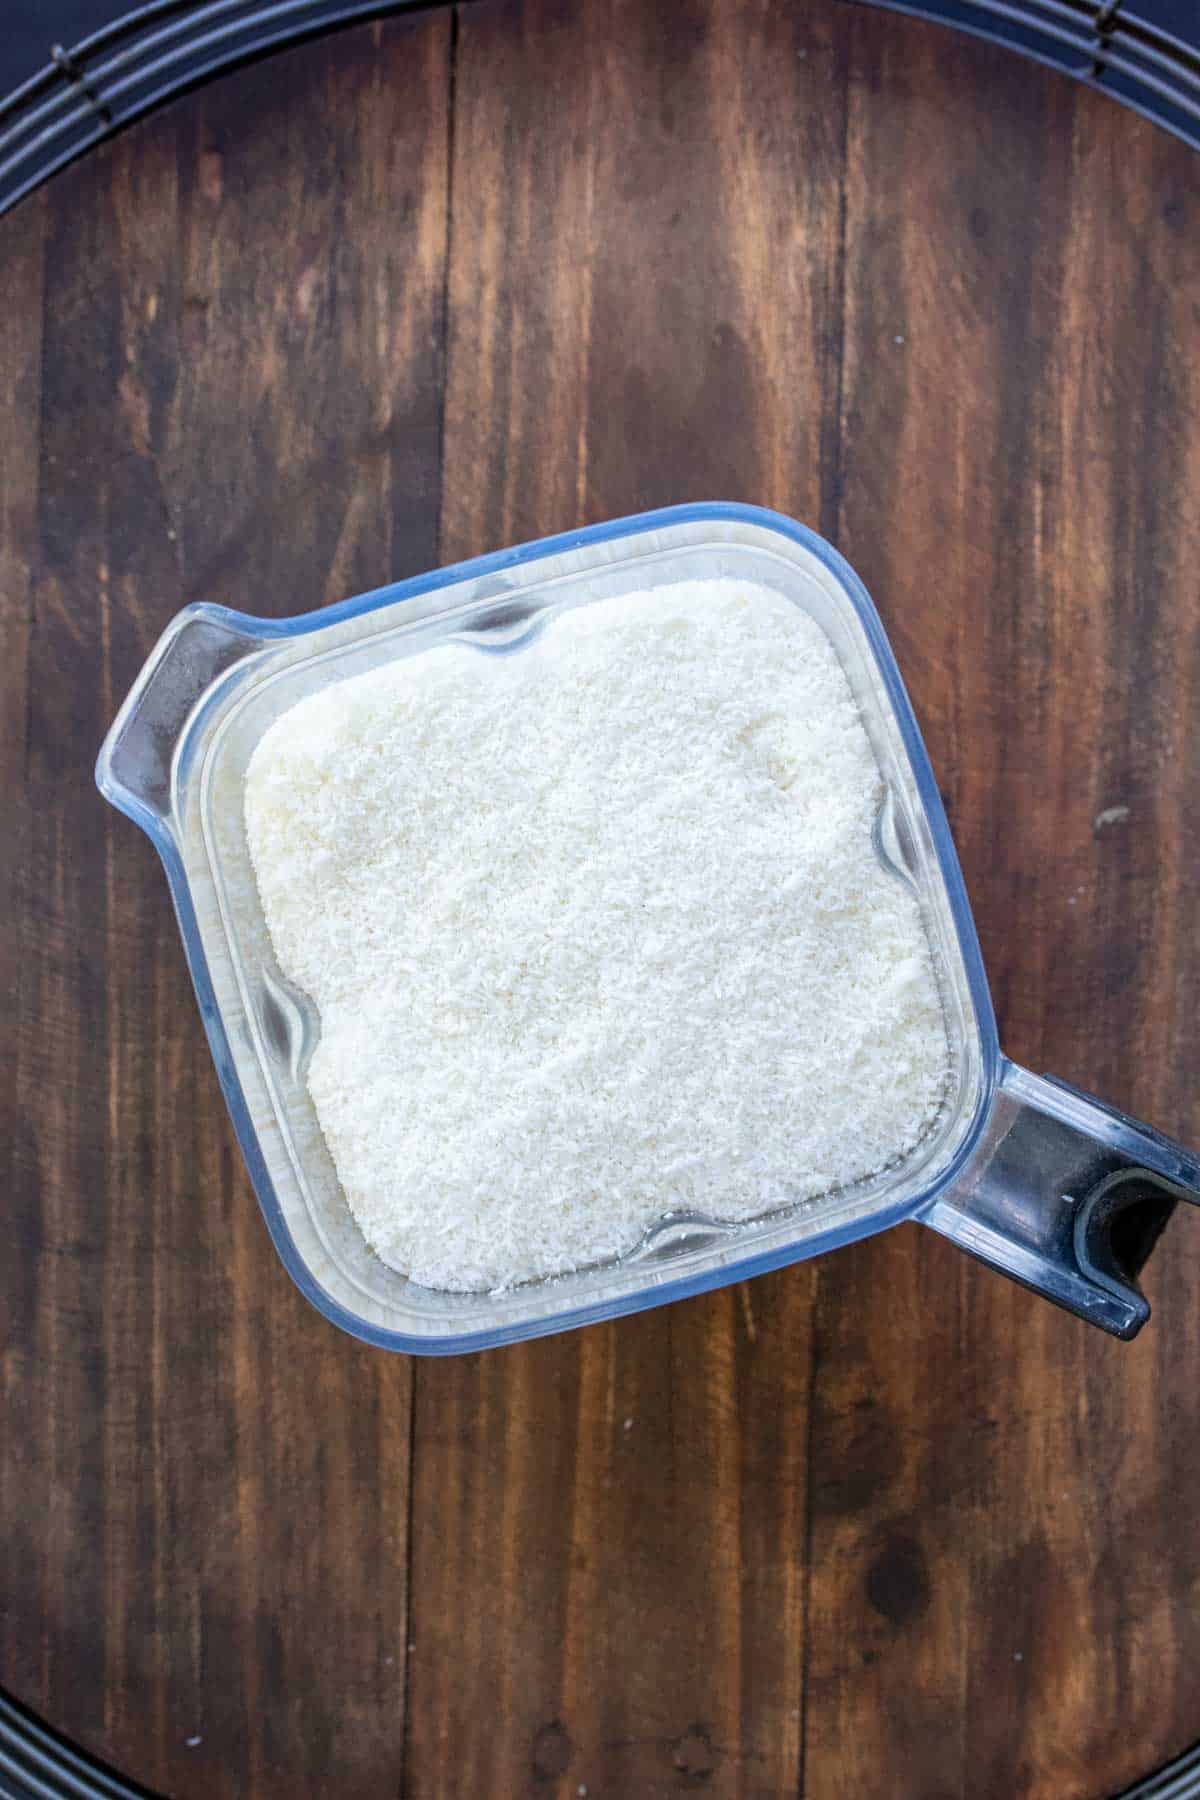
Add Coconut To The Blender: I pour 16 ounces of unsweetened shredded coconut into my high-speed blender. If I’m using flakes instead of shreds, I know it’ll take a little longer, but it still works great.
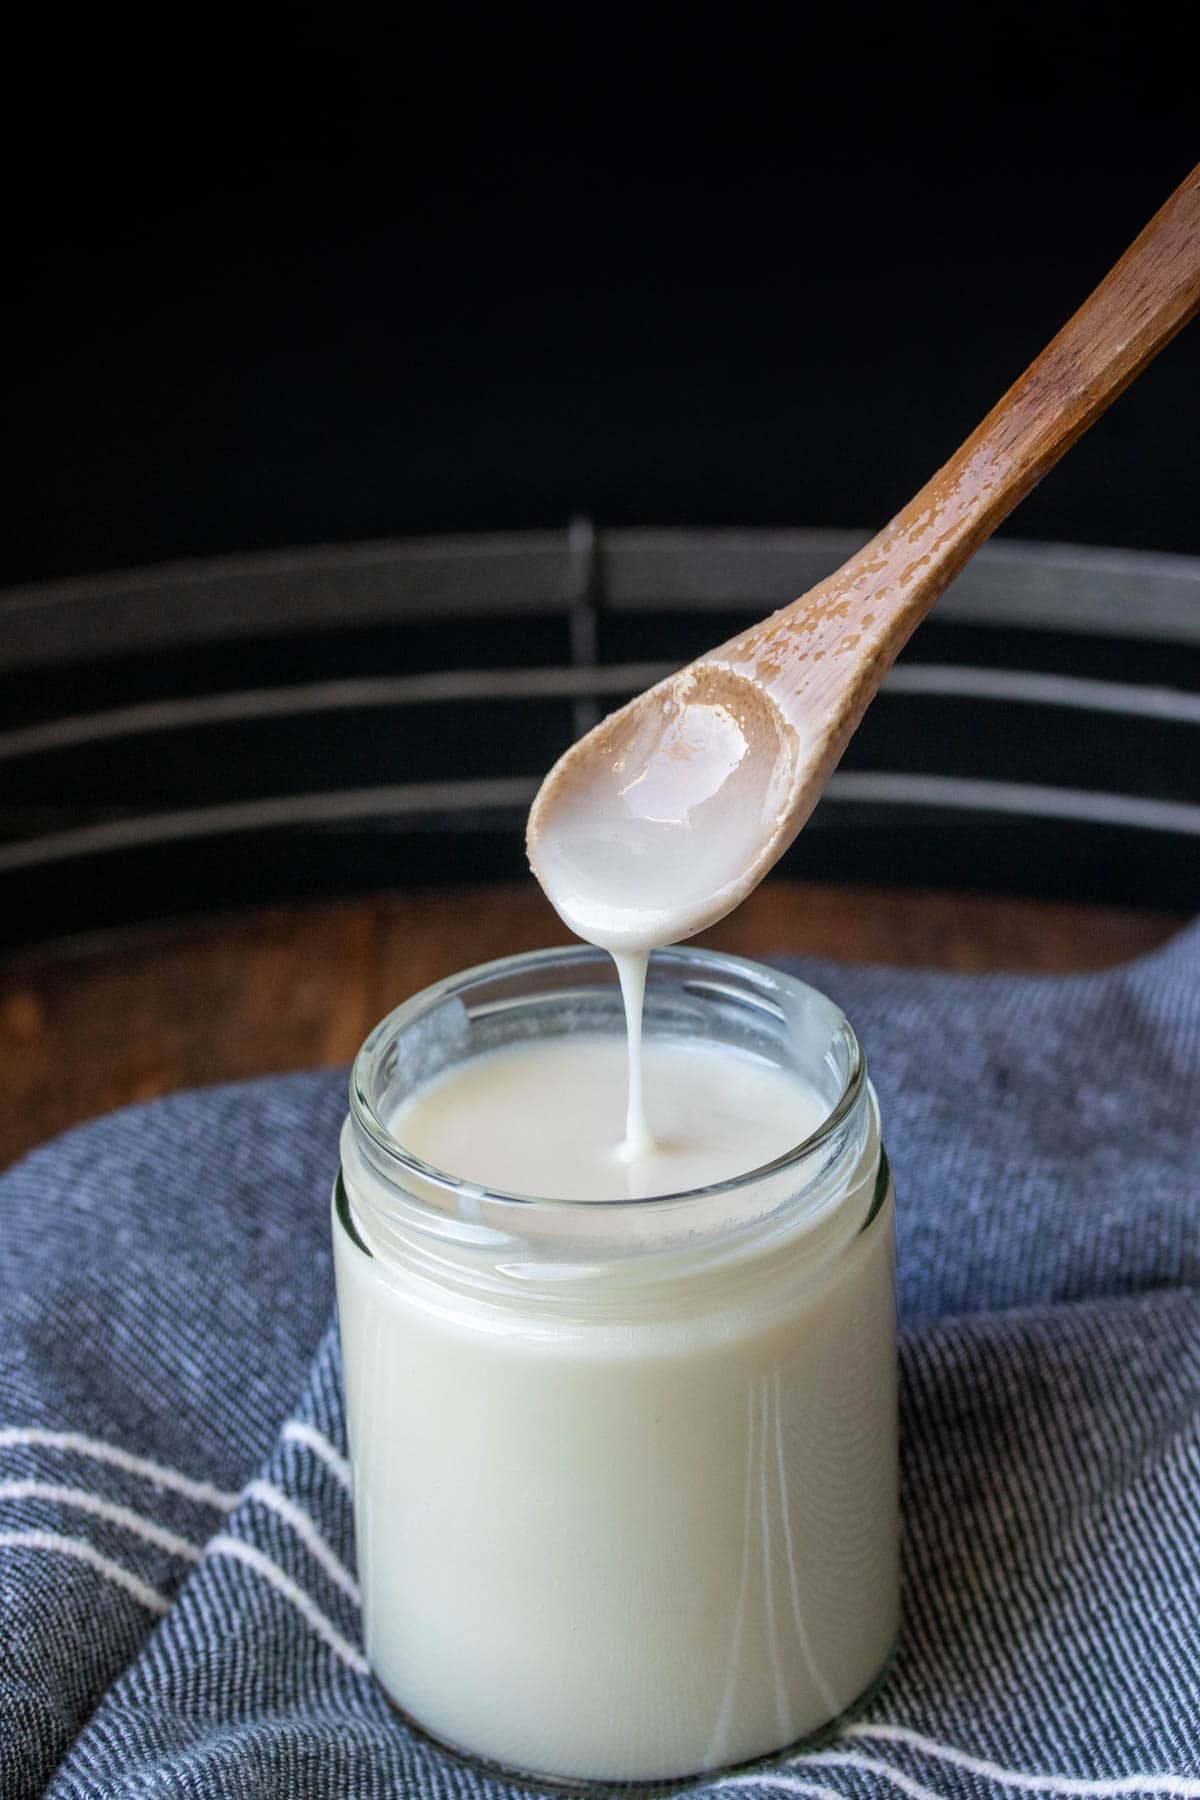
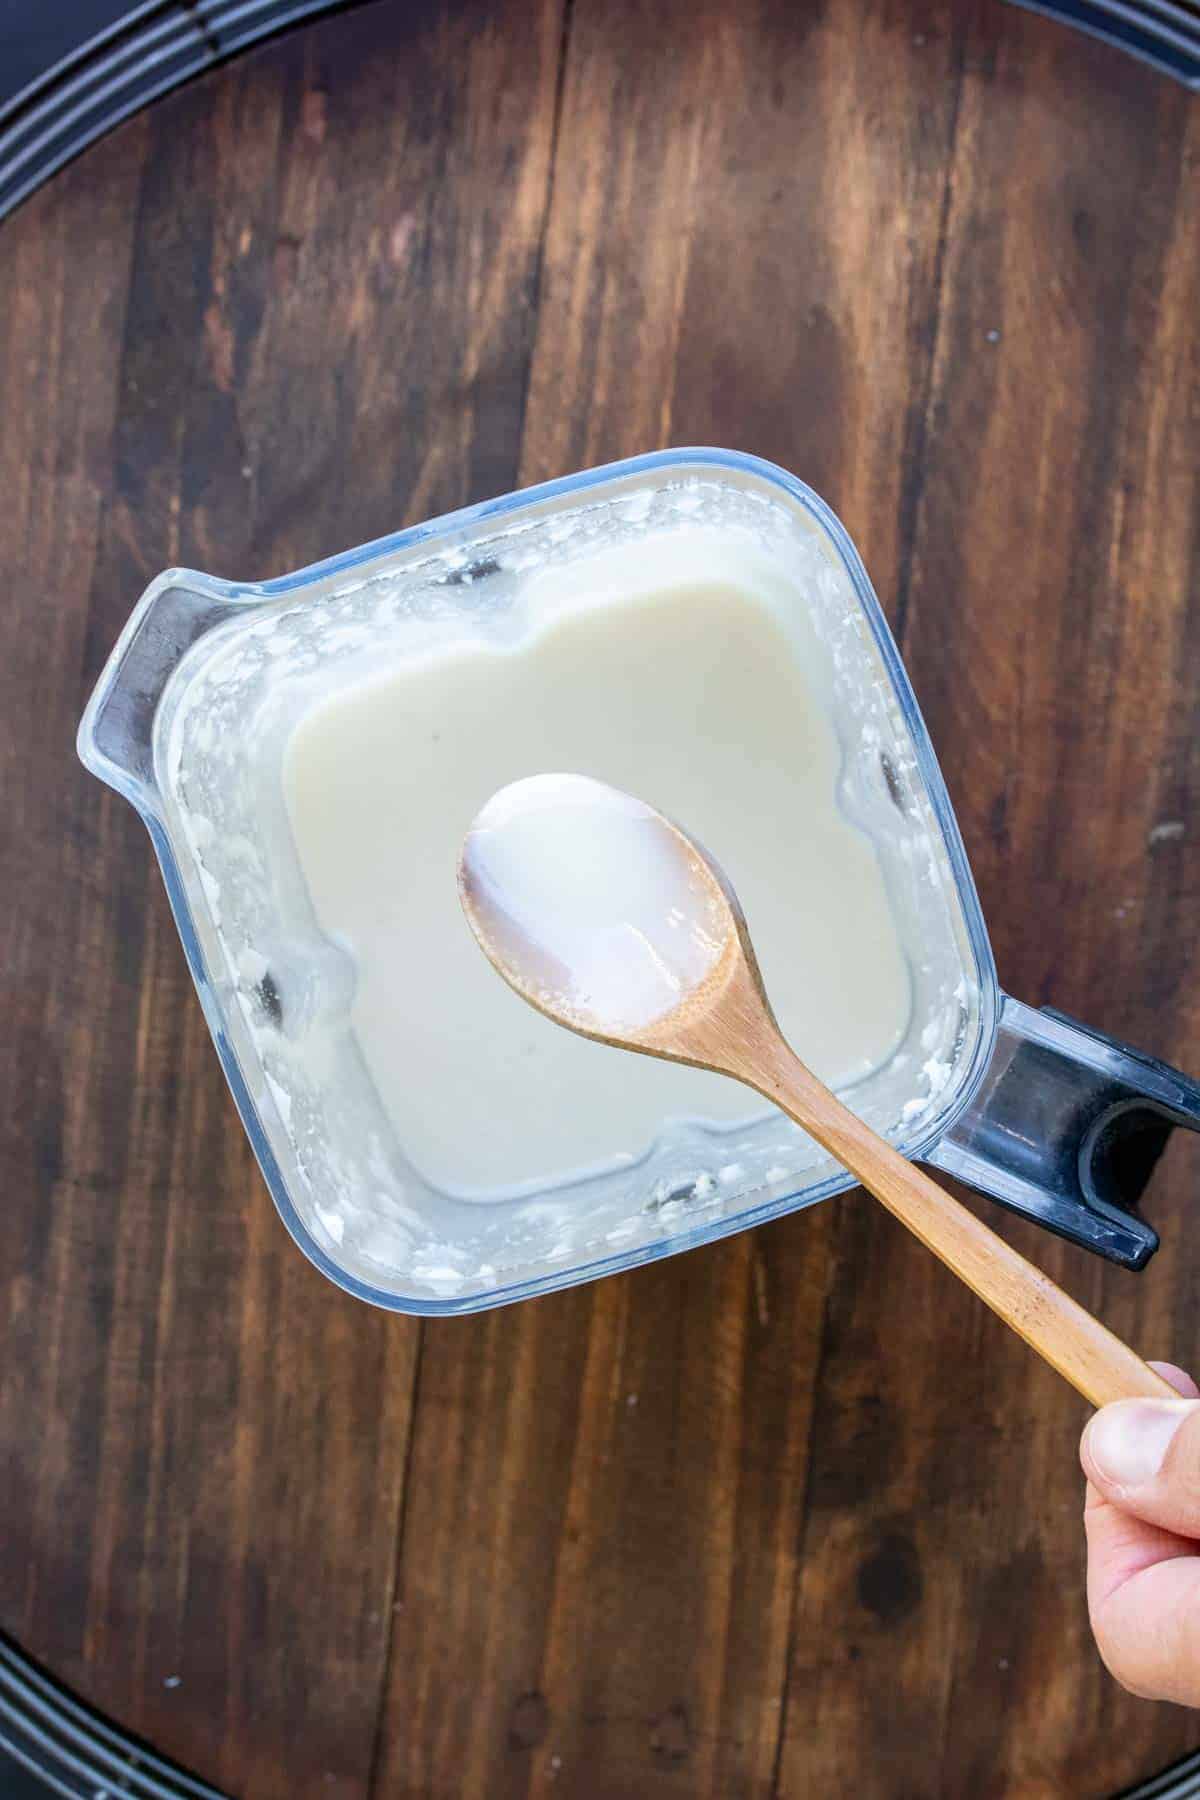
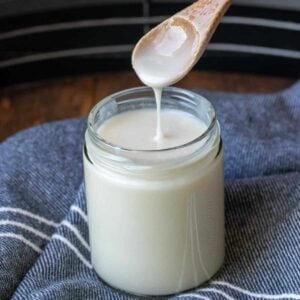
Blend Until Smooth: Next, I blend on high until the coconut turns into a creamy, smooth butter. This usually takes 2 to 5 minutes, depending on the strength of your blender. I stop every minute or so to scrape down the sides, just to make sure everything gets evenly processed.
Note: If I’m using a food processor instead, it can take up to 10–15 minutes, but it still gets the job done. I just stay patient and let the machine do its thing, it always transforms eventually!
Customize (Optional) & Store: Once it’s fully blended and still warm, I’ll sometimes stir in a pinch of sea salt, a bit of vanilla extract, or a little natural sweetener if I’m planning to use it in sweeter recipes. This part’s totally optional, but I love being able to customize it.
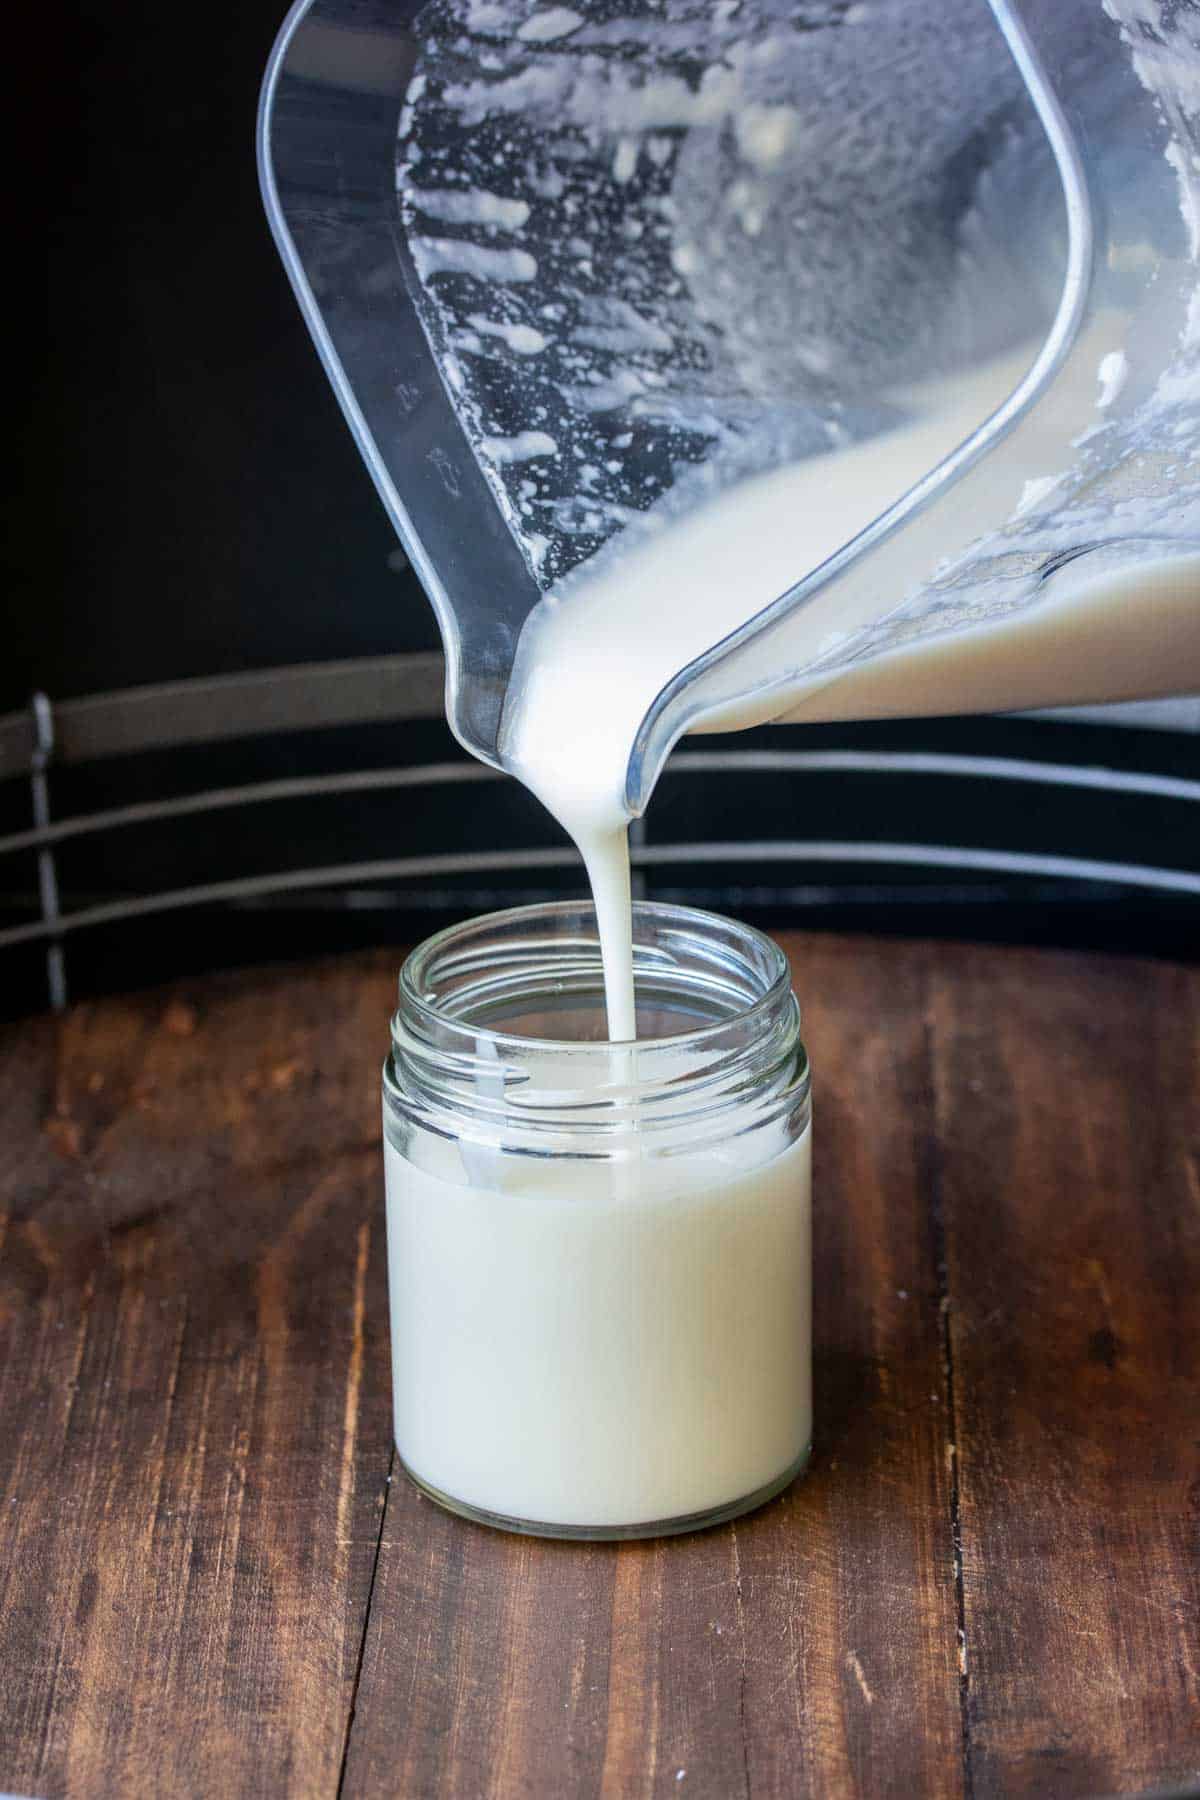
I transfer the coconut butter to a clean glass jar or airtight container and let it cool completely at room temperature. It firms up as it cools, and I store it right in my pantry for up to 3 months.
💭 Expert Tips
My #1 Secret Tip for this recipe is to just be patient and keep blending!
The coconut goes through a few stages before it becomes butter. First, it’ll look dry and crumbly, then it’ll start clumping up, and finally it’ll turn smooth and liquidy.
Don’t stop too soon! It can take anywhere from 2 to 15 minutes, depending on your blender or food processor.
Other Tips To Keep In Mind:
- Use A High-Speed Blender: I get the smoothest, creamiest results with a high-speed blender, so if you have one I highly recommend using it, although a food processor will still work in a pinch.
- Scrape The Sides Regularly: I stop the blender every minute or so to scrape down the sides with a spatula. This helps everything blend evenly and prevents dry patches from sticking.
- Warm Coconut Blends Faster: If my shredded coconut has been sitting in a cold pantry, I’ll sometimes warm it slightly in the oven (at 250°F for 5–7 minutes) before blending. It helps the oils release faster and makes blending easier.
- Don’t Add Water Or Liquid: It might be tempting, but adding water or milk will change the texture and cause the coconut butter to seize. I keep it pure for the best consistency and shelf life.
- Customize At The End: I always wait to add vanilla, salt, or sweetener after blending, once the butter is smooth and warm. This gives me better control over the flavor and consistency.
📖 Variations
One of the things I love about making coconut butter at home is how easy it is to customize. In addition to vanilla extract, salt, and a sweetener (which I’ve already mentioned above), here are my other favorite mix-ins for this recipe:
Spiced Coconut Butter: For a cozy twist, I’ll add a little cinnamon, pumpkin pie spice, or even cardamom for a more aromatic blend. These are delicious stirred into warm breakfasts or spread over banana bread.
Dessert Add-Ins: A teaspoon of cocoa powder with a dash of espresso powder turns this into a rich, indulgent spread. It’s like a healthier chocolate-coconut spread that still feels like dessert. Sometimes I’ll also fold in some mini vegan chocolate chips or nut butter too!
Add Protein: If I want more texture or protein, I add in things like chopped walnuts or pecans, hemp seeds, ground flax or chia seeds.
🍽 Serving Suggestions
Coconut butter is incredibly versatile, I use it in everything from breakfast to dessert. Here are a few of my favorite ways to enjoy it:
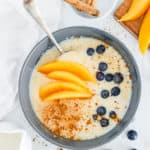
As A Spread Or Drizzle: This tastes great on top of so many things! I’ll often use it as a spread for toast or drizzled over fresh fruit (especially apples, bananas, or berries). It’s also great over a stack of pancakes, swirled into warm oatmeal or protein overnight oats, and as a topping for vegan chocolate chip muffins.
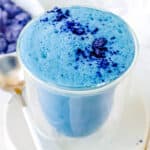
In Smoothies: I’ll often add a spoonful of coconut butter to smoothies for a creamy texture and tropical flavor. It works especially well in my protein coffee smoothie and this mango pineapple smoothie.
For Baking: You can also use coconut butter as a plant-based substitute for regular butter in many baked goods. I’ve used it in: pumpkin scones, healthy chocolate chip cookies, vegan cookie dough and chickpea blondies.
🧊 Storage Directions
In The Pantry: Once the coconut butter has cooled completely, I transfer it to a clean glass jar or airtight container. I store it in a cool, dark pantry for up to 3 months. There’s no need to refrigerate it unless your kitchen stays really warm.
Freezing: I don’t recommend freezing this recipe.
Reheating: Sometimes the coconut oil naturally separates and rises to the top after storage, that’s totally normal. I just give it a good stir before using it again. Also, coconut butter can harden at cooler room temperatures. If it gets too solid to scoop, I warm the jar in a bowl of hot water for a few minutes, or pop it in the microwave for 10–15 seconds to soften. After that, it’s ready to drizzle or spread.
❓Recipe FAQs
Do I need to refrigerate coconut butter?
Nope! It’s shelf-stable. In fact, refrigerating it will make it hard and difficult to scoop. If it becomes too firm, I just warm it slightly to soften.
Why isn’t my coconut blending?
This is super common! If your coconut isn’t breaking down, it may need more blending time, or it could be too dry. Try warming the coconut slightly in the oven (250°F for a few minutes) before blending. Also, be sure you’re using unsweetened shredded coconut or flakes, not desiccated coconut, which is too dry and powdery.
🥣 More Vegan Condiment Recipes!

Love this vegan recipe? Please leave a 5-star rating 🌟 in the recipe below and/or a review in the comment section further down the page!
You can also FOLLOW ME on FACEBOOK, INSTAGRAM, and PINTEREST to see more delicious, healthy, family-friendly food, and if you have any questions, I’m here to help!
📋 Recipe Card
How To Make Coconut Butter
Once I realized how easy it is to make coconut butter at home, I couldn’t believe I had been buying it for so long! With just one ingredient and five minutes, you can make a creamy, rich, totally versatile coconut butter that’s perfect for spreading, baking, drizzling, or just eating with a spoon (yes, I’ve done that too!).
Servings: 16
Calories: 142kcal
Equipment
Instructions
- Put coconut into a blender and blend until creamy and smooth. This may take a little bit, and may need you to stop and scrape the sides down depending on the type of blender you are using, but it will get super smooth and drippy. You can also try using a food processor but it will take longer.
- Use in your favorite recipes!
Notes
- Be Patient: The coconut goes through a few stages before it becomes butter. First, it’ll look dry and crumbly, then it’ll start clumping up, and finally it’ll turn smooth and liquidy. Don’t stop too soon! It can take anywhere from 2 to 15 minutes, depending on your blender or food processor.
- Use A High-Speed Blender: I get the smoothest, creamiest results with a high-speed blender, so if you have one I highly recommend using it, although a food processor will still work in a pinch.
- Scrape The Sides Regularly: I stop the blender every minute or so to scrape down the sides with a spatula. This helps everything blend evenly and prevents dry patches from sticking.
- Warm Coconut Blends Faster: If my shredded coconut has been sitting in a cold pantry, I’ll sometimes warm it slightly in the oven (at 250°F for 5–7 minutes) before blending. It helps the oils release faster and makes blending easier.
- Don’t Add Water Or Liquid: It might be tempting, but adding water or milk will change the texture and cause the coconut butter to seize. I keep it pure for the best consistency and shelf life.
- Customize At The End: I always wait to add vanilla, salt, or sweetener after blending, once the butter is smooth and warm. This gives me better control over the flavor and consistency.
- This makes just under 2 cups, serving size is 2 tablespoons.
Nutrition
Serving: 2tbsp | Calories: 142kcal | Carbohydrates: 14g | Protein: 1g | Fat: 10g | Saturated Fat: 9g | Sodium: 74mg | Potassium: 96mg | Fiber: 1g