Cheese Buns
This post may contain affiliate links. As an Amazon Associate, I earn from qualifying purchases. Please read my disclosure.My soft and fluffy homemade cheese buns are tender on the inside, slightly crispy on the outside, and the perfect alternative to dinner rolls! With cheddar cheese as the star ingredient, they’re a delicious choice for a side dish, snack, or even sandwiches.
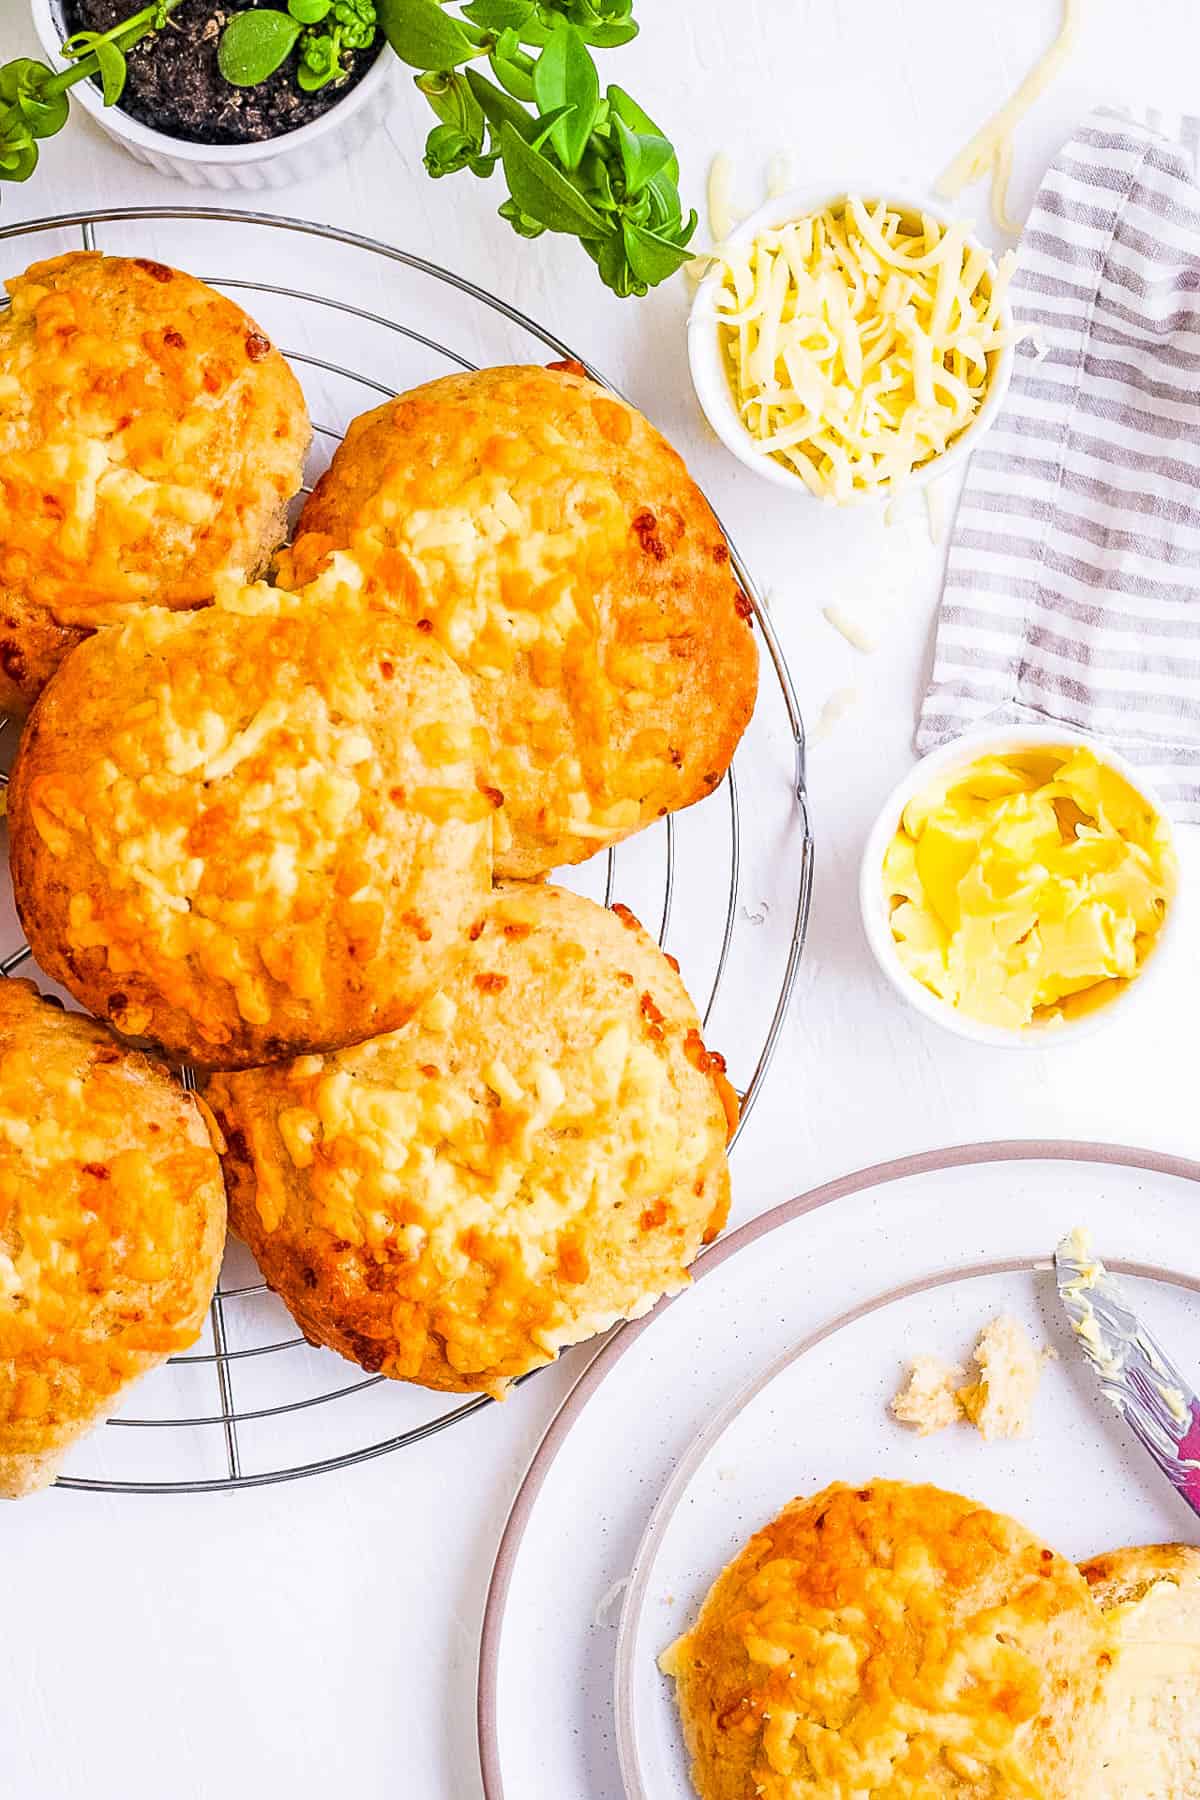
I created this recipe using just a handful of simple ingredients to achieve that perfect dinner roll texture, soft and fluffy, thanks to a blend of flour, yeast, almond milk, and plenty of cheese! They’re my go-to for turning an ordinary meal into something extra special.
My grandma was the inspiration behind these cheese buns. Every time we visited her, no matter the occasion, a basket of warm, cheesy buns was always on the table. It was her way of making every gathering feel extra special, and now I carry on that tradition in my own kitchen 😉
👩🏽🍳 Why I Love This Recipe
Honestly, I love this recipe because it brings back the warmth of my grandma’s kitchen and the joy of gathering around her table. There’s something so special about sharing these homemade buns with loved ones, just like she always did.
Baking has always been my happy place, and these cheese buns hold a special spot in my heart. Every time I make them, I feel like a star baker, even if it’s just an ordinary Tuesday. Whether I’m baking them to wow guests or treating myself to something cozy and delicious, they never fail to bring a little extra joy to the table. And the best part? They’re so easy to customize! From vegan to gluten-free or even mini versions, these buns are as versatile as they are tasty.
My homemade cheese buns are perfect for anyone, whether you’re a seasoned baker or just starting out, and they’re fun to make with kids too! I love how easy the dough is to work with, and there’s something so satisfying about watching the buns rise and bake into golden, cheesy perfection.
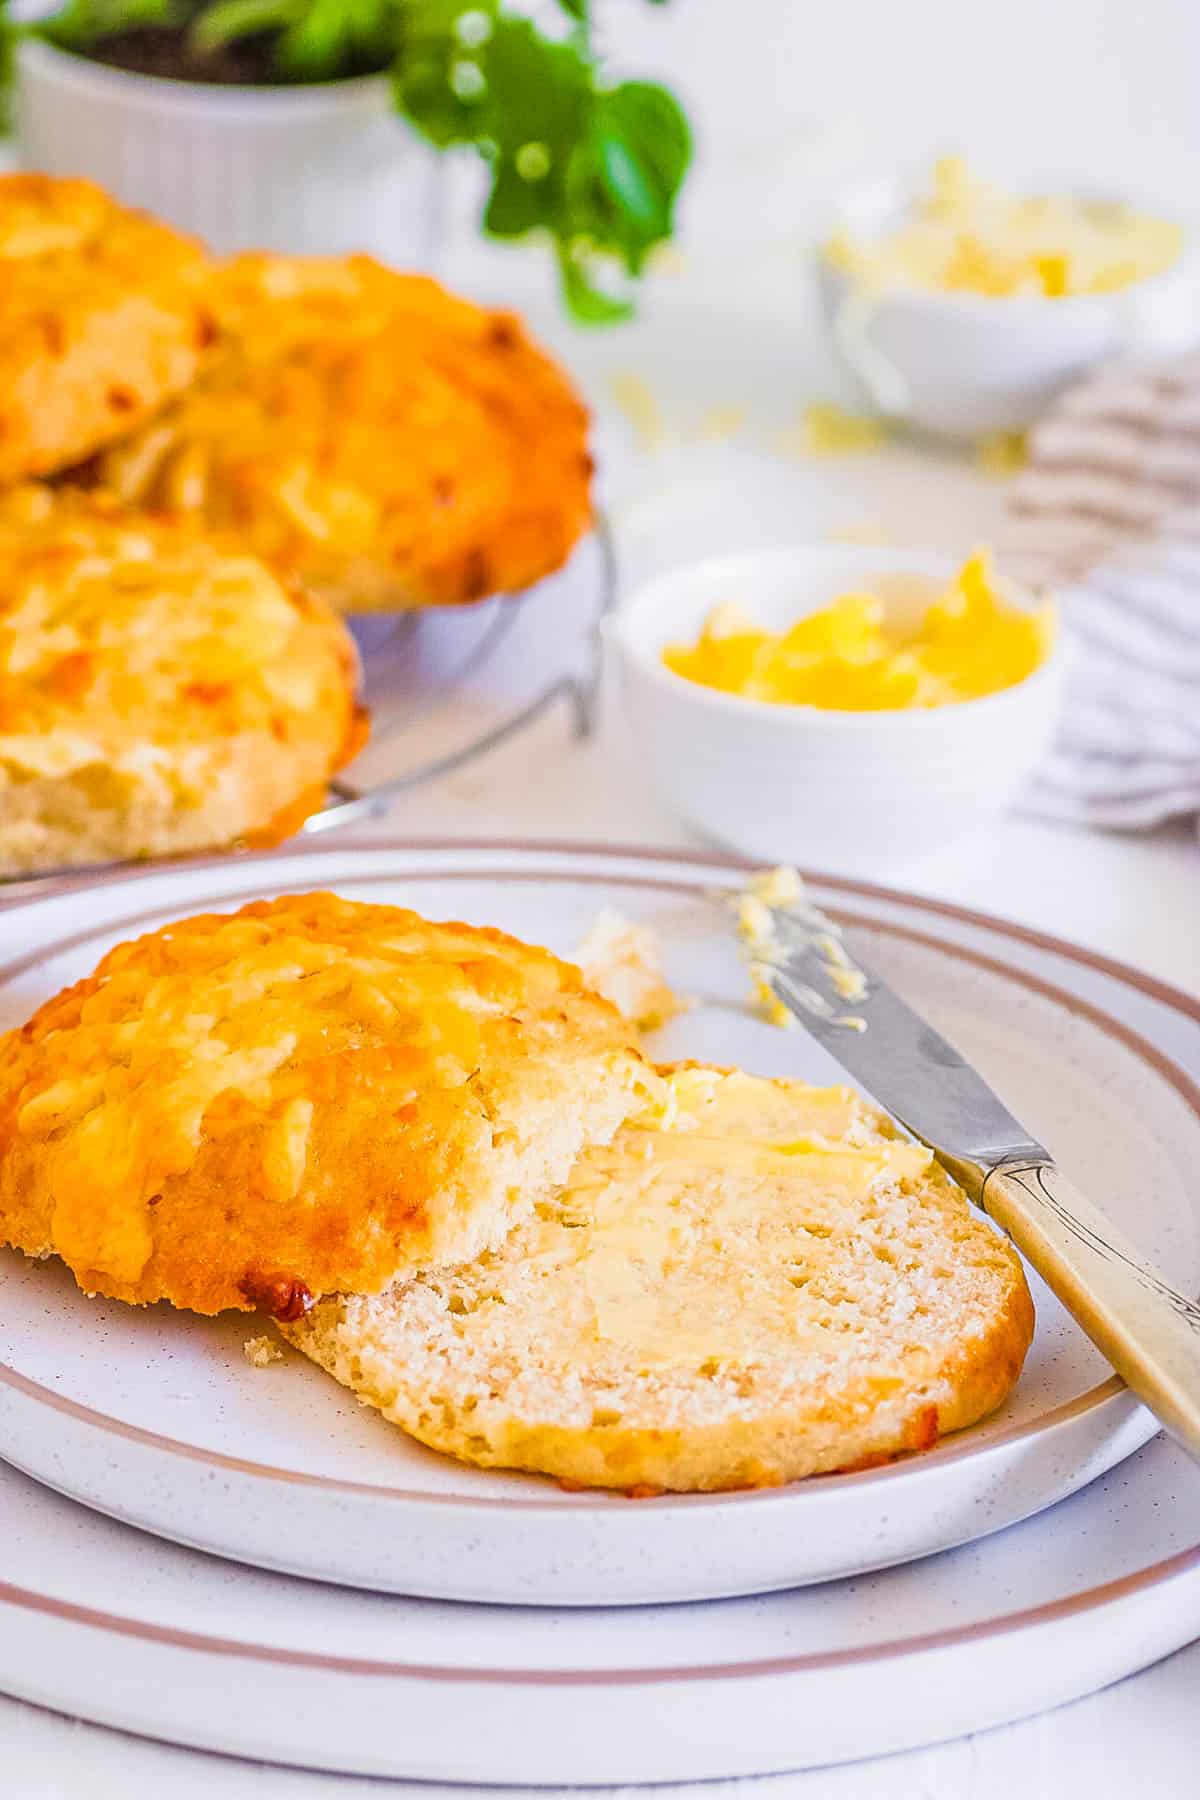
They’re the perfect balance of savory and satisfying, without ever feeling too heavy. I’ve made them for quick snacks, dinner sides, and even loaded sourdough grilled cheese sandwiches, and they always hit the mark. Every time I bake them, I can’t resist going back for seconds, I bet you won’t be able to either!
Latest Recipe Video!
🥘 Ingredients
Can you believe these delicious homemade cheese buns only need 8 simple ingredients? YES! These are the main ingredients I use and why they work so perfectly:
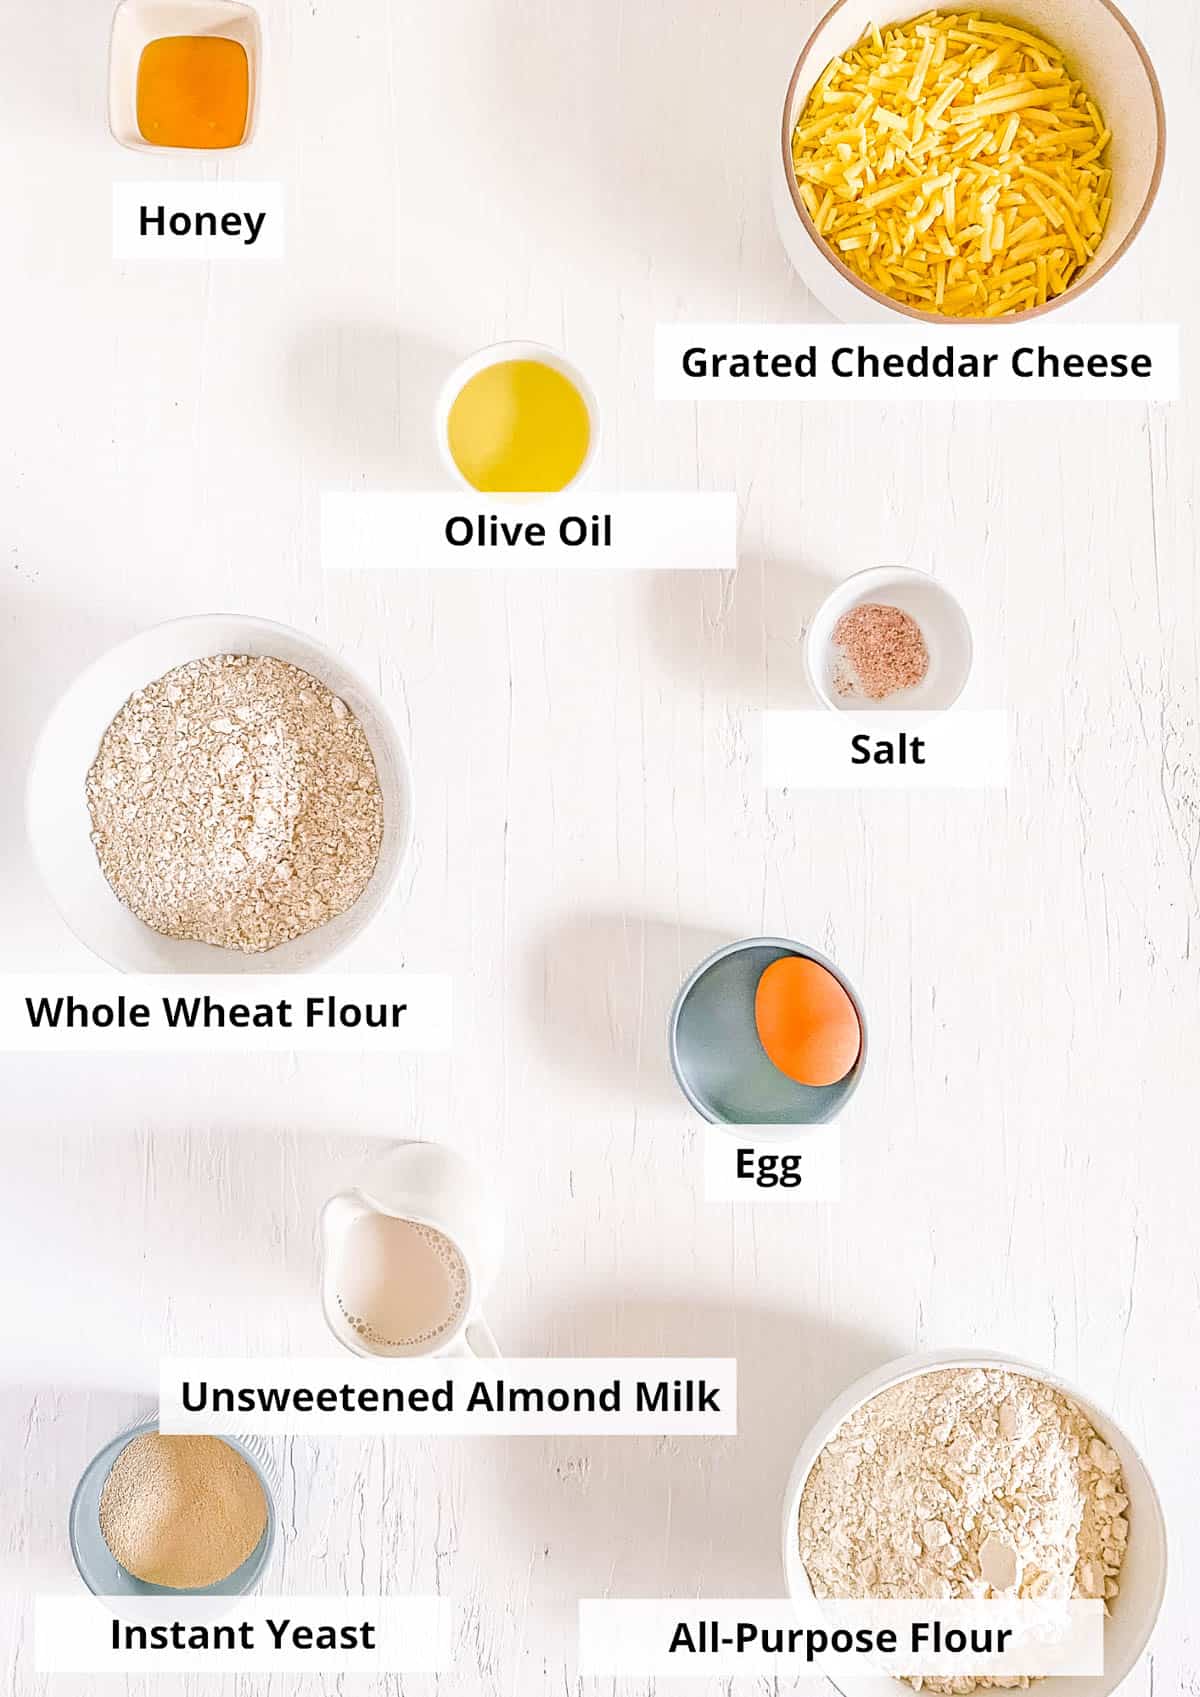
Flour: I use a mix of all-purpose and whole wheat flour for a soft, fluffy texture with a wholesome touch of whole grains. It’s the perfect balance.
Instant Yeast: This is my go-to for helping the dough rise beautifully every time.
Cheddar Cheese: Gooey cheddar gives these buns their melty centers and crispy, golden topping. It’s the star of the recipe.
Unsweetened Almond Milk: I like using almond milk, but any milk, plant-based or regular works just as well.
Olive Oil, Honey, Salt: These simple ingredients add moisture, flavor, and the perfect texture to the dough.
Large Egg: Eggs help bind the dough, making the buns extra soft and fluffy. A little goes a long way!
Swaps
Cheese: Sometimes I switch things up by using mozzarella instead of cheddar, or even a mix of the two for a deliciously cheesy twist. It’s such a simple way to give the buns a new flavor.
Flour: When I need a gluten-free version, I substitute the flour with Bob’s Red Mill Gluten Free 1:1 Baking Flour or a mix of almond and other gluten-free flours. It works perfectly and keeps the buns soft and fluffy.
Vegan: For a vegan-friendly option, I use vegan cheese, swap the honey for maple syrup, and brush the tops with almond milk. It’s an easy tweak that keeps the buns just as delicious.
🔪 How To Make
Every time I bake my cheddar cheese buns, they’re an instant favorite. Let me show you just how easy they are to make with this simple step-by-step guide.
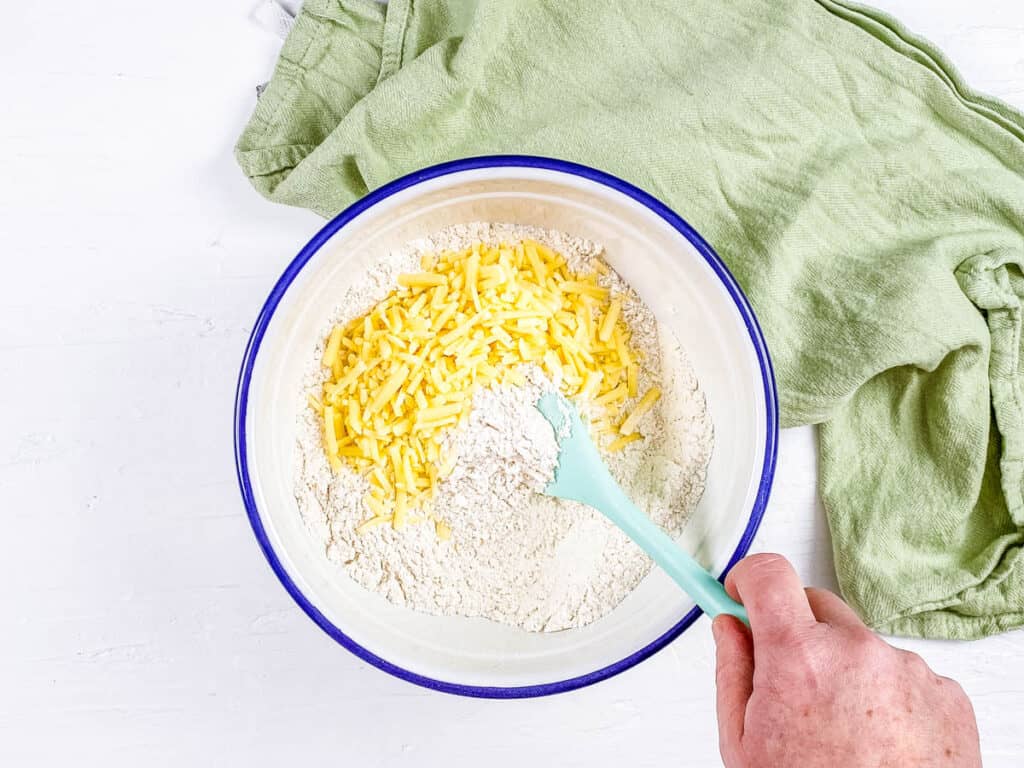
Mix Dry Ingredients: I begin by combining the dry ingredients: both flours, yeast, salt, and 1 cup of shredded cheese in a medium bowl. I make sure to save ½ cup of cheese for the topping.
Mix Wet Ingredients: I warm the almond milk and honey in a separate bowl until lukewarm, then stir in the oil until the honey melts completely. Next, I pour the milk mixture into the dry ingredients to bring the dough together.
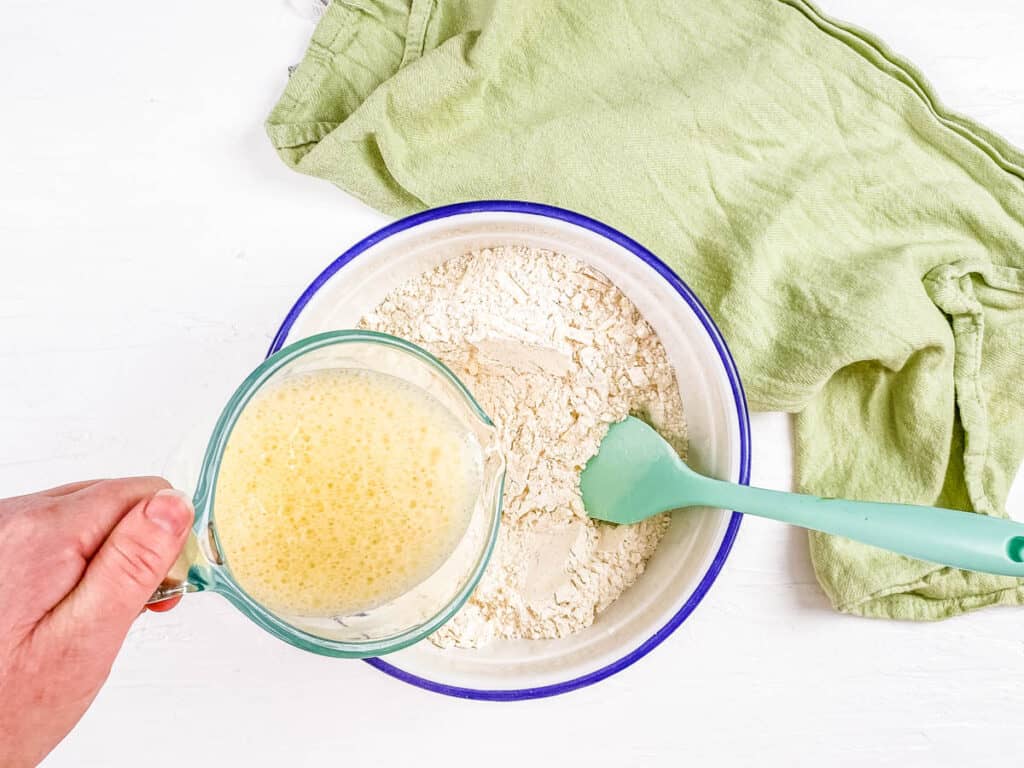
Make Bread Dough: I mix the wet ingredients into the dry to form the yeast dough, using my hands to bring it all together. Then, I turn it out onto a lightly floured surface and knead for 2-3 minutes until it forms a smooth ball or sometimes, I let my stand mixer with a dough hook do the work!
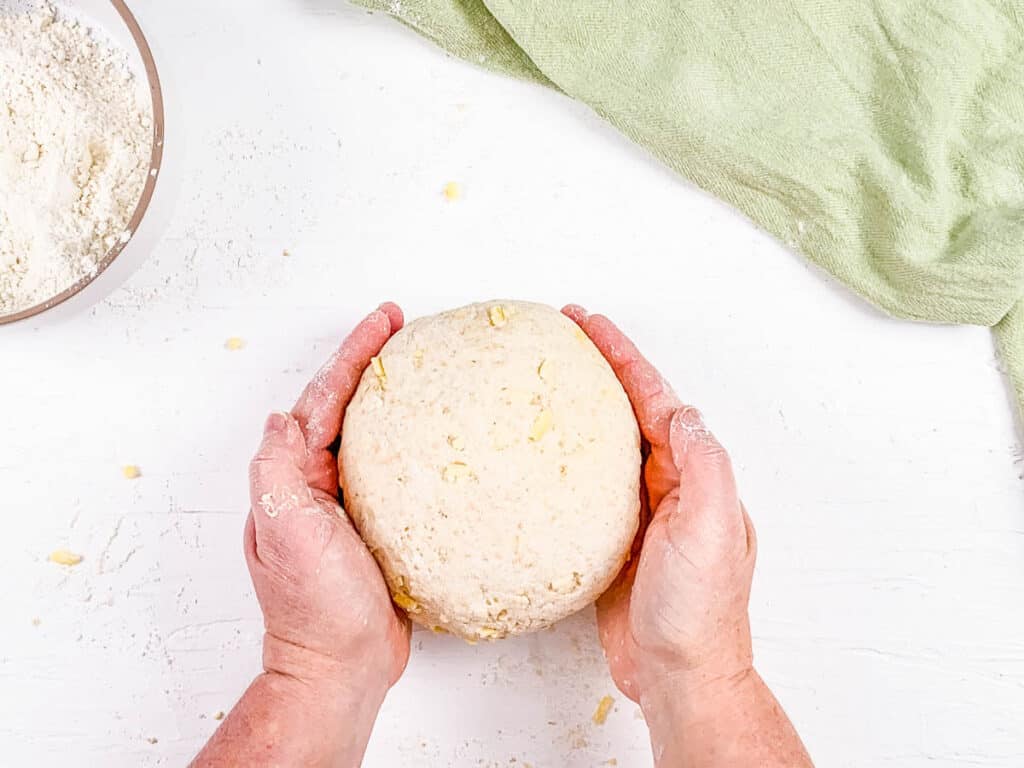
Let The Dough Rise: I place the kneaded dough in a large bowl, cover it with plastic wrap or a cloth, and let it rest in a warm spot for about an hour. This gives the dough time to double in size and get perfectly fluffy!
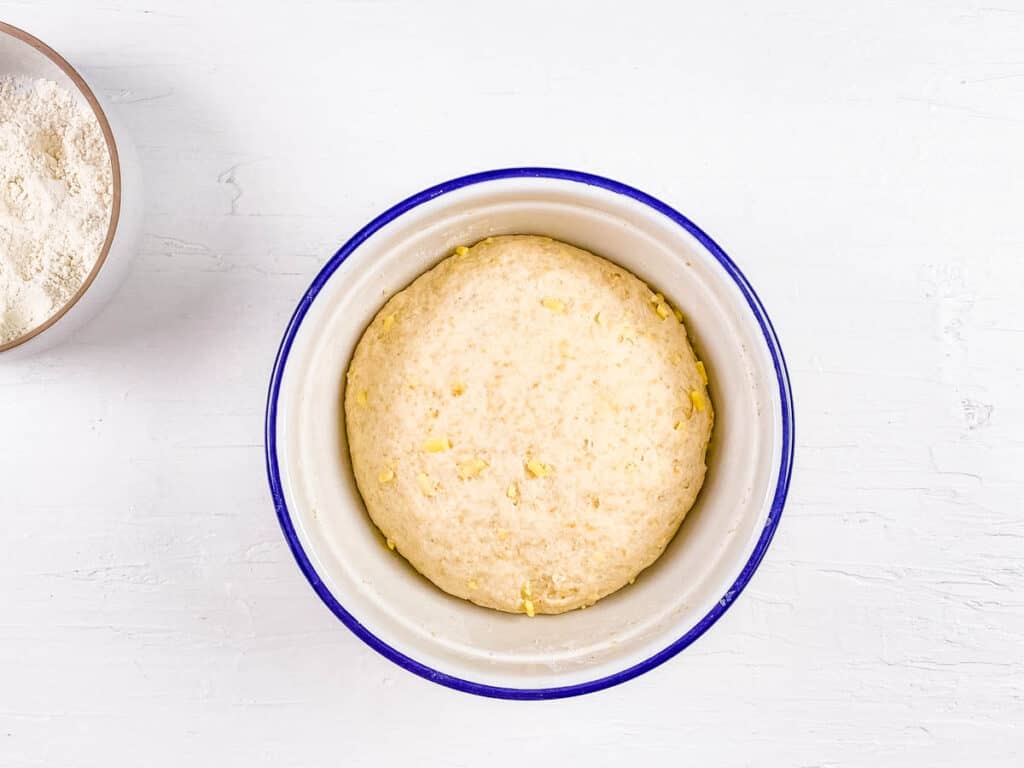
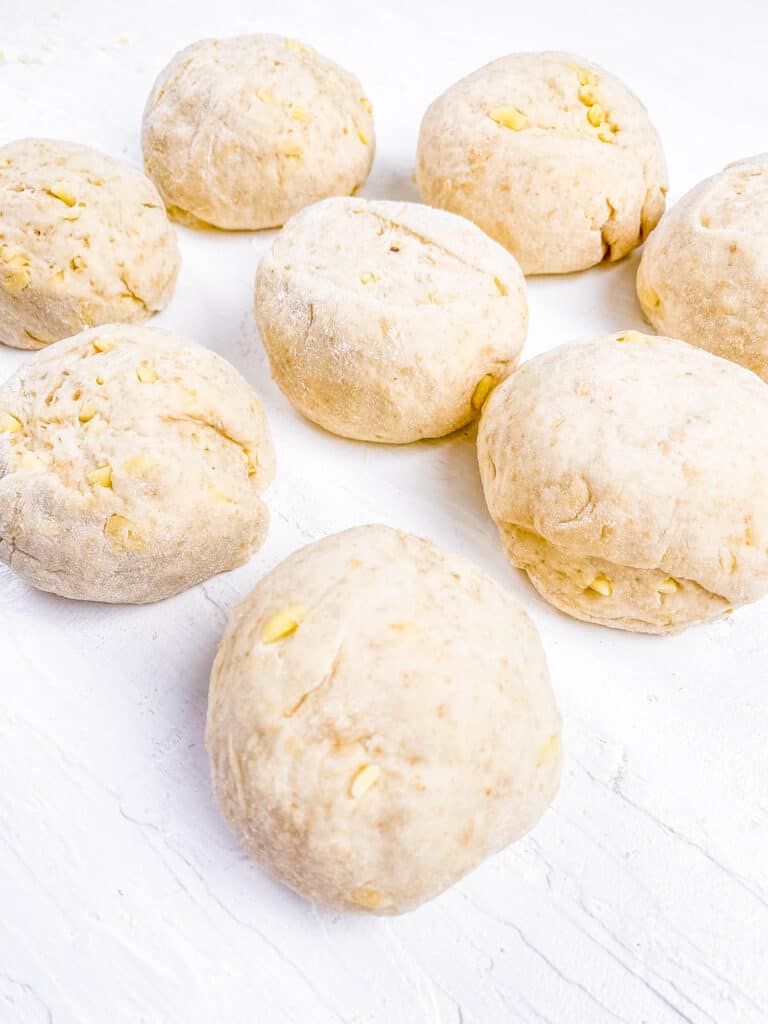
Cut Into Buns: I gently turn the risen dough onto a cutting board and divide it into 8 equal portions to shape into buns.

Second Rise: I shape each portion into a ball and place them on a parchment-lined baking sheet. Then, I cover them and let them rise in a warm spot for another 30 minutes to get perfectly fluffy.
Prep For Baking: I preheat the oven to 338°F (170°C) and get the buns ready for baking by brushing the tops with whisked egg. Then, I sprinkle the reserved cheese over each bun for that irresistible golden, cheesy topping.
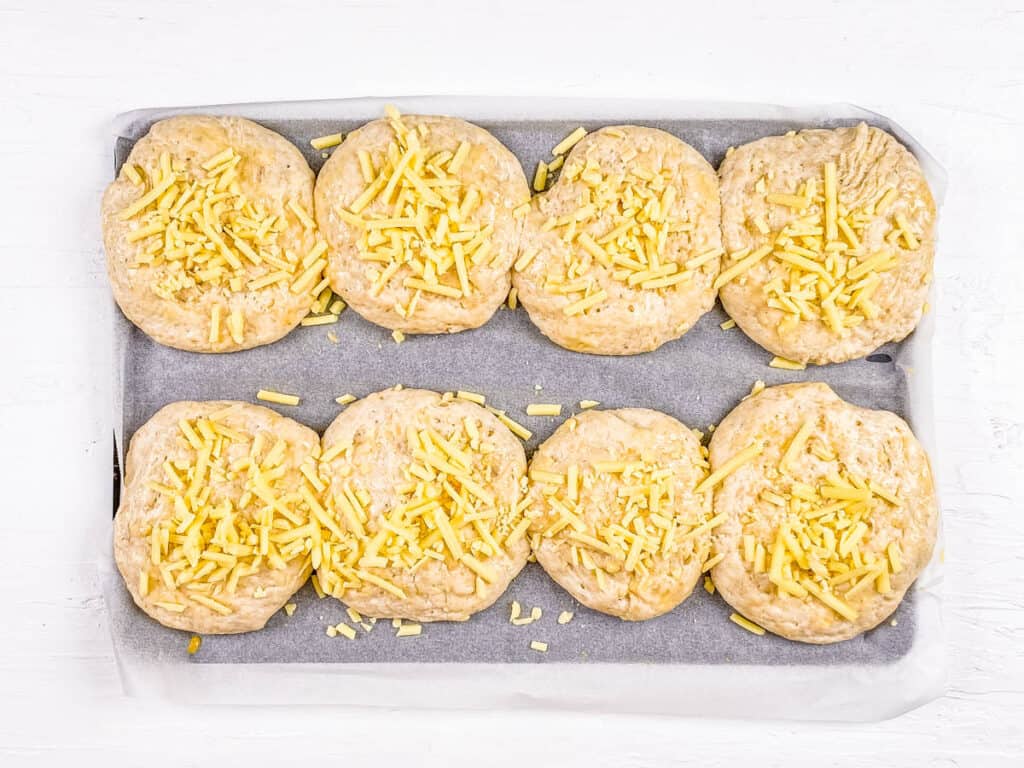
Bake: I bake the buns for 20-25 minutes, just until they turn a beautiful golden brown and are fully cooked through. Once out of the oven, I let them cool on a wire rack before serving, though it’s hard to wait!
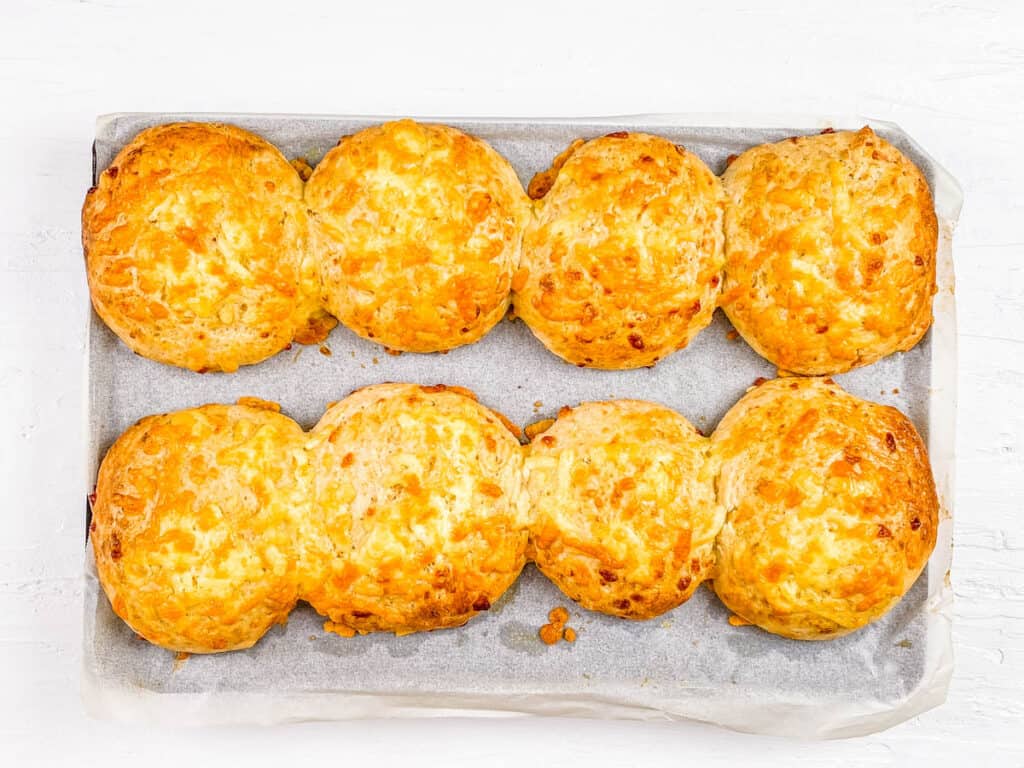
In honor of my grandma, I’ll be serving these cheesy buns at our New Year’s Eve dinner this year, just like she always would for special occasions!
💭 Expert Tips
My #1 Secret Tip for keeping my homemade cheese buns light and fluffy is to always check that my yeast is fresh! I still remember the time my dough just sat there, refusing to rise, it was a total flop, and all because my yeast had lost its magic. Now, I always test it with a little warm water and sugar first, and those bubbles are my reassurance that these buns will turn out perfectly every time! To test whether your yeast is good, add some warm water, 1 tsp sugar, and 1.5 tsp yeast to a small bowl. If the mixture bubbles after 10 minutes, your yeast is still good to go!
Other Tips To Keep In Mind:
- Rest the Dough: I always let the dough rest, covered, in a warm spot so it can rise beautifully. This step is key to achieving that soft, fluffy texture!
- Activate the Yeast: When activating the yeast, I make sure the almond milk and honey mixture is warm – not too hot or too cold – so the yeast works properly. A little care here makes all the difference!
- Sticky Dough Fix: If the dough feels too sticky while kneading, I add just a pinch or two of flour. But I’m careful not to overdo it, so the dough doesn’t dry out.
📖 Variations
Have you ever tried tweaking a recipe to make it even better? That’s what I love about these cheese buns, they’re a family favorite and so versatile! Some of my favorite twists are:
Mini Cheese Buns: I love making mini versions of these buns by dividing the dough into 16 instead of 8 they’re perfect for snacks or parties! Plus, each mini bun has just 150 calories and 6 grams of protein, so they’re a guilt-free treat.
Add Spices or Herbs: Adding fresh garlic, onion powder, or herbs like rosemary or basil takes these buns to the next level. It’s such an easy way to customize them for any meal.
Make Sweet Buns: Sometimes I skip the cheddar, double the honey, and turn these into sweet buns. Once they’re baked, I slice them open and spread cream cheese and jam for a delicious twist.
🍽 Serving Suggestions
My homemade cheesy buns are a family favorite that pair perfectly with any meal! Try serving them warm alongside these amazing recipes:
Soups: I love pairing these soft, cheesy buns with a hearty bowl of my Instant Pot vegetarian chili or creamy mushroom soup. The fluffy buns soak up the bold flavors of the chili and perfectly complement the earthy, rich soup, it’s my go-to comfort meal combo.
Sandwiches: I love using these buns for sandwiches, and one of my all-time favorites is my vegan Reuben recipe.
🧊 Storage Directions
Refrigeration: I store these cheese buns in an airtight container in the fridge, where they stay fresh for up to 2 days.
Freezing: If I’m making them ahead, I freeze the buns in a freezer-safe bag or container for up to 2 months.
Reheating: When I’m ready to enjoy them again, I reheat the buns in the oven at 350°F for a few minutes until they’re warm and fluffy, just like fresh.
❓Recipe FAQs
As a nutritionist, I’d say it depends! Many cheese roll recipes are loaded with cheese, butter, and refined all-purpose flour, making them more of an indulgent treat due to the high fat and lack of whole grains. My recipe, however, is a bit more balanced. By using less cheese and incorporating whole wheat flour, it’s a moderately healthier option without sacrificing flavor.
The cheese you use is totally up to you, and swapping cheeses won’t affect the texture or recipe at all! Here are a few of my favorites to try:
Provolone for a mild, Italian flavor.
Shredded mozzarella for a gooey, melty texture.
Parmesan sprinkled on top for a savory kick.
Pepper jack if you’re craving a little spice!
Absolutely! I shape the buns, freeze them on a tray until firm, then transfer them to a freezer-safe bag. When I’m ready to bake, I just thaw them, let them rise, and bake as usual, it’s so convenient!
When the dough feels sticky while kneading, I add a pinch or two of flour at a time. I’m careful not to add too much, though, because I want the buns to stay soft and fluffy!
LOVE THIS RECIPE? Please leave a 5-star rating 🌟 in the recipe card below and/or a review in the comments section further down the page!
You can also FOLLOW ME on FACEBOOK, TWITTER, INSTAGRAM, and PINTEREST to see more delicious, healthy, family-friendly food, and if you have any questions, I’m here to help!
📋 Recipe Card
🎥 Watch How to Make It
Cheese Buns
Ingredients
- 2 cups All-Purpose Flour
- 1 cup Whole Wheat Flour
- 1 tsp Instant Yeast
- ½ tsp Salt
- 1½ cup Grated Cheddar Cheese
- 1¼ cup Unsweetened Almond Milk
- ½ tbsp Honey
- 2 tbsp Olive Oil
- 1 Egg Whisked
Equipment
Instructions
- In a mixing bowl whisk together both of the flours, yeast, salt and 1 cup of grated cheese. Reserve ½ cup of cheese for the topping.
- In a separate bowl heat the almond milk and honey until lukewarm, stir through the oil and make sure the honey has melted.
- Mix the wet ingredients into the dry to form a dough.
- Use your hands to bring the dough together. Turn out onto a lightly floured surface and knead for 2-3 minutes.
- Place in a bowl, cover and rest in a warm place for 1 hour to allow the dough to double in size.
- Turn the dough out and divide into 8 equal pieces. Shape the pieces into balls, place on a baking tray lined with baking paper.
- Cover and allow to rise in a warm place again for 30 minutes.
- Preheat the oven to 338 degrees F / 170 C
- Lightly brush the tops of the dough balls with the whisked egg and sprinkle the reserved cheese on top.
- Bake for 20-25 minutes or until lightly golden and cooked through.
Notes
- I always check that my yeast is fresh! I still remember the time my dough just sat there, refusing to rise, it was a total flop, and all because my yeast had lost its magic. Now, I always test it with a little warm water and sugar first, and those bubbles are my reassurance that these buns will turn out perfectly every time! To test whether your yeast is good, add some warm water, 1 tsp sugar, and 1.5 tsp yeast to a small bowl. If the mixture bubbles after 10 minutes, your yeast is still good to go!
- When activating the yeast, I make sure the almond milk and honey mixture is warm – not too hot or too cold – so the yeast works properly. A little care here makes all the difference!
- I always let the dough rest, covered, in a warm spot so it can rise beautifully. This step is key to achieving that soft, fluffy texture
- If the dough feels too sticky while kneading, I add just a pinch or two of flour. But I’m careful not to overdo it, so the dough doesn’t dry out.



























Made these cheese buns and they were amazingly delicious. They were perfect to have with ham and cheese!
Yay! Glad to hear it Mirlene!
Easy and delicious, this one is a keeper. I know I’m going to make it over and over again!
Thank you so much Shadi!! 🙂
I’m always game for anything cheddar, but these exceeded my expectations. SO GOOD! I can’t wait to make them again. They didn’t last long in this house 😉
Woohoo! That’s awesome Dana – these don’t last very long in our house either! 🙂
Great recipes and kids loved them too. Loved the flavour and the crispy texture on the outside.
Yay! So happy to hear that Sara!
I’m a household of one, so probably won’t eat them in 24 hours. Any idea how to successfully freeze these?
Hi Kaye! To be honest, I’ve never tried freezing these before, but if I were to freeze them here’s how I’d do it:
1) Let the buns cool completely
2) Wrap each bun tightly in plastic wrap
3) Transfer all the wrapped buns to either an airtight container or a ziptop freezer bag
4) Freeze (likely will stay good for up to 3 months)
5) To defrost – put the buns you want to eat in the fridge overnight to thaw, warm in the microwave for up to 1 minute or until warmed through, or warm in a toaster oven on low until warmed through.
Hope that helps! Let me know how this works out if you end up trying it!
I made this recipe tonight and it turned out great! These little cheese buns were so delicious.
Yay! So happy to hear that Denay! Thanks for letting me know!
Without the Yeast sounds interesting and I love the combination of Almond flour to the making. Healthier and Homemade always the best.
Totally! Being able to do this without the yeast makes it so much easier, and the buns still turn out nice and fluffy!
I happen to have all the ingredients in my cupboard – will try this weekend! Sounds delicious!
Perfect!! Enjoy!
I love how few ingredients you need to make these cheese buns!! Bookmarked to make this weekend, thank you so much for the recipe 🙂
Yes!! You can totally make it with just pantry staples. I can’t wait for you to try this recipe!
Garlic and cheese are some of my favorite ingredients! Will be making these buns very soon.
Yay!! You will love this recipe Biana! 🙂