Winter ONEderland Cake (Snowman Cake Recipe!)
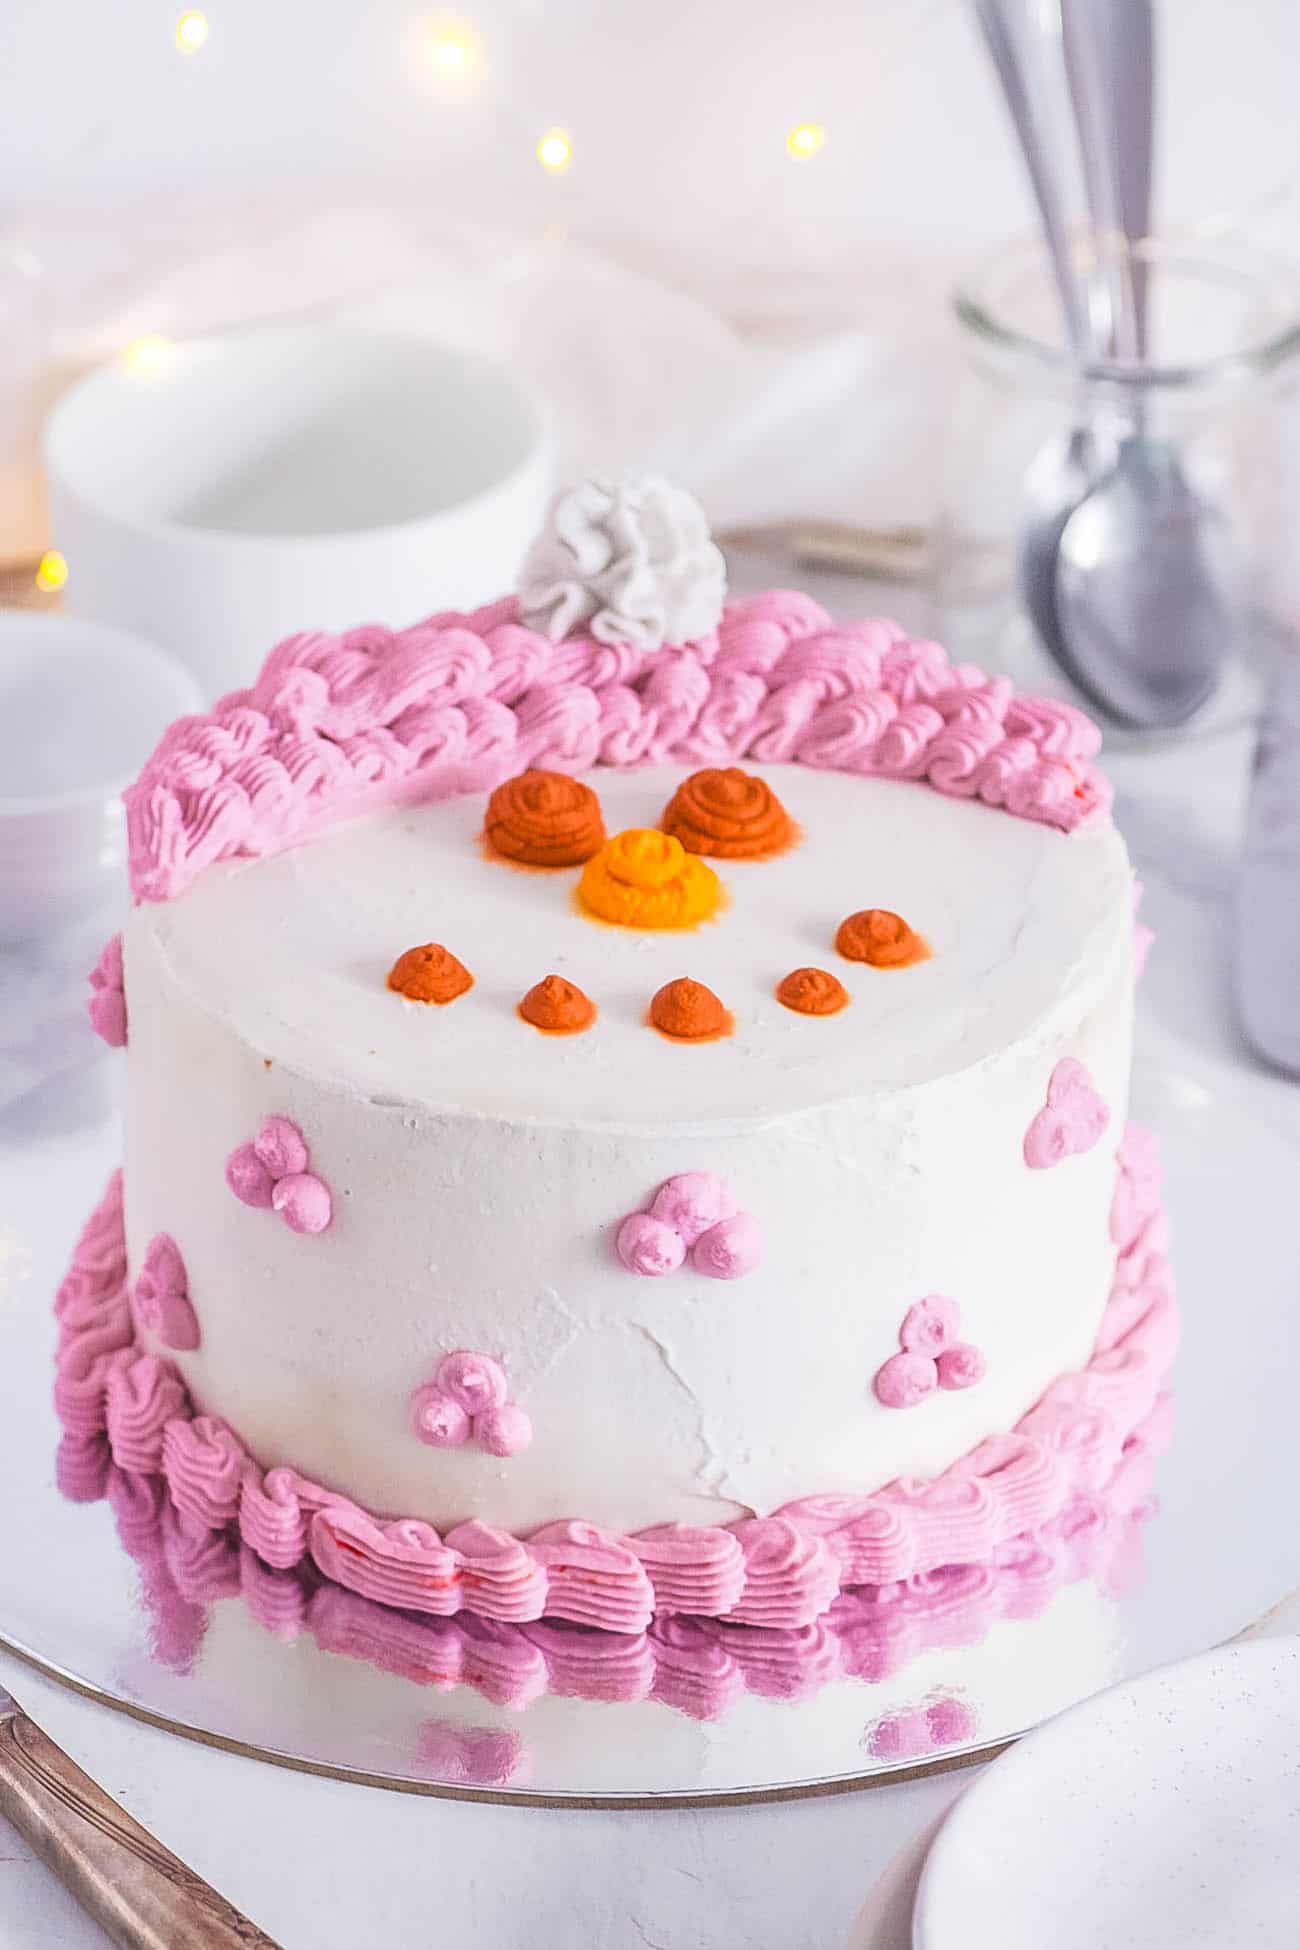
This post may contain affiliate links. As an Amazon Associate, I earn from qualifying purchases. Please read my disclosure.Planning a winter birthday celebration? This Winter Wonderland Birthday Cake has a vanilla cake base covered in a coconut cream frosting, and decorated to look like a snowman! This cake has a moist and fluffy crumb, with simple steps for decoration. I’ve also shared some tips and tricks on how to create a magical Winter Onederland Birthday party!
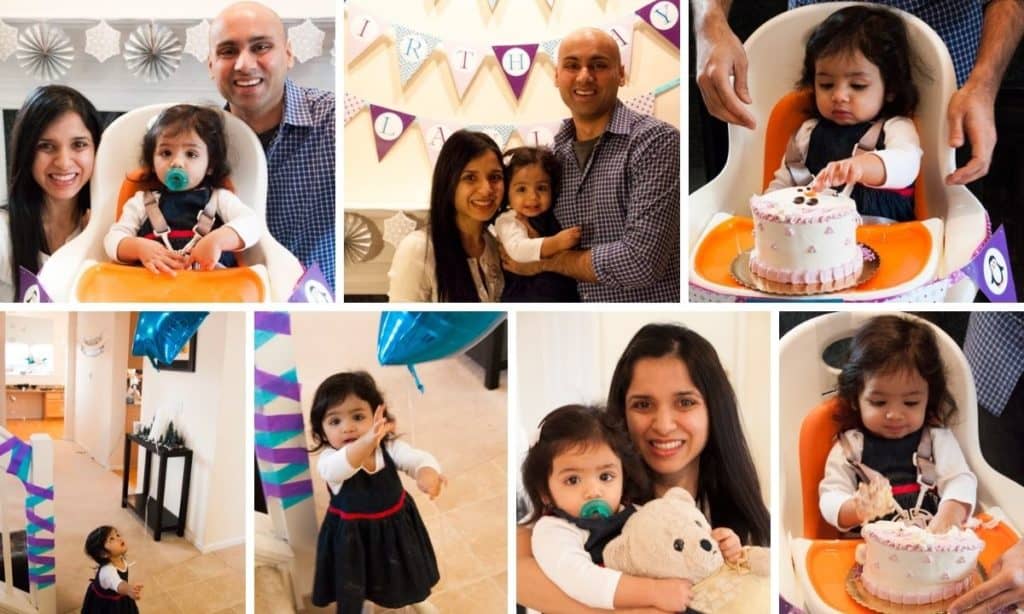
When we threw my daughter, Layla’s, winter themed 1st birthday party it was a total blast!
The guests enjoyed tons of food, including a hot chocolate bar and s’mores. And I made a winter wonderland first birthday cake from scratch! We were so grateful to have the opportunity to celebrate with tons of family and friends. All in all, it was the perfect weekend! We also ended up with perfect snowy weather that went with our winter onederland theme.
I love planning and hosting parties — so naturally, I had to go all out for this one. It was a lot of fun coming up with ideas for sweet treats, decorations, and embracing the freezing temperatures that were inevitable (we were living in the midwest at the time!)
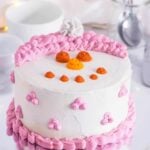
The showstopper of the party was undeniably the snowman birthday cake that went perfectly with our holiday snowflake birthday party. When planning to make a winter birthday cakes, you want it to have a winter party theme without it being too holiday themed. Read on for all of my party planning tips, and my delicious homemade first birthday cake recipe!
📹 Video: How To Make A Winter Wonderland Birthday Cake!
❄️ Winter ONEderland Party Planning Tips
Decoration Ideas
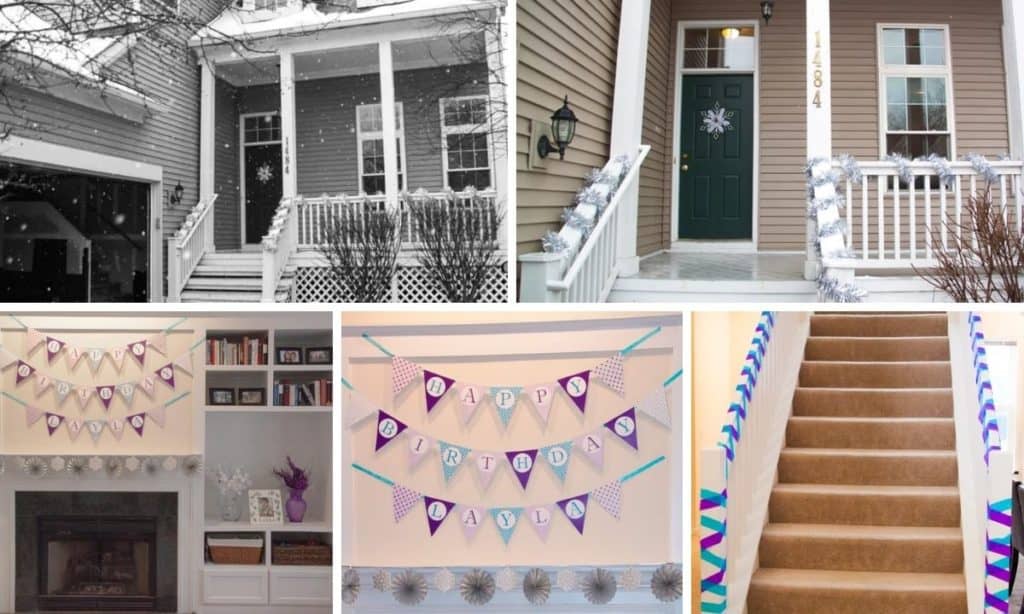
We spruced up the outside of our house with a silver snowflake wreath and some tinsel to match our color scheme (which was lavender, cerulean, silver, and white.
All of our indoor decorations either matched the color scheme or the winter theme – I was able to buy a lot of our winter onederland party decorations from: Michael’s, Party City, Amazon, and Etsy, and my sister-in-law helped with the invites and some of the paper decorations like the adorable banner we hung!
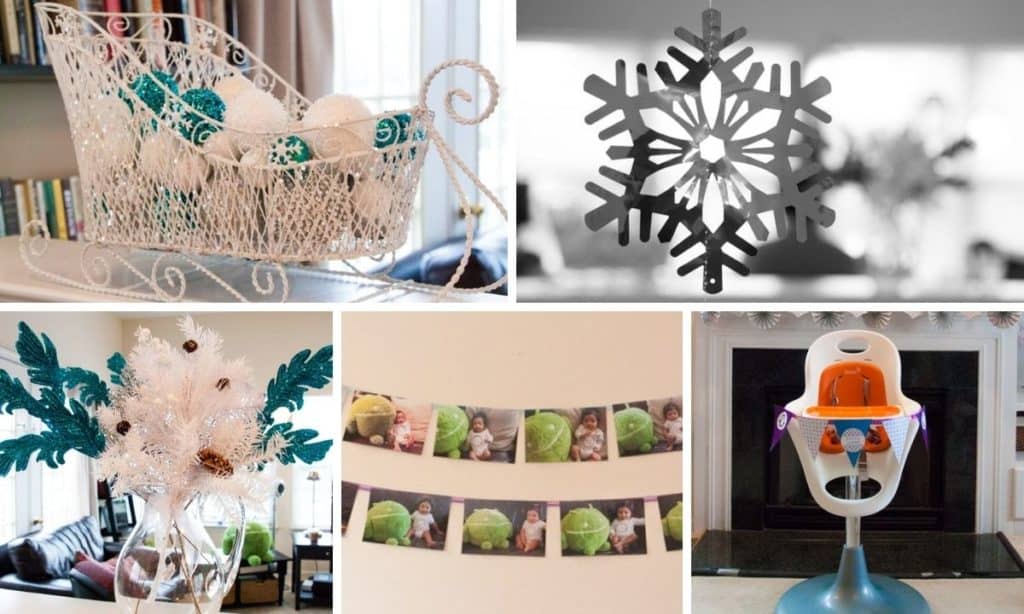
I also made a wall of photos of Layla from newborn to 12 months (we took a new photo each month next to the same stuffed animal). It was crazy to see them all next to each other and see how much she’s changed in just one year!
What To Serve At A Winter Onederland Birthday Party
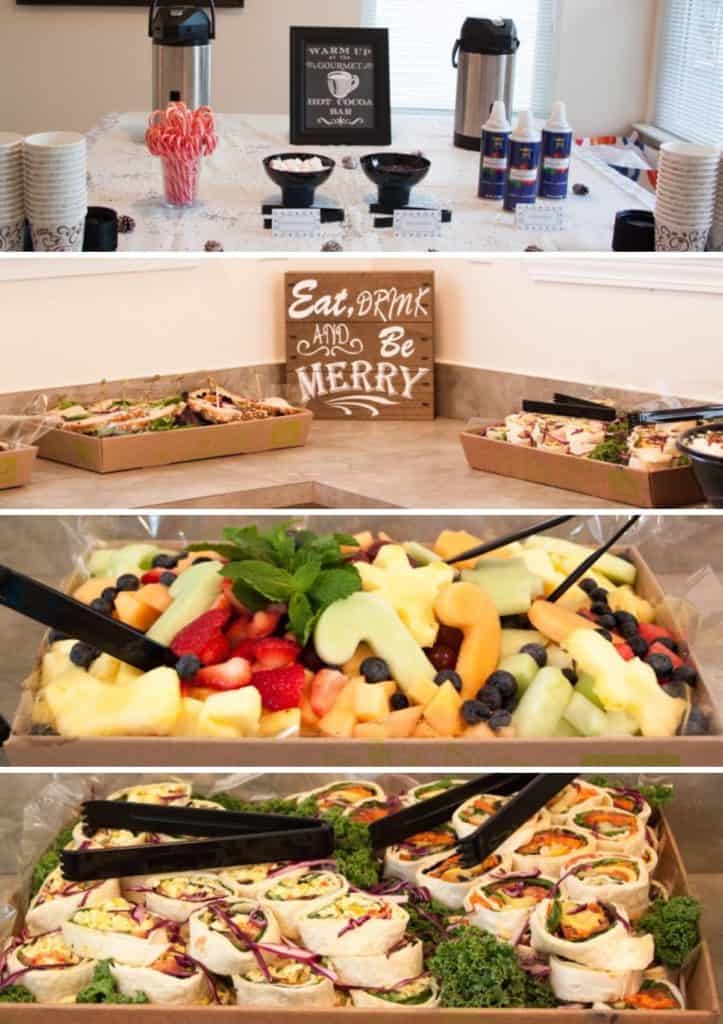
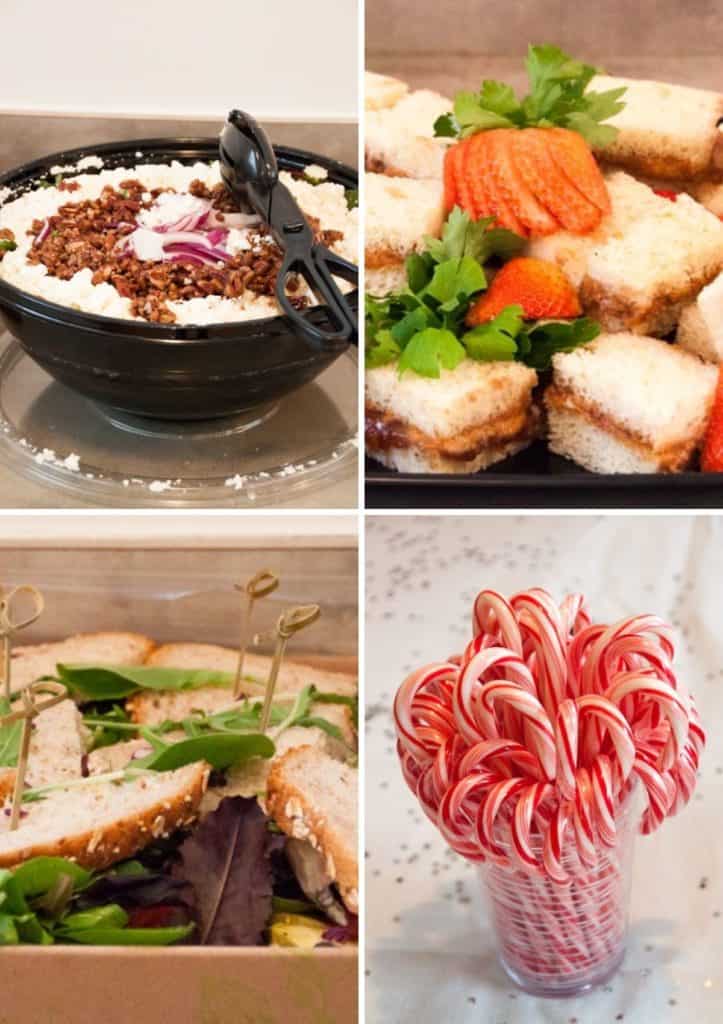
We catered all of the food from Whole Foods, and they were absolutely amazing. They made everything custom for our theme!
We started with a Hot Chocolate Bar! It had chocolate chips, marshmallows, and whipped cream as toppings; and then we also had candy canes to use as stirrers!
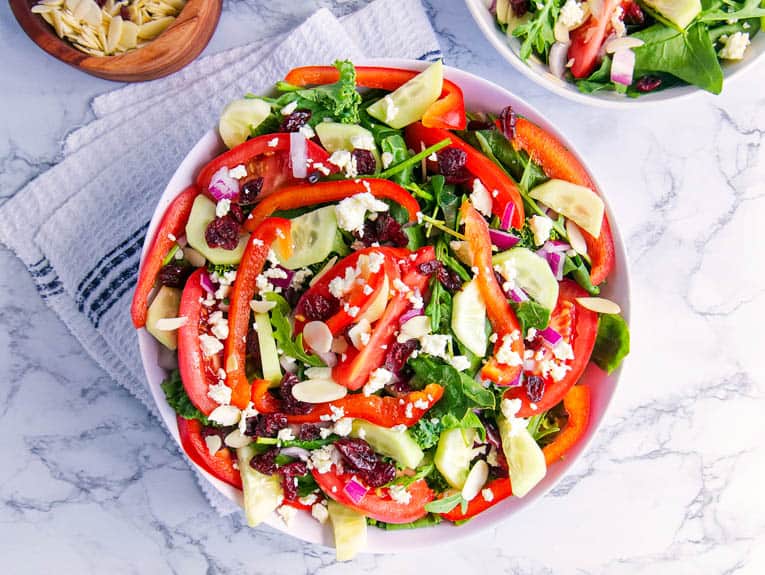
For Food (since the party was during lunch) we had a variety of items: fresh fruit, pb&j finger sandwiches, a greek salad with feta and pecans, curry tofu wraps, roasted veggie wraps, and assorted sandwiches. Everything was delicious, but the curry tofu wraps were a total standout for our guests – they were amazing!
The Dessert Table was so much fun to create!
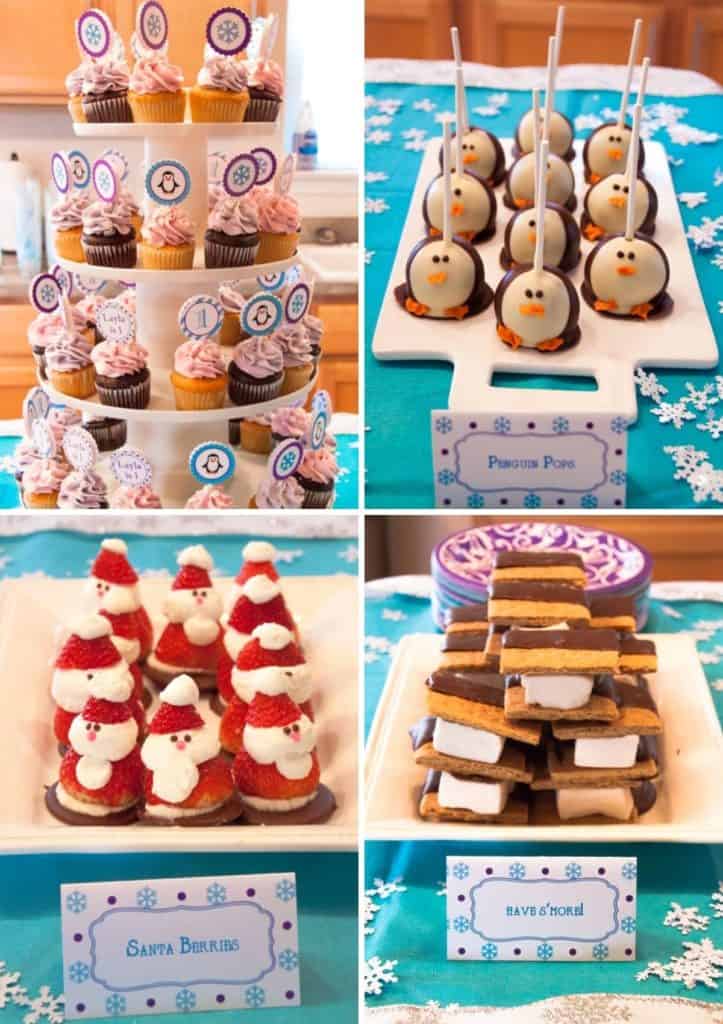
This was so much fun to put together.
We had S’mores, Santa Berries, Penguin Cake Pops, and a Cupcake Tower, and of course Layla’s smash cake which was this Winter Wonderland Birthday Cake!
For the Drinks, we kept it simple with “Melted Snow” aka water!
Goodie Bags Ideas
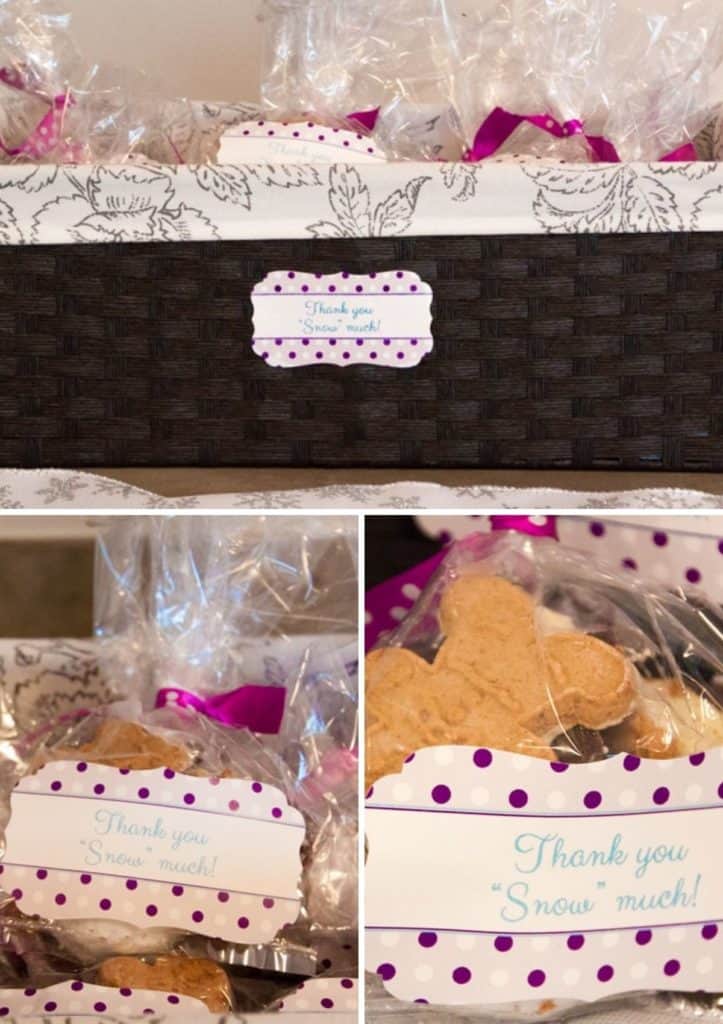
No birthday party is complete without Goodie Bags! We had a basket of winter-themed cookies for all of our guests to take with them as a thank you for joining us in the celebration! The cookies included miniature gingerbread men. Each bag had a tag that said, “Thank you Snow much!”
🎂 A Homemade Winter Onederland Birthday Cake
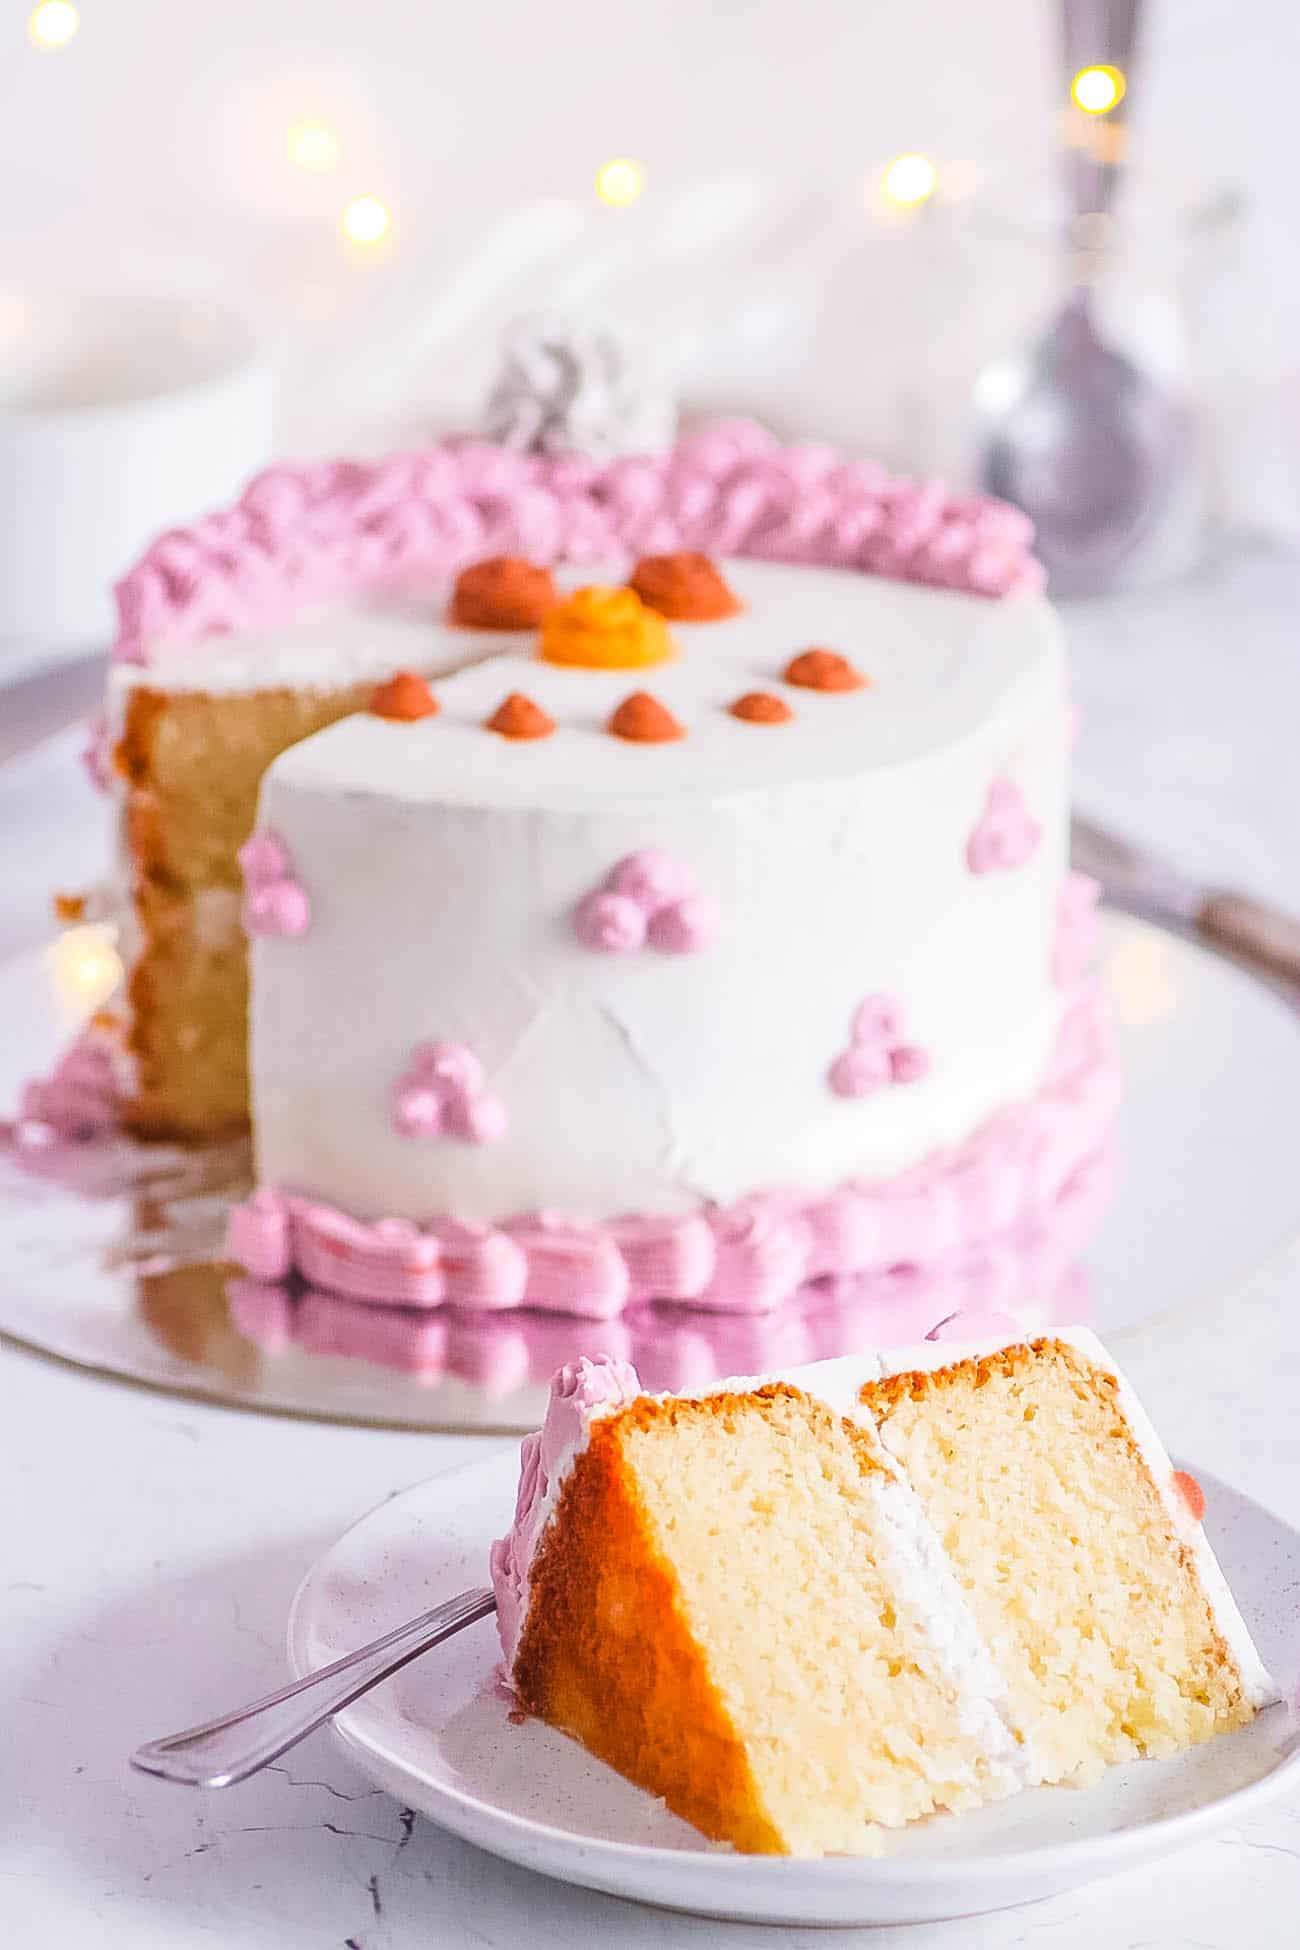
I made this Snowman Birthday Cake special for Layla! It was her smash cake, but it was so delicious, you could absolutely make it for the party guests as well.
This was Layla’s first taste of dessert or sugar ever! She gave it a small taste and was tentative at first. Then, with some help from us, she realized she could go to town. Cake chaos ensued!

👩🏽🍳 Why This Recipe Works
- Simple Smash Cake
- Adorable Snowman Cake
- Perfect for a Winter Onederland Theme Party
- Makes a Great Cake for the Holidays
- Light and Fluffy
- Beautiful Cake
🥘 Ingredients
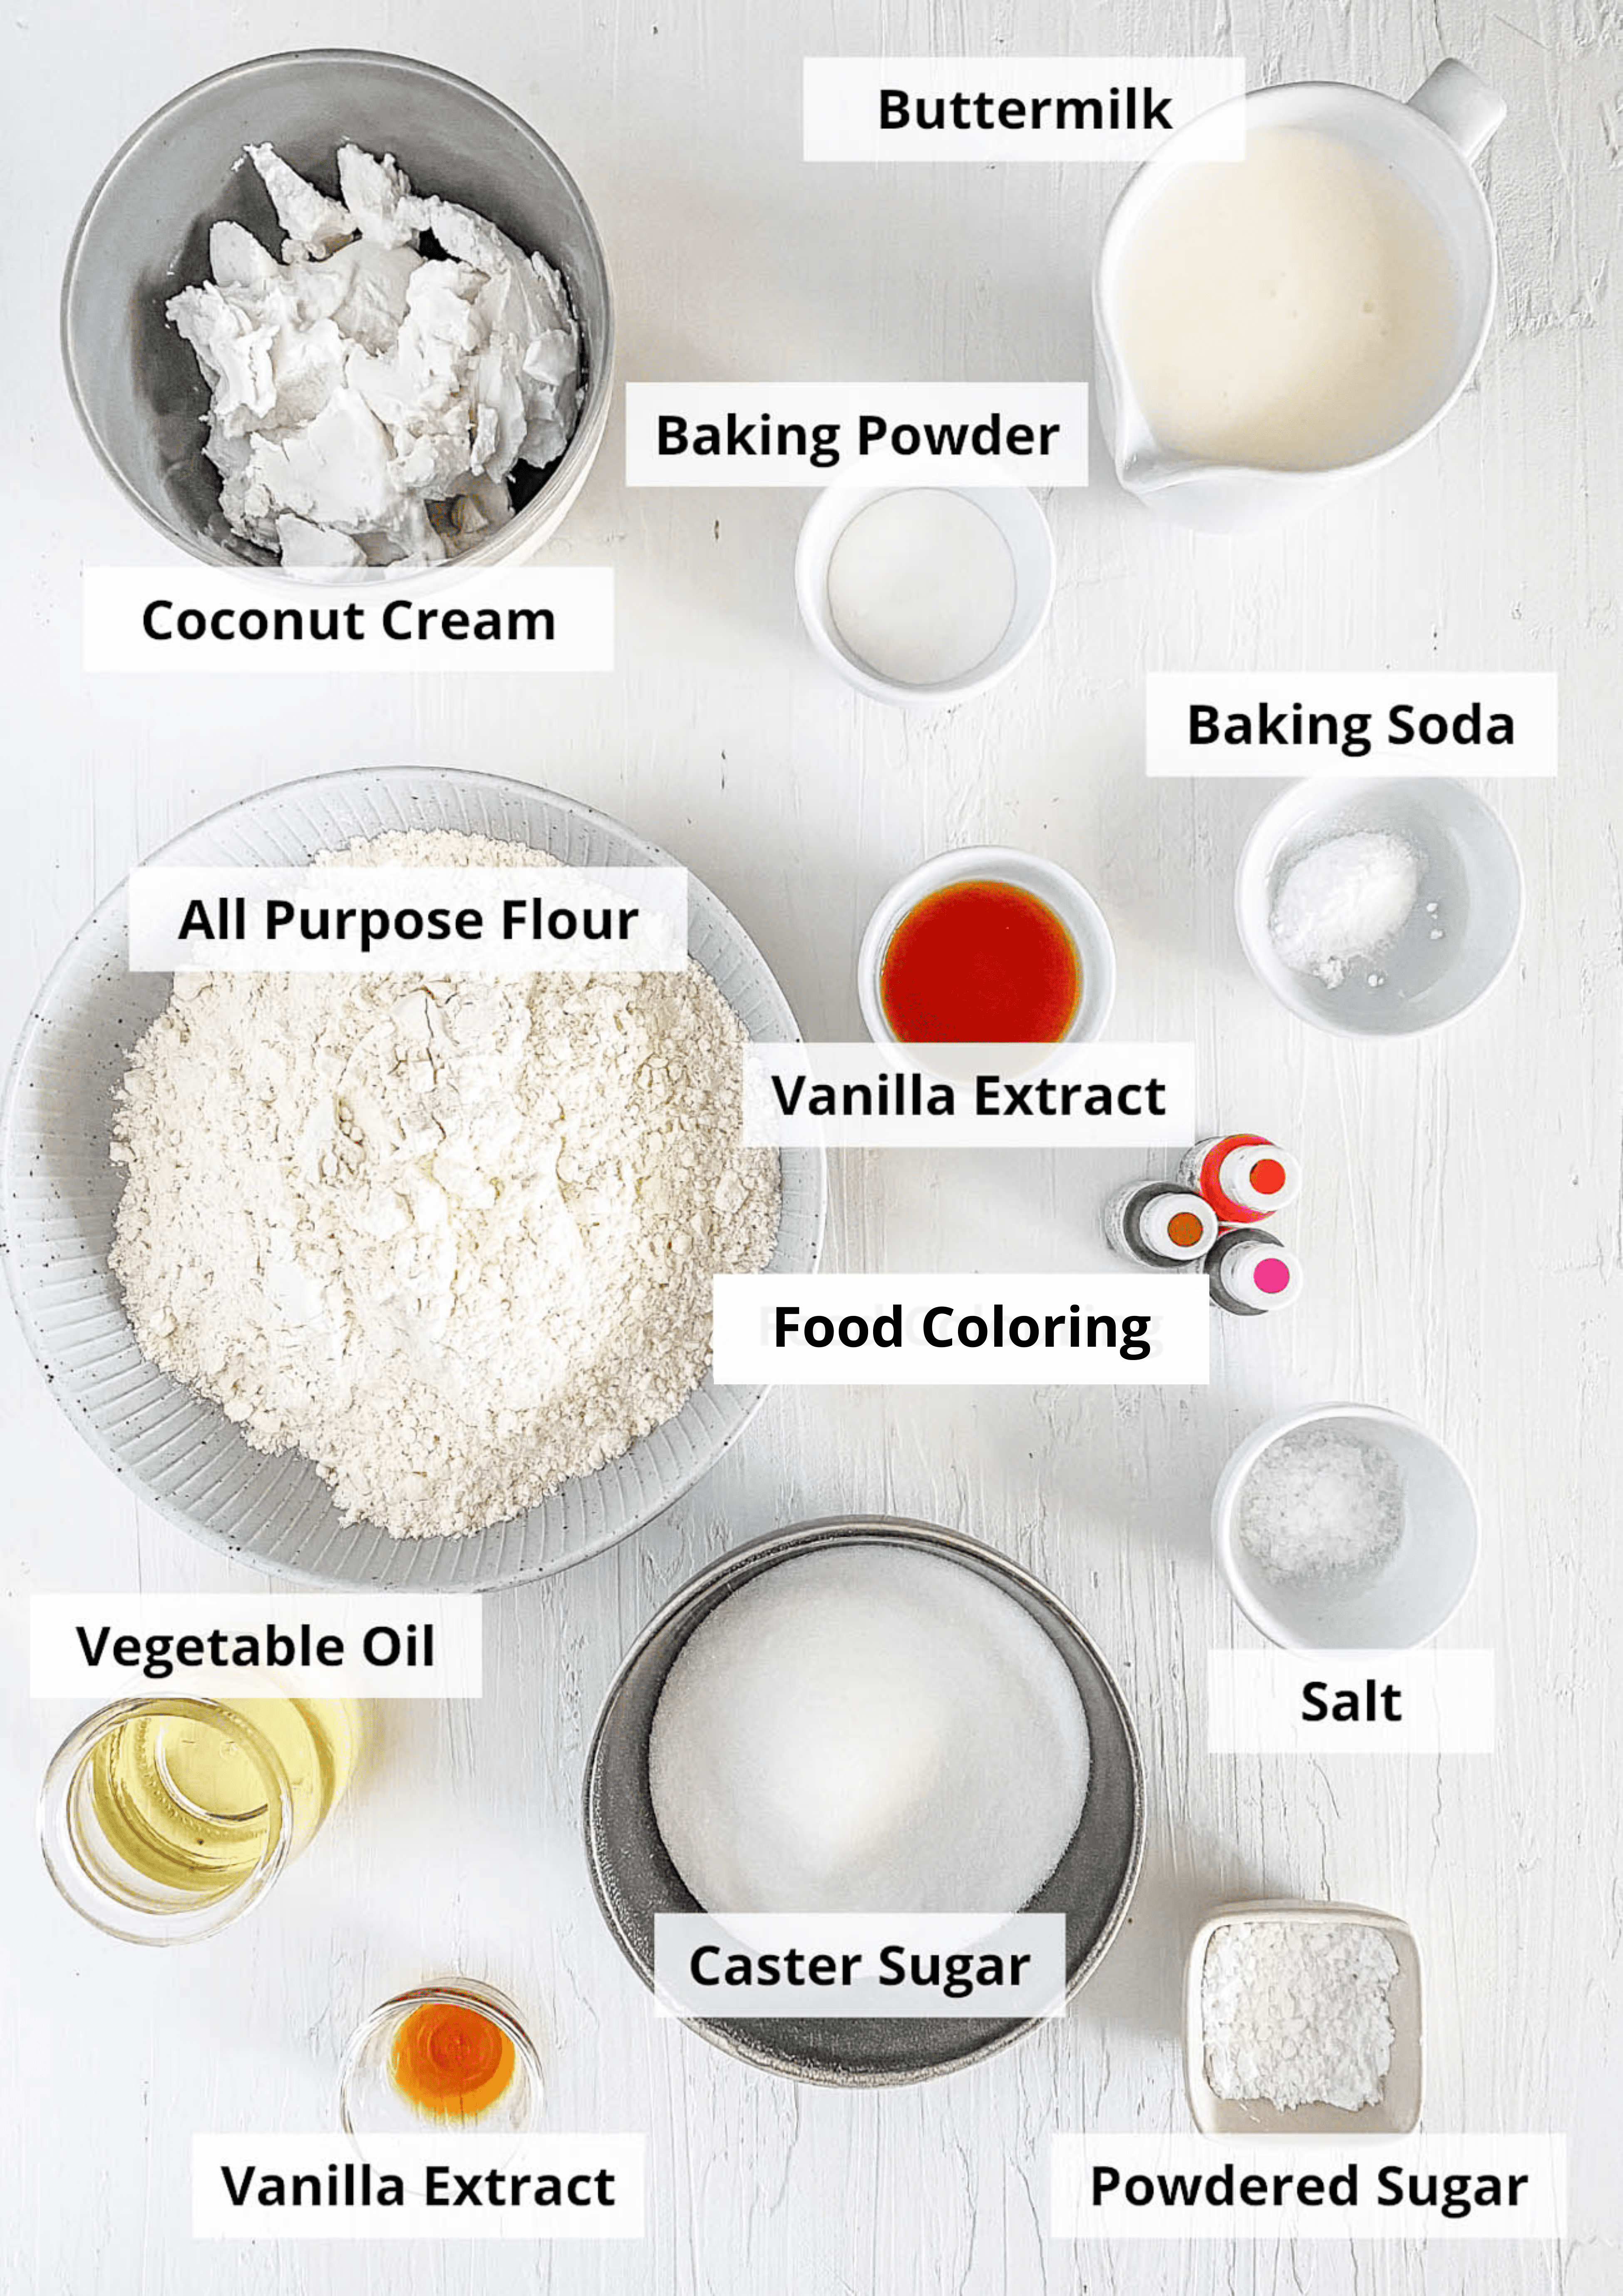
All-Purpose Flour: This winter onederland cake begins with a simple all-purpose flour. You could also use a high quality cake flour. I recommend sifting the flour and measuring the flour with a spoon, rather than scooping from the bag. This ensures your flour isn’t packed and you aren’t using more than you need which will result in a dense and dry cake.
Caster Sugar & Salt: A type of fine granulated sugar. If you don’t have caster sugar, you can use regular granulated sugar. Salt brings out the sweetness of the cake.
Baking Powder and Baking Soda: Helps the cake to rise. The baking soda works with the buttermilk to create a reaction that causes the batter to rise.
Vegetable Oil: Adds needed fat and moisture. Vegetable oil is a neutral oil. You could also use another type of neutral oil such as avocado oil.
Vanilla Extract: Use a pure vanilla extract fo the most intense vanilla flavor.
Buttermilk: Creates a bit of tang to the cake.
For The Icing: Instead of making a traditional batch of buttercream, I used coconut cream (that had set in the fridge overnight) to make a thick, healthier, dairy free frosting for this snowman birthday cake recipe! To the frosting I added: vanilla extract, powdered sugar, and all natural food coloring (when it comes to cake decoration, I like to use natural food coloring with no artificial colors – which is much better for kids! I used brown, pink, and orange to make 3 different frosting colors to decorate the cake with).
🔪 Instructions
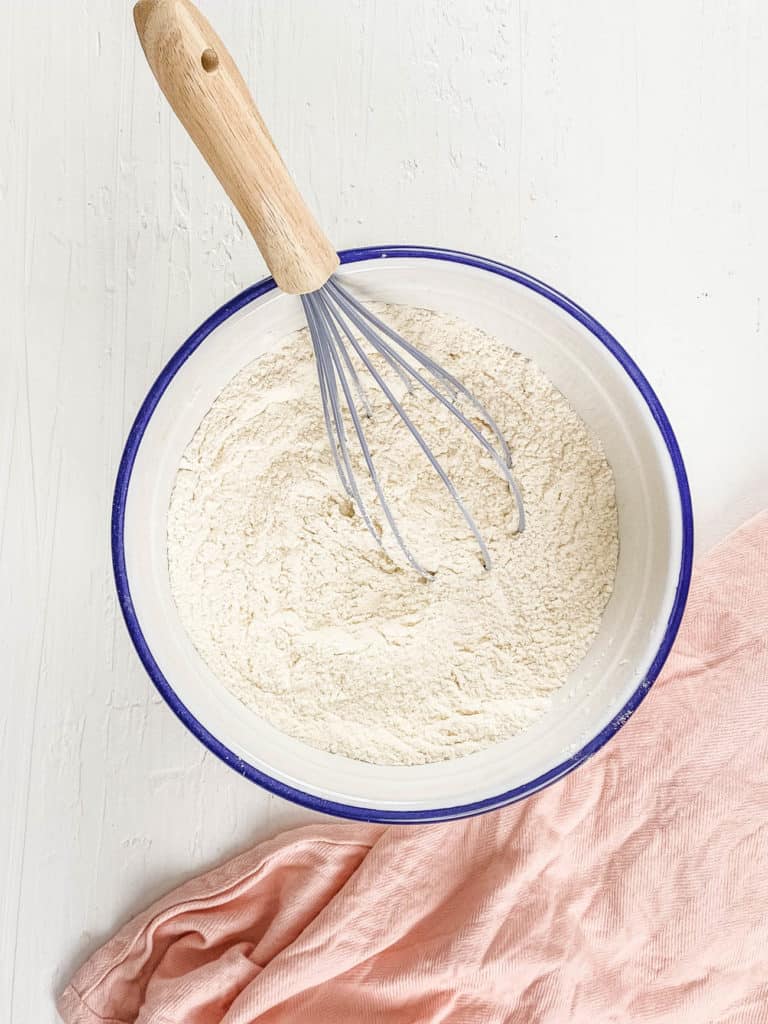
Step 1: Preheat the oven to 350 F/180 C. Line two 6 inch round cake tins with parchment paper. Whisk together the flour, sugar, baking powder, baking soda, and salt.
Step 2: In a separate bowl mix together the oil, vanilla extract, and buttermilk.
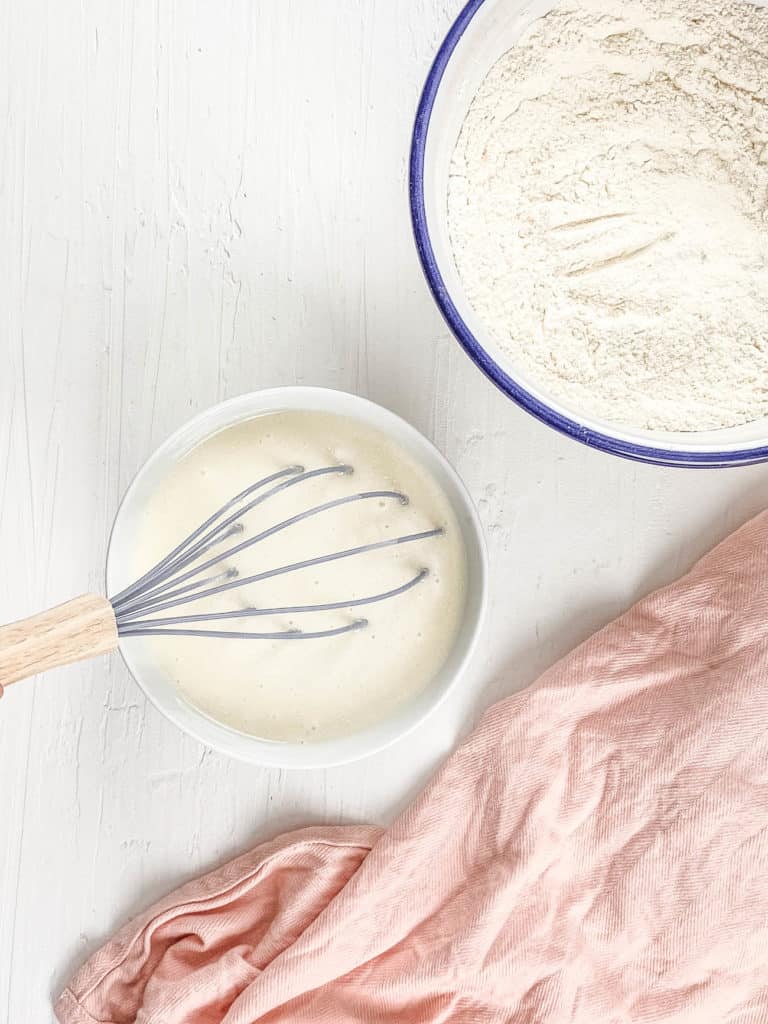
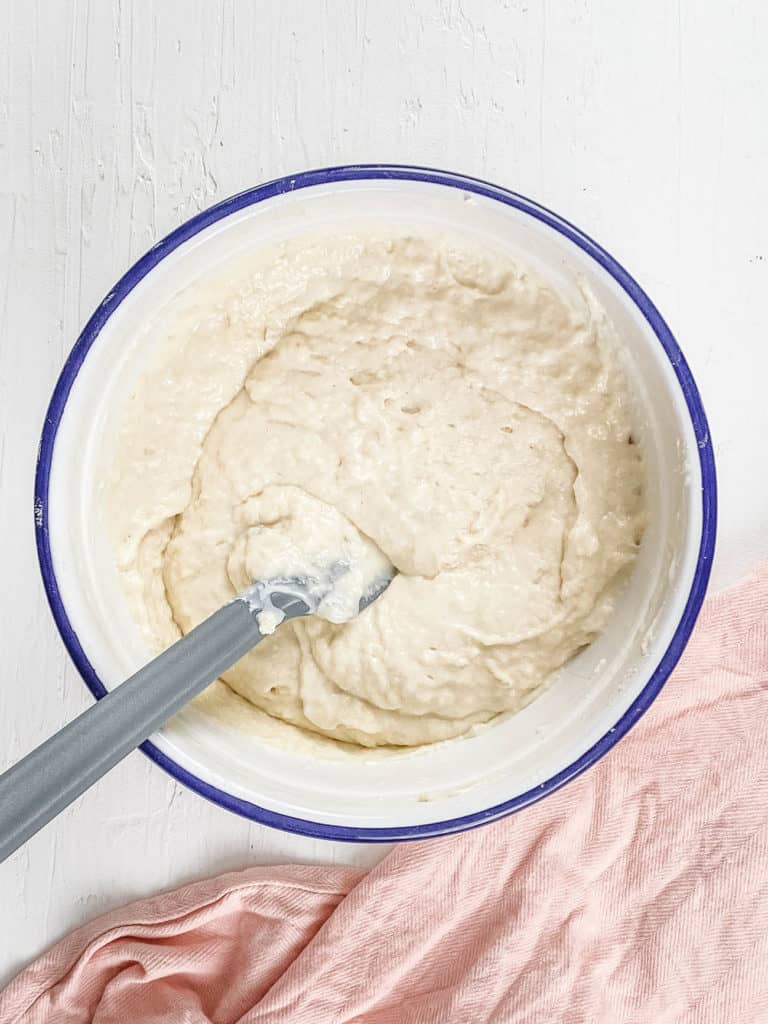
Step 3: Pour the buttermilk mixture into the flour mixture and stir until combined. Make sure to not overmix it.
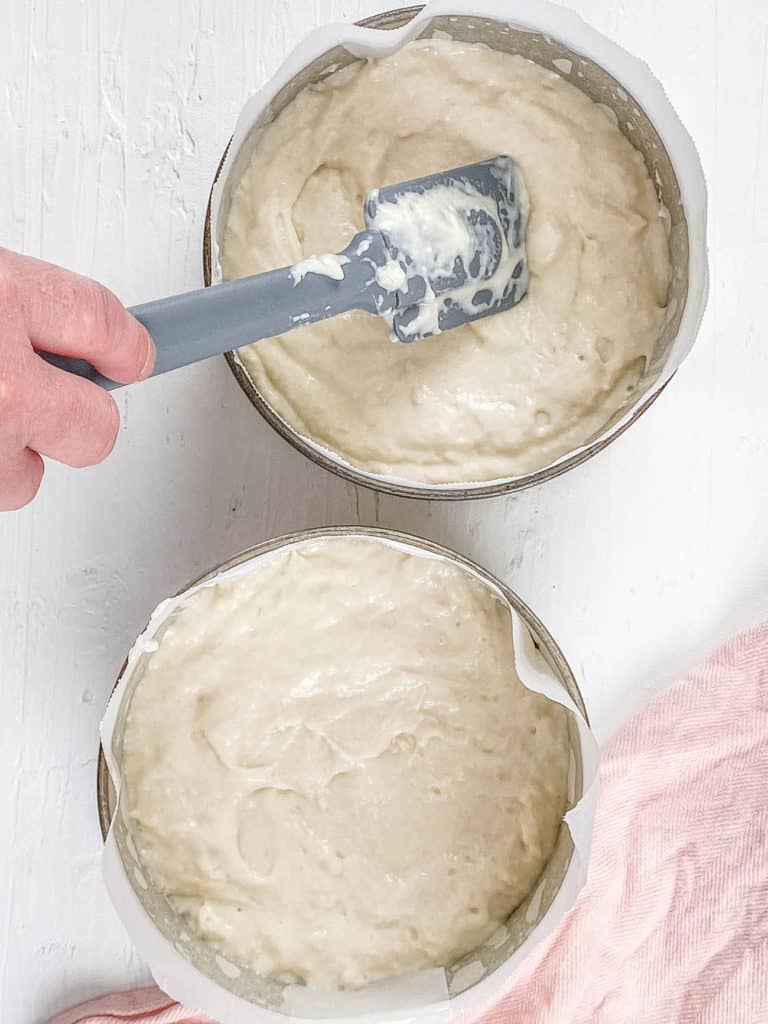
Step 4: Divide the batter between the prepared cake tins.
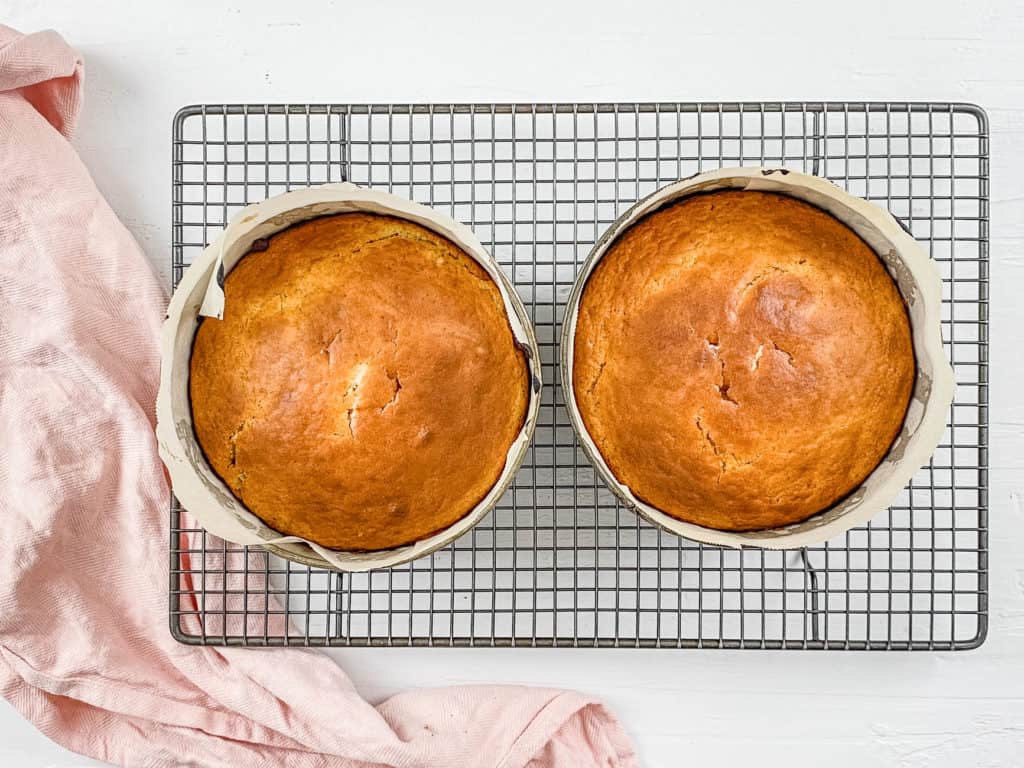
Step 5: Bake for 30-45 minutes or until an inserted skewer comes out clean. Remove from the oven and allow to cool completely before decorating.
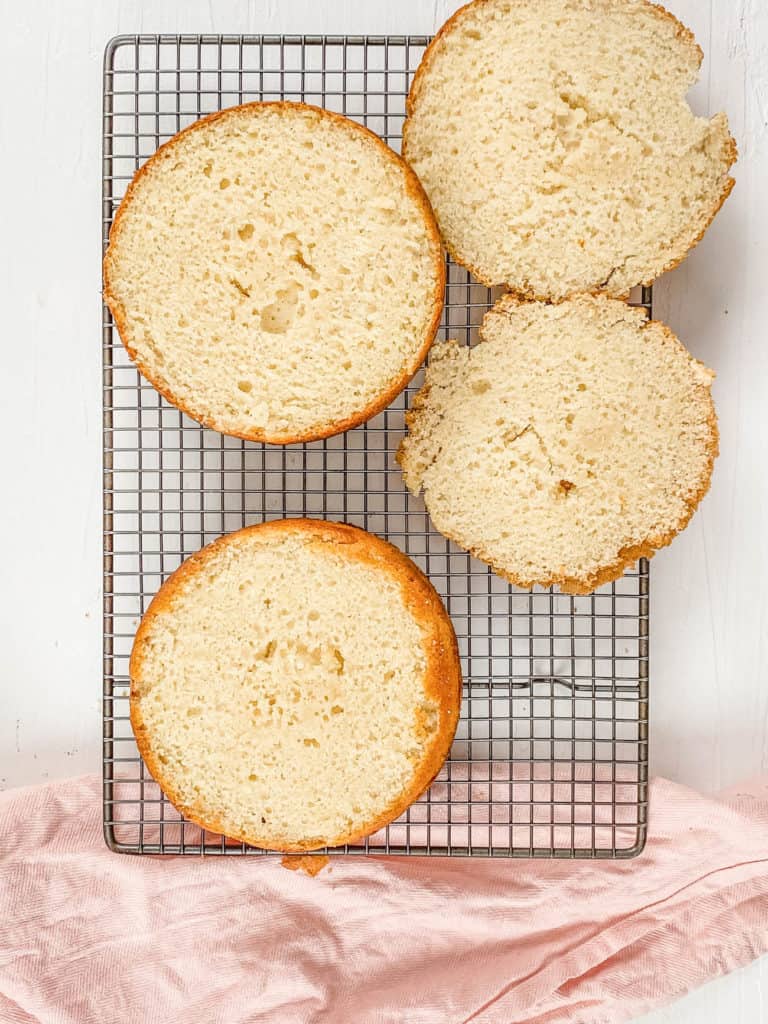
Step 6: When cakes have chilled completely, level off the top of each cake.
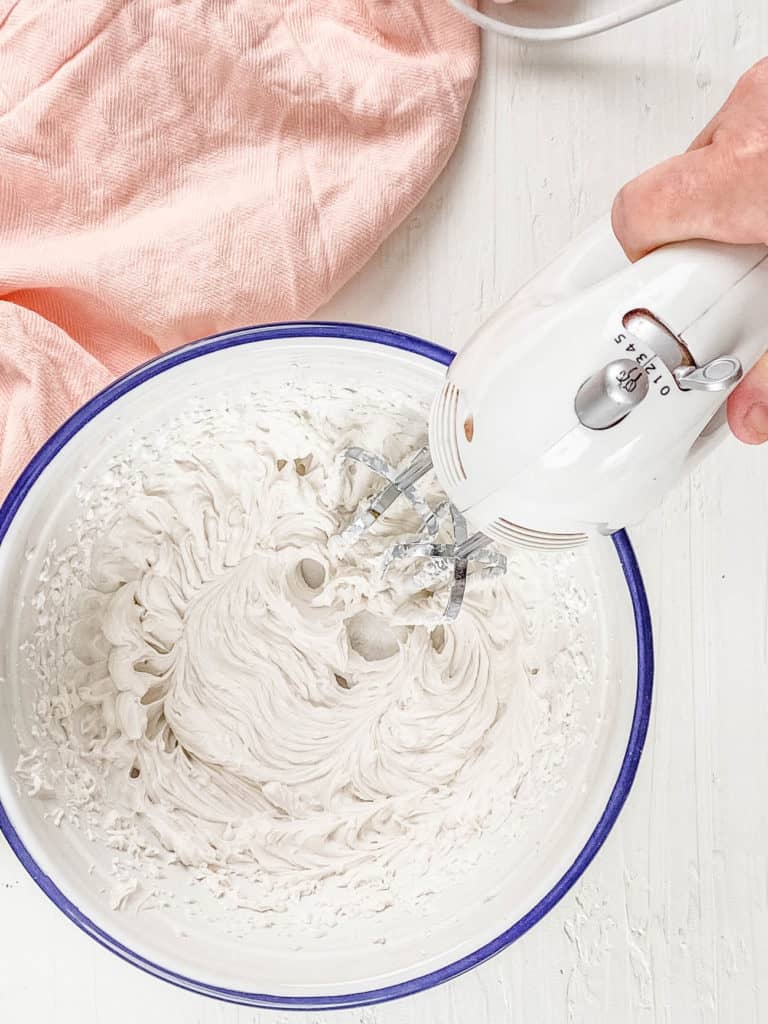
Step 8: Place the chilled thick coconut cream (discard any coconut water), vanilla and sugar into a mixing bowl and whip with a stand mixer, or electric hand mixer, until thick and fluffy.
Step 9: Separate the icing in half. One half will remain white while the remaining icing will be separated into 1 medium bowl and 2 smaller bowls. Color each bowl with food coloring making sure you have a large amount colored in pink.
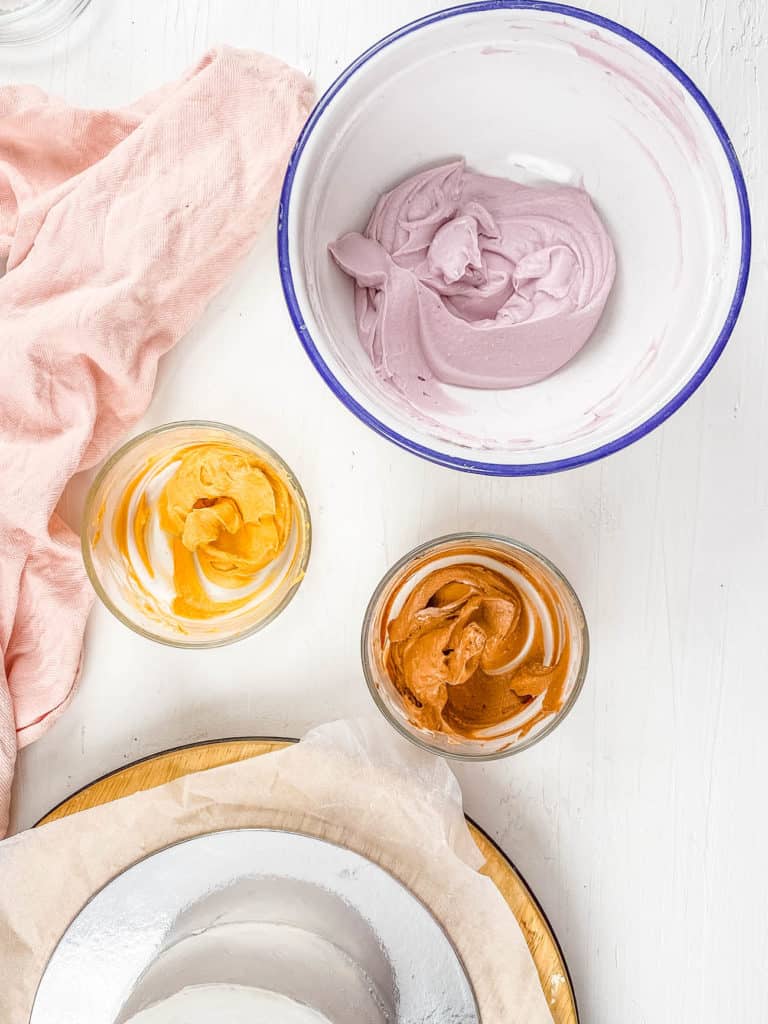
Step 10: Layer cakes and ice. Start by adding a layer of white icing as the cake filling, to one layer of cake. Smear buttercream into an even layer. Top with the remaining cake layer. Cover the cake in remaining white icing, smoothing all over.
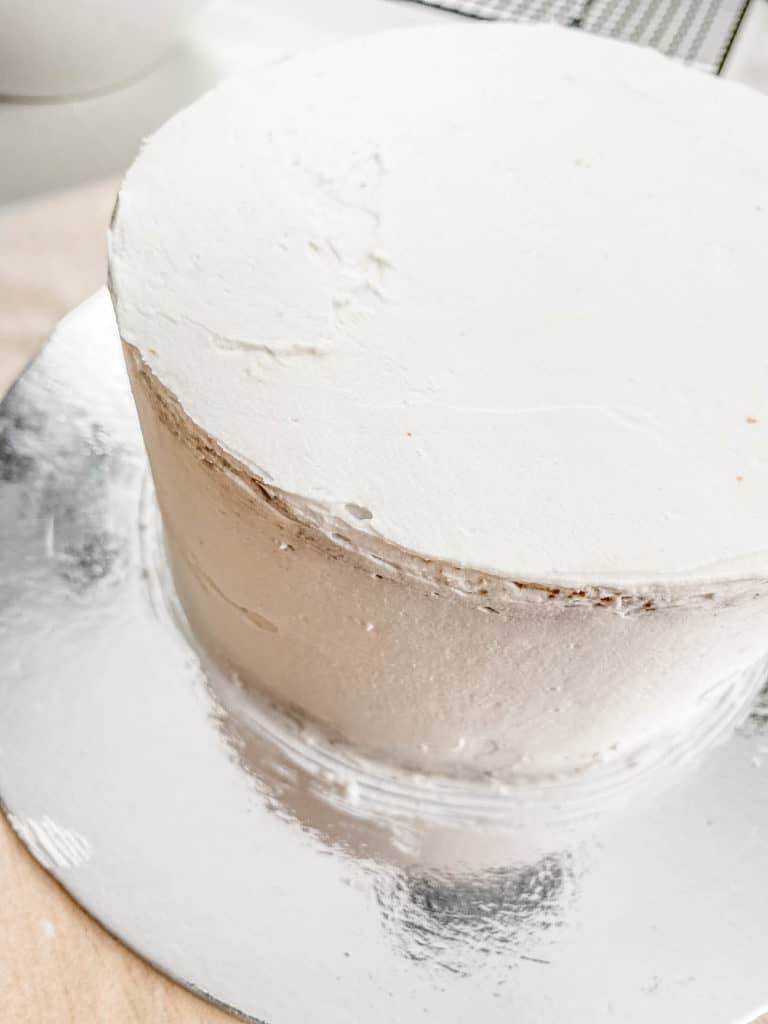
Note: Leave a small amount of white icing to use to decorate the snowman’s hat.
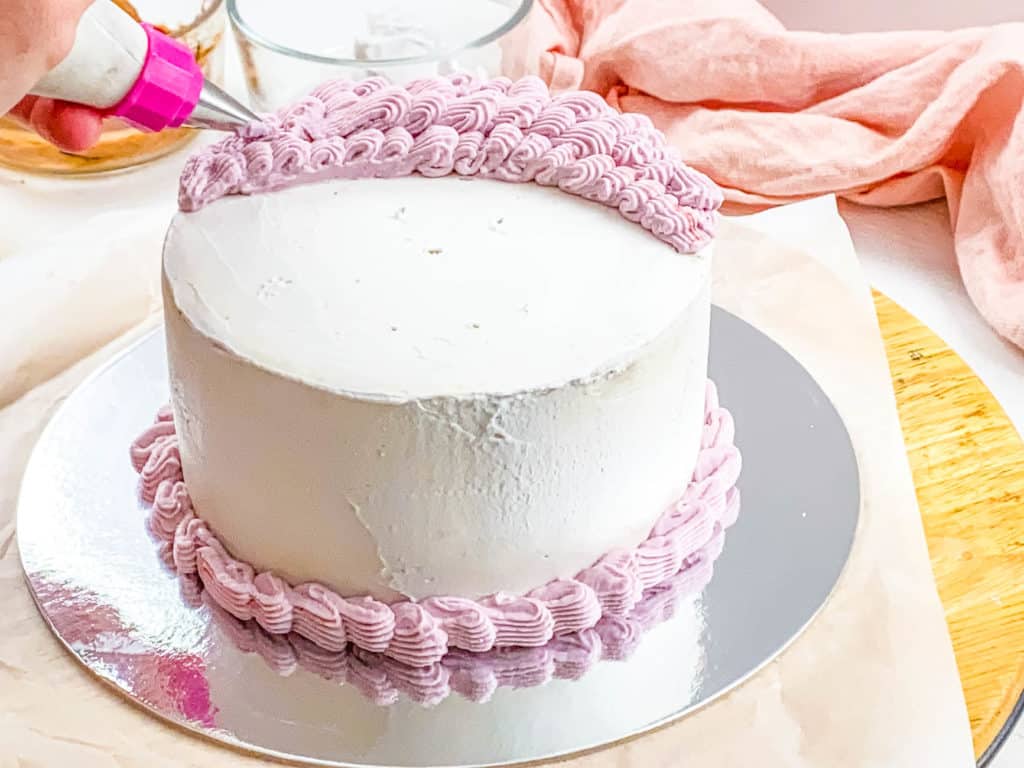
Step 11: Using the pink icing, pipe dots of buttercream (our vegan version) around the base of the cake. Next, using the remaining buttercream, pipe the snowman’s hat and small flowers around the sides of the cake.
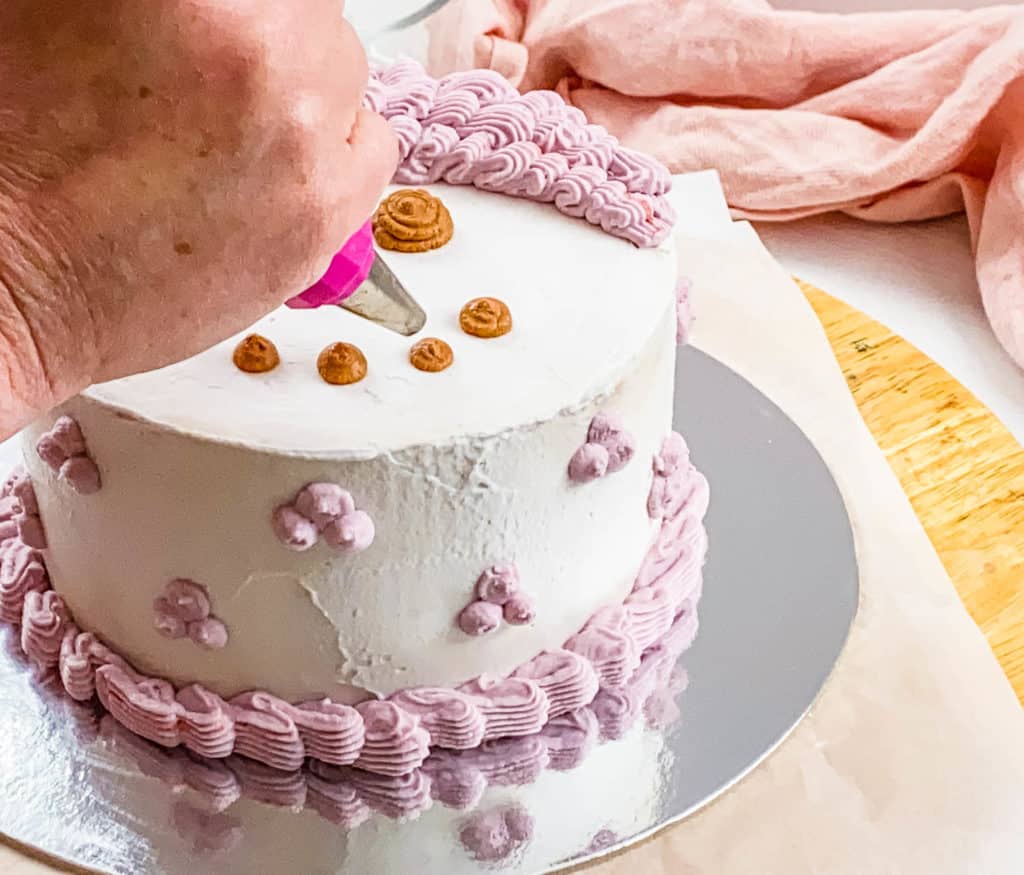
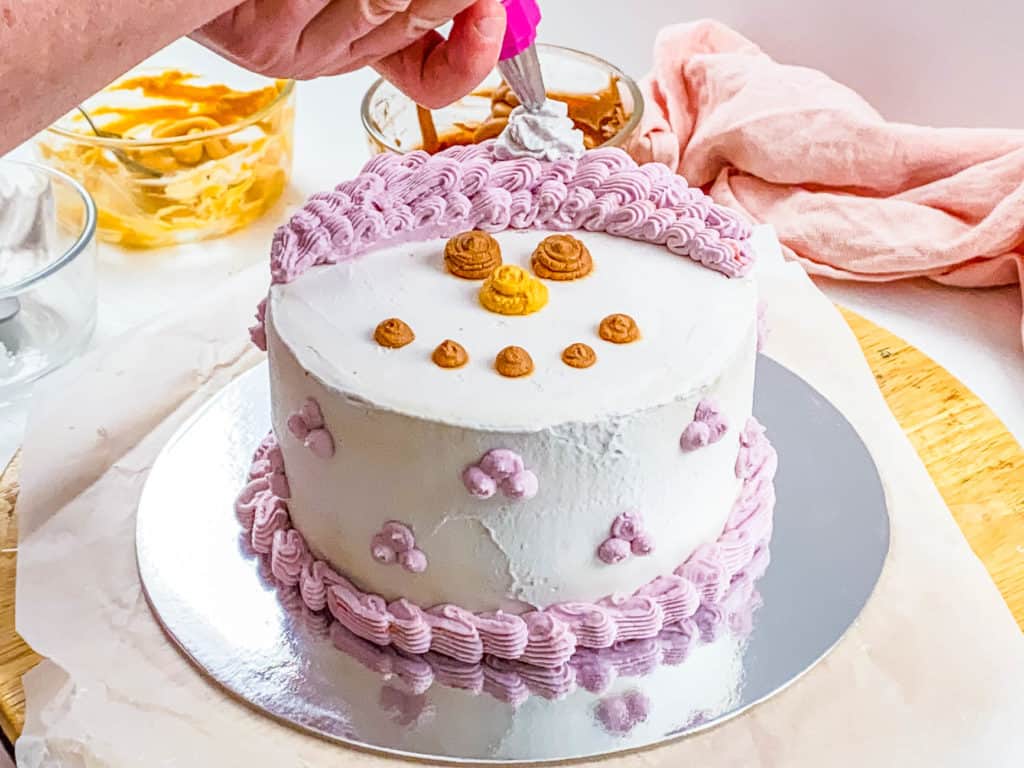
Step 12: Next pipe the eyes and mouth with the brown icing. Add a “carrot” nose to the top of the cake and finish off any final details.
Step 13: Store in the fridge for 2 hours before serving, and feel free to add a cake topper or candles if your child is old enough to blow them out!
I promise, your little one will love it and so will your guests – Layla’s cousins said it was the best birthday cake ever!
❓Recipe FAQs
Substitute the buttermilk with 1 ¾ cups soy milk and 1 ½ tbsp vinegar. Mix the soy milk and vinegar together in a small bowl and allow to sit for 5 minutes to curdle before using.
Substitute the all-purpose flour with a gluten-free 1:1 flour blend.
I used a Wilton piping tip #10 for the eyes, nose, mouth, and flowers around the side of the cake. I also used a Wilton Basketweave Piping Tip #47 to decorate the base of the cake and the snowman’s hat. To make the decoration on the hat I used a Wilton piping tip #30
If you’re not great at piping you can use chocolate coins to create the eyes, and mini Reese’s cups to create the mouth. It will still be a lovely winter wonderland dessert without the piped frosting!
💭 Expert Tips
- Make sure the coconut cream has had at least 24 hours in the fridge to set firm before whipping.
- Use a piping bag and correct piping nozzles to pipe the details on the cake. This is important to acheive a clean finish.
- The icing for this winter wonderland cake is made with coconut cream. However, if you prefer you can use a standard buttercream frosting, Swiss meringue buttercream, cream cheese buttercreams, icing sugar, or royal icing.
- If you’d like to turn this cake into a holiday themed cake, you could pipe Christmas trees along the sides.
- If you’re not a fan of vanilla cake, feel free to make this into a chocolate cake.
- Add snowflake themed birthday candles for an even more festive look!
🍰 More Cake And Cupcake Recipes!
- Honeycomb Cake
- Healthy Smash Cake
- Biscoff Mug Cake
- Snowman Cupcakes
- Bluberry Lemonade Cupcakes
- Vegan Mug Cake
- Mini Bundt Cakes
LOVE THIS RECIPE? Please leave a 5-star rating 🌟 in the recipe card below and/or a review in the comments section further down the page!
You can also FOLLOW ME on FACEBOOK, TWITTER, INSTAGRAM, and PINTEREST to see more delicious, healthy, family-friendly food, and if you have any questions, I’m here to help!
📋 Recipe Card
🎥 Watch How to Make It
Winter ONEderland Birthday Cake
Ingredients
Cake
- 2¾ cups all-purpose flour
- ¾ cup caster sugar
- 3 tsp baking powder
- ¾ tsp baking soda
- pinch salt
- ½ cup vegetable oil
- 1½ tsp vanilla extract
- 2 cups buttermilk
Icing
- 2 cans coconut cream refrigerate overnight
- 2 tsp vanilla extract
- 1 tbsp powdered sugar
- brown food coloring
- pink food coloring
- orange food coloring
Instructions
- Preheat the oven to 350 F/180 C. Line two 6 inch round cake tins with parchment paper.
- Whisk together the flour, sugar, baking powder, baking soda and salt.
- In a separate bowl mix together the oil, vanilla extract and buttermilk. Pour the buttermilk mixture into the flour mixture and stir until combined. Make sure to not overmix it.
- Divide the batter between the prepared cake tins.
- Bake for 30-45 minutes or until an inserted skewer comes out clean. Remove and allow to cool completely before decorating.
- When cakes have chilled completely, level off the top of each cake.
- Place the chilled thick coconut cream (discard any coconut water), vanilla and sugar into a mixing bowl and whip with a stand mixer, or electric hand mixer, until thick and fluffy.
- Separate the icing in half. One half will remain white while the remaining icing will be separated into 1 medium bowl and 2 smaller bowls. Colour each bowl with food colouring making sure you have a large amount coloured in pink.
- Start by adding a layer of white icing as the cake filling, to one layer of cake. Smooth into an even layer. Top with the other cake layer. Cover the cake in remaining white icing, smoothing all over. Note: Leave a small amount or white icing to use to decorate the snowman's hat.
- Using the pink icing, pipe around the base of the cake. Next pipe the snowman’s hat and small flowers around the side of the cake.
- Next pipe the eyes and mouth with the brown icing. Add a “carrot” nose and finish off any final details.
- Store in the fridge for 2 hours before serving.
Notes
- Vegan option – Substitute the buttermilk with 1¾ cups soy milk and 1½ tbsp vinegar. Mix the soy milk and vinegar together in a small bowl and allow to sit for 5 minutes to curdle before using.
- Gluten-free option – Substitute with 1:1 gluten-free baking flour.
- Ensure coconut cream has had at least 24 hours in the fridge to set firm before whipping.
- Using a piping bag and correct piping nozzles for piping the details on the cake is important to a clean finish. I used a Wilton piping tip #10 for the eyes, nose, mouth, and flowers around the side of the cake. I also used a Wilton Basketweave Piping Tip #47 to decorate the base of the cake and the snowman’s hat. To make the decoration on the hat I used a Wilton piping tip #30.




















What a fun party! I loved all of the details. This was such a perfect theme! The cake was perfect for our niece’s birthday party and it was easy to follow.
Thanks so much Art! So glad this cake worked out for your niece’s bday too!!
Omg this cake is so cute!! I just had a baby 1.5 weeks ago and now you’ve got me thinking about his first birthday! Happy birthday to your little one 🙂
Awww thank you so much Cathleen! This really is the perfect first birthday cake! Congrats on the birth of your little one too!
Love all the ingredients, can’t wait to try this! It looks so delicious and easy!
Thanks Shadi! You will love this recipe!
What an adorable winter-themed first birthday party! From the snacks to this cake, everything is just adorable.
Thank you so much Sharon! 🙂
Such a beautiful and tasty cake! Easy to follow recipe with a showstopper ending! Love it
Aw thank you so much Gina! 🙂
How did you make the penguin pops?
Hi Monica! They are just simple cake pops with fondant/icing around them to create the penguin design. I had them made at Whole Foods and they were delivered to our house – but I’m sure they’d be easy to make at home (essentially you’d just follow any cake pop recipe you like, and recreate the penguin design using icing and fondant!) Hope that helps!
Hi Anjali can you tell me where did you get the high chair from … Now that my little guy is 5 months I am planning on introducing solids, so looking to buy a high chair, so let me know where did you get it from?
Hi Jyo! We got our high chair from Amazon – it’s this one – we’ve been really happy with it so far!
All the photos are great. Layla looks so cute – seems like she enjoyed her birthday cake. I can see you both took a lot of effort to make great party! Nice ideas, great execution, she is lucky have you as parents! I enjoyed the post a lot!
Thank you so much!! 🙂