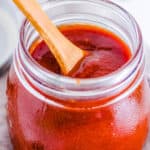
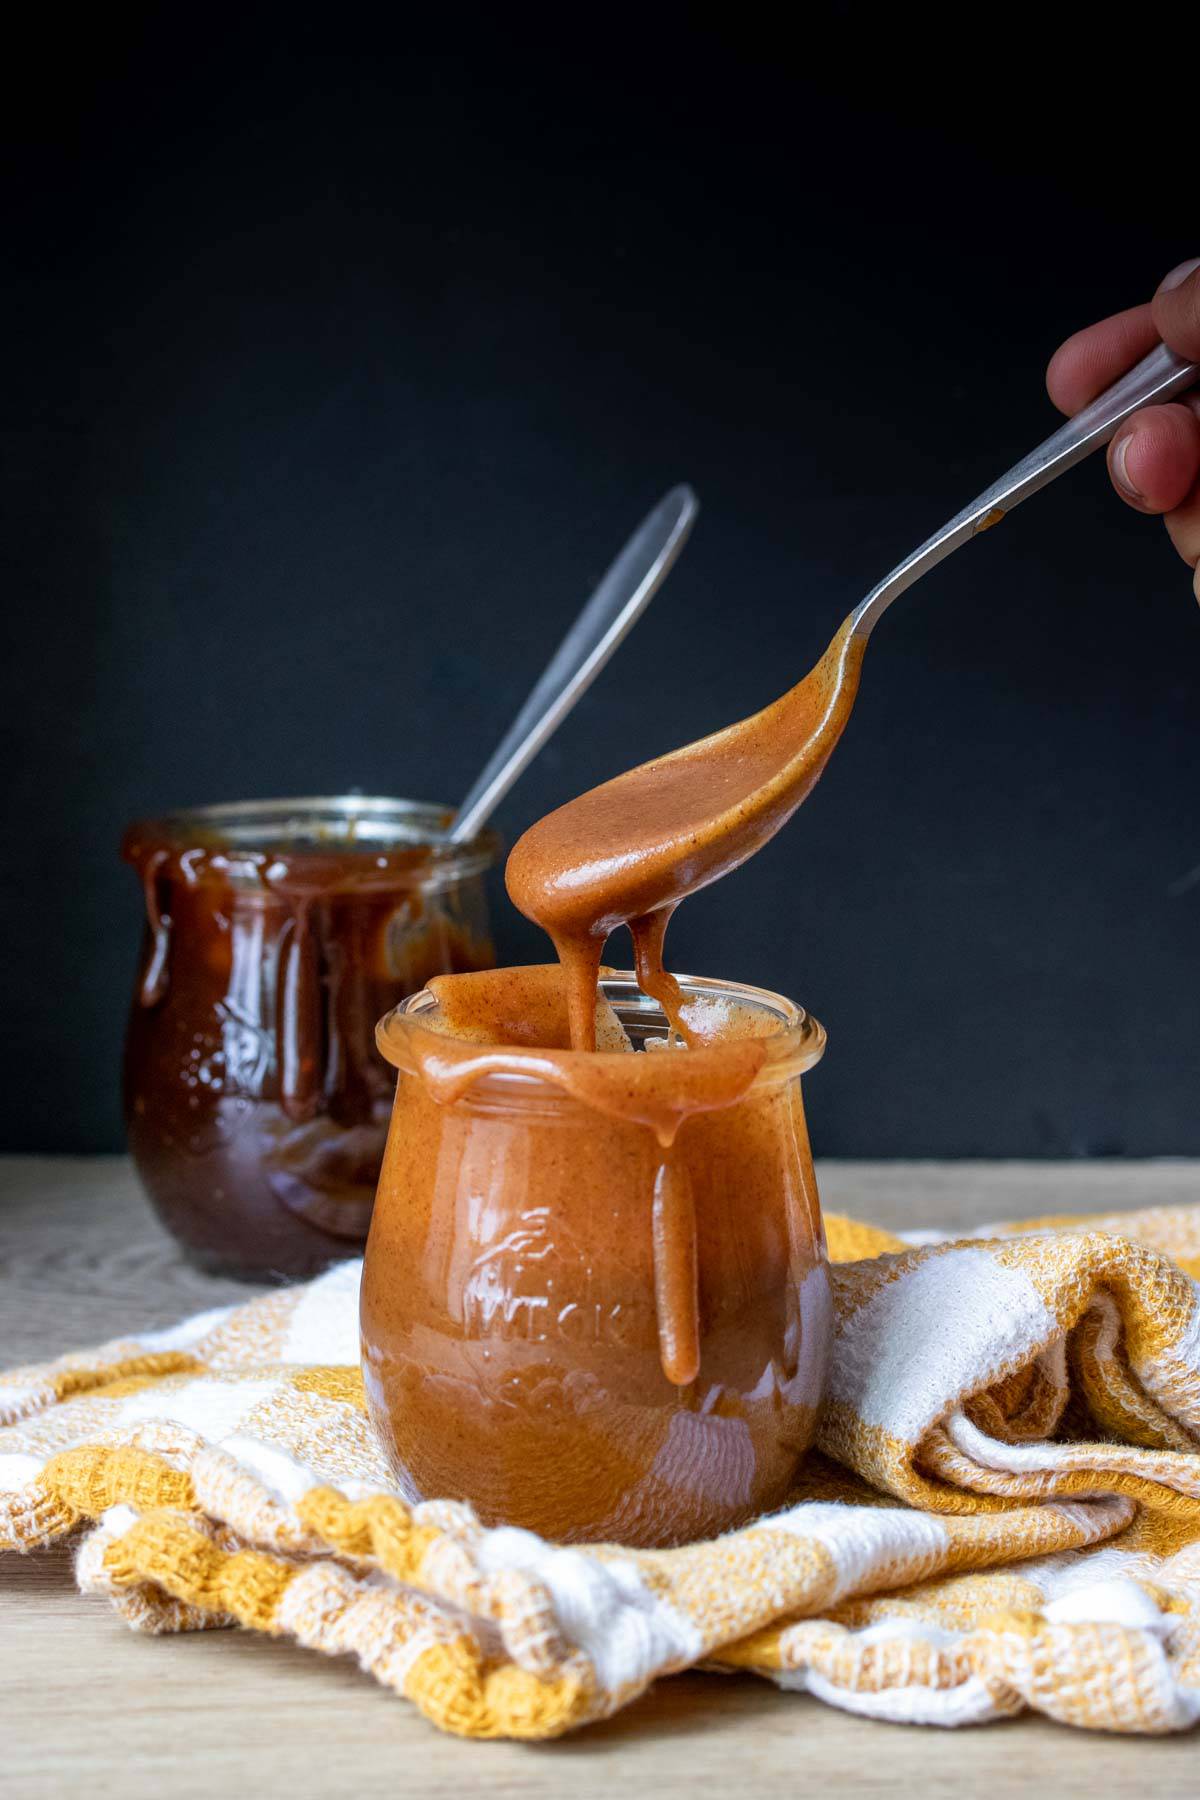
Vegan Caramel Sauce
This post may contain affiliate links. As an Amazon Associate, I earn from qualifying purchases. Please read my disclosure.My easy Vegan Caramel Sauce is so tasty and simple that I find myself adding it to everything from ice cream to pancakes. I make it with just four wholesome ingredients, and with both stovetop and no-cook options, I really have no excuse not to keep making it on repeat for my family.
Caramel is one of those sweet treats I thought I had to give up when I started focusing more on plant-based cooking. With three kids who all have a serious sweet tooth, I wanted something I could drizzle over fruit, swirl into our favorite healthy chocolate oatmeal, or save for dessert nights with tofu ice cream, without needing any dairy or processed sugar.
After some testing, I came up with two versions of vegan caramel sauce that I genuinely love. One is a stovetop version that thickens perfectly and firms up as it cools, and the other is a no-cook option that stays smooth and soft, made in just minutes with ingredients I always have on hand.
👩🏽🍳 Why I Love This Recipe
This recipe means a lot to me because it’s one of the first “sweets” I made that actually passed the test with all of my kids. They’ll dip apple slices in it, drizzle it over popcorn, and even ask for it on pancakes. I always keep a jar in the fridge and warm it up a little whenever we want to add it to our dishes.
I also love that I can pick between the stovetop version and the no-cook version depending on how much time I have or how I’m planning to serve it. The stovetop recipe uses coconut sugar and coconut cream to get that deep caramel flavor with a sticky and thick texture. I whisk the mixture over medium heat until it starts to boil, then let it simmer while stirring so it doesn’t burn. For an even thicker texture, I mix in a bit of cornstarch and test it, check out my expert tip to see exactly how I do it. The no-cook version is as easy as whisking maple syrup and almond butter with a little vanilla and sea salt.
And here’s the best part, my vegan caramel sauce is something I can use for dessert night, afternoon snacks, or even tuck into the kids’ lunchboxes as a sweet surprise. There’s no refined sugar, no artificial ingredients, just natural sweeteners and plant-based ingredients that I already keep in the kitchen. You really have to try this sauce, it’s thick, smooth, packed with caramel flavor. Yum!
🥘 Ingredients
Here’s everything I use to make both versions of my vegan caramel sauce. The stovetop version is thick and rich, while the no-cook one is quick and creamy.
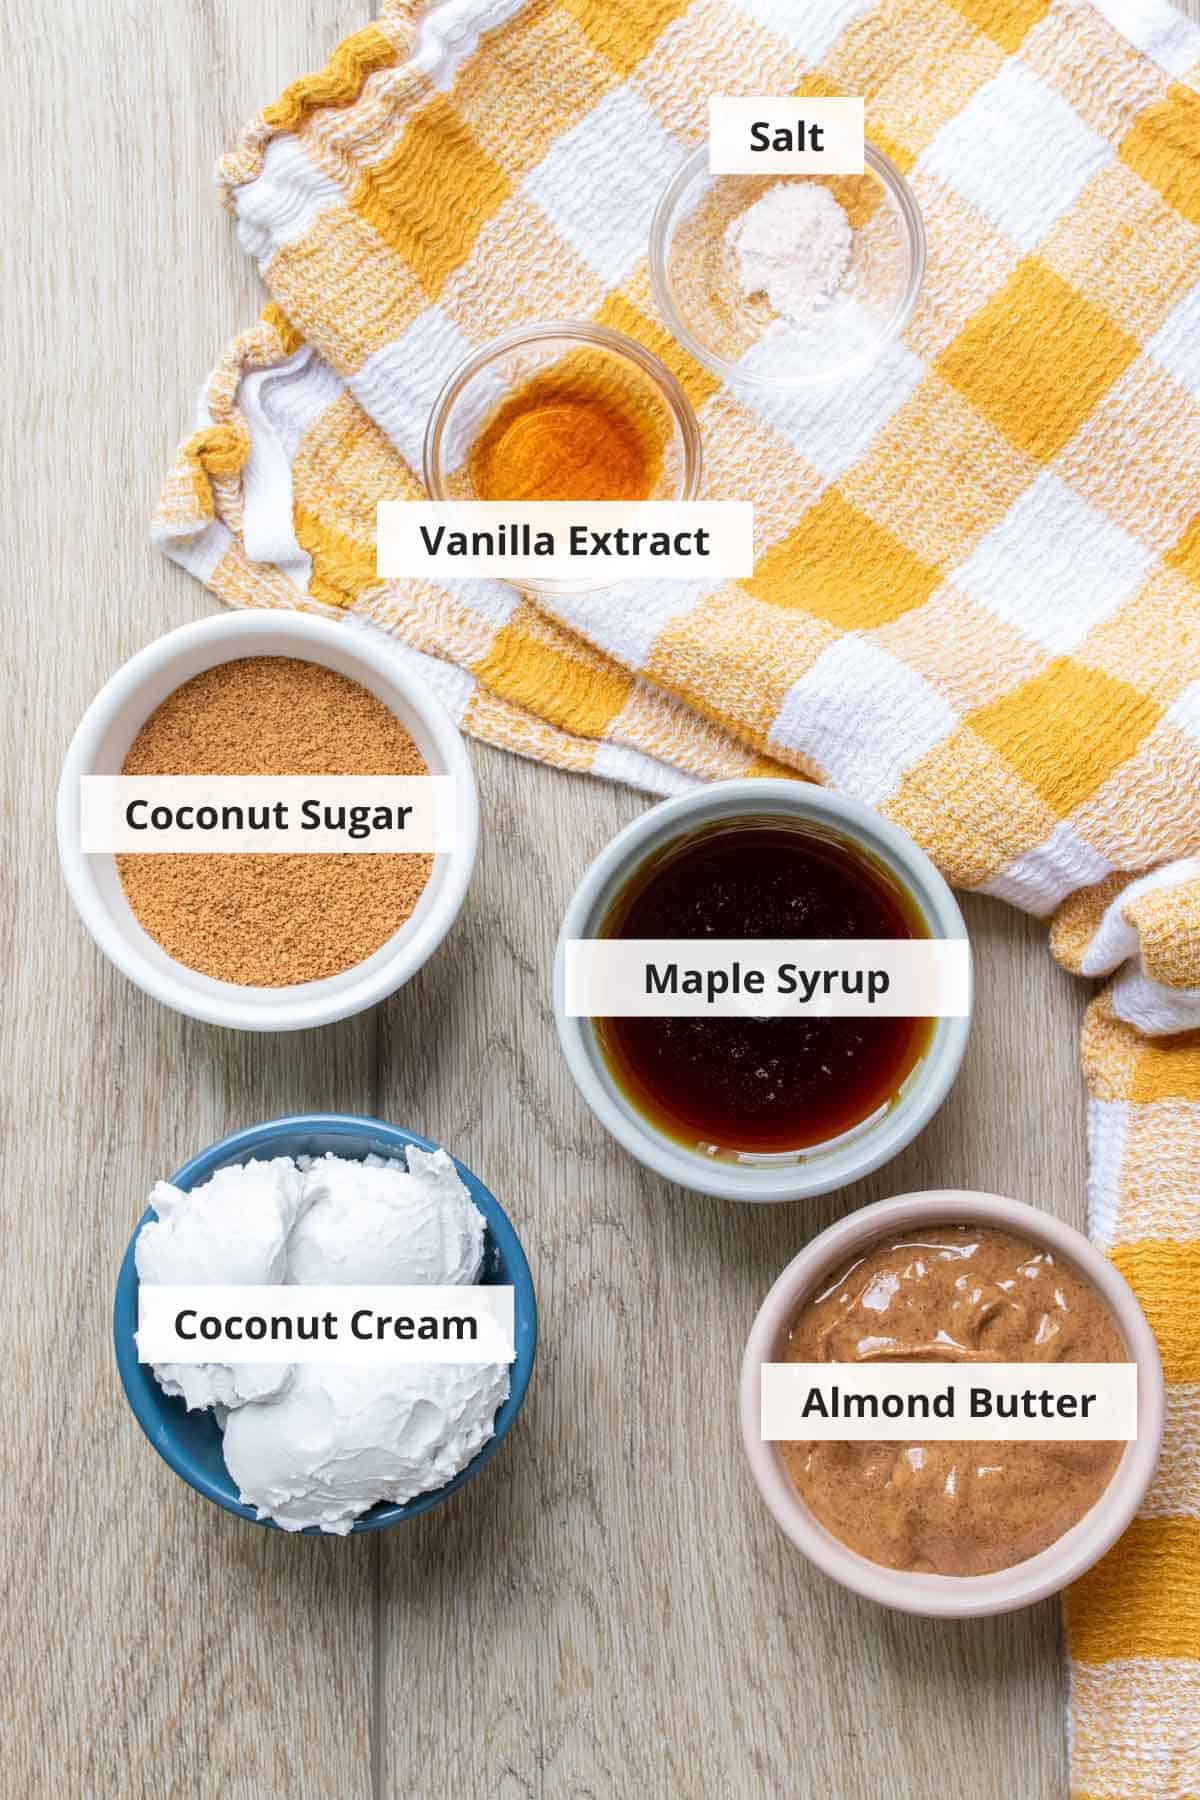
No-Cook: For this version I use a sweet base of maple syrup and creamy almond butter, blended with vanilla extract and a pinch of sea salt for flavor.
For the Stovetop: This version starts with coconut sugar and rich coconut cream, then I add vanilla and sea salt for flavor, and a bit of cornstarch if I want a thicker texture.
🔪 How To Make
I love having options when it comes to recipes like this. I can make this dairy-free caramel right on the stove or skip the heat completely with a no-cook version, which is great whether I’m in a rush or just keeping things simple.
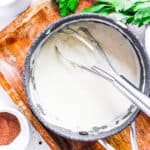
No-Cook Method: This one’s so quick. I whisk the maple syrup, almond butter, vanilla, and sea salt together in a bowl until it’s smooth and sticky. It’s ready to use right away, and I usually use it when I want a softer caramel that won’t firm up.
Stovetop Method: I start by whisking the coconut sugar and coconut cream together in a small pot. I bring it to a slow boil over medium heat and keep whisking the whole time to make sure nothing sticks or burns.
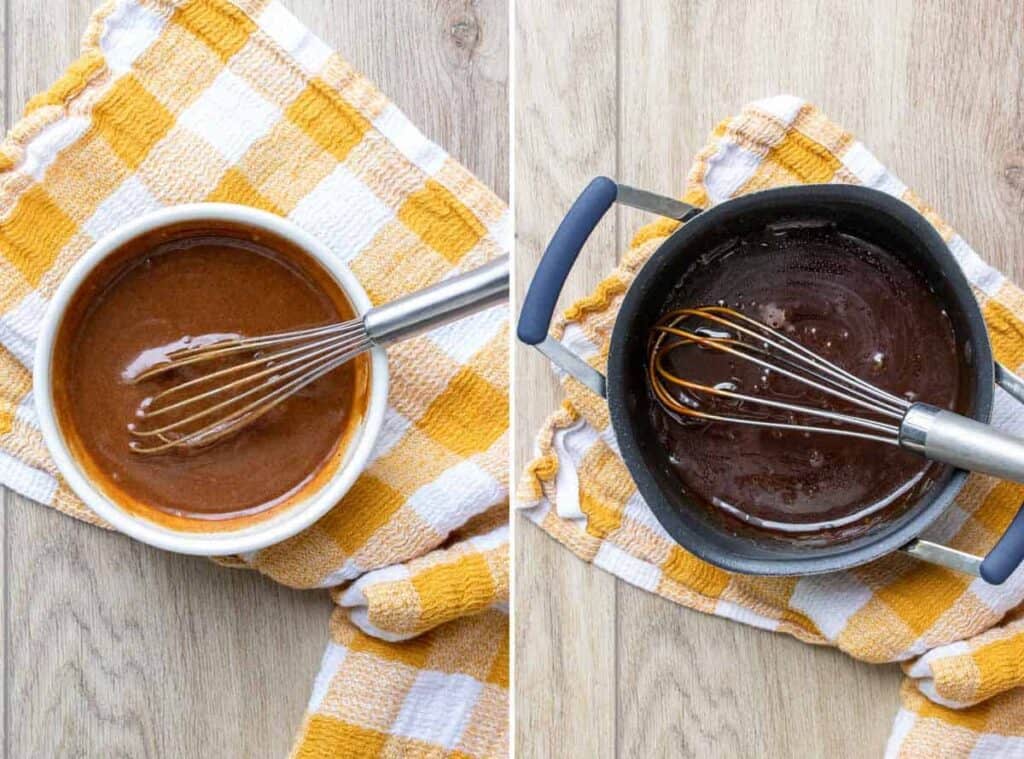
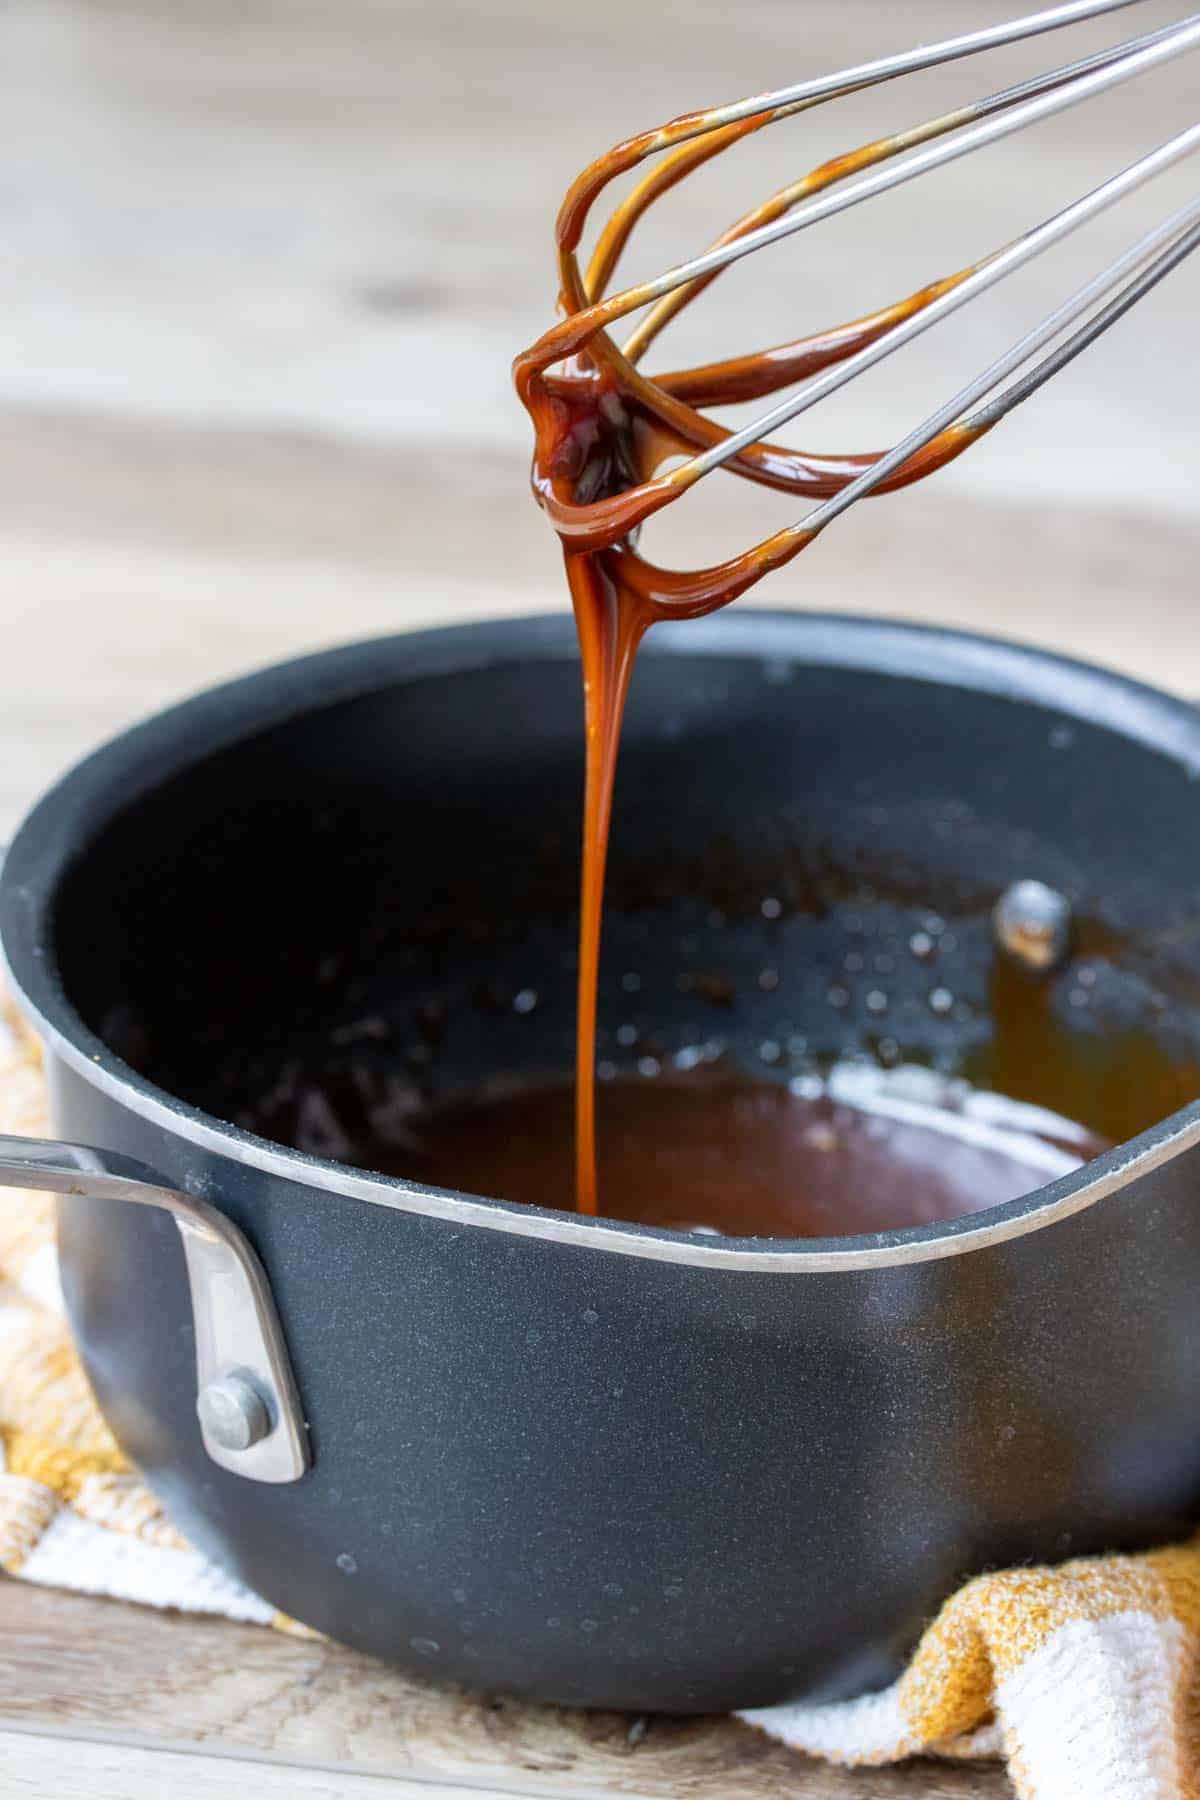
Cook: Once it’s boiling, I let it simmer for about 5 to 10 minutes. If I want a really thick sauce that will firm up as it cools, I mix in the cornstarch slurry after a few minutes and continue whisking.
Finish and Serve: When it’s done, I stir in the vanilla and salt, then let it cool before storing.
💭 Expert Tips
My #1 Secret Tip for making the best vegan caramel sauce is to test the thickness using the cold plate trick. I always keep a small plate in the freezer and drizzle a little caramel on it to check if it firms up. If it holds its shape, I know it’s ready. I usually cook it closer to 10 minutes because I like it thick enough to spread or spoon, especially when I’m saving it for dessert later.
Other Tips To Keep In Mind:
- Coconut Cream Tip: I scoop the thick cream from the top of a can of full fat coconut milk. To make this easier, I chill the can in the fridge for a couple of days or pop it in the freezer for a few hours.
- Thick or Pourable: When I want thick and sticky caramel, I always make the stovetop version. The no-cook one stays soft even after chilling, so I use it more like a sauce.
- Cornstarch for Extra Thickness: If I’m going for an extra thick caramel, I mix in a little cornstarch with water during cooking. It helps the sauce firm up as it cools.
- Whisk Constantly: I make sure to whisk the whole time while the caramel cooks on the stove. If I stop, the sugar sticks and burns quickly.
📖 Variations
I like switching things up sometimes, depending on the season or what we’re in the mood for: Enhance the deliciousness by adding in any of these flavors:
Pumpkin Caramel: In the fall, I like to mix in ¼ cup pumpkin puree and ½ teaspoon pumpkin pie spice into the no-cook version. It’s perfect over baked apples or spread on toast for a cozy seasonal treat.
Bourbon Caramel: For a grown-up version, I stir in about 2 tablespoons of bourbon at the end of cooking.
Salted Caramel: Just add a little more sea salt to either version if you like that salty-sweet combination.
Peanut Butter Swap: If I don’t have almond butter on hand, I use peanut butter instead in the no-cook version. It’s just as smooth with a slightly nuttier taste.
🍽 Serving Suggestions
Besides making caramel corn, I love drizzling this sauce over all kinds of treats, especially during the Fall. Here are a few of my favorite ways to enjoy it:
After-School Apple Treat: One of my kids’ favorite snacks is sliced apples with this caramel sauce and a sprinkle of cinnamon. It’s even better when we turn it into vegan caramel apple nachos with a few crushed nuts on top.
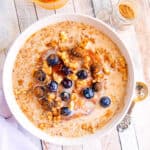
Lazy Weekend Breakfast Goals: I’ll drizzle it over bananas and cream oatmeal or serve it on the side with my warm vegan blueberry pancakes.
Mom-Friend Coffee Dates: When my friend comes by for coffee, I love pulling out a batch of healthy pumpkin scones and adding a little caramel sauce on the side. It’s our cozy catch-up treat.
Holiday Dessert Upgrade: And during the holidays, I make pumpkin apple pie and pour this sauce over each slice before serving. It always gets rave reviews, even from the picky eaters in the family.
🧊 Storage Directions
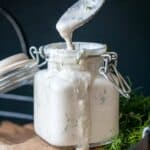
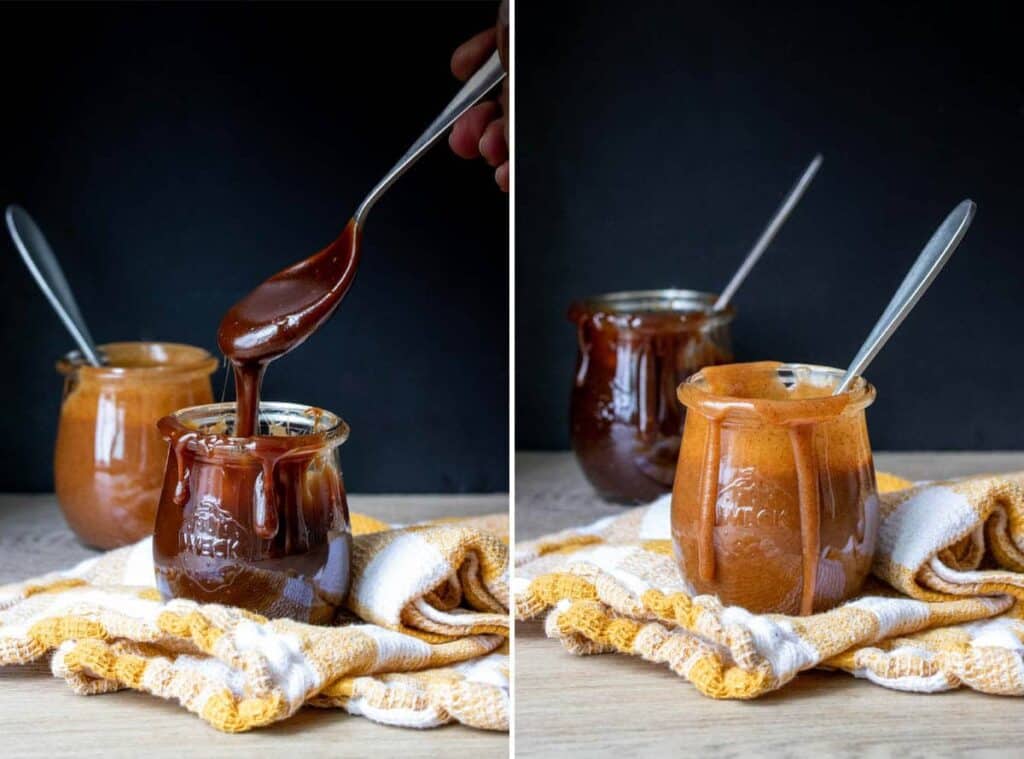
Refrigeration: I store the sauce in an airtight glass jar in the fridge, and it keeps well for up to one week. The stovetop version firms up a bit more as it cools, so I always give it a quick stir before using.
Freezing: I don’t usually freeze this sauce, especially the stovetop one, since it changes texture once thawed.
Reheating: If the stovetop version gets too firm in the fridge, I just warm it up in the microwave for about 10 to 15 seconds or gently reheat it on the stove over low heat until it softens. The no-cook version usually doesn’t need reheating since it stays soft, but I sometimes let it sit at room temperature for a few minutes if it thickened in the fridge.
❓Recipe FAQs
How do I get the stovetop caramel to firm up?
When I want the caramel to thicken up and firm as it cools, I let it cook a bit longer on the stove, closer to 10 minutes instead of 5. I also stir in the cornstarch slurry about halfway through if I know I’m going for that thicker texture. It really helps the sauce tighten up without getting too stiff. Sometimes I’ll even use my candy thermometer and wait until it hits around 225 degrees.
What’s the difference between the two versions?
The stovetop version gives you a thick, almost chewy caramel that firms up more as it cools. The no-cook version stays pourable and soft, so I use it more like a sauce or dip.
Does it work for baking or candy making?
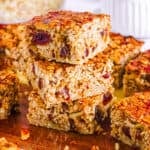
The stovetop version works really well in baked desserts or as a layered filling. I’ve used it in cookie bars, swirled it into brownies, used it in my vegan millionaire shortbread, and even spread it between cake layers. Once it cools, it sets up enough to hold its shape, which makes it perfect for that kind of thing. I haven’t tried turning it into hard candy since it’s more of a soft, thick caramel, but it definitely firms up enough for a nice chewy texture. It also makes a beautiful drizzle over cakes or cupcakes when it’s slightly warm.

Love this plant based sauce recipe? Please leave a 5-star rating 🌟 in the recipe below and/or a review in the comment section further down the page!
You can also FOLLOW ME on FACEBOOK, INSTAGRAM, and PINTEREST to see more delicious, healthy, family-friendly food, and if you have any questions, I’m here to help!
📋 Recipe Card

Vegan Caramel Sauce
My easy Vegan Caramel Sauce is so tasty and simple that I find myself adding it to everything from ice cream to pancakes. I make it with just four wholesome ingredients, and with both stovetop and no-cook options, I really have no excuse not to keep making it on repeat for my family.
Servings: 8
Calories: 112kcal
Ingredients
Stovetop:
- 1 cup coconut sugar
- ¾ cup coconut cream , see note
- 1 teaspoon vanilla extract
- ¼ teaspoon sea salt
- 1 tablespoon cornstarch , mixed with 1 tablespoon cold water to thicken if needed (see note)
No cook:
- ¾ cup maple syrup
- ½ cup almond butter
- 1 teaspoon vanilla extract
- ¼ teaspoon sea salt
Instructions
Stovetop:
- Place sugar and cream into a small pot and whisk together well.
- Cook over medium heat until you get a slow rolling boil, whisking the whole time. If you don’t whisk, the sugar will burn and stick to the pot.
- Allow to boil, while whisking, for about 5-10 minutes until you see it thicken. If you want a caramel that will thicken and harden better, add the cornstarch about half way through and whisk for about 2-4 minutes until you see it thicken more.
- Test thickness by taking some out with a small spoon and cooling it. You can also drizzle some on a cold plate (cool it in the freezer) and if it hardens then it’s ready. It will thicken more as it cools. If you want this thick caramel that will firm up a bit then you really want to reduce it for about 10 minutes and check with the spoon method. You can also use a candy thermometer and make sure it gets to 225 degrees for a thick result that will firm up better. If you want it more of a runnier sauce, then cook for around 5 minutes.
- When done, remove from heat and mix in the vanilla and salt.
- Allow to cool and use as needed!
No cook:
- Combine everything in a bowl and whisk well until smooth and sticky.
- Serve as needed!
Notes
- My #1 Secret Tip for making the best vegan caramel sauce is to test the thickness using the cold plate trick. I always keep a small plate in the freezer and drizzle a little caramel on it to check if it firms up. If it holds its shape, I know it’s ready. I usually cook it closer to 10 minutes because I like it thick enough to spread or spoon, especially when I’m saving it for dessert later.
- Coconut Cream Tip: I scoop the thick cream from the top of a can of full fat coconut milk. To make this easier, I chill the can in the fridge for a couple of days or pop it in the freezer for a few hours.
- Thick or Pourable: When I want thick and sticky caramel, I always make the stovetop version. The no-cook one stays soft even after chilling, so I use it more like a sauce.
- Cornstarch for Extra Thickness: If I’m going for an extra thick caramel, I mix in a little cornstarch with water during cooking. It helps the sauce firm up as it cools.
- Whisk Constantly: I make sure to whisk the whole time while the caramel cooks on the stove. If I stop, the sugar sticks and burns quickly.
Nutrition
Calories: 112kcal | Carbohydrates: 17g | Fat: 5g | Sodium: 73mg | Potassium: 1mg | Sugar: 13g | Calcium: 1mg