

How to Cook Quinoa on the Stove
This post may contain affiliate links. As an Amazon Associate, I earn from qualifying purchases. Please read my disclosure.Learning how to cook Quinoa on the Stove is easier than you think! I make this perfectly fluffy quinoa recipe for my family every week for lunches and dinners in under 30 minutes using quinoa, veg stock, and salt. I use this protein-rich grain for bowls, salads, or as a nutty-flavored side dish. It’s so easy with my foolproof method!
I started making quinoa on a regular basis when I wanted to add more plant-based protein to my family’s diet. At first, It was a bit daunting getting the correct liquid-to-grain ratio, but after making my husband’s favorite vegetarian quinoa paella many times, I mastered this simple 30-minute stovetop method. And honestly, it’s just as easy as making rice!
Cooking the quinoa in veggie stock with a little salt adds so much flavor, which makes it perfect for all kinds of healthy vegan dishes like roasted pumpkin salad and quinoa burgers. My husband actually likes it more than rice now, and I love that I can sneak in some extra nutrition without any complaints from my boys.
👩🏽🍳 Why I Love This Recipe
I love this stovetop quinoa method because it delivers perfectly fluffy grains every single time. No more crunchy centers or mushy disasters! I’ve also tested this recipe in Instant Pot by adjusting the liquid-to-grain ratio, which gives me more flexibility on busy days when I’ve already got something going on the stove. If you’ve ever made rice before, then you can absolutely master cooking quinoa with my foolproof method.
First of all, I rinse the quinoa – this is the secret to avoiding that weird bitter taste!, then pour it into a pot with 1 ½ cups of veg stock and a touch of salt and bring it to a happy boil. Once boiling, I reduce it to a simmer and cover it for 15 minutes to absorb the liquid before removing it from the heat and letting it sit for a few minutes more before fluffing (this step is what transforms your quinoa from good to restaurant-worthy).
The great thing with quinoa is that it absorbs whatever flavors you cook it in, similar to rice. I sometimes add cilantro, chipotle, and lime to the quinoa before cooking it when I’m making Mexican food for my weekly get-together with friends, or add paprika and oregano for something more savory. Whether you’re new to cooking grains or just curious to learn how to cook quinoa on the stove, my foolproof recipe is perfect!
🥘 Ingredients
Cooking quinoa on the stovetop is probably the easiest and most common method for most people. You don’t need any fancy equipment, it’s simple to do, and it lets you keep an eye on things as it cooks so you can control the texture. Here’s what I use:

Dry quinoa: I always rinse the quinoa first to remove any bitterness. It’s a great source of plant-based protein and cooks up nice and fluffy.
Veggie broth: I like using veggie broth instead of water because it gives the quinoa so much more flavor.
Salt: Just a little sea salt is what I use.
🔪 How To Make
Quinoa triples in volume when cooked, so 1 cup of dry quinoa will give you about 3 cups cooked. Here are the step-by-step directions for getting perfectly fluffy quinoa with an al dente finish using 1 1/2 cups of liquid for every cup of quinoa. If you want it a bit softer, just add an extra 1/4 to 1/2 cup of liquid. Follow my exact instructions below:
Measure and combine: I add the rinsed quinoa, veggie broth, and sea salt to a medium pot. Sometimes I toss in other seasonings depending on what I’m making that day.
Bring it to a boil: I place the pot over medium to medium-high heat and let it come to a steady boil. This usually takes about 5 to 6 minutes.
Simmer the quinoa: I cover the pot with a lid and reduce the heat to low. Then I let it simmer gently for 15 minutes without lifting the lid.
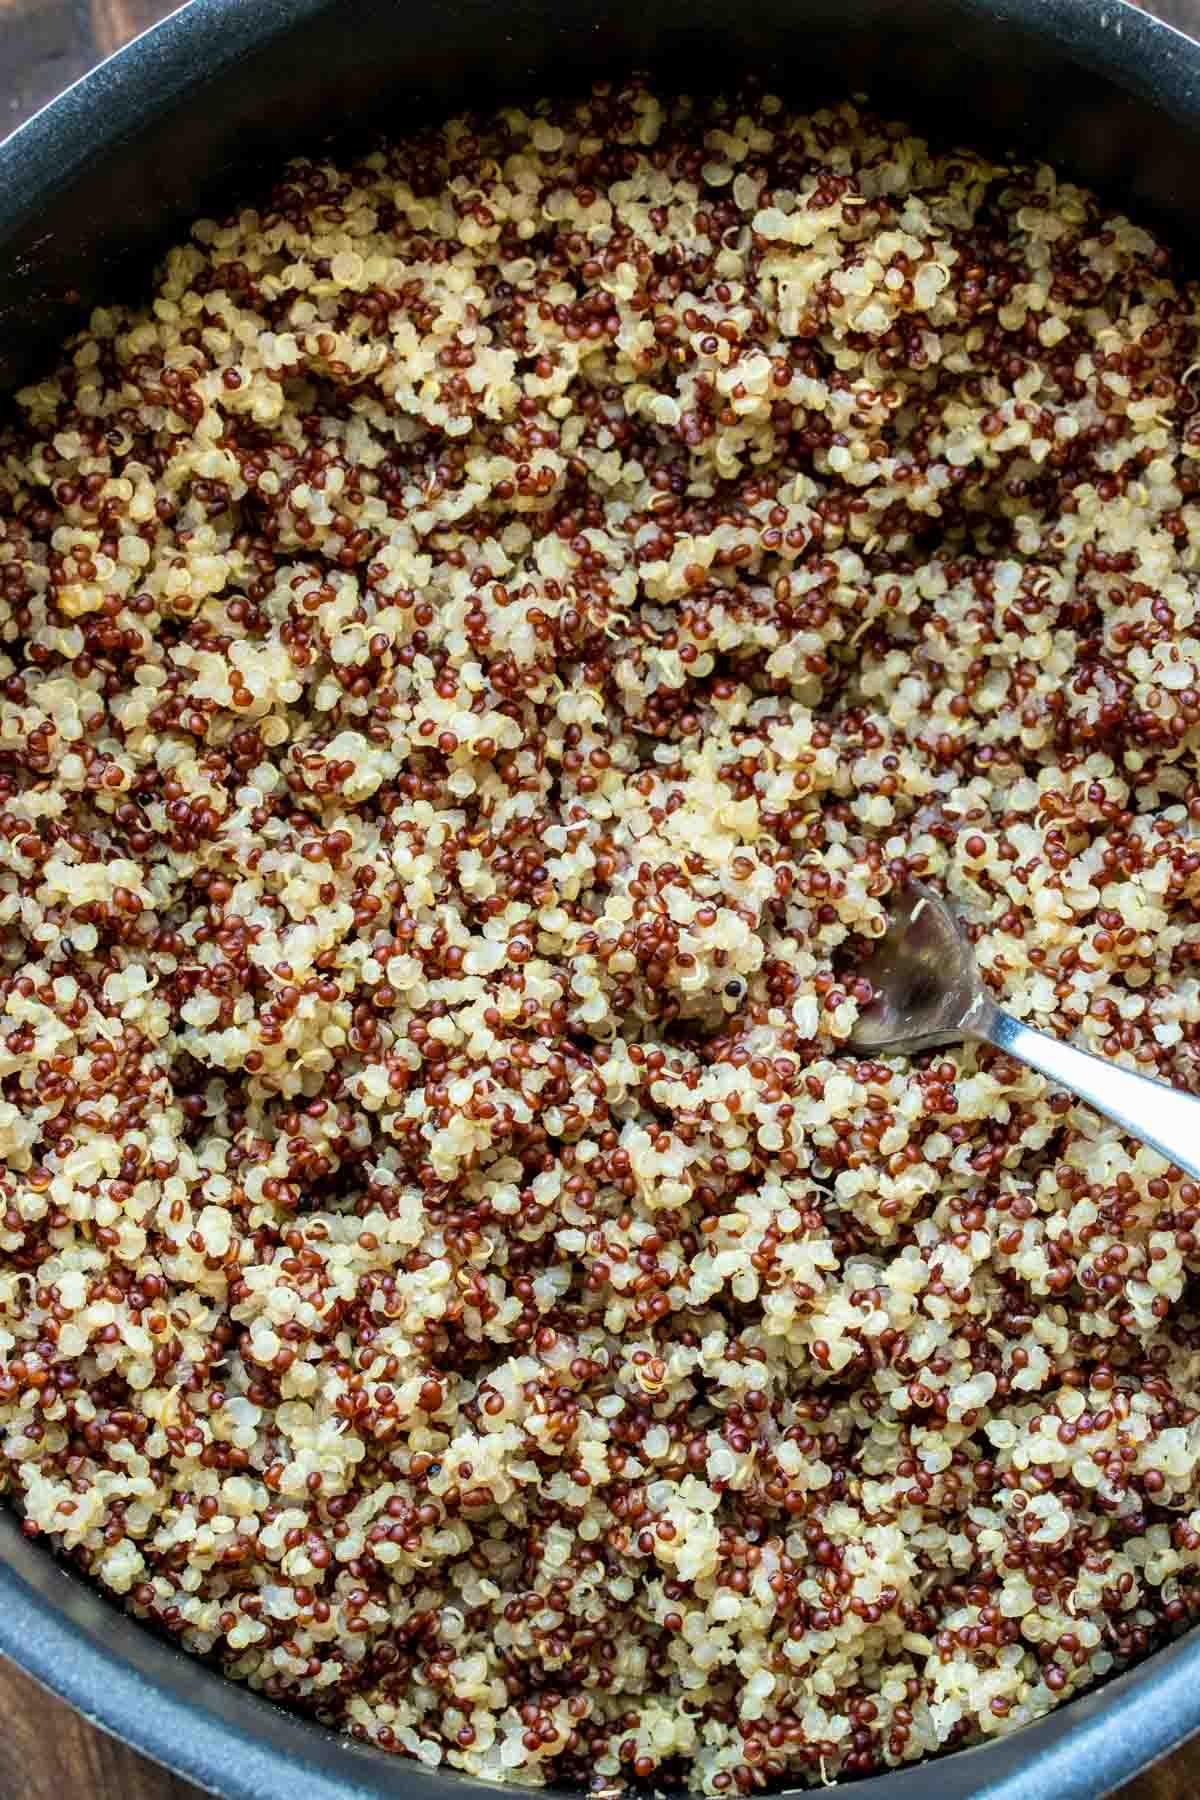
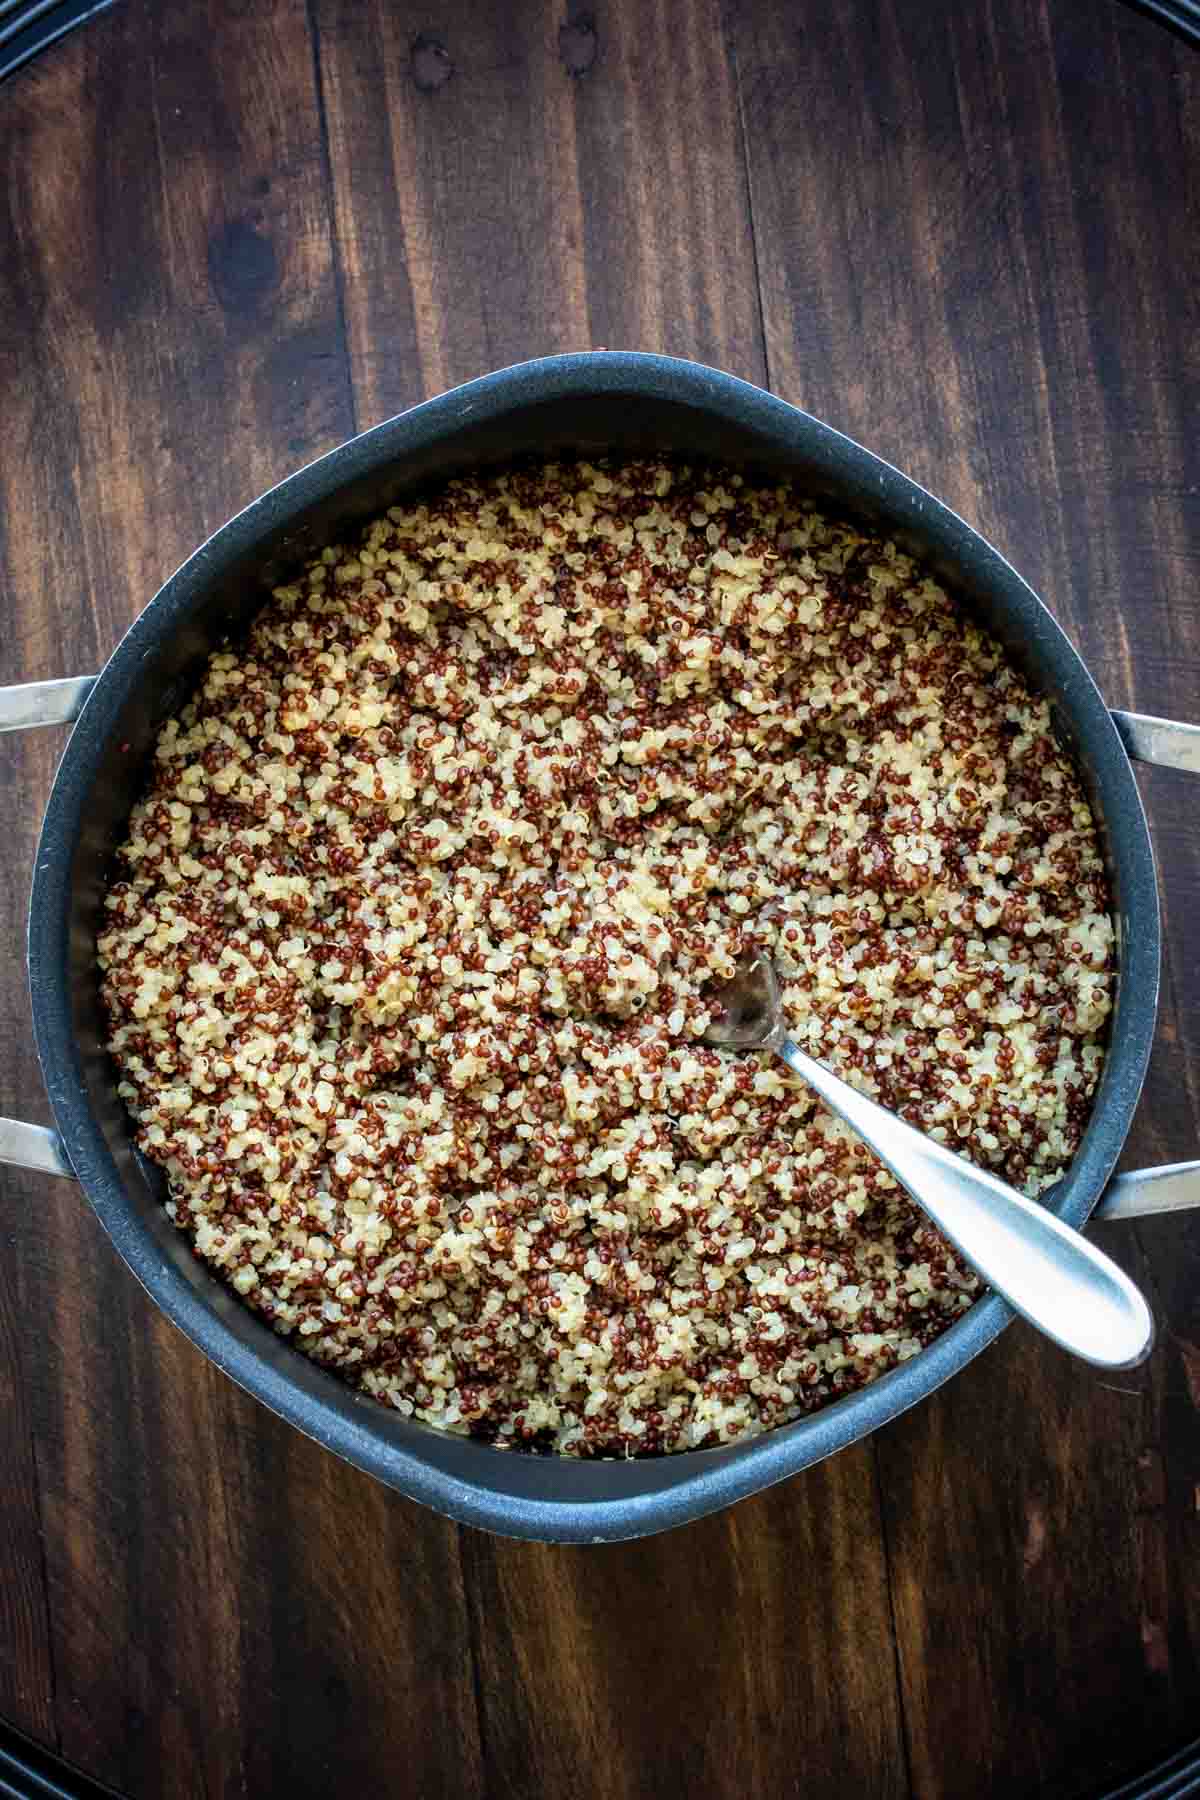
Let it rest and finish: I turn off the heat and leave the pot covered for another 5 minutes so the quinoa can finish steaming. After that, I fluff it with a fork and it’s ready to serve.

💭 Expert Tips
My #1 Secret Tip for making perfect stovetop quinoa is to always rinse it really well before cooking. The first time I made it, I didn’t rinse it at all and the taste was a little bitter, which didn’t go over well with my family. Now I never skip that step because it helps the quinoa taste clean and mild every time. It’s a quick fix that saves the whole batch from turning out wrong.
Other Tips To Keep In Mind:
- Keep the lid on while it rests: After the quinoa simmers and I turn off the heat, I leave the lid on for a full 5 minutes. That extra steam time helps finish the cooking and gives the grains a better texture.
- Fluff, don’t stir: Instead of stirring, I gently fluff the quinoa with a fork. This keeps it light and separate, not sticky or clumpy.
- Use broth for flavor: I usually cook it in veggie broth instead of water, especially if I’m using it in savory dishes. It gives the quinoa a deeper flavor that makes it more exciting to eat on its own.
- Double the batch for meal prep: Since quinoa stores so well, I often double the recipe and save the extra for lunches during the week. It’s great to have ready for grain bowls, salads, or a quick side.
📖 Variations
This stovetop quinoa is a total staple in my kitchen, and it’s so easy to dress up depending on what I’m craving! For a few fun twists, here are some of my favorite variations:
Garlicky Herb: I add a clove or two of minced garlic and a sprinkle of dried herbs like thyme or parsley to the pot while it simmers. It’s really nice served with roasted veggies or tofu.
Lemony: After cooking, I stir in a little fresh lemon juice and zest. It brightens up the flavor and goes great with grilled vegetables or chickpea salad.
Coconut Quinoa: I cook it in half water and half canned coconut milk with a pinch of salt. It turns out creamy with just a hint of sweetness and pairs really well with stir-fries or curry.
🍽 Serving Suggestions
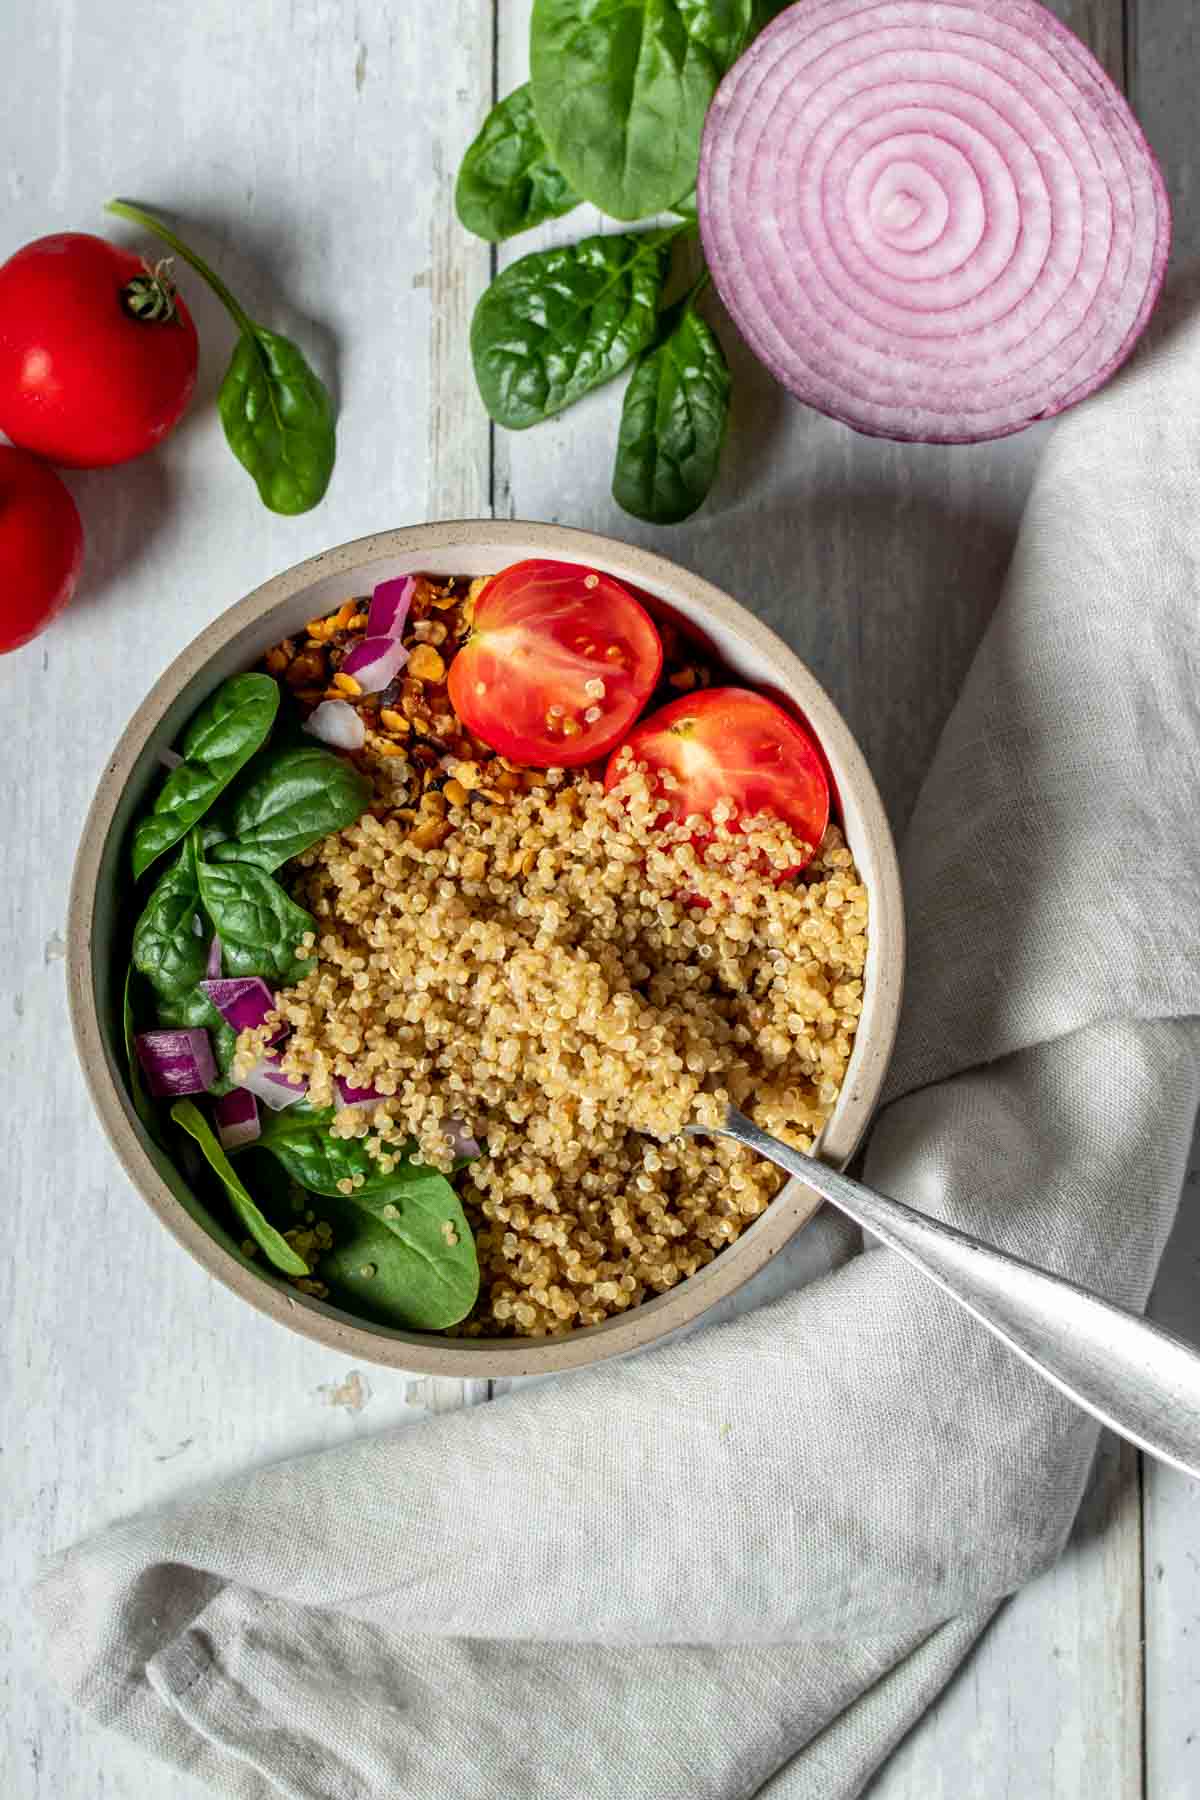
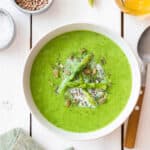
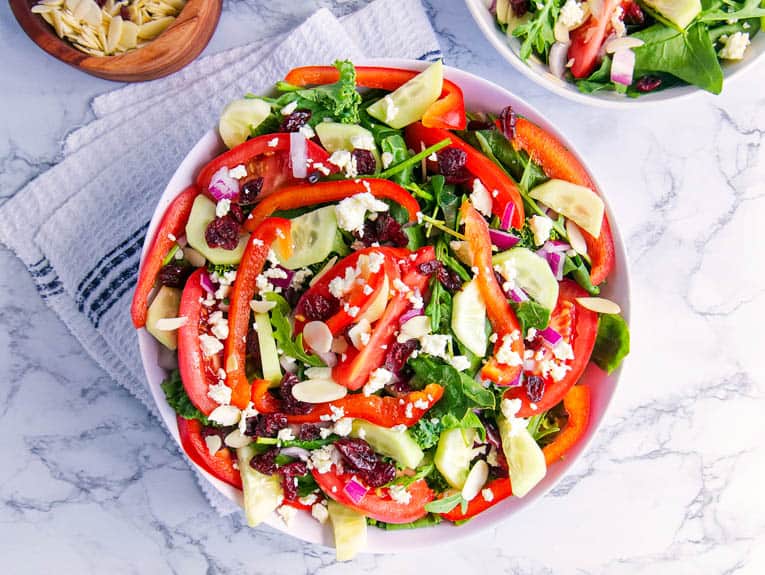
My family are huge fans of quinoa now that I make it regularly and serve it with a variety of dishes to fill the table! The fluffy grains are a great addition to this hearty vegan taco bow instead of rice or paired with a colorful beetroot and feta salad.
Whenever I have leftover quinoa from dinner, I make my kid’s favorite snack, vegan quinoa patties. They’re super simple to make and packed with fiber and protein. When I am in the mood for Asian-inspired food for dinner, I make Teriyaki vegetables stir-fry to pair with my fluffy quinoa. I add chili and parsley to the quinoa during cooking to complement the stir-fry flavors.
🧊 Storage Directions
Refrigeration: I store cooked quinoa in an airtight container in the fridge, and it stays fresh for up to 7 days.
Freezing: When I make a big batch, I freeze the extra in a sealed freezer bag or airtight container. I like to press a sheet of plastic wrap over the top before sealing to help prevent freezer burn. It keeps well in the freezer for at least 6 months, sometimes even longer.
Reheating: I warm it on the stove or in the microwave with a splash of water to loosen it up. I stir it gently and heat it just until it’s warmed through.
❓Recipe FAQs
How do I know when the quinoa is done?
When it’s ready, the liquid will be fully absorbed and I’ll see these little curly tails on the grains. That’s how I know it’s cooked through. Then I take it off the heat and let it sit for five minutes with the lid on so the steam can finish the job. After that, I fluff it with a fork and it’s good to go.
Why is my quinoa turning out mushy?
That’s happened to me before too, especially when I first started cooking it. Most of the time it’s because I added too much liquid or skipped the resting step at the end. Now I measure the broth carefully and always let it sit for five minutes after cooking. That little rest time helps keep it fluffy and stops it from getting too soft.
Do I really need to rinse quinoa before cooking?
Yes, I always rinse it. That little step makes a big difference. Quinoa has a natural coating called saponin that can make it taste kind of bitter or grassy if you don’t wash it off. I just use a fine mesh strainer and rinse it under cold water for about 30 seconds. It’s super quick and totally worth it for better flavor.

🍲 More Quinoa Recipes!

Love this plant based SIDE DISH recipe? Please leave a 5-star rating 🌟 in the recipe below and/or a review in the comment section further down the page!
You can also FOLLOW ME on FACEBOOK, INSTAGRAM, and PINTEREST to see more delicious, healthy, family-friendly food, and if you have any questions, I’m here to help!
📋 Recipe Card

How to Cook Quinoa on the Stove
Learning how to cook Quinoa on the Stove is easier than you think! I make this perfectly fluffy quinoa recipe for my family every week for lunches and dinners in under 30 minutes using quinoa, veg stock, and salt. I use this protein-rich grain for bowls, salads, or as a nutty-flavored side dish. It's so easy with my foolproof method!
Servings: 4
Calories: 162kcal
Ingredients
- 1 cup dry quinoa , rinsed
- 1 1/2 cups veggie broth , or water (see note)
- 1/2 teaspoon sea salt
Equipment
- Instant Pot , optional
- Slow Cooker , optional
Instructions
- Mix your quinoa, broth/water and salt (and any other seasonings you add) in a pot.
- Bring it to a boil. About 5 minutes.
- Cover and reduce to a simmer for 15 minutes.
- Turn off the heat and let it sit for 5 more minutes.
- Fluff with a fork and serve!
Notes
- My #1 Secret Tip for making perfect stovetop quinoa is to always rinse it really well before cooking. The first time I made it, I didn’t rinse it at all and the taste was a little bitter, which didn’t go over well with my family. Now I never skip that step because it helps the quinoa taste clean and mild every time. It’s a quick fix that saves the whole batch from turning out wrong.
- Keep the lid on while it rests: After the quinoa simmers and I turn off the heat, I leave the lid on for a full 5 minutes. That extra steam time helps finish the cooking and gives the grains a better texture.
- Fluff, don’t stir: Instead of stirring, I gently fluff the quinoa with a fork. This keeps it light and separate, not sticky or clumpy.
- Use broth for flavor: I usually cook it in veggie broth instead of water, especially if I’m using it in savory dishes. It gives the quinoa a deeper flavor that makes it more exciting to eat on its own.
- Double the batch for meal prep: Since quinoa stores so well, I often double the recipe and save the extra for lunches during the week. It’s great to have ready for grain bowls, salads, or a quick side.
Nutrition
Calories: 162kcal | Carbohydrates: 28g | Protein: 6g | Fat: 3g | Saturated Fat: 1g | Polyunsaturated Fat: 1g | Monounsaturated Fat: 1g | Trans Fat: 1g | Cholesterol: 1mg | Sodium: 315mg | Potassium: 239mg | Fiber: 3g | Sugar: 1g | Vitamin A: 1IU | Vitamin C: 1mg | Calcium: 20mg | Iron: 2mg


Such an easy method! Made it for meal prep and it turned out great!
You are so right about the proportion of liquid to quinoa. I tried using less after one blogger recommended it and I’ve never gone back to more liquid. It’s worth every cent it costs to buy a special strainer for rinsing the quinoa. Mine is an OXO (no affiliation) double mesh. Most strainers just don’t prevent quinoa from floating through the mesh into the sink and down the drain. Very disheartening.
Yes! The lost of quinoa is the worst! My fine mesh one works great too!
Wow! This is a great help, thank you. xo
You’re welcome! So happy it helps!
I’m loving all these “how to” posts lately. Very helpful to get down to basics.