

The Step-by-Step Guide to Introduce Solids to Your Baby
This post may contain affiliate links. As an Amazon Associate, I earn from qualifying purchases. Please read my disclosure.Introducing solid foods to your baby is such a milestone! It can be both an exciting step on your parenting journey, but it may be one that you are viewing with some uncertainty. There are many approaches to introducing solids that are all very different – so it can be confusing to try to figure out which one is the right one for you and your baby. Especially since there’s not just one “correct” way to introduce solid foods, and every baby is different! Which is why I created this post: to be your one-stop, step-by-step guide to introduce solids to your baby!
What I’ve found is that as parents begin to introduce solids, you will find the approach that works best for you and your baby, which is likely to include some combination of homemade purees, store-bought baby food pouches, formula, breast milk, and finger foods.
This is a fun — and messy! — time for both babies and their parents, and you’re likely to feel a warm glow when your little one discovers a food that he or she really loves, whether it’s strawberries, peas, hummus, yogurt, or even Brussels sprouts!
How Do I Know When My Baby Is Ready to Start Eating Solid Foods?
Babies are typically ready to start trying solid foods when they reach the age of five or six months — as a supplement to breastfeeding and/or formula feeding, of course. Remember, babies will get most of their calories from breastmilk or formula until age one. The American Academy of Pediatrics recommends six months as a good age to start introducing solids, but for some babies it will be slightly earlier or later than this. Four months really is the minimum age, though.
You’ll know when your baby is ready for solids when he or she is able to sit in a high chair and can hold his or her head up. Around this time, babies will also begin putting objects in their mouths, including their hands and toys. It will be clear when they are opening their mouths in the direction of food, indicating that they’re interested in eating. Babies need to have the coordination to move food from the front of their mouths to the back in order to swallow, rather than simply pushing it out with their tongues. You should also wait until your baby has put on enough weight to be approximately double his or her birth weight. Once you’ve noticed all of these signs in your baby, schedule an appointment with your pediatrician in order to make sure that your infant is actually ready to take the first steps towards eating solid food.
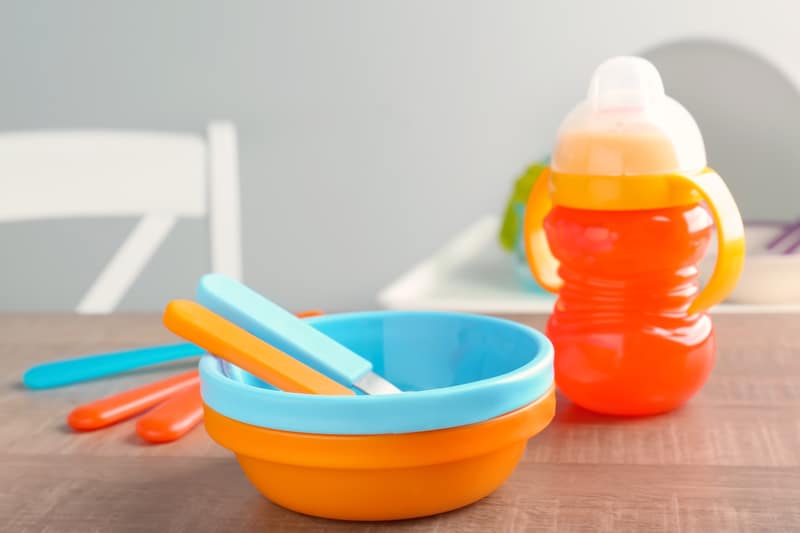
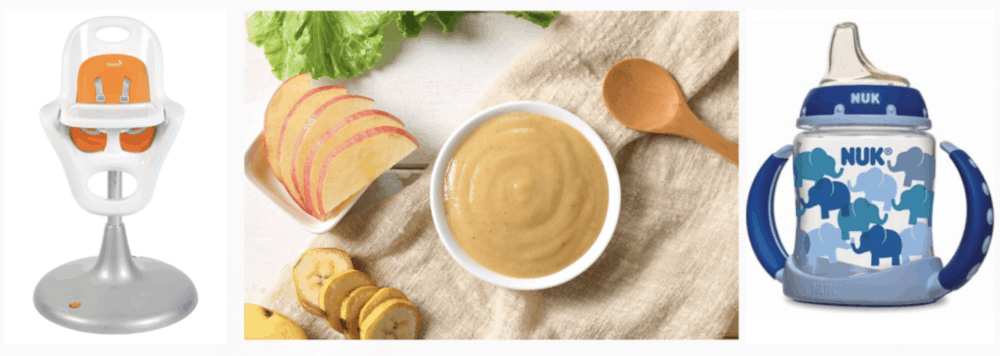
To start out, you’ll want to have a good environment that is conducive to mealtimes, such as having your baby sit in a secure high chair. We LOVED the Boon Flair High Chair for both of our kids. Super easy to clean, simple, and durable (lasted through both kids and looked exactly the same in year 5 as it did in year 1!).
Giving them a spoon to hold on to while you feed them can be helpful in encouraging dexterity, and ultimately transitioning towards feeding themselves. Both of my kids got a kick out of “spoonfeeding” themselves, which often involved a ton of mess but encouraged independence early on! I also recommend giving your baby water in a sippy cup during meals (we used this sippy cup for both kids at 6 months and it worked wonderfully – no spills no matter how many times they threw it!) The cup is more to just get them used to the routine of water with meals, not because they need to be drinking a lot of water at this age.
It’s important to be aware of how much your baby should be eating at different ages, and how much formula and/or breastmilk they should still be consuming. While introducing solid foods, you should continue feeding your infant breastmilk or formula, up to a maximum of around 32 ounces each day.
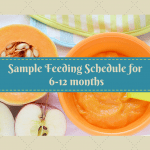
- 4-6 months: At this age, solid foods are going to be only a very small portion of your baby’s total caloric intake. Nearly all of your baby’s calories will come from breastmilk and/or formula, but you can include up to four tablespoons of solid food (ie. purees or baby cereal made from oats, quinoa or barley) at one or two meals each day.
- 6-9 months: Up until the age of nine months, most calories should still be coming from breastmilk and/or formula. This means that babies should be breastfeeding every three to four hours or consuming between 20 and 28 ounces of formula each day. However, after around seven months, many babies will be ready to sit down for three small meals per day.
- 9-12 months: Many babies will be ready to predominantly eat finger foods around the age of nine months. When your baby reaches this age, around half of his or her calories will be coming from solid food, so he or she will only need to breastfeed every four or five hours. This is equivalent to consuming between 16 and 24 ounces of formula during the day. This is the age when babies are especially likely to want to try the foods that their parents are eating as their tastes expand and develop.
- After 12 months: Once your baby turns one, most of his or her calories will come from solid food (still chopped up in order to avoid choking hazards), and he or she will be old enough to drink up to three cups of organic cow’s milk (whole milk) each day.
How to Start Introducing Solid Foods
My general recommendation is to start off by giving your baby some healthy, low-sugar purees, before gradually letting them try small portions of finger foods (ie. chopped-up fruit, pasta, or cheese) when they are ready. Babies are naturally trained to like sweet, carby foods (since that’s what breastmilk tastes like!) so it’s important, that when they start on solids, that we give them foods to develop the other parts of their palate: bitter, pungent, savory, etc.
If you are concerned about allergies, a great way to start is with homemade baby cereal, which you can make by grinding up oats (or quinoa or barley), cooking them on the stove and then mixing 1 tbsp of the baby cereal with up to 4 tablespoons of breastmilk or formula. This is a good option to try right after breastfeeding or bottlefeeding, and you can experiment with different cereals (just be sure to try one type of grain at a time). Simply sit your baby upright and offer him or her small spoonfuls of cereal after feeding. Soon, you’ll be able to gradually decrease the amount of liquid in the cereal so that it becomes less runny, and then increase the portion size.
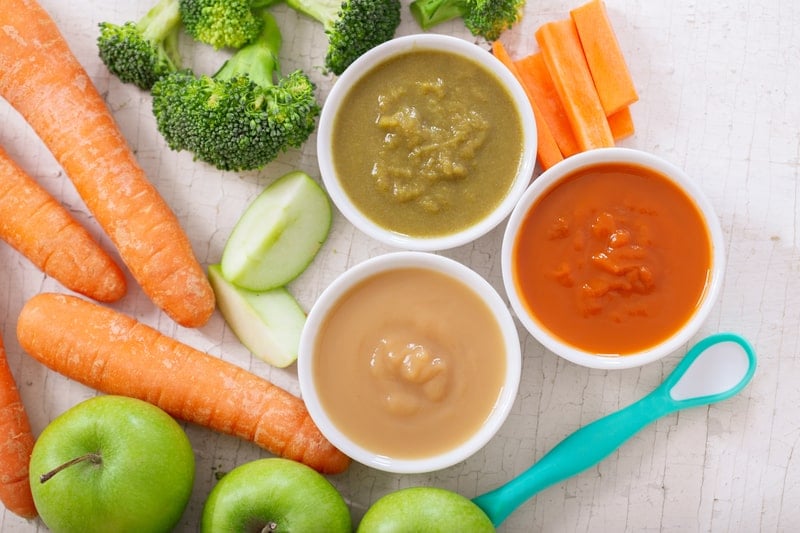
When you start giving purees to your baby, make sure to avoid anything that has added sugar or salt. It’s a good idea to introduce one food at a time and then wait a few days before trying something new, in order to ensure that your baby doesn’t develop a negative reaction such as diarrhea, vomiting, or rash. Once you’ve made sure that your baby will tolerate different foods, you can combine them in your purees.
When deciding which foods to introduce first, I recommend avoiding sweet fruit purees. I haven’t met a baby who didn’t gobble up sweet purees, so it’s best to introduce those later on. We want their palates to gradually become accustomed to accepting a variety of tastes and flavors. I’ve found that introducing fruits and vegetables in the following order works well for many babies:
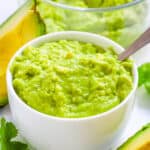
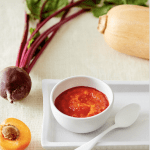
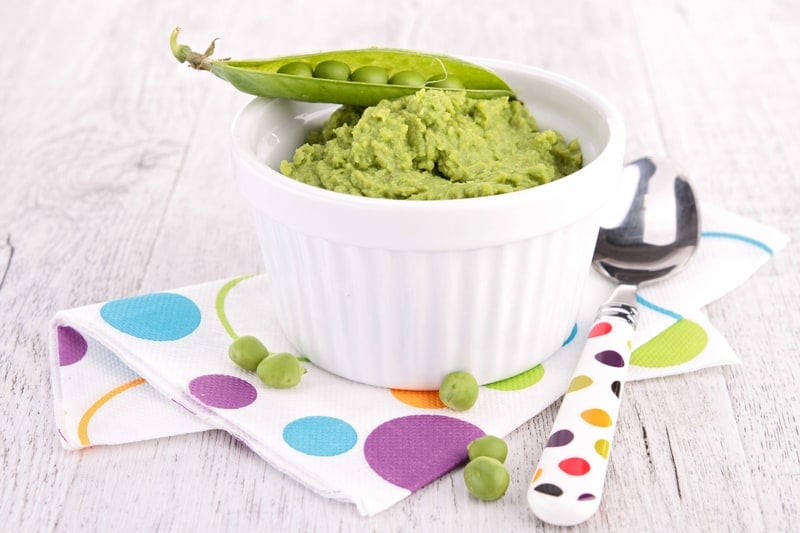
- Avocado, carrots, green beans, sweet potato, butternut squash, pears, apples, broccoli, spinach, cauliflower.
- Then feel free to introduce any other fruits and vegetables that you want, and eventually add in fish and meat.
If your first attempt to introduce purees is unsuccessful, don’t worry. Try again in a week and definitely don’t attempt to force your baby to eat anything that he or she has rejected.
What’s Best — Purees or Baby-Led Weaning?

Although starting to feed babies purees around the age of four or five months is the most common way to introduce solid foods, you may be aware of another approach that has become popular: “baby-led weaning.” The goal of baby-led weaning (BLW) is for babies to become more independent, better at regulating portion size, and more interested in trying new foods. Basically, rather than spoon-feeding infants with purees, parents wait until their baby is old enough to handle small finger foods, usually around the age of six months. During baby-led weaning, infants can still eat purees, but they aren’t spoon fed, so they learn to feed themselves with their fingers or by holding a baby spoon. Needless to say — baby-led weaning can get very messy!
The baby-led weaning approach doesn’t work for every baby or every family. For babies who were born premature or don’t yet have the motor skills to feed themselves, baby-led weaning can be an unnecessarily stressful experience. And some babies just simply aren’t ready or willing to feed themselves until they’re a bit older. Baby-led weaning can sometimes present difficulties in food preparation, because parents will need to ensure that they are giving their infants foods that are soft and cut up into small pieces, whereas smooth, thin purees are unlikely to pose any kind of choking hazard.
On the other hand, some babies will be totally ready to try a wide array of finger foods by the age of six months, and this can be a very rewarding experience. Baby-led weaning can also help babies to be more involved with their families at mealtimes, as you can eat at the same time, rather than concentrating on spoon-feeding your infant. Ideally, you would all be able to eat the same meal, albeit with your baby’s portion cut it into small, softened pieces!
The thing is, you don’t necessarily have to choose between baby-led weaning and spoon-feeding. There hasn’t been much research to prove which approach is best, so it’s really up to you to decide what the optimal method is for you and your family. As I mentioned in the previous section, I think the approach that often works best is to start off by spoon-feeding your baby purees when he or she shows signs of being ready (usually around four or five months) and then making finger foods with a variety of flavors and textures available from around the age of six months. With purees, particularly those you make at home, you can make sure that your baby is getting all of the protein, vitamins, minerals, and other nutrients that he or she needs to grow. You can also gradually begin giving your baby purees with more texture and lumps, to get them ready for “proper” food. Even if he or she has been happily enjoying purees, there will undoubtedly be some finger foods that soon catch your baby’s fancy!
Another idea is to allow your baby to feed themselves with a baby spoon, giving them the same purees with which you had been spoon-feeding them. Just be aware that, especially in the beginning, most of the puree is probably not going to end up in your baby’s mouth! For the sake of time, your sanity, and the cleanliness of the kitchen floor, you could try spoon-feeding for one meal a day and allowing your baby to feed themselves for the other two.
It’s important to make sure that your baby is getting all of the calories and nutrition that he or she needs throughout infancy. Finger foods aren’t going to be able to provide that in the beginning of the baby-led weaning process, which is why breast milk and/or formula remain the primary sources of calories before age one.
Another note about finger foods: many of the BLW-approved finger foods early on can be pretty processed and high in sugar (e.g. puffs, packaged baby snacks, etc.). If you decide to start with BLW, I recommend avoiding all carby/starchy and packaged foods – and sticking with super soft veggies and fruits instead.
Making Baby Food at Home
I love making baby food at home because it’s easy, fast, budget-friendly (pouches can get SO expensive), and healthier since you know exactly what amounts and ingredients are in every puree.
It may sound daunting to make your own baby food, but it’s actually really simple! You can learn all about making baby food at home here.
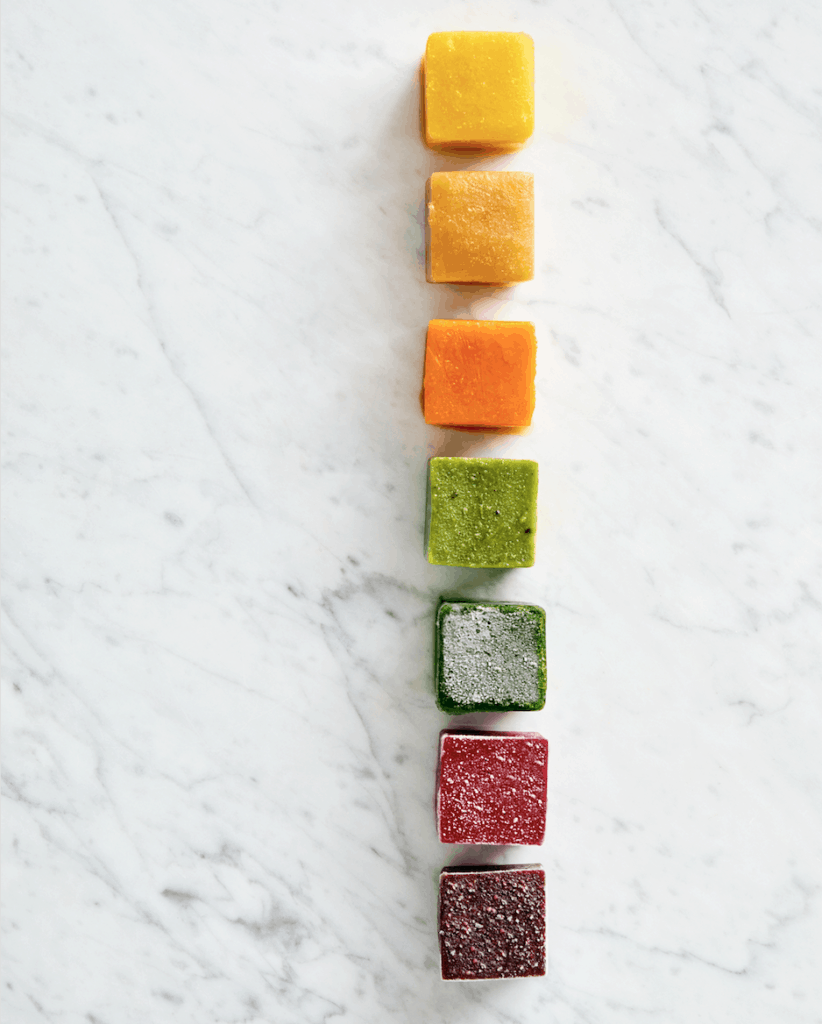
There are really only three steps in this process: steam, puree, and freeze. The first step in making homemade baby food is usually steaming, so make sure that you have a large pot and a steamer basket so that you can make a substantial quantity of fruit/vegetable puree all at once. You don’t always have to cook your puree ingredients, but it can help by making them softer and easier to blend.
The other item you’ll need for this is a good blender. However, you don’t need to worry about buying any expensive, specialized baby-food-blending equipment (those products are pretty gimmicky, and you can’t use them for other things once you’re done making baby food, so it becomes a waste!).
Instead, I highly recommend the Vitamix because it can make purees that are very smooth and practically indistinguishable from the pureed baby food that you would buy at the grocery store. As an added benefit, you’ll find plenty of other uses for the Vitamix besides blending delicious meals for your baby. It’s great for making smoothies, soups, pancake and brownie batter, and so much more. With the exception of fruits with a hard peel or rind (ie. bananas, melons, etc.), the Vitamix can blend whole fruits and vegetables. This means that you don’t have to peel them and your baby can benefit from all of the healthful nutrients in apple skins, zucchini skins, etc.
After making your purees, you’ll want to store them in the freezer. Ordinary ice cube trays covered in plastic wrap can work for this, but you’ll probably find that some of your purees get freezer burn. If you want something a bit better, which you soon won’t be able to live without, I highly recommend the Mumi&Bubi trays, which are specifically designed to hygienically store at least a month’s worth of baby food, have air-tight lids, and are very easy to stack and store. You can store up to 42 cubes (1 oz. in each cube) of baby food across the two trays, and they are made from BPA-free, PVC-free, and dishwasher-safe polypropylene. These trays have so many other uses, including storing smoothies, soups, and even expressed breastmilk. You’ll also get 27 recipes for making your own baby food at home with your purchase. For even more recipes, check out my Super Easy Baby Food Cookbook, which includes over 150 recipes, including baby purees, 30-minute meals for toddlers, and time-saving menus for older children.
Baby Food Pouches
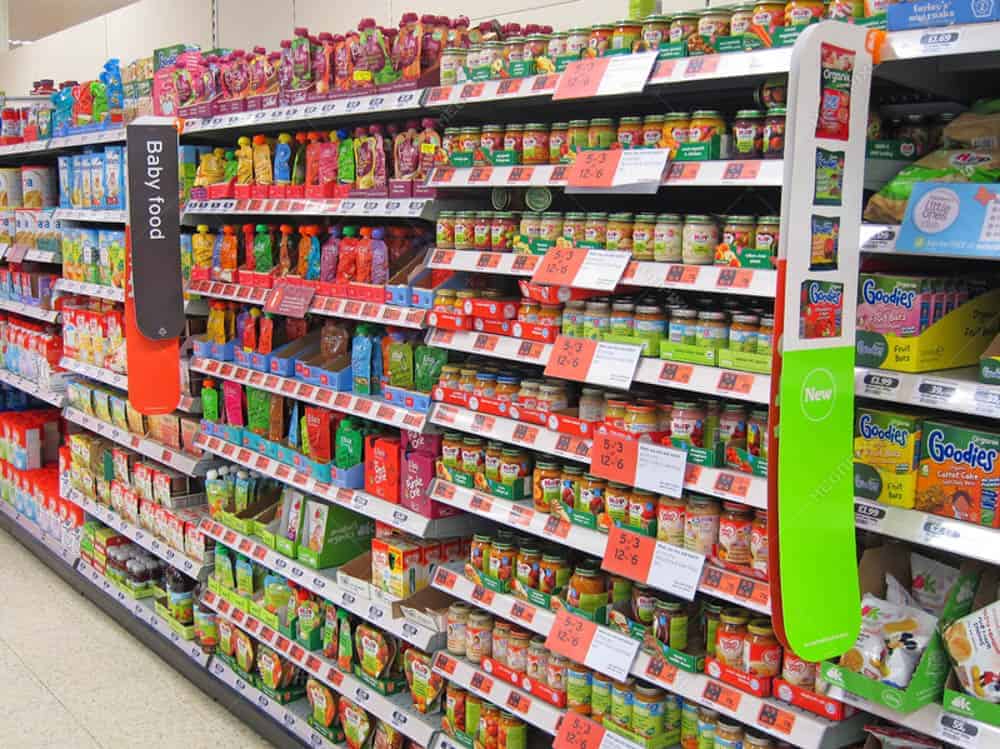
Although I highly recommend making baby food at home in order to save money and to ensure that you know exactly what your little one is eating, this isn’t always possible when you’re busy or on the go. Buying baby food pouches is completely fine, as long as you’re careful to avoid pouches with added sugar or heavily processed ingredients, as this can lead to your baby rejecting non-sugary foods later on. Developing your baby’s palate with a variety of flavors is really important from a young age!
When choosing a baby food pouch, it’s really important to look at the list of ingredients. The name and pictures on the front may be very misleading, so pay close attention to the first few ingredients. Even if the packaging indicates that you’re buying pureed vegetables, many baby food pouches are made with sweet fruit purees or even fruit juice concentrates that hide the taste of the actual vegetables. If you see fruit or fruit juice listed in the first few ingredients, that should be a big warning sign that the pouch will contain plenty of natural sugar and not very many vegetables. Unfortunately, manufacturers don’t actually have to tell you the proportions of their ingredients. So even when there’s something healthy like spinach or butternut squash on the label, if it’s not one of the first ingredients listed, then there’s probably not much of it in the pouch.
Checking the Nutrition Facts is also crucial. You’ll want to completely avoid products with more than eight grams of sugar. There are some great veggie pouches on the market that only have one or two grams of sugar. And ideally, when pouches do contain some sugar, it will be natural sugar from fruit, rather than added sugar. You’ll also want to find pouches that contain at least two grams of fiber, and I strongly recommend purchasing organic products.
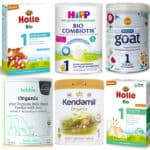
There are several companies that make some great-tasting, healthy baby food pouches that meet my criteria — organic, no more than eight grams of sugar, at least two grams of fiber — including some that contain primarily vegetables. I’ve also used research from the Clean Label Project and Consumer Reports to choose products with the least risk of containing heavy metals like arsenic, lead, or cadmium, which are present in a worrying number baby food products.
Check out my post about which baby food pouches are the healthiest, from companies such as Ella’s Kitchen, Amara Organic, Beech-Nut Organics, Sprout Organic, Once Upon a Farm, Plum Organics, Happy Family Organics, and Earth’s Best.
What Solid Foods to Avoid in Your Baby’s First Year
As you start introducing solid foods, you’ll find yourself looking for snack options to complement purees during the day. The best snacks are finger foods that babies can enjoy for their touch, taste, and nutritiousness, such as soft fruits, steamed vegetables, no sugar-added, plain organic yogurt, scrambled eggs, hummus, avocado, and shredded cheese.
Although there is a wide array of “baby snacks” on the market that may appear to be healthy, many of these are actually highly processed, with little nutritional value and significant amounts of sugar.
Before turning one, babies should not drink cow’s milk because it doesn’t contain sufficient nutrients for growing infants and could lead to an iron deficiency. Breastmilk and formula both have the complete nutrition that babies need at this age, including iron.
When you start to introduce small finger foods to your baby, take care to ensure that they are cut up into very small, manageable pieces in order to prevent choking. Foods should be soft enough to be mashed or to dissolve in a baby’s mouth. You should avoid giving your baby hard foods that can’t be cut up, like seeds or nuts, or heavy, sticky foods such as marshmallows or spoonfuls of peanut butter. Always ensure that meat, cheese, fruits, and vegetables are cut into small pieces that are easy to swallow. You’ll want to avoid small, round foods like grapes or cherry tomatoes unless they are cut up first, and always make sure to peel fruits and vegetables.
It’s really not necessary to give your baby juice. Whole fruits are a far better choice and present much less risk of causing tooth decay and weight problems later in life. The American Academy of Pediatric recommends limiting juice intake to four ounces per day for children between the ages of one and three. I actually just give my kids milk and water with their meals and avoid juice altogether unless it’s a special occasion (birthday, holiday, etc.)
Honey should also be avoided before age one because its consumption could potentially lead to infant botulism.
On the other hand, there’s no need to avoid foods that may be allergenic, such as peanuts, eggs, and fish. Introducing these at a younger age has been linked to fewer food allergies later in life. However, if you are concerned about your family’s history of food allergies, keep an oral antihistamine close by when you first give your child potentially allergy-causing foods, or consult with your pediatrician first.
You Can Do This — Just Be Patient and Try to Have Fun!
The most important thing to remember throughout this whole process is that it will take time. Sometimes babies may reject a certain food over 50 times before they decide that they like it! This is completely normal, and it doesn’t mean that your infant has developed any lifelong food aversions. Just keep experimenting with different foods, preparation methods, utensils, and even mealtime rituals.
If you stay patient and keep an open mind, introducing your baby to solid foods can be fun and a great bonding experience for you and your child!
Sources:
- https://www.mayoclinic.org/healthy-lifestyle/infant-and-toddler-health/in-depth/healthy-baby/art-20046200
- https://www.stanfordchildrens.org/en/topic/default?id=feeding-guide-for-the-first-year-90-P02209
- https://www.parents.com/baby/feeding/solid-foods/how-much-solids/
- https://www.parents.com/recipes/scoop-on-food/should-babies-skip-purees-5-things-i-learned-about-baby-led-weaning/
- https://www.nhs.uk/news/pregnancy-and-child/spoon-feeding-compared-with-baby-led-weaning/
- https://www.healthychildren.org/English/healthy-living/nutrition/Pages/Fruit-Juice-and-Your-Childs-Diet.aspx
- https://www.mouthhealthy.org/en/nutrition/child-snacking-tips


Hi! Is it necessary to use a steamer basket? Could you just boil the vegetables/fruit in a little bit of water in a pot?
Hi Kate! You don’t have to use a steamer basket – you can totally boil the veggies/fruit in a small amount of water in a pot. Just make sure that you use any leftover water from the pot as part of your puree (so you don’t lose any nutrients from the veggies that leach into the water while they are cooking).
Very thorough guide to helping parents get their babies onto solid food. I’m, going to share it with my friend who has a 6mth old x
Thanks Becca! I hope your friend finds it helpful!
Great tips!! I had no issues when my son was little. He enjoyed solids especially fruits and boiled vegetables.
That’s awesome to hear! 🙂
Thank you for sharing such great information! I am a new mom and find myself easily overwhelmed when trying to figure out how and what solids to start feeding my son. He just turned 4months and we got the okay from our pediatrician to start “trying” solids. He recommended we start with “cereal”… I was wondering if this is a good “first solid” food to start with and if so what you recommend (oats)??, and if so how I would go about preparing/cooking it? He is currently on HIPP DUTCH stage 1, would I have to add formula to the cereal? Your advice is greatly appreciated!
Hi Heather! I actually wouldn’t recommend starting with cereal unless your son has allergies or might be prone to allergies. Instead, I’d recommend starting with a super mild vegetable like avocado or green beans and pureeing it so it’s very thin so it’s easy for your son to swallow. At 4 months, it’s just about tastes anyway – not about real “meals” so a little bit can go a long way. I usually recommend introducing cereal after vegetables so your baby’s taste buds get “trained” to enjoy other flavors besides milk/sweet types of flavors. When you are ready to make cereal, I’d get rolled oats and pulverize them in a food processor or blender so they’re a fine “flour” like consistency, and then cook them the way you would regular oatmeal (either on the stovetop or microwave). You can add a bit of formula to it before serving to thin it out, but I wouldn’t add formula to the oats as you’re making them because then if your baby doesn’t eat it in 2 hours you can’t use the entire batch. Hope that helps! Let me know if you have any other questions! 🙂
I was so excited when my kids started eating solids. It was always messy, but a lot of fun to see them grow and expand their palettes. Plus, their faces when they didn’t like something cracked me up.
Haha that’s so true Melanie!!
This guide has everything you could want to get rolling. Love the homemade baby food ideas!
Thank you so much Joanna! 🙂
These are some very great ideas. It can always be a little unnerving to give them solids for the first time.
Thanks Tiffany! Glad you found it helpful!
I love fruit purees and I like stealing them from my friends baby. 🙂 I think it’s a great thing that you are making baby food on your own, instead of buying done products.
haha! That’s funny – and thank you so much! 🙂
I have an infant, so this has been a great reminder. It’s always fun when they try new foods.
Thanks Amanda! I totally agree!